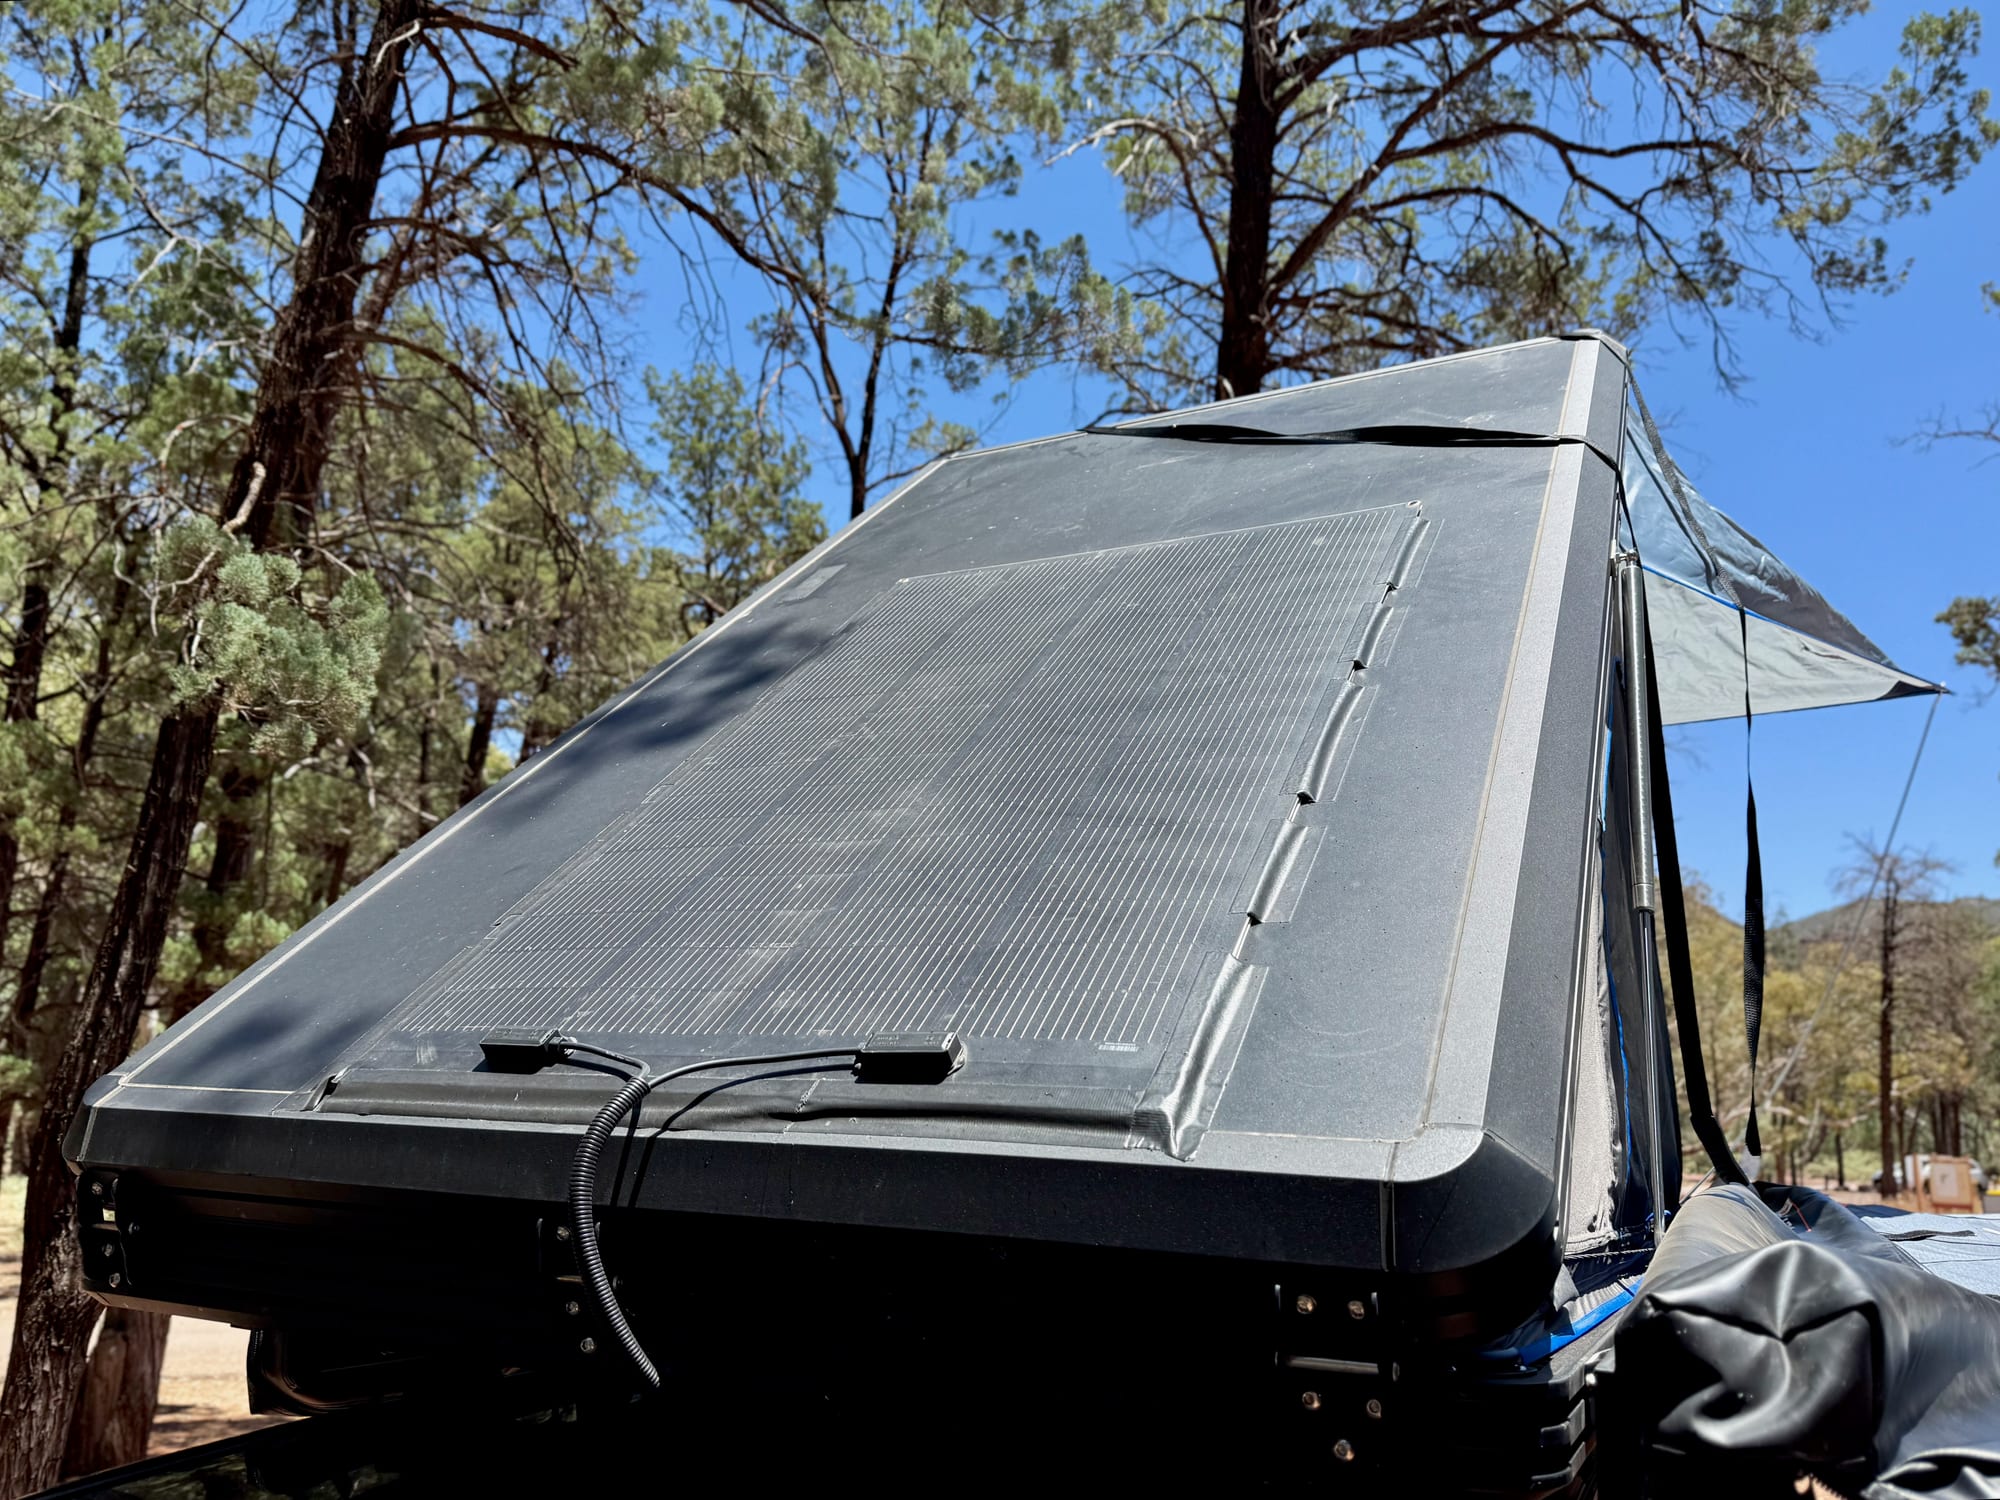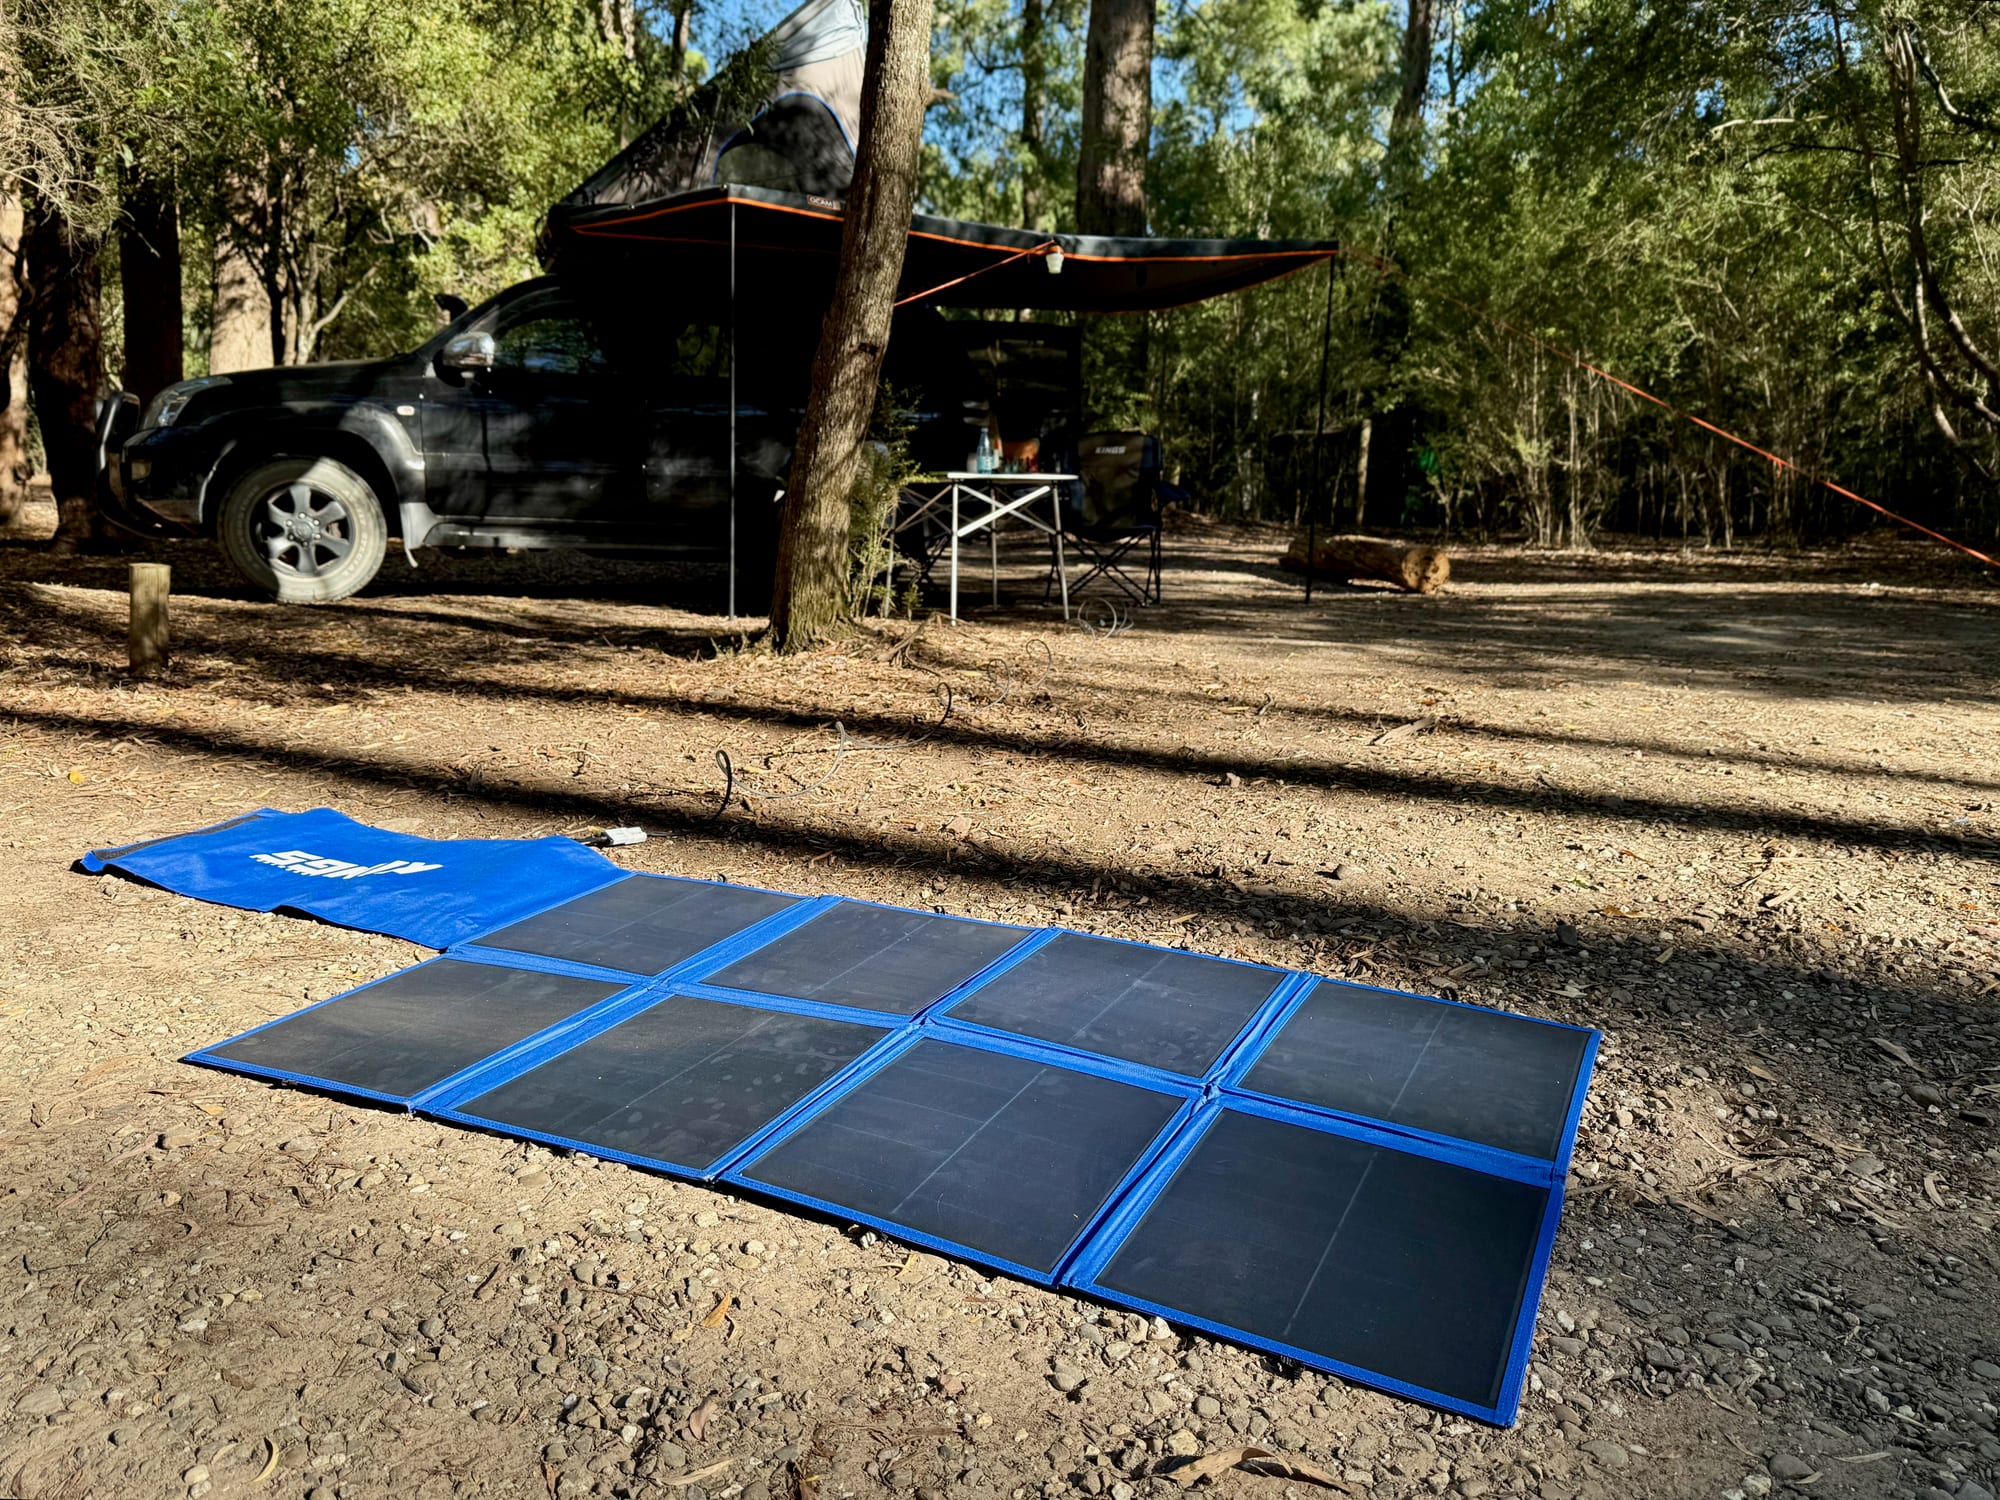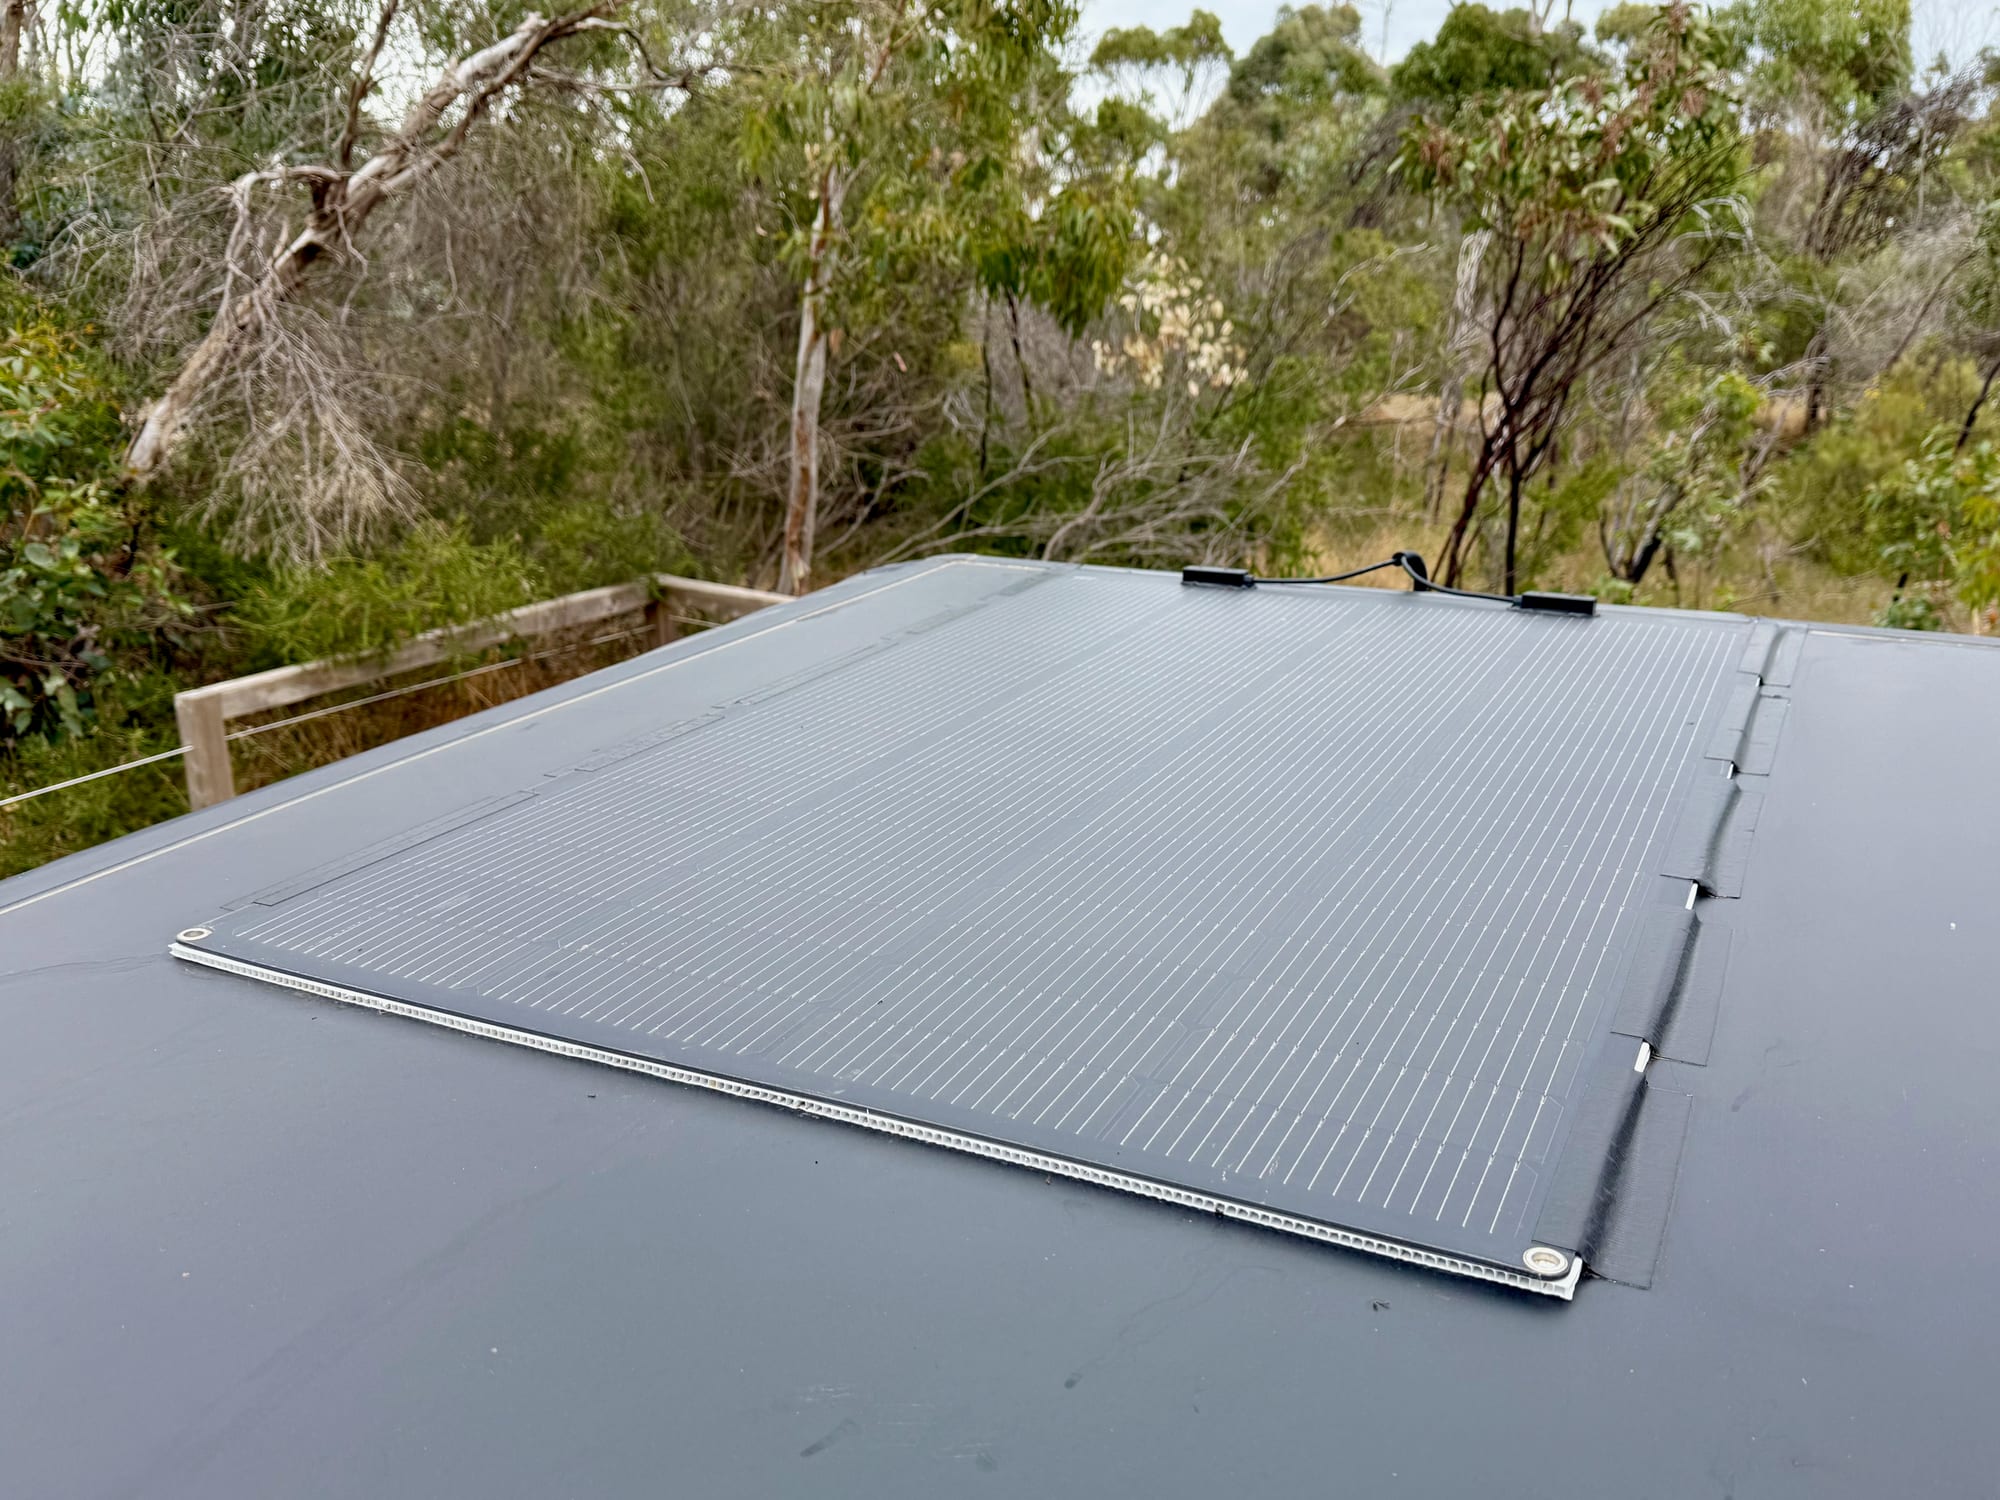
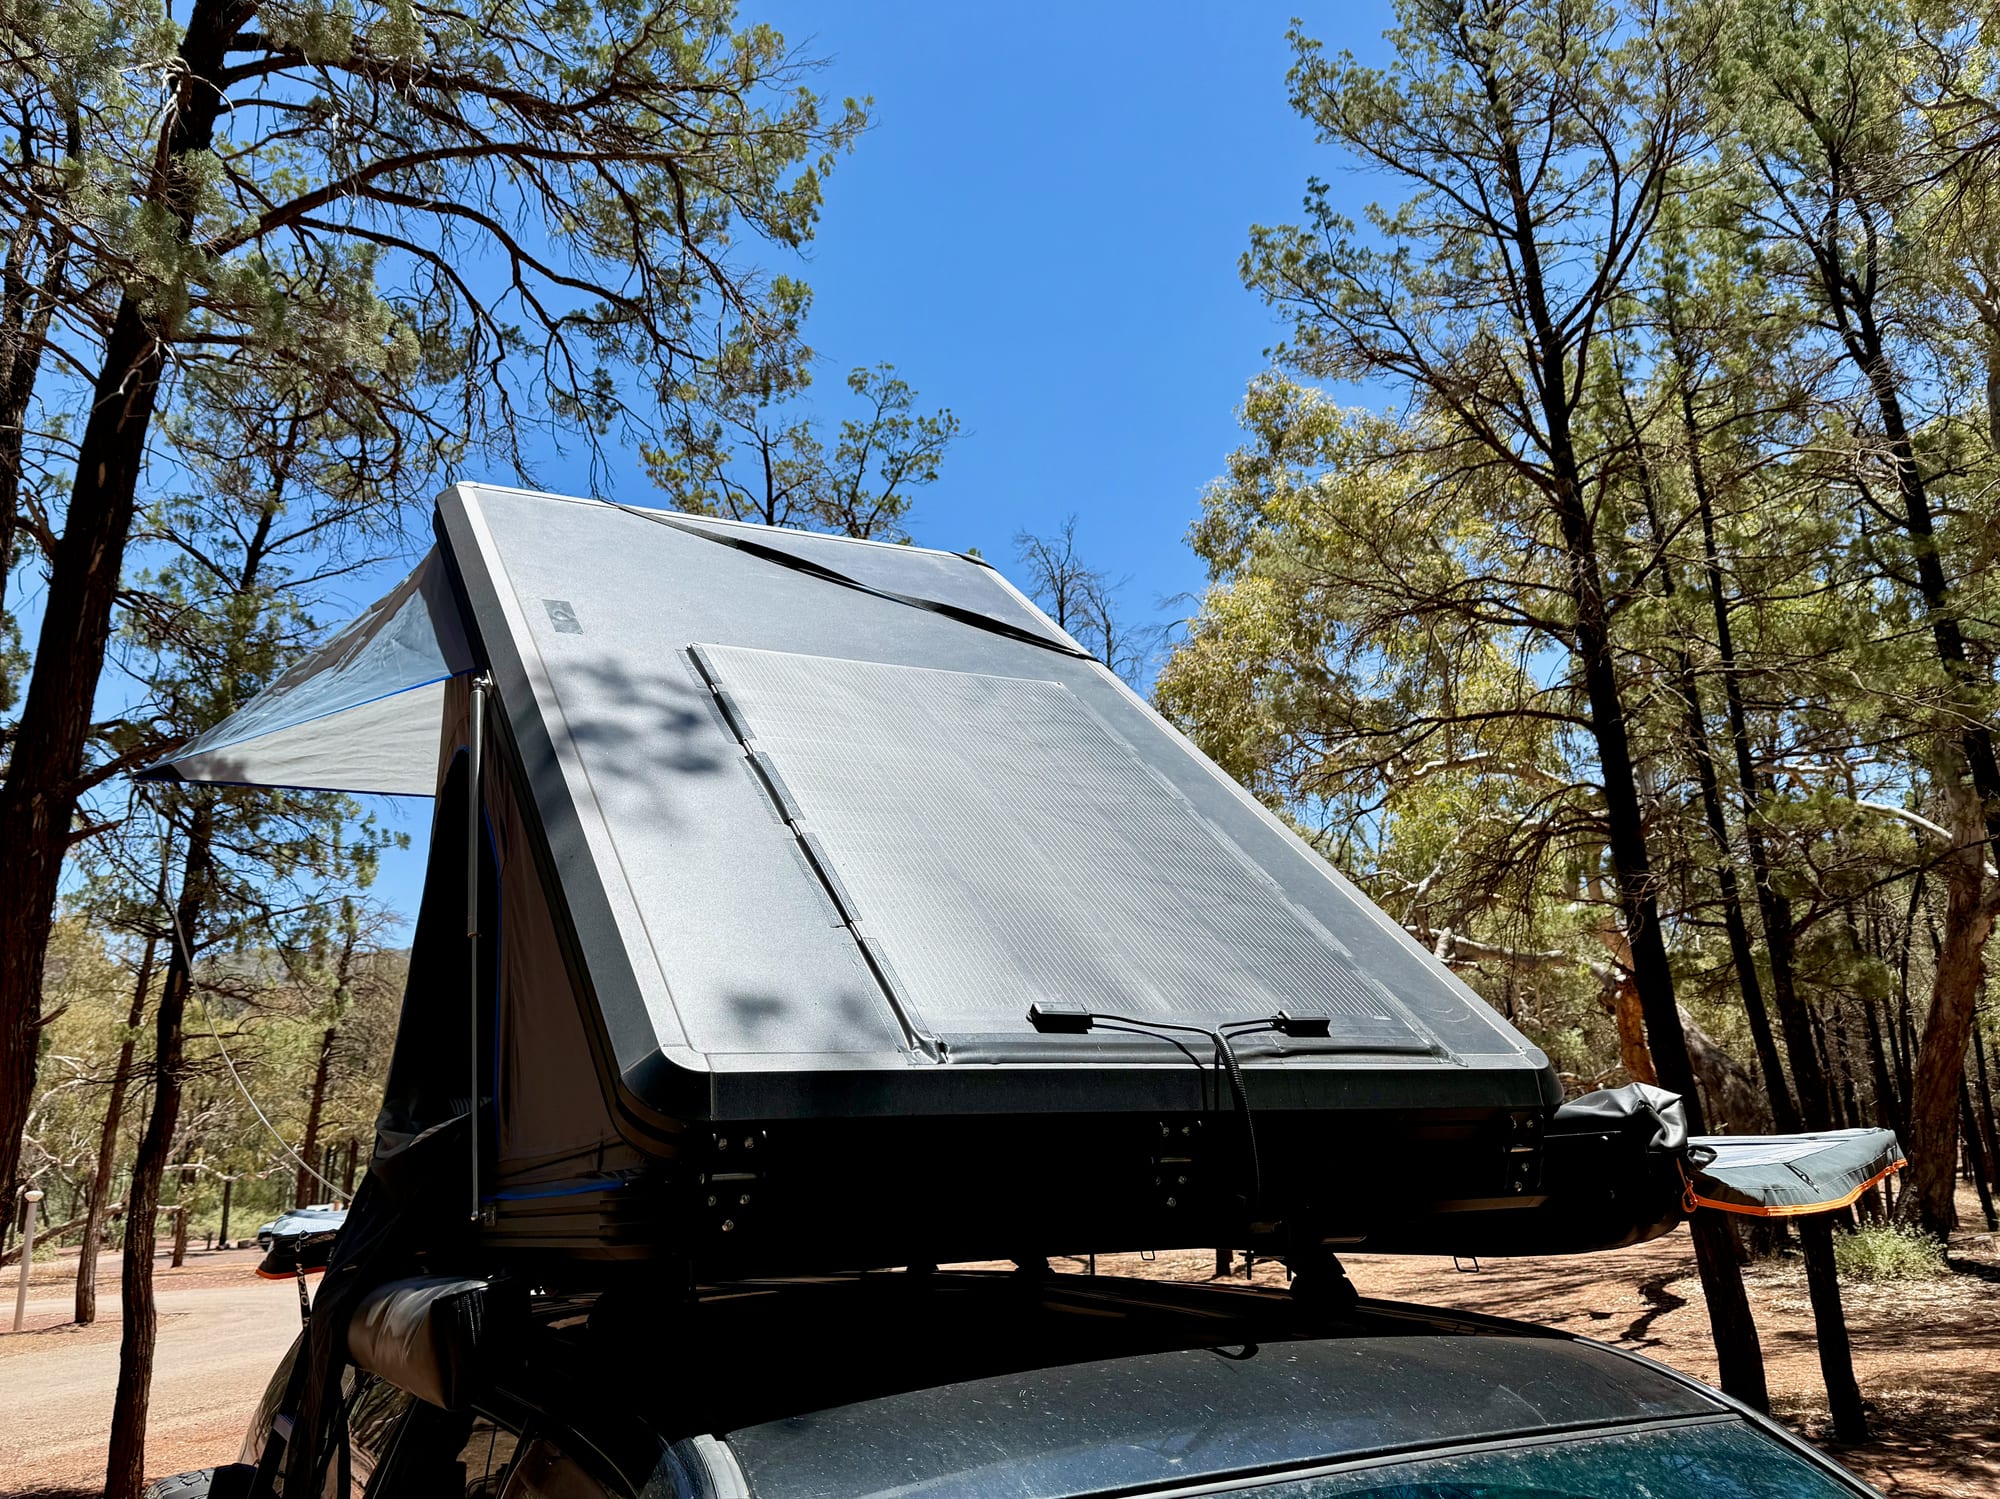
A flexible solar panel on top of the rooftop tent charges the battery while you drive and while you’re parked in the sun. We mounted our Kings 160W semi-flexible solar panel on top of our rooftop tent, a Kings Grand Tourer Lite, with corflute and heavy 3M double-sided tape, without drilling a single hole. It has been up there for over a year and hasn’t had any issues.
Do's
- Do buy good quality tape, so it lasts
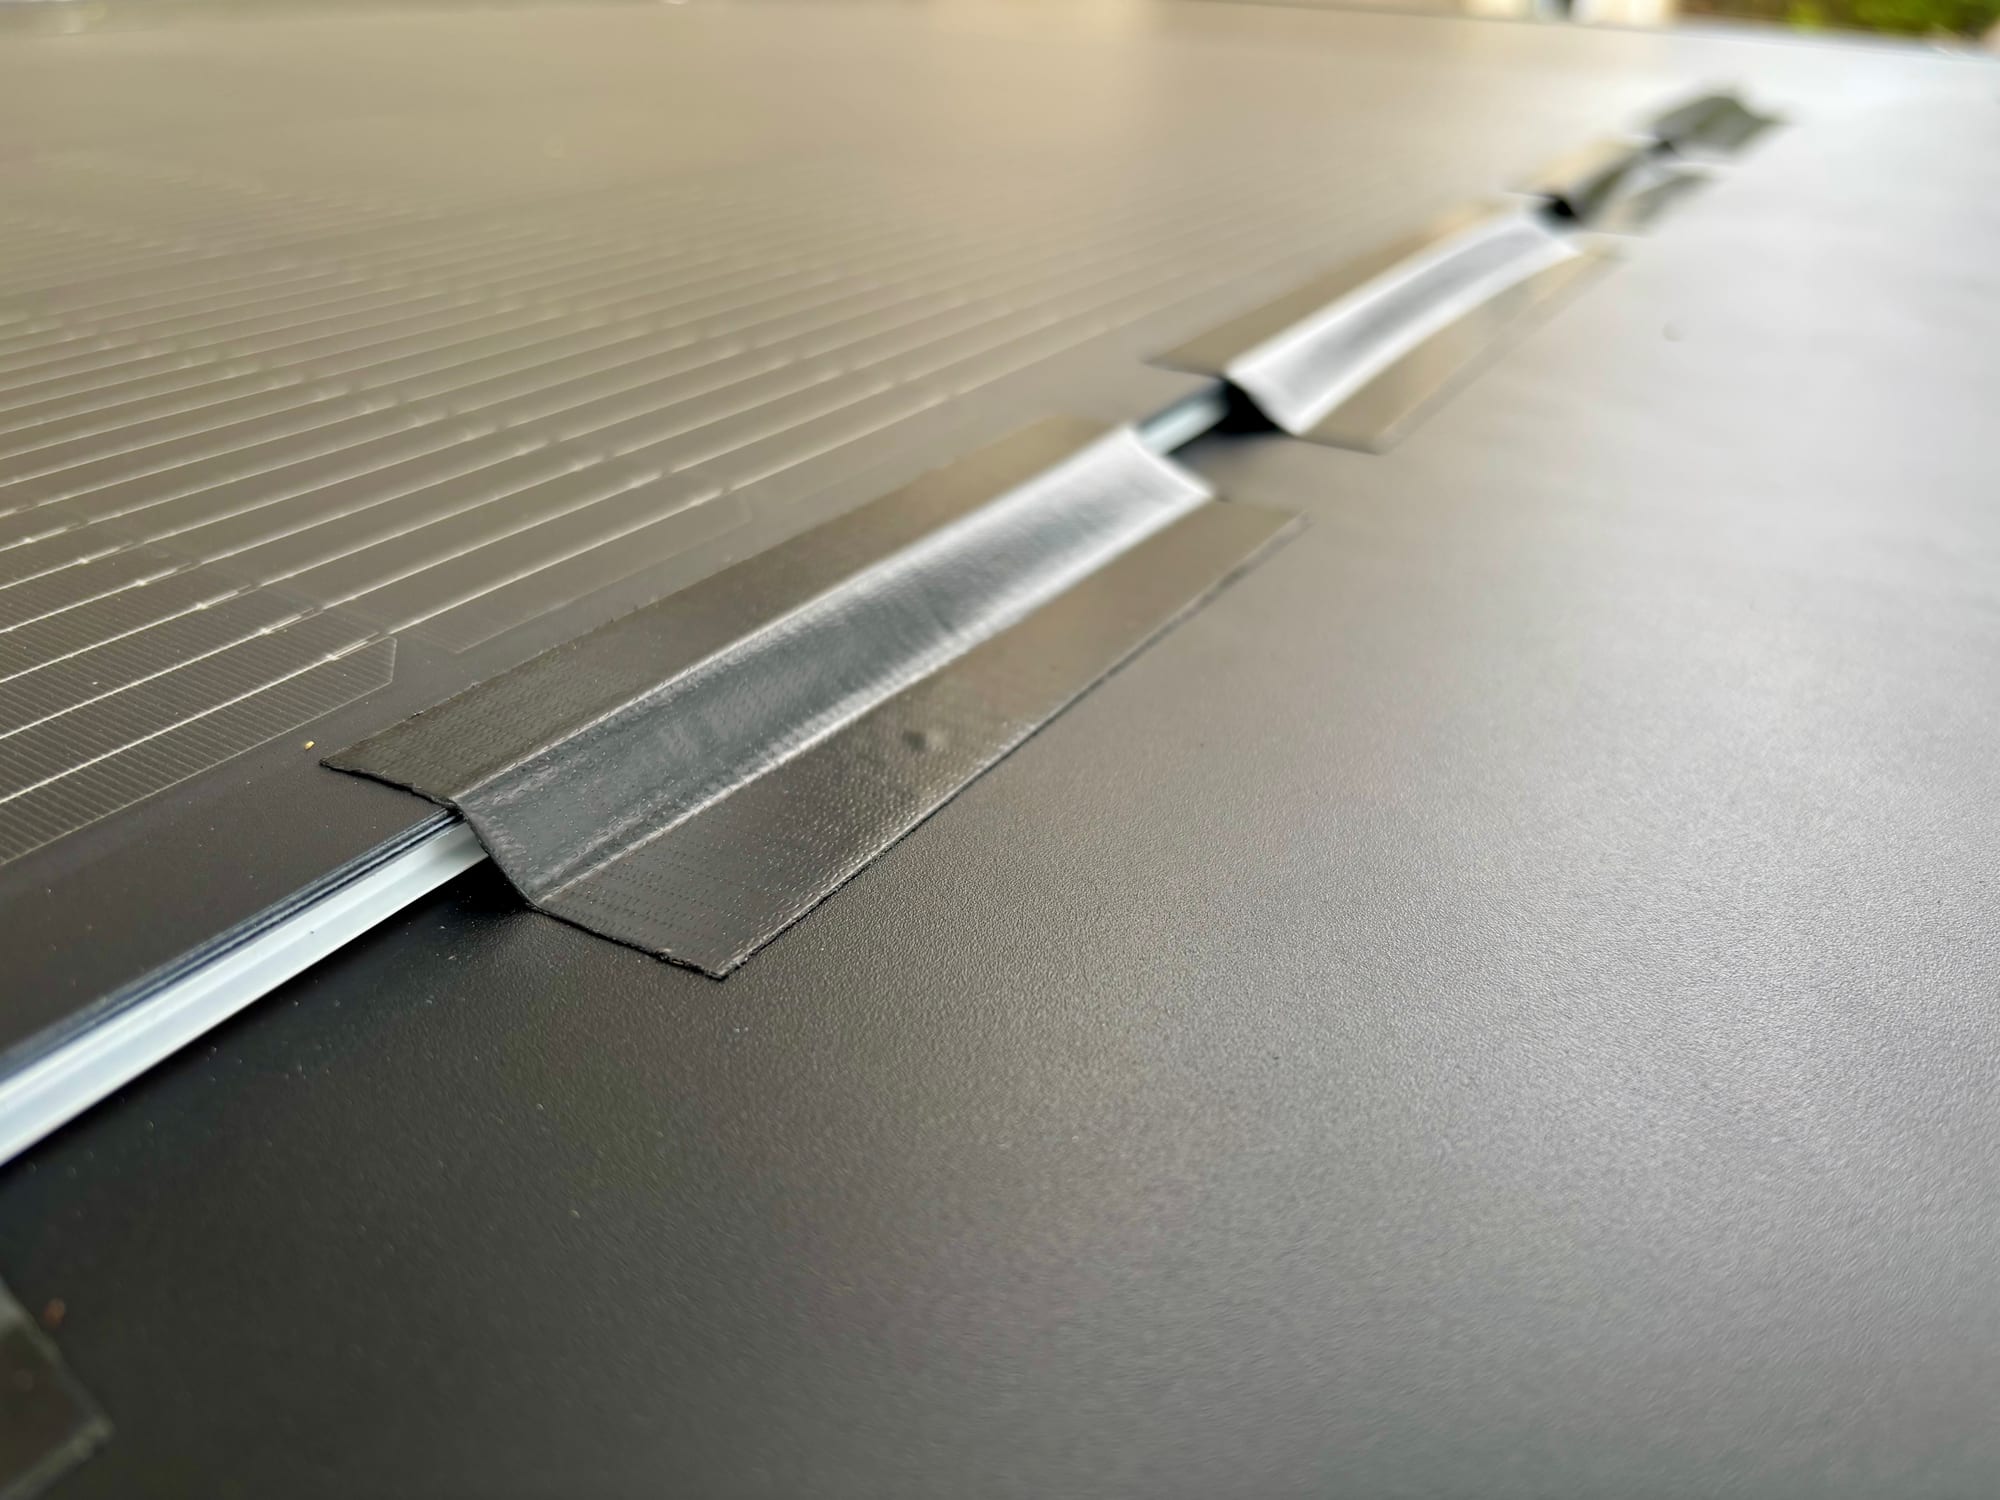
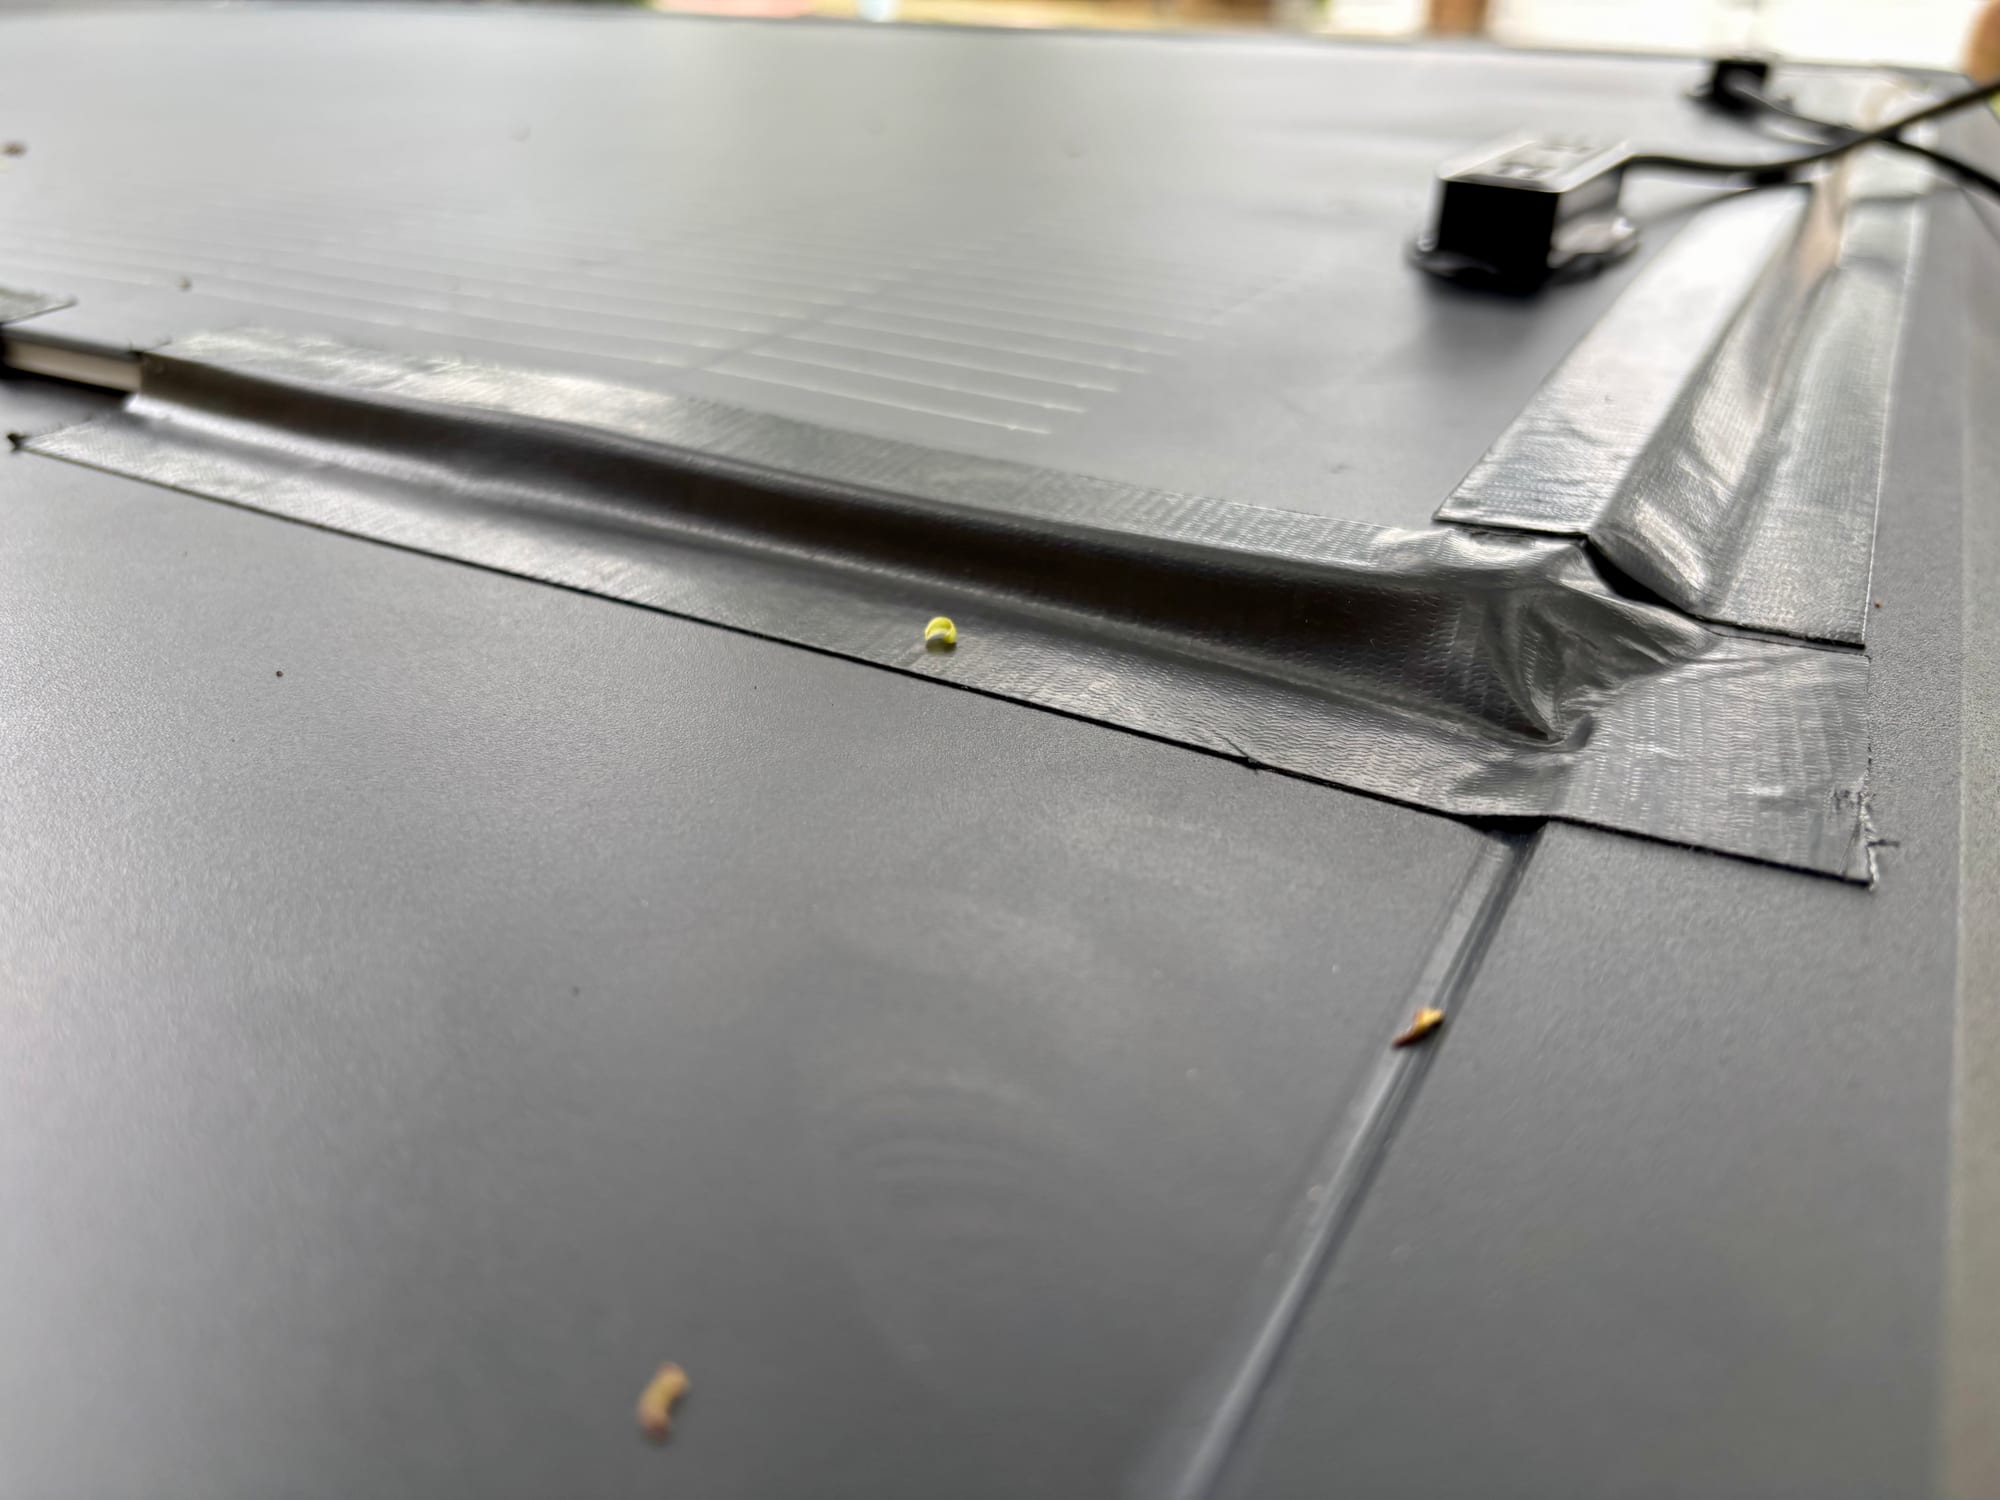
- Do keep some openings along the edges for airflow
- Do wipe the panel with a wet cloth now and then
- Do watch the sun before you park up
Don'ts
- Don’t seal the edges all the way around
- Don’t save money on the tape
The job takes a few hours, and the materials are maybe $50 all up. Here’s how we did it.
The panel we used
We used the Kings 160W semi-flexible solar panel. It’s only 3 mm thick and weighs 3.9 kg, so it adds almost no height or weight to the top of the tent. It has been on our roof for over a year, and it keeps our battery charged and the fridge running. The same method should work for other flexible panels of a similar size.
Kings 160W Semi-Flexible Solar Panel
We may earn a commission if you buy through these links.What you need
- A flexible solar panel (ours is 1200 × 780 mm)
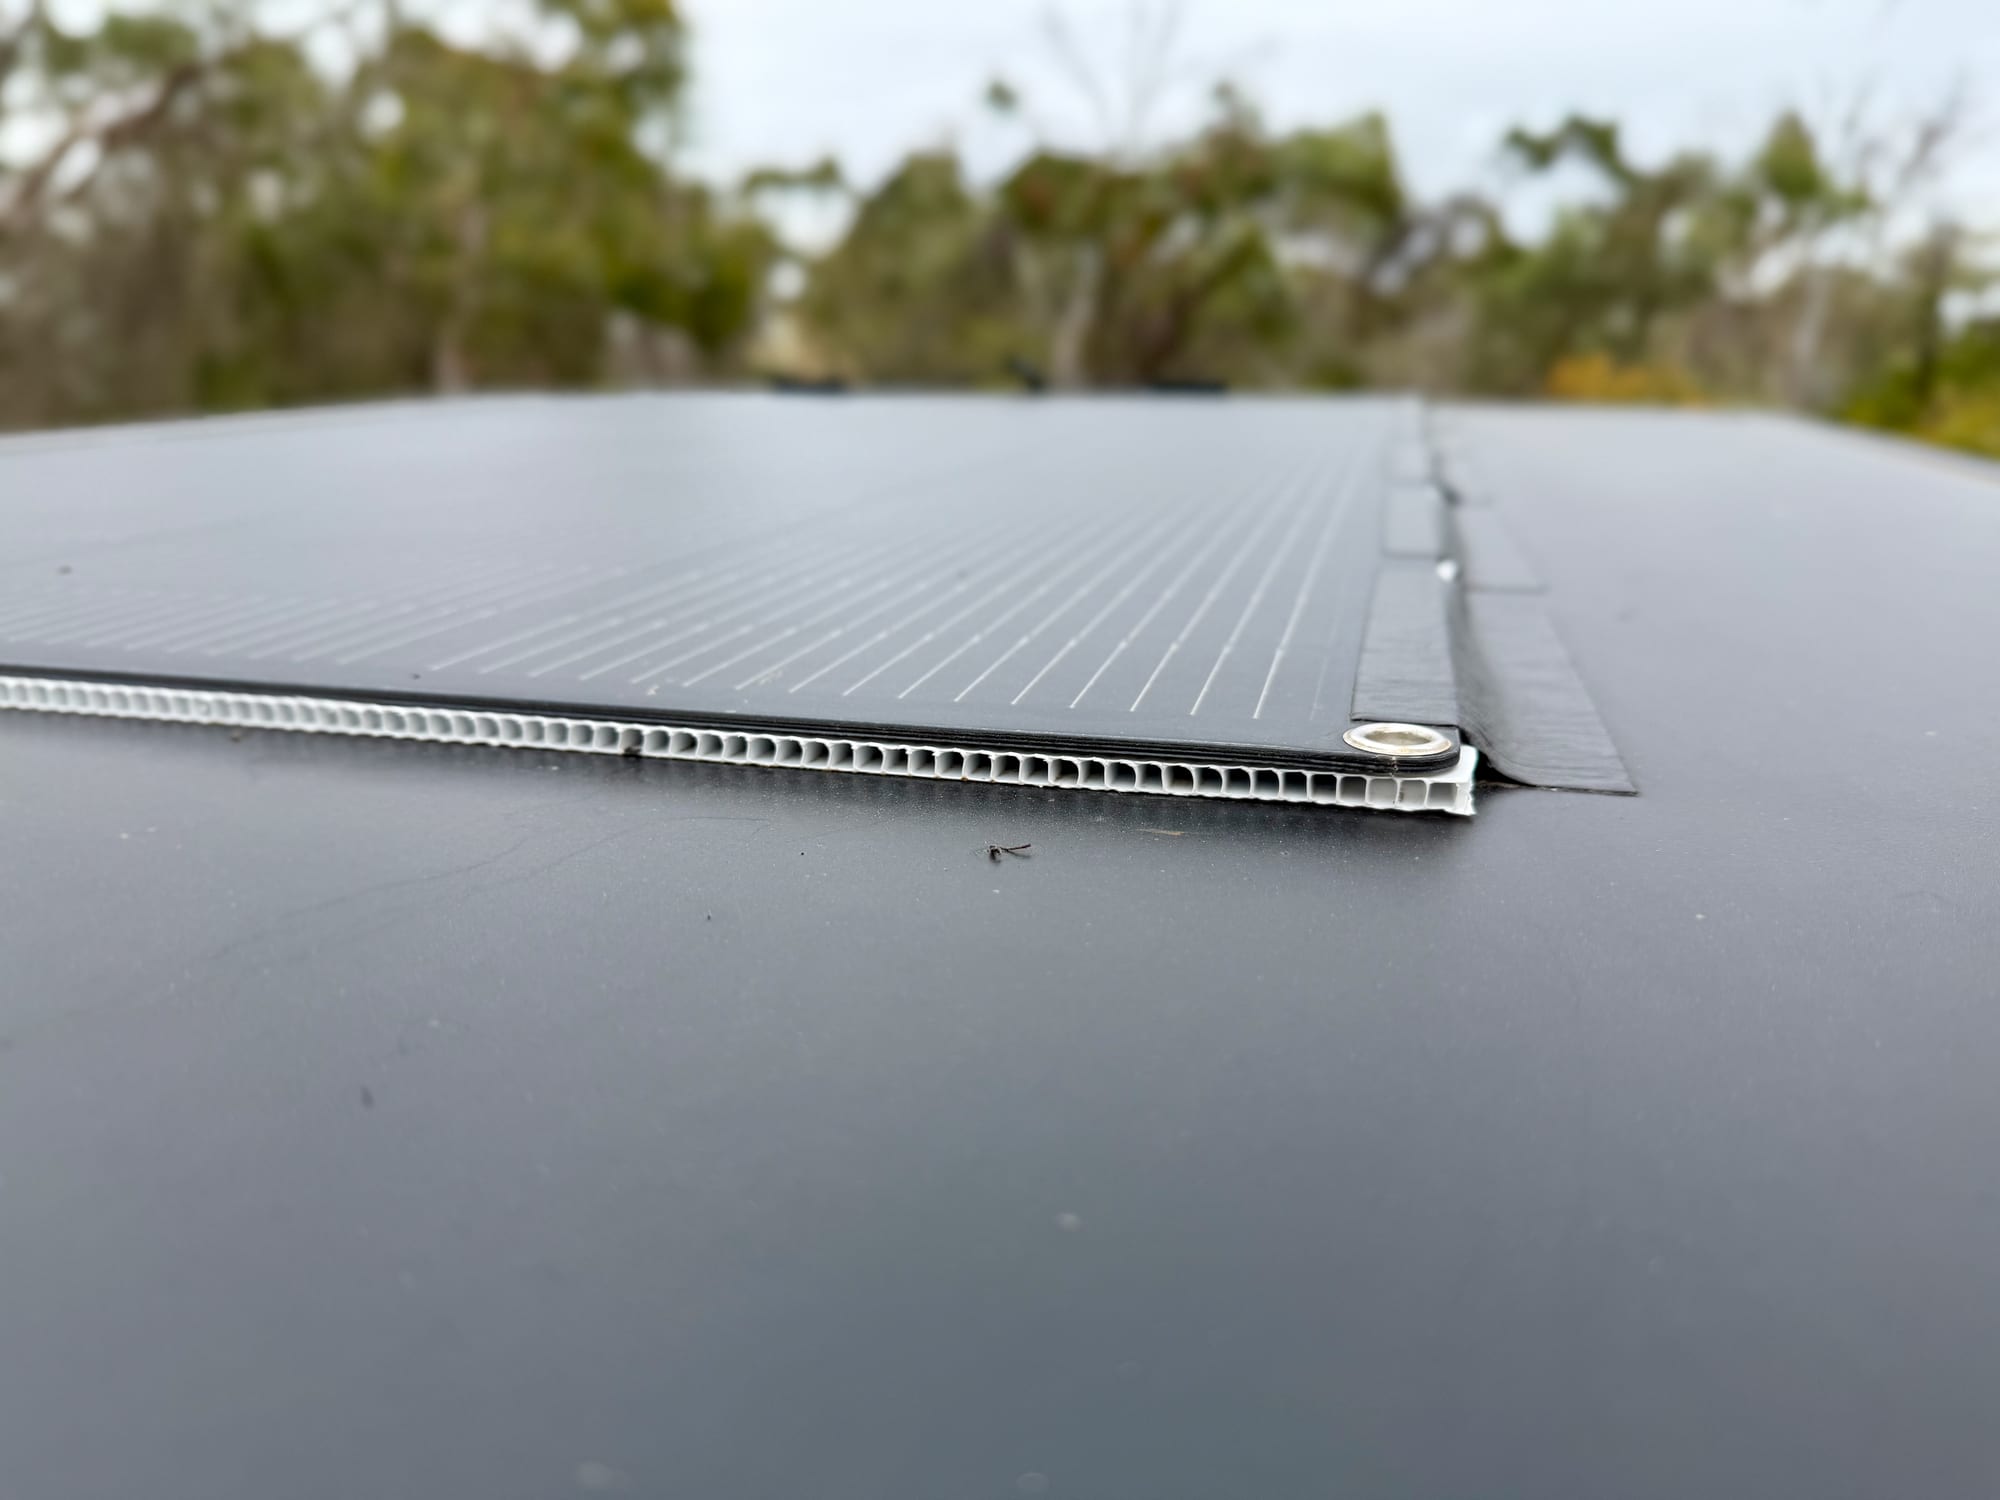
- A sheet of corflute (polypropylene flute board) at least as big as the panel
- Heavy-duty 3M double-sided tape (the one with the red backing)
- Heavy-duty outdoor tape for the edges
- A utility knife and a pencil
- An Anderson extension cable long enough to reach your battery (ours is a 6 m Kings cable)
Buy good quality tape. It’s what holds the panel on the roof, so you want it to last.
Step 1: Cut the corflute
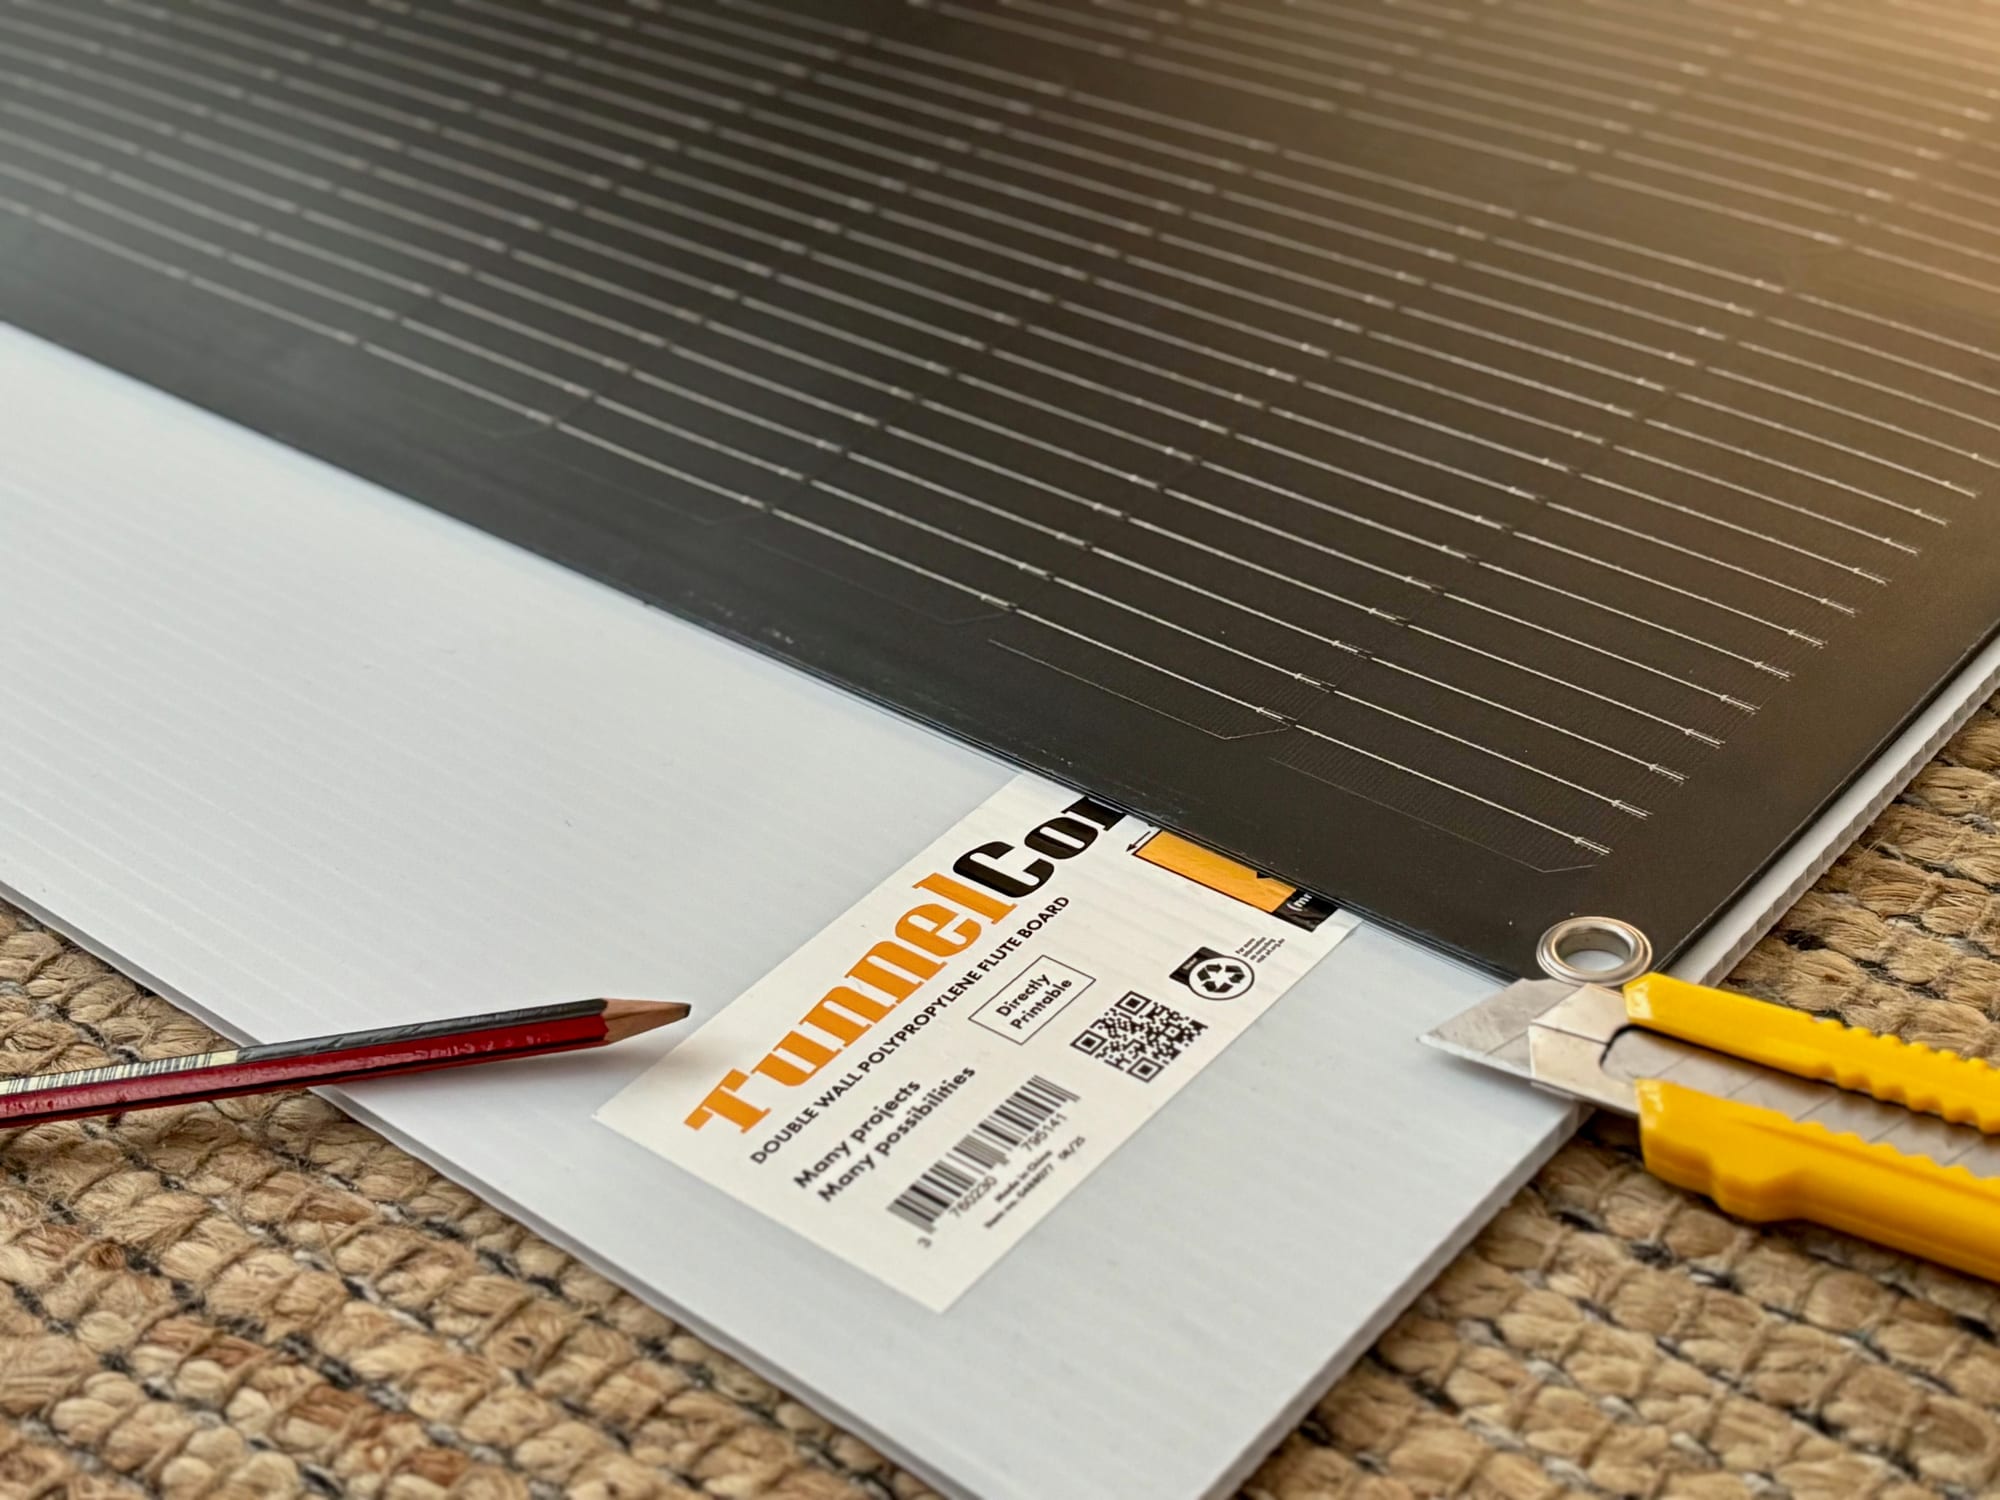
Lay the panel on the corflute, mark around it with a pencil and cut the board to size with a utility knife.
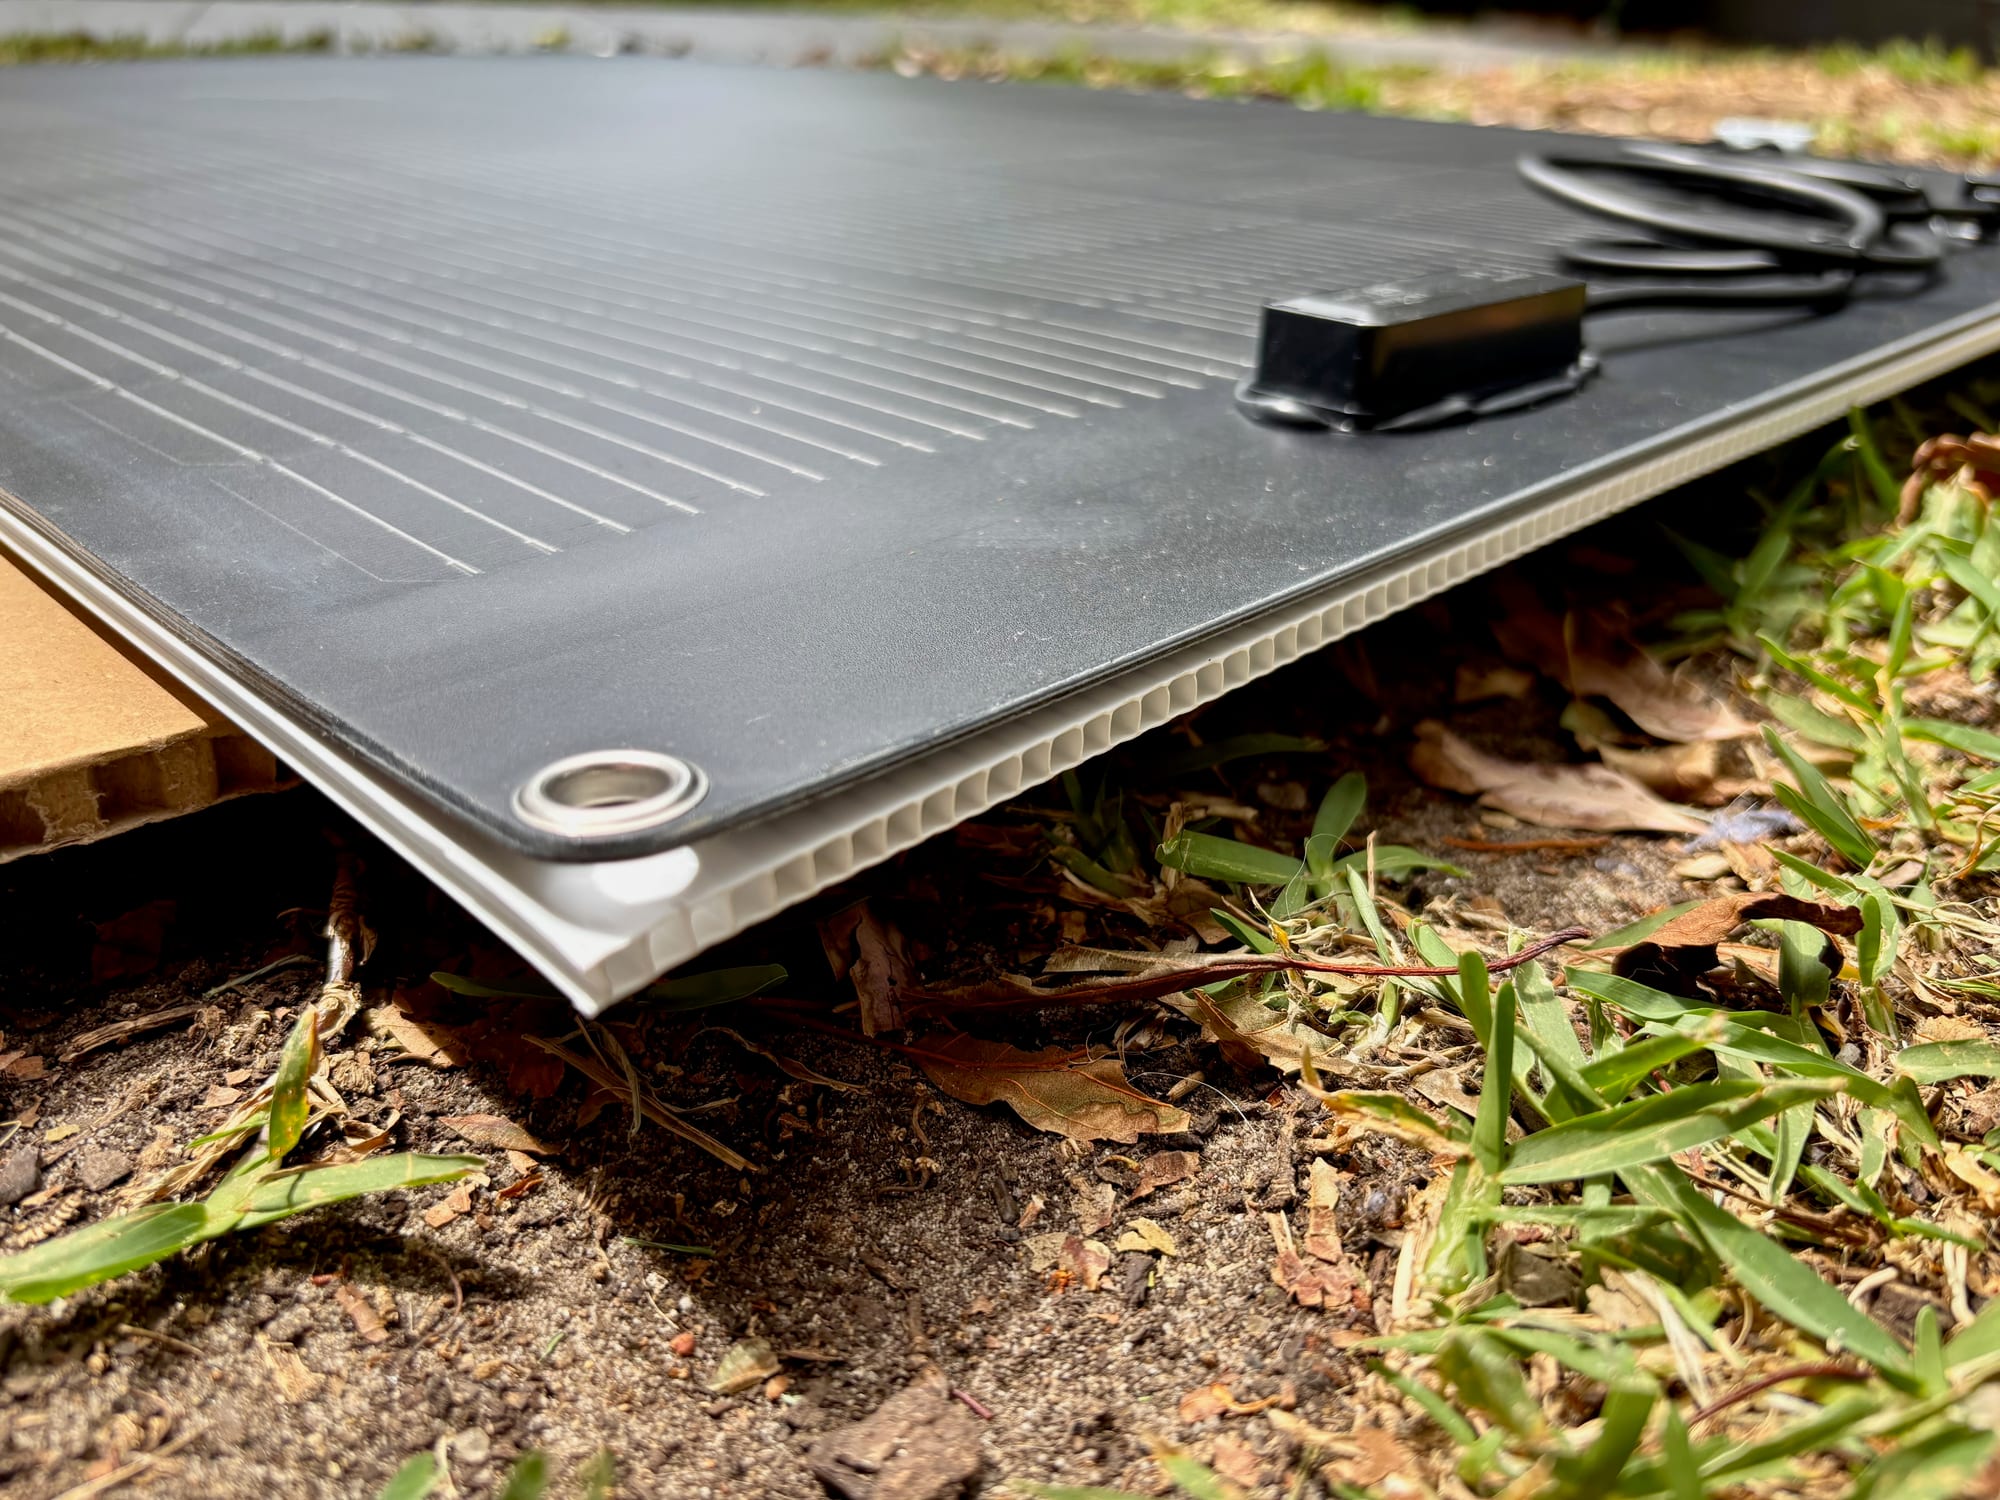
The corflute is there to leave an air gap under the panel. Solar panels get hot, and the channels in the board let that heat escape instead of sitting between the panel and the tent.
Step 2: Stick the panel on
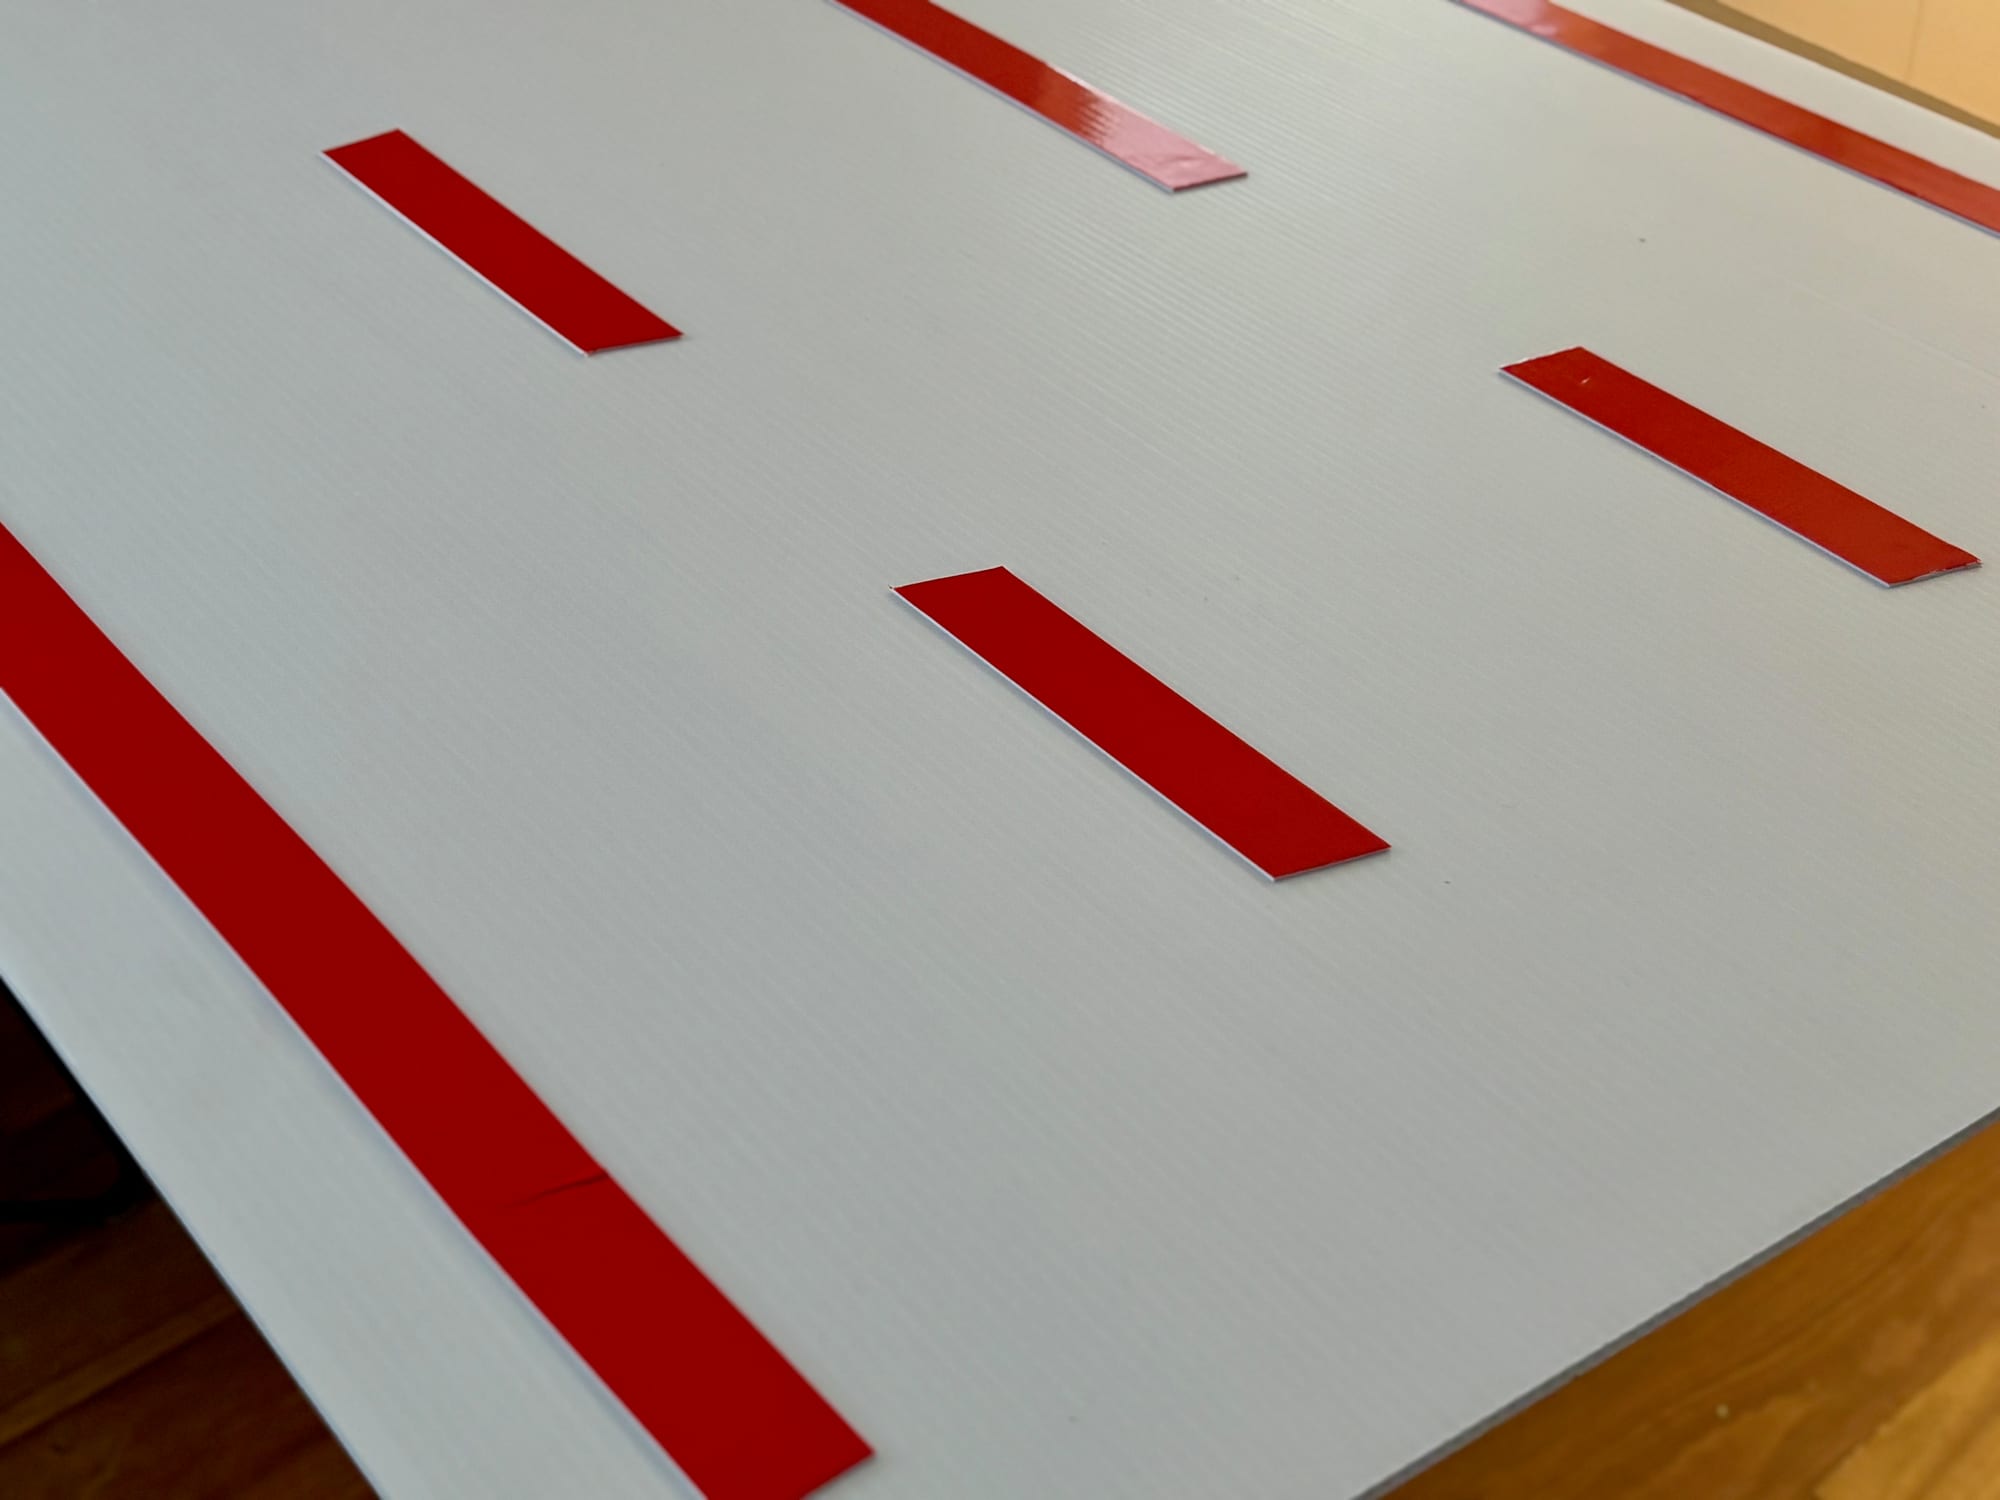
Put strips of the 3M double-sided tape on the corflute, peel off the red backing and press the panel onto the board.
Step 3: Mount it on the tent
Do the same on the underside of the corflute, then press the whole thing onto the top of the rooftop tent. Ours went onto the hard shell of the Grand Tourer Lite.
Step 4: Tape the edges
Run heavy-duty outdoor tape along the edges to keep the panel in place. Don’t seal it all the way around: keep some openings, so air can flow through underneath.
Step 5: Run the cable
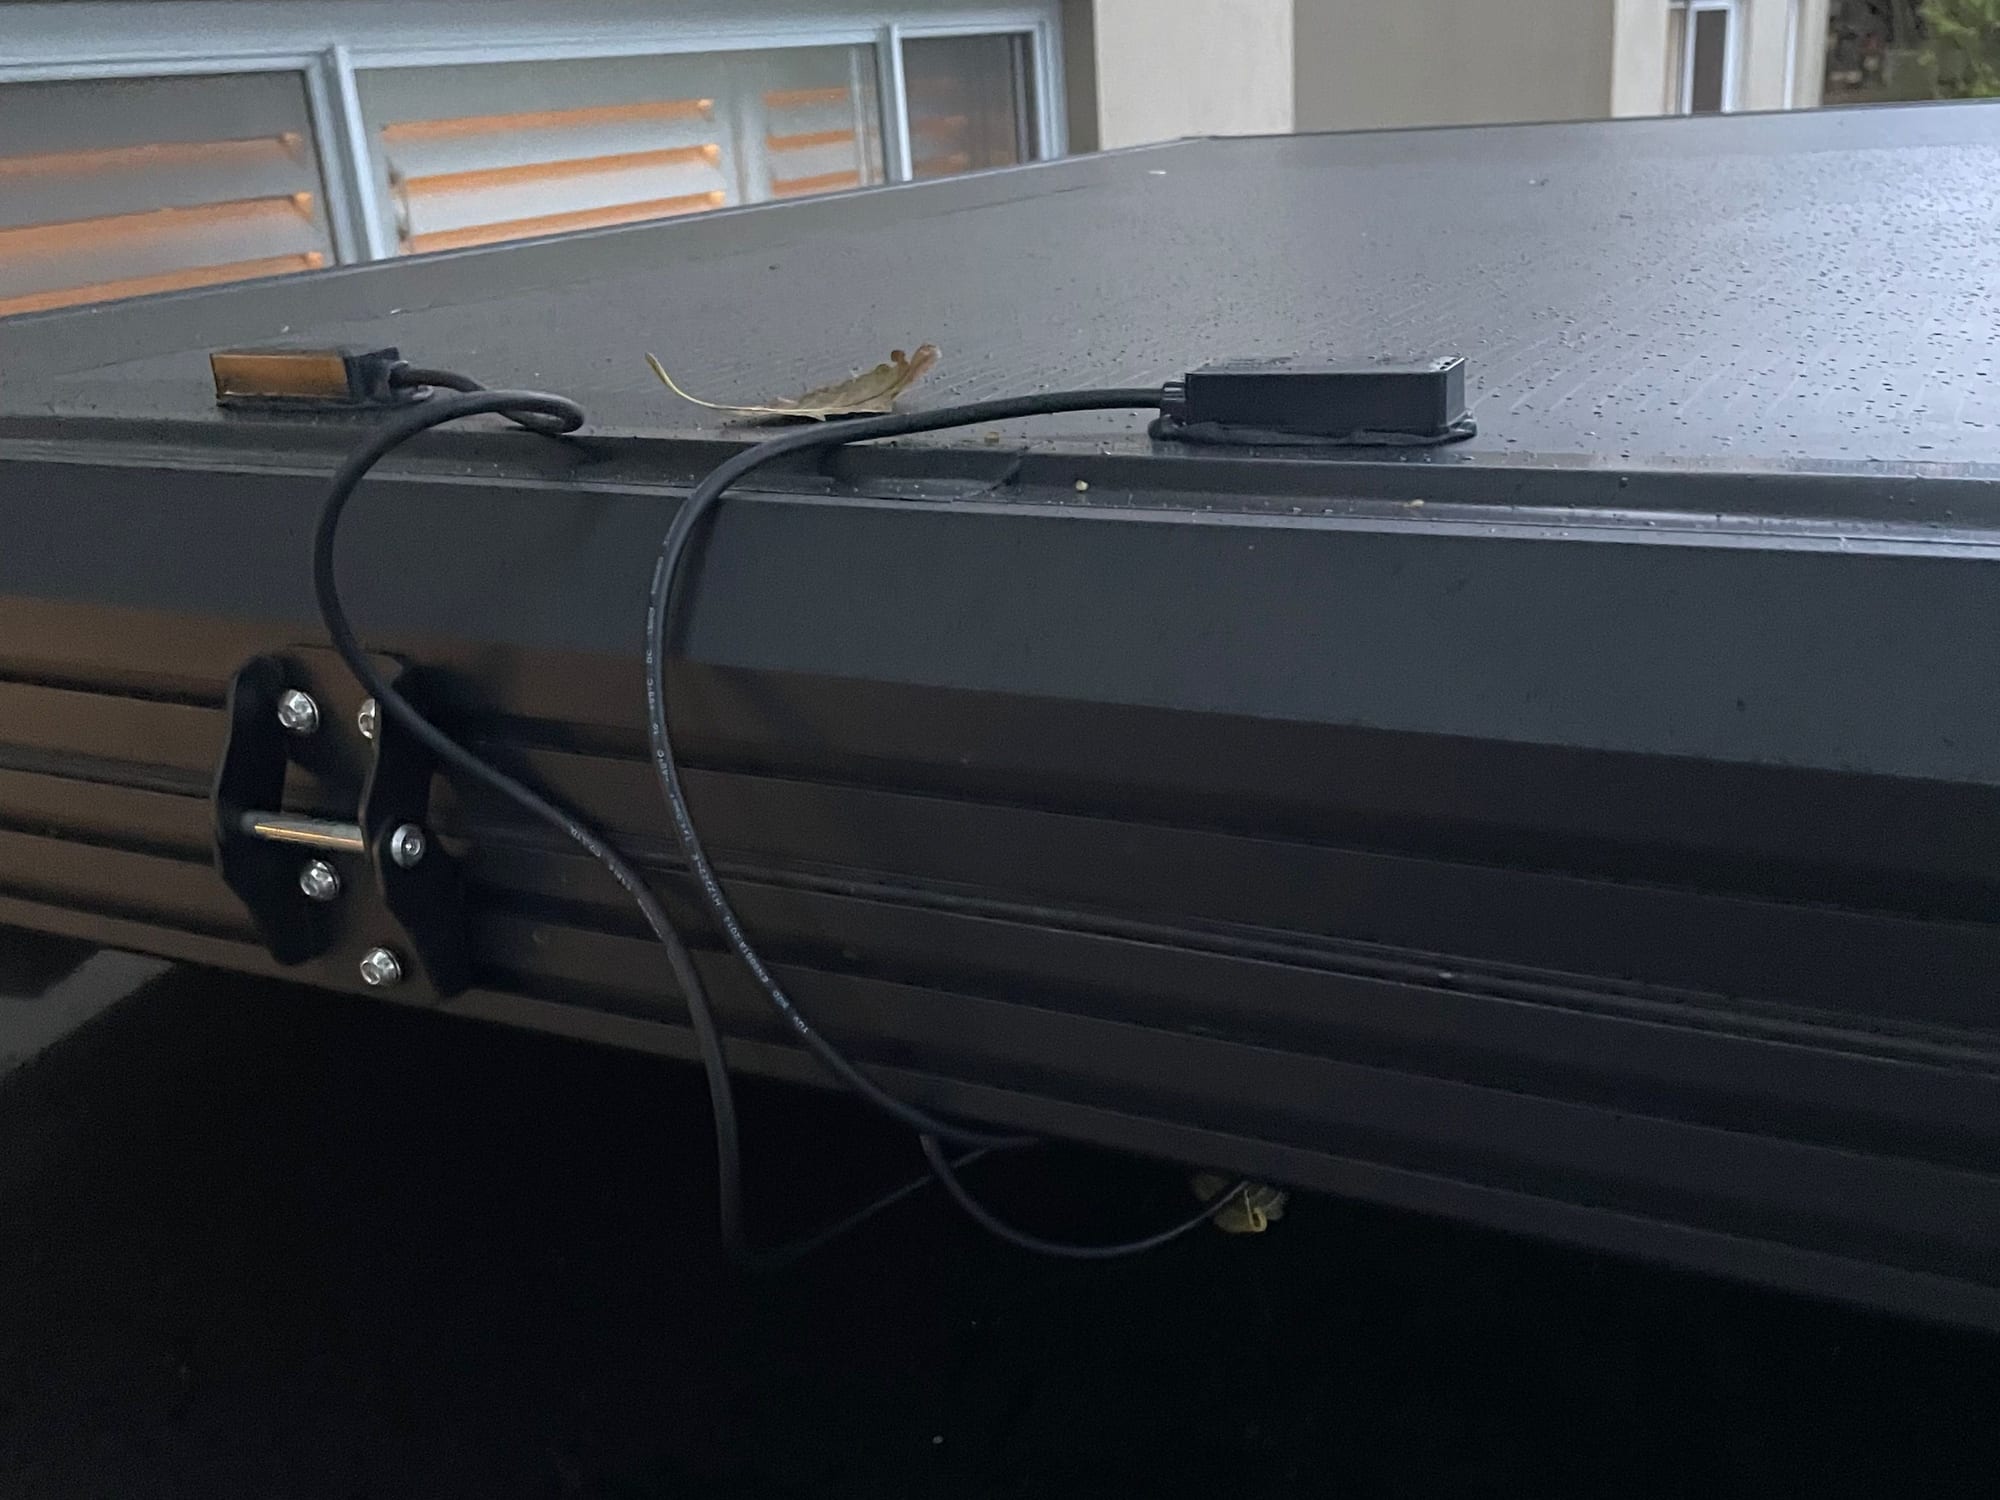
We used a 6 m Kings Anderson extension cable. It runs from the front of the rooftop tent, underneath it, back to the rear door of the car. There the cable comes inside and plugs into our Kings BatBlock25 battery box.
How it has held up
The panel has been on the rooftop tent for over a year. In that time nothing has come loose, through high-speed driving on the motorway, always being parked outside and a trip through the NSW outback in high temperatures. It keeps our battery fully charged and runs our fridge: the details are in our Kings 160W semi-flexible solar panel review.
Looking after it
Have a look at the panel now and then, and wipe off any dirt with a wet cloth. A clean panel performs best.
One more tip, and it speaks for itself: before you park up at a campground, watch the sun and where it will move. Once the rooftop tent is open, the panel sits at an angle, so park in a way that points it towards the sun.