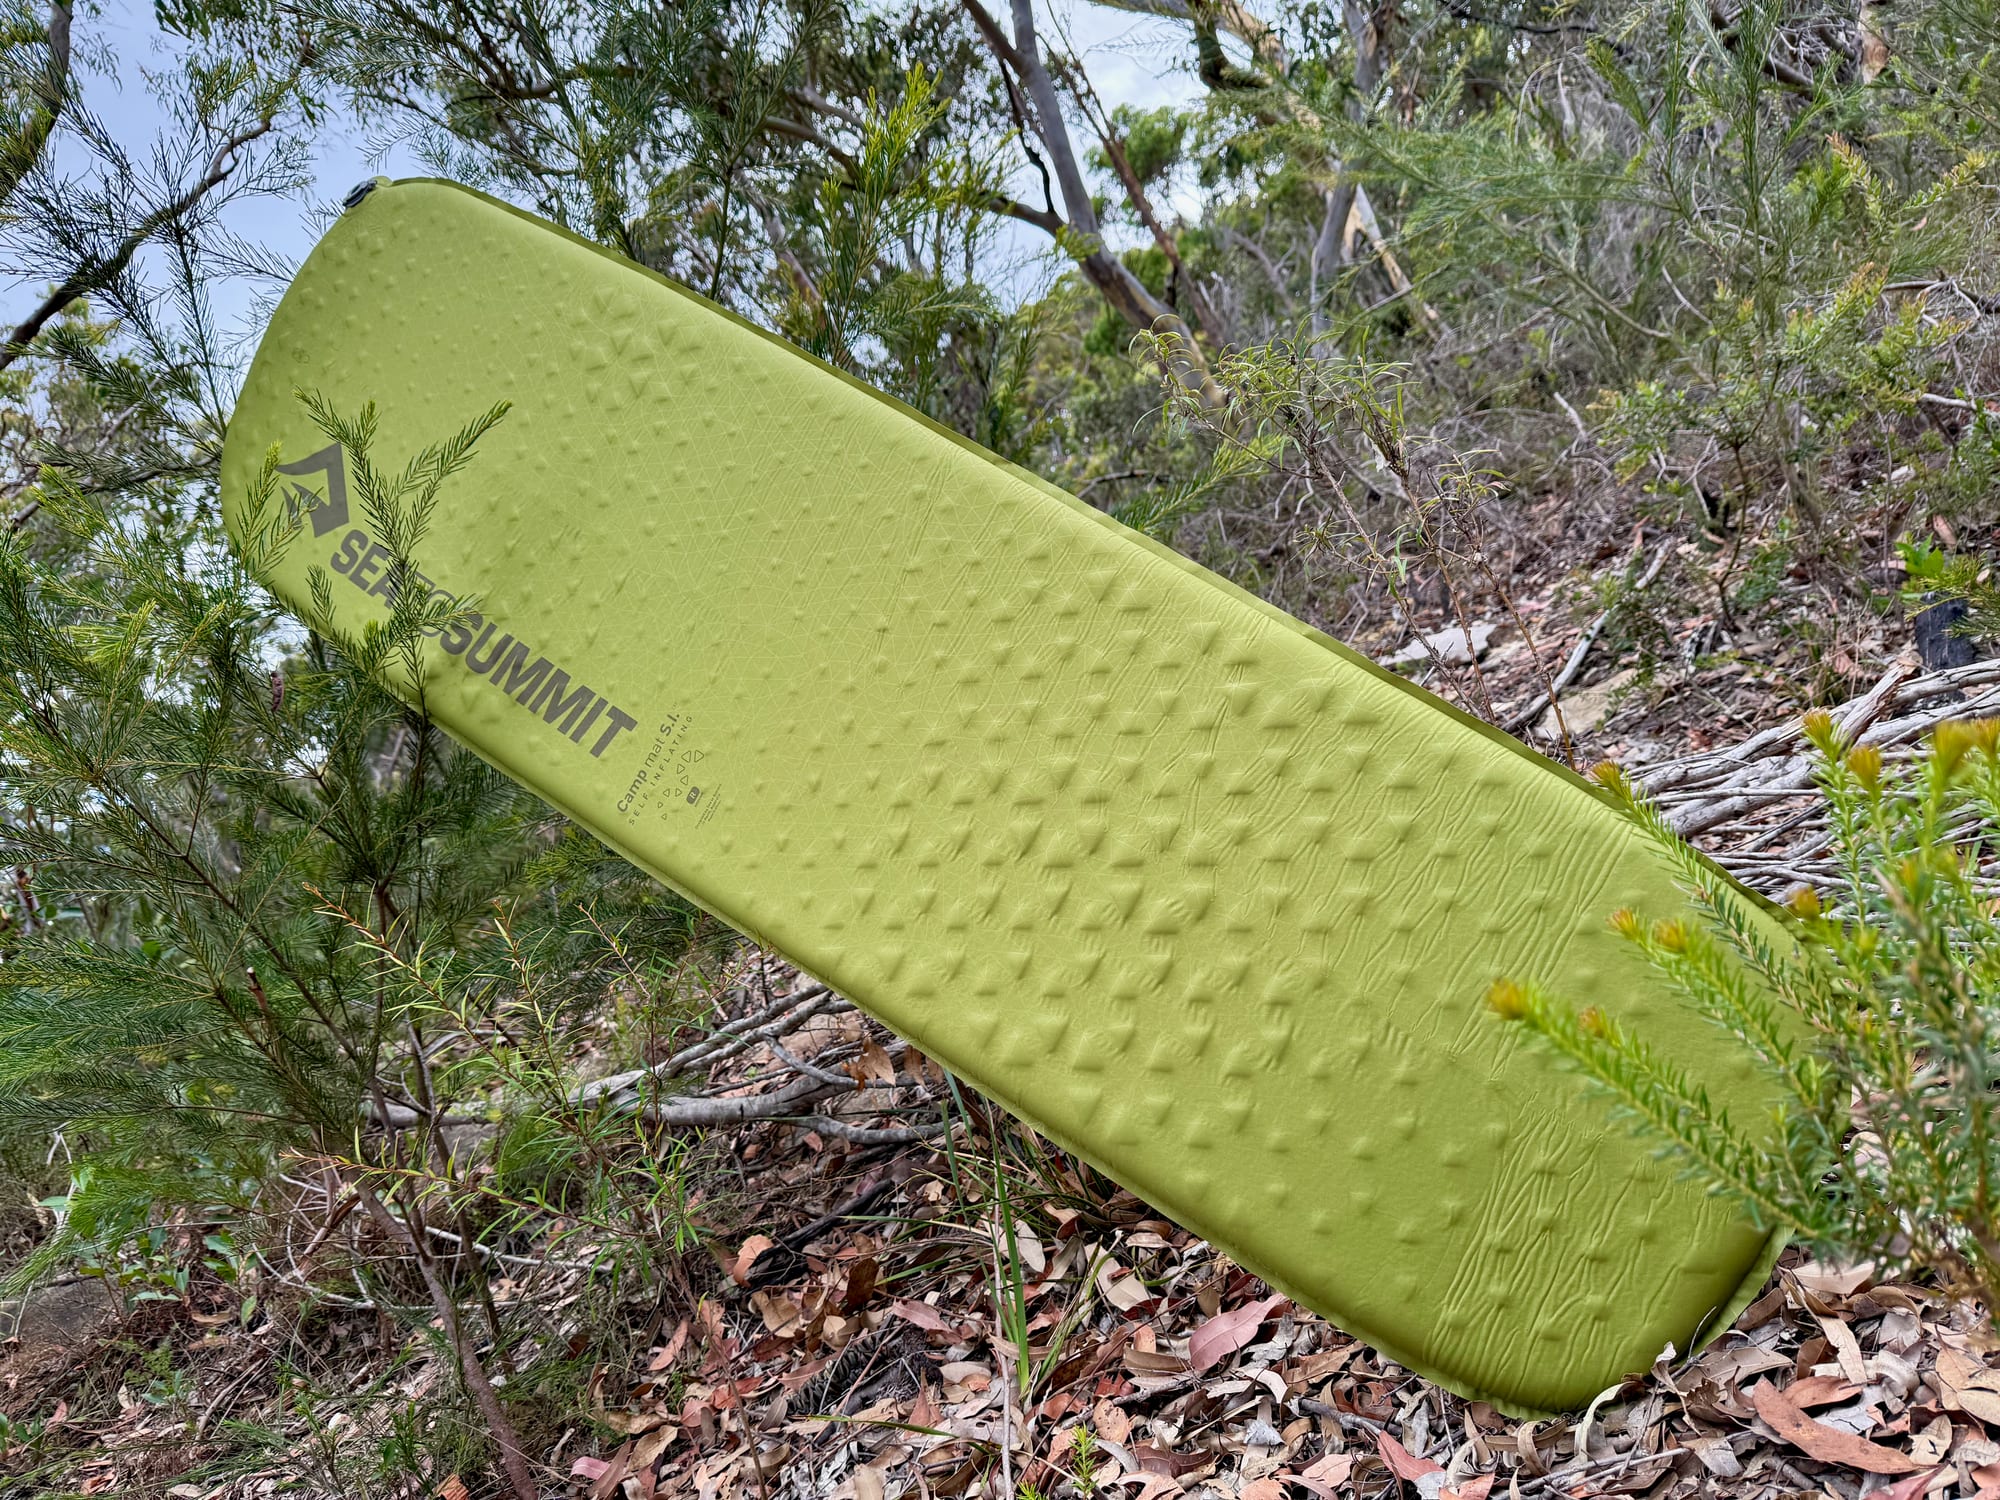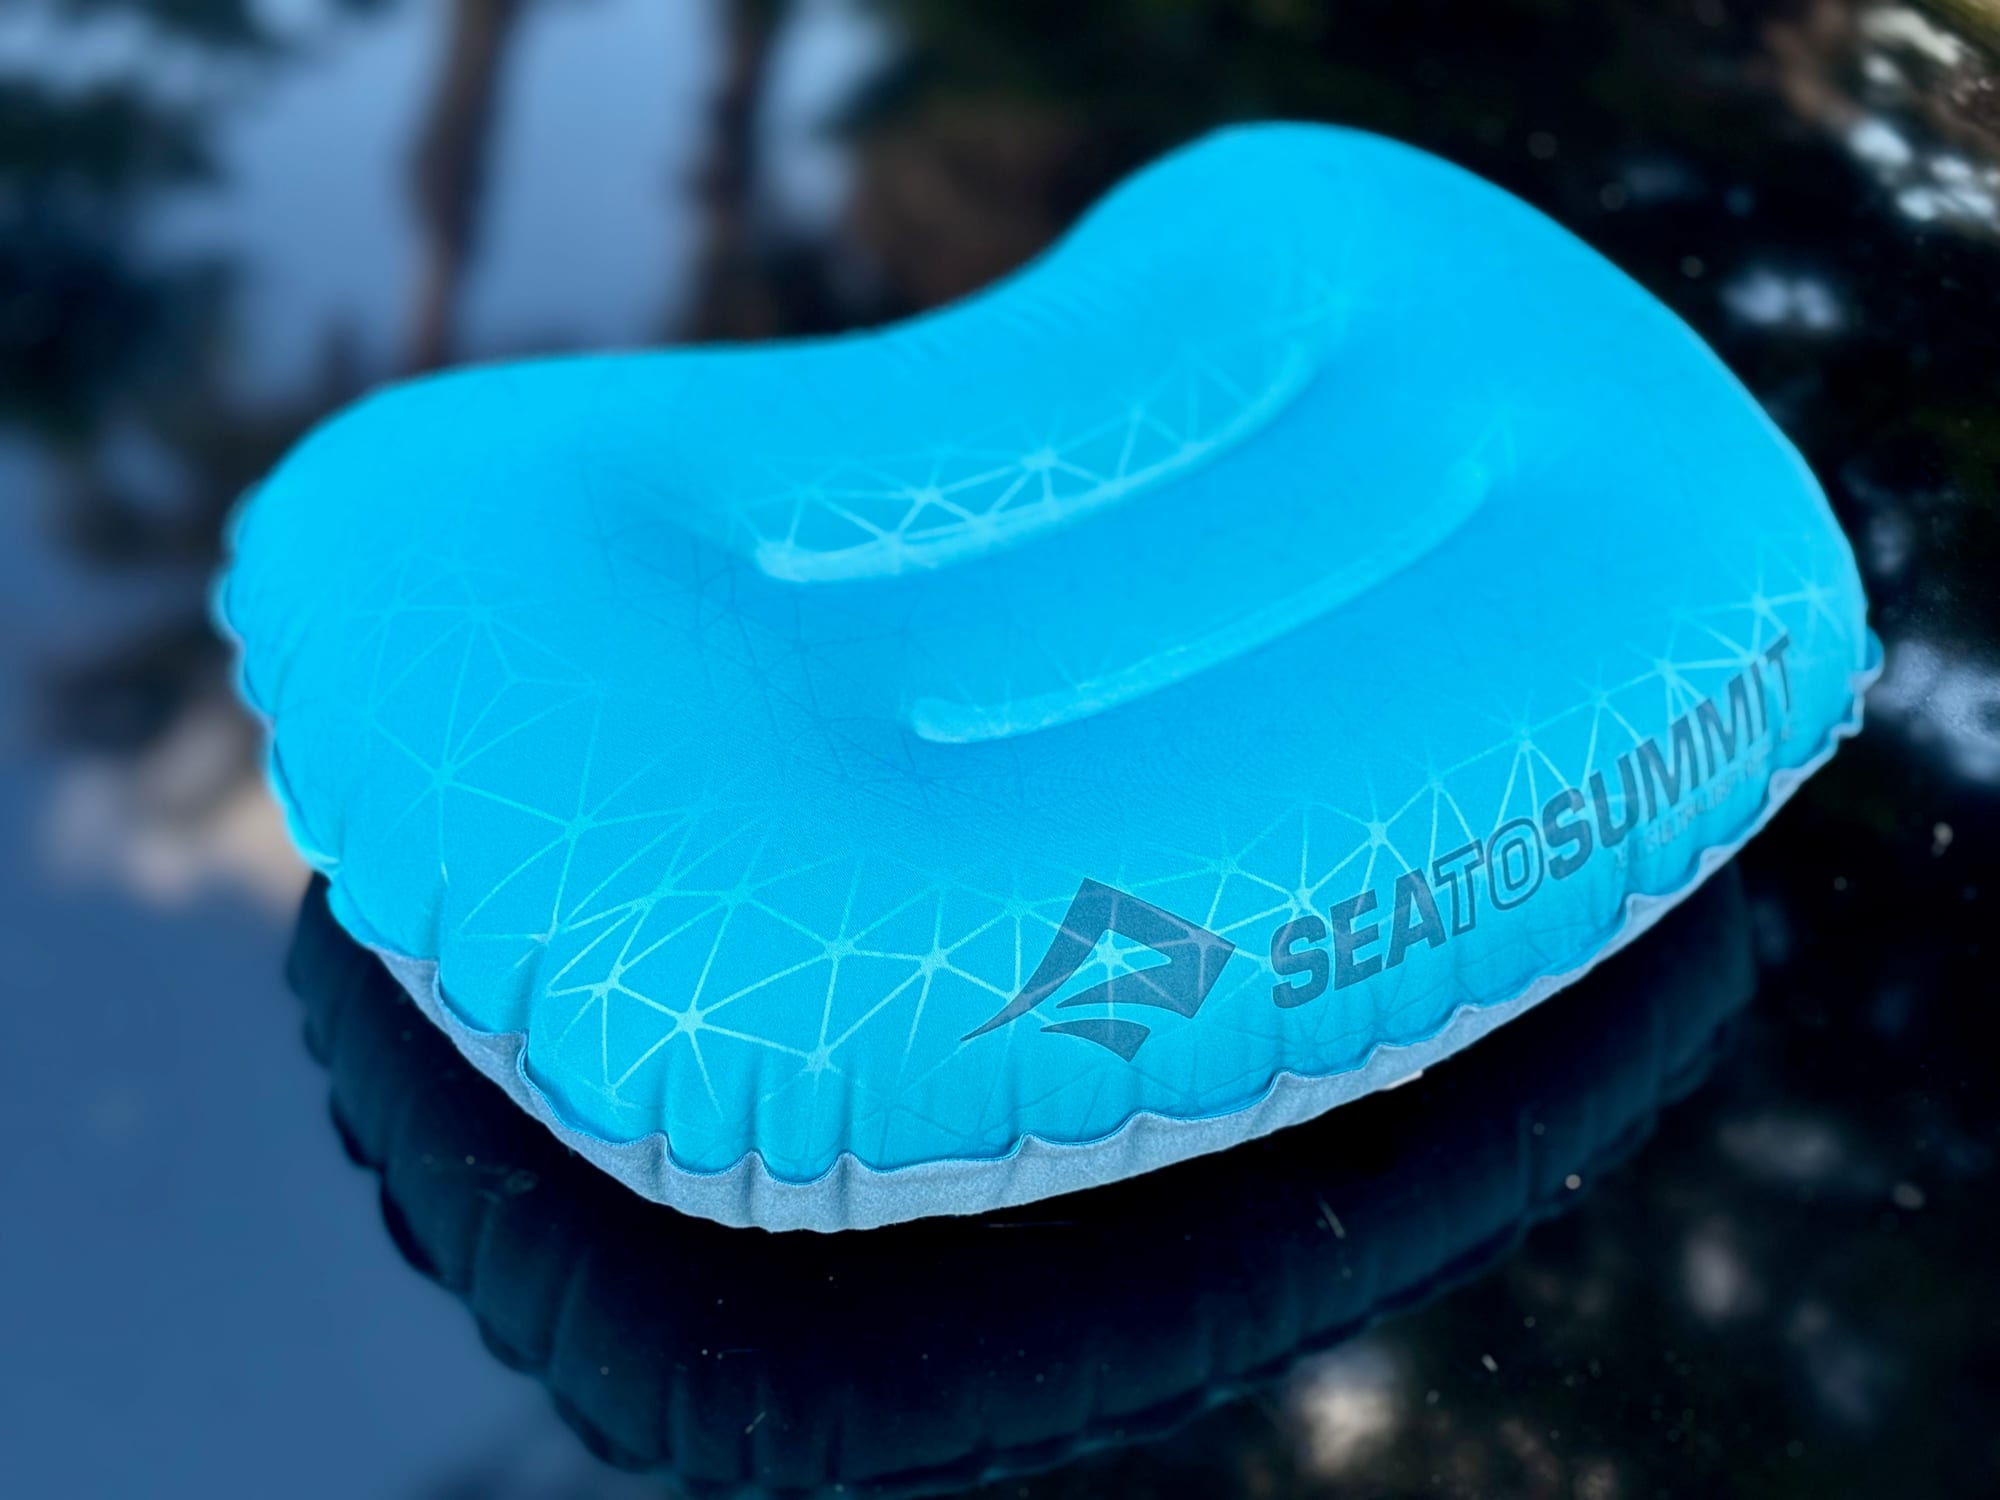
Anyone who has slept on a camping mat knows the drill: you get comfortable, drift off, and wake up with the pillow somewhere near your knees. Sea to Summit fixed it with something very simple, the Pillow Lock system. Four curved patches on the mat grip the base of the pillow, so it stays where you put it when you roll over.
We fitted the patches to our Sea to Summit Camp Mat SI and photographed every step, from the instruction sheet to the pillow locked in place. This guide shows where the patches go, how to stick them down so they hold, and which pillows and mats work with it.
Pillow Lock at a glance
- 4 patches on the printed outlines, one ring per pillow
- 30 minutes before you inflate the mat
- Press and twist the pillow to lock it
- Comes with Sea to Summit mats, not pillows
What is the Sea to Summit Pillow Lock?What is Pillow Lock?
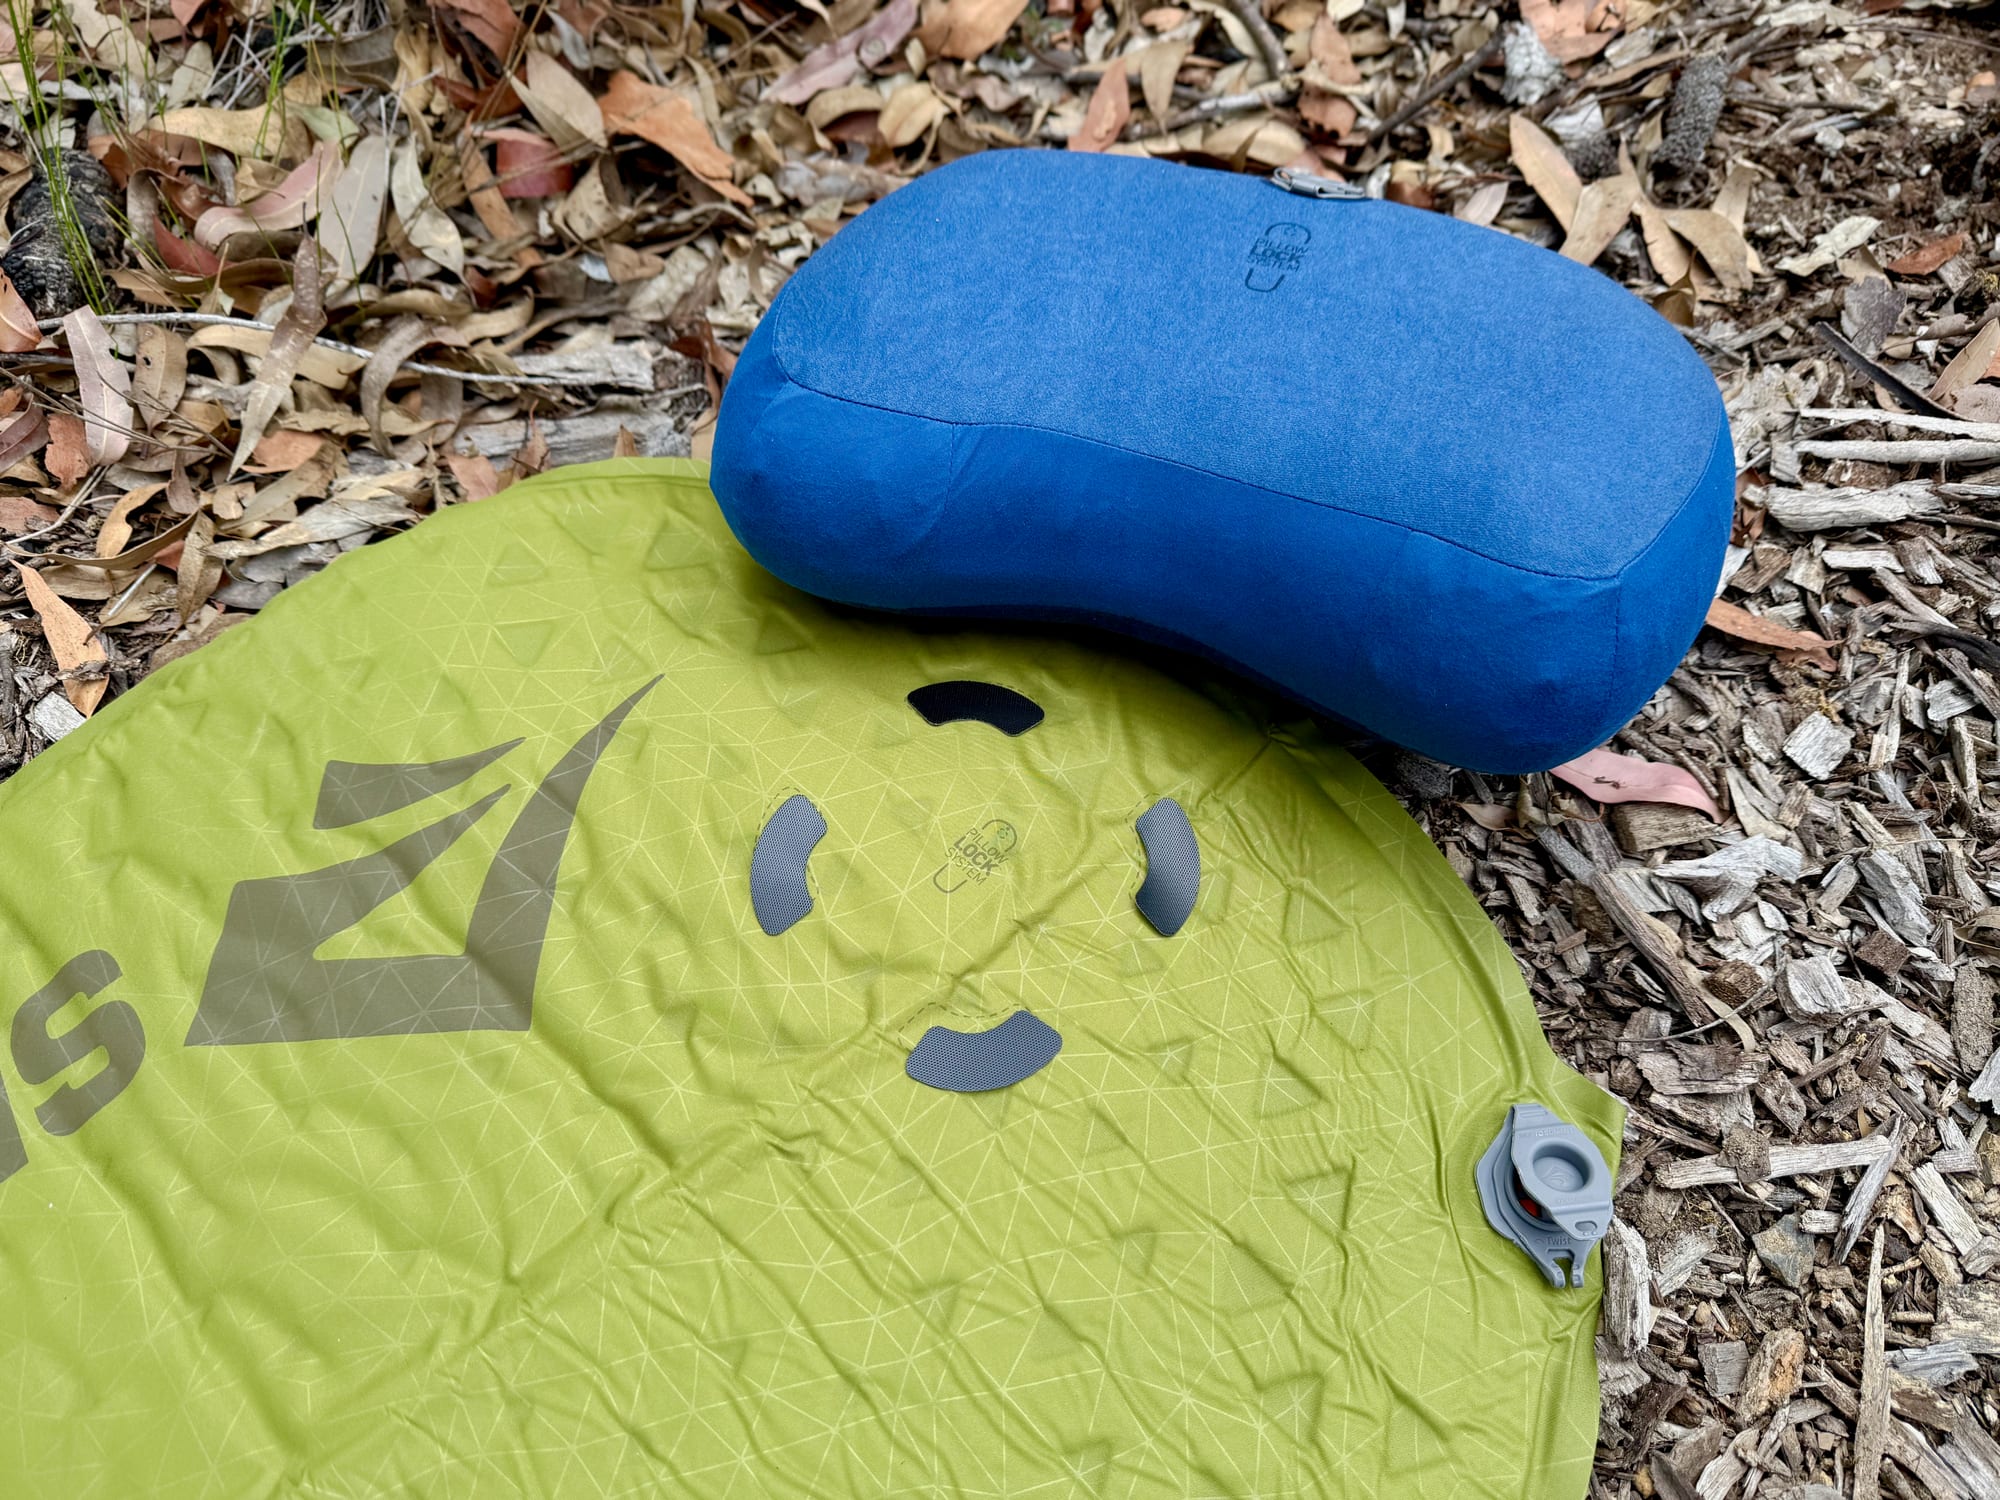
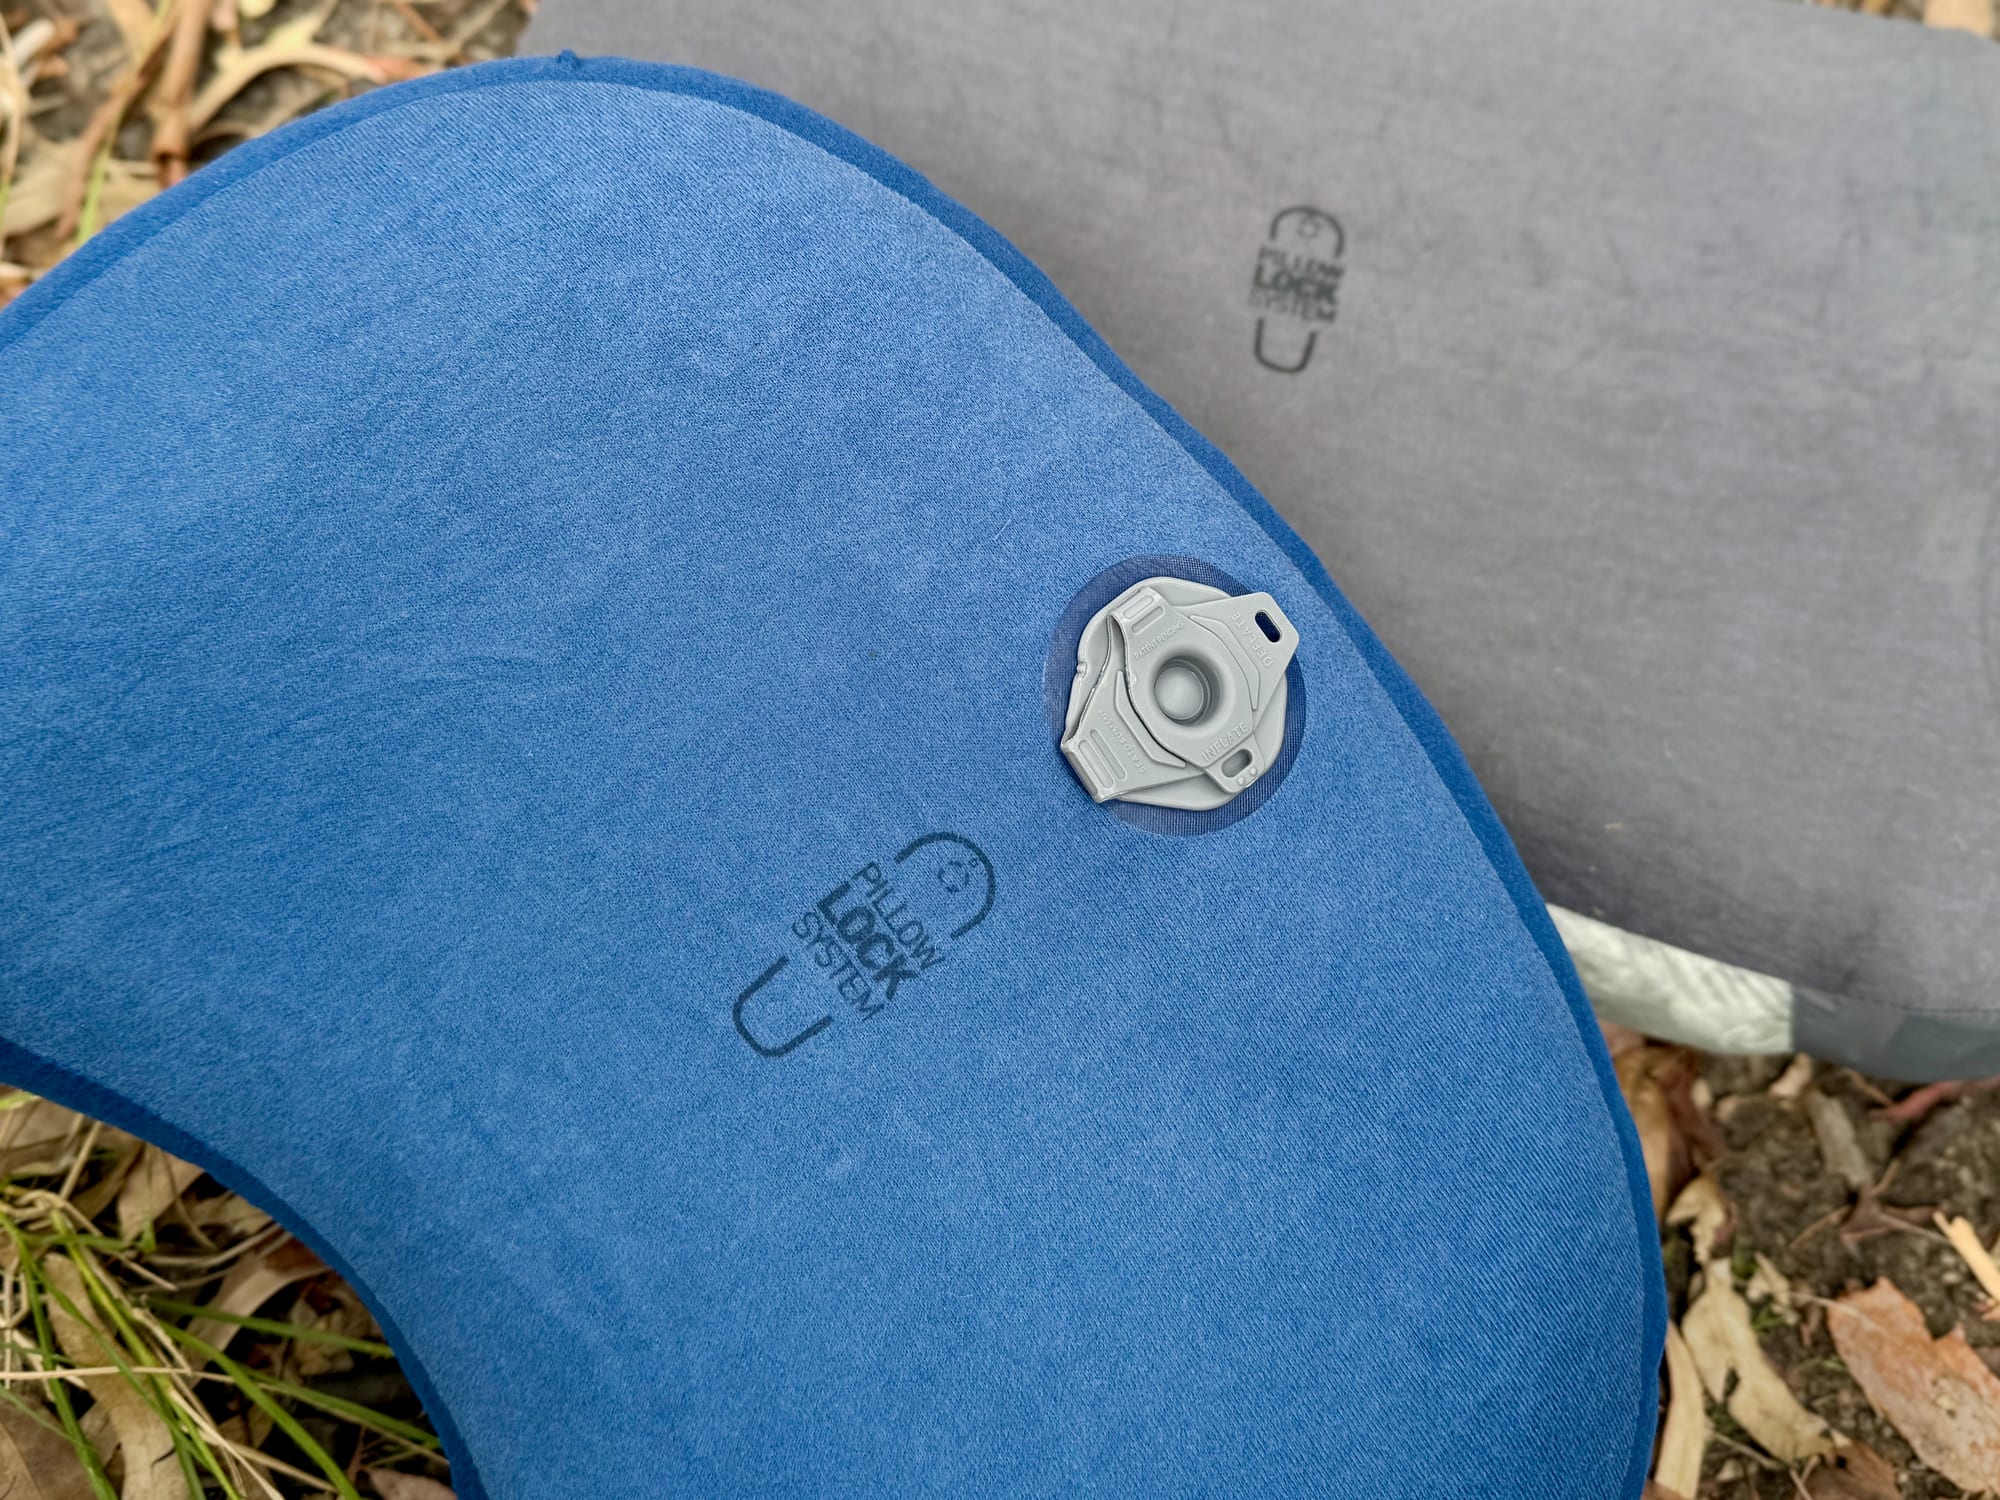
Pillow Lock is a hook-and-loop connection between a Sea to Summit pillow and a sleeping mat. It has two halves. The mat half is a ring of four curved, textured patches that you stick on yourself. The pillow half is built into the base of the pillow, next to the valve, and is marked with the Pillow Lock logo.
Press the pillow onto the ring with a small twist and the two halves grab each other. The pillow can still squash and move with your head, but it can’t slide off the end of the mat or drift onto the tent floor.
What you need
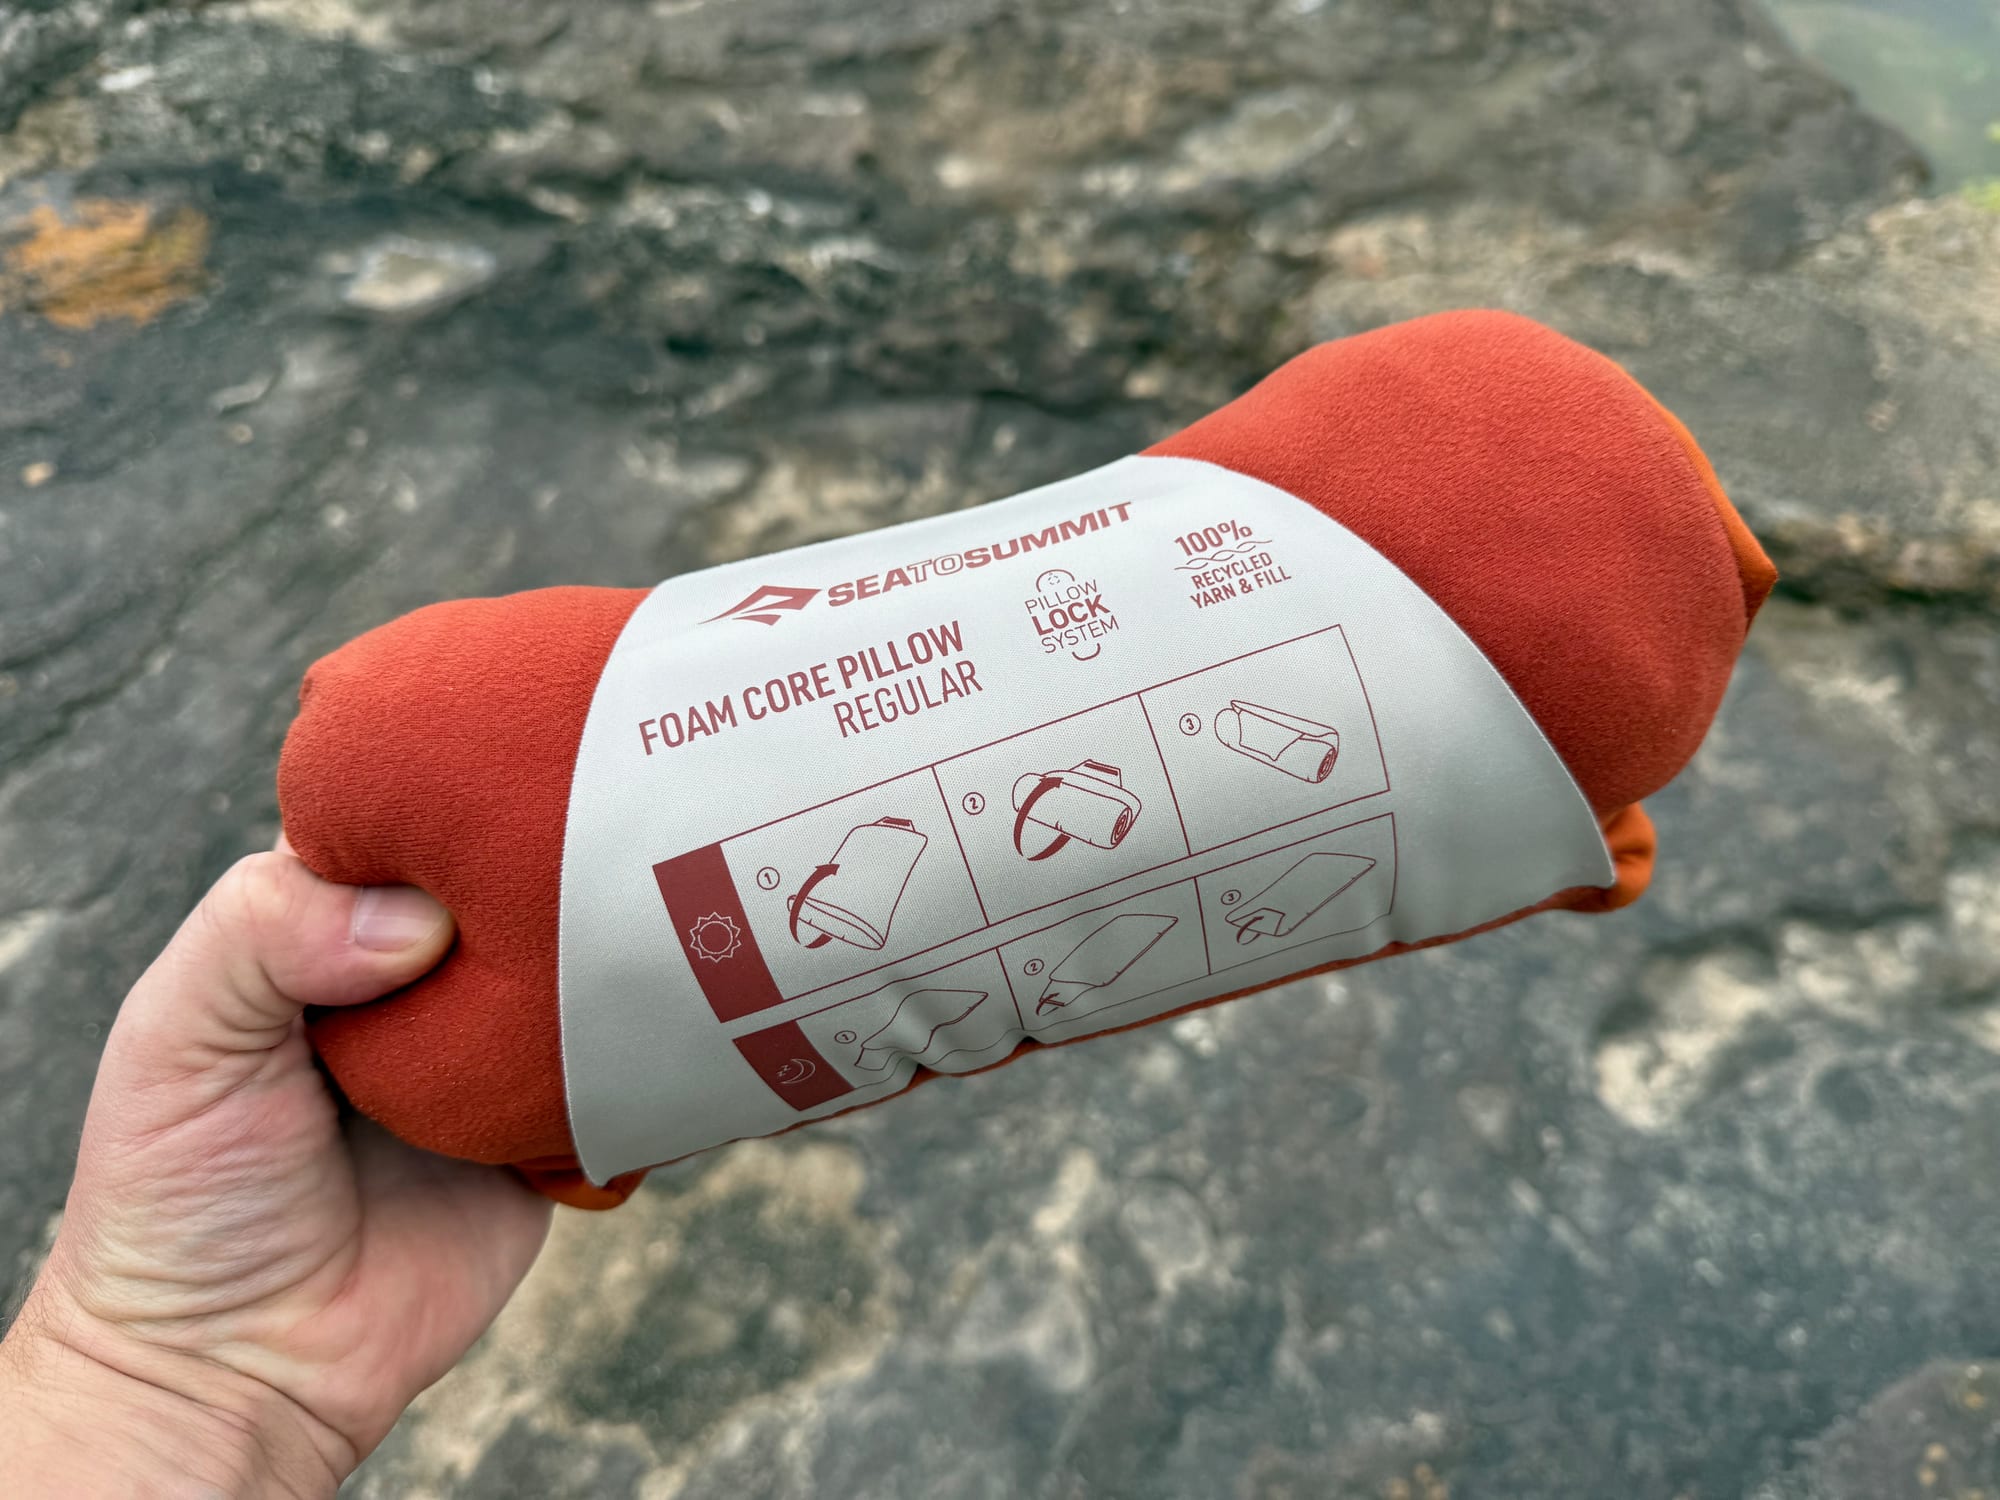
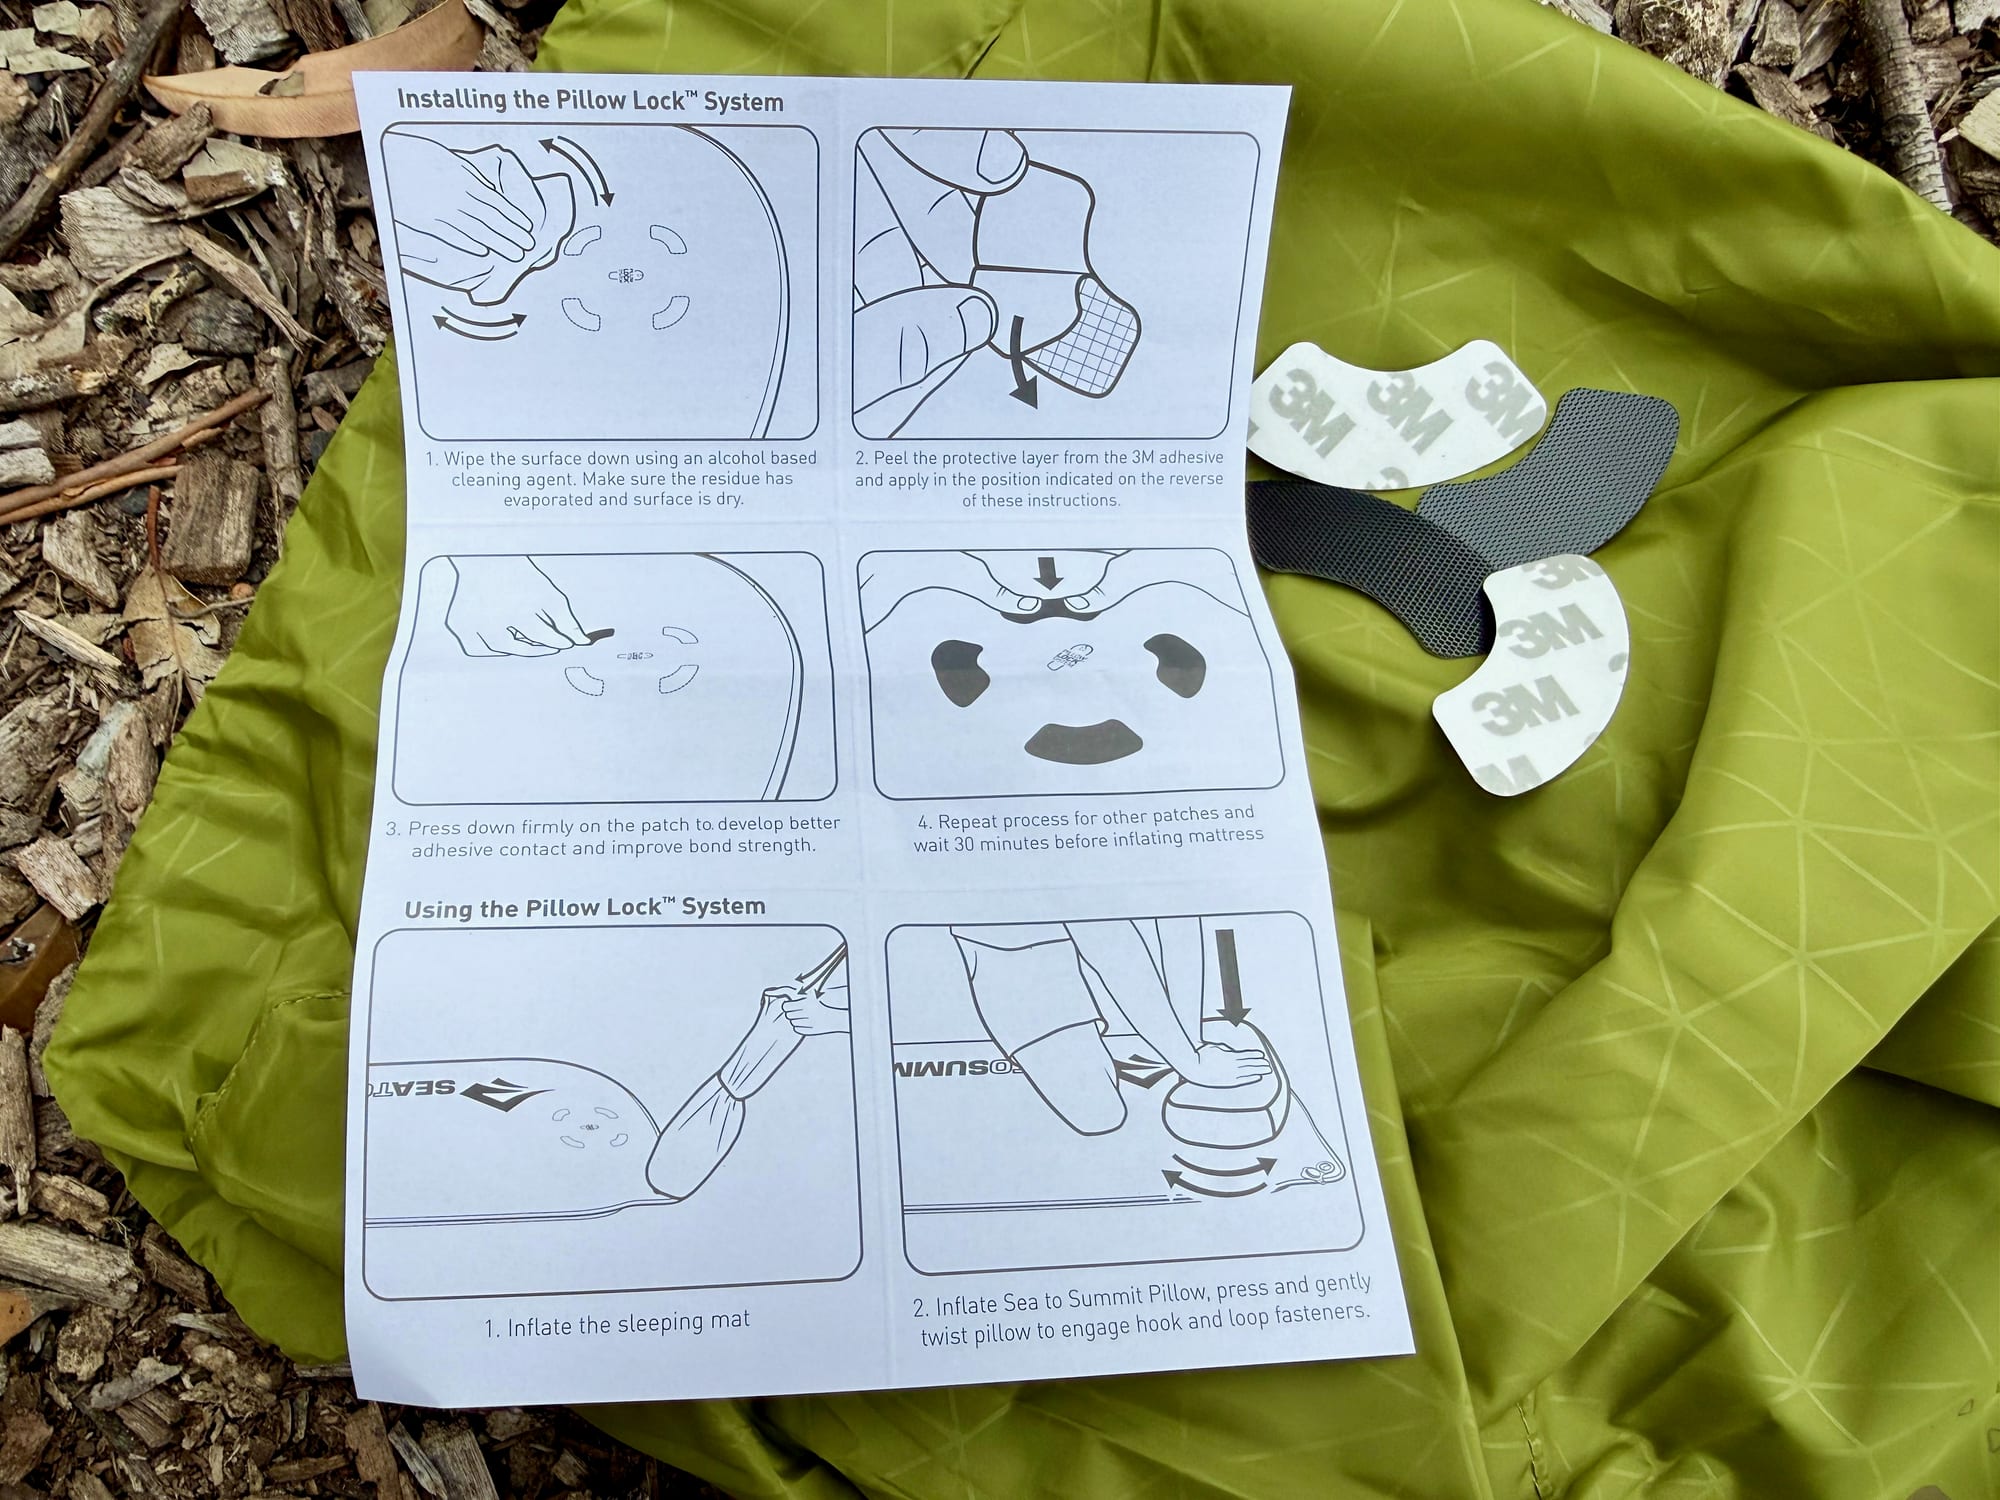
The patches come with Sea to Summit sleeping mats, not with the pillows; ours came in the bag with the Camp Mat SI. The kit is four patches and a fold-out instruction sheet. Each patch is a curved black strip with 3M adhesive on the back, covered by a white backing you peel off. The four of them make one ring for one pillow, so all four go on the mat.
Keep the instruction sheet. One side has the pictures for fitting and using the system; the other side shows where the patches go. You need that if your mat has no outlines printed on it. Apart from the kit, all you need is an alcohol wipe or other alcohol-based cleaner.
1. Clean the spot and let it dry1. Clean the spot
Start with the mat flat and deflated. Wipe the whole patch area with an alcohol-based cleaner, such as an alcohol wipe, and let it dry completely. Dust, sunscreen and body oil all stop the adhesive bonding to the fabric, and a patch that is only half stuck can lift at the edge.
Do it at home rather than at camp. You need a clean, dry mat and half an hour of waiting later on, which is easier on the lounge-room floor than in a dusty campsite.
2. Place and press each patch2. Place the patches
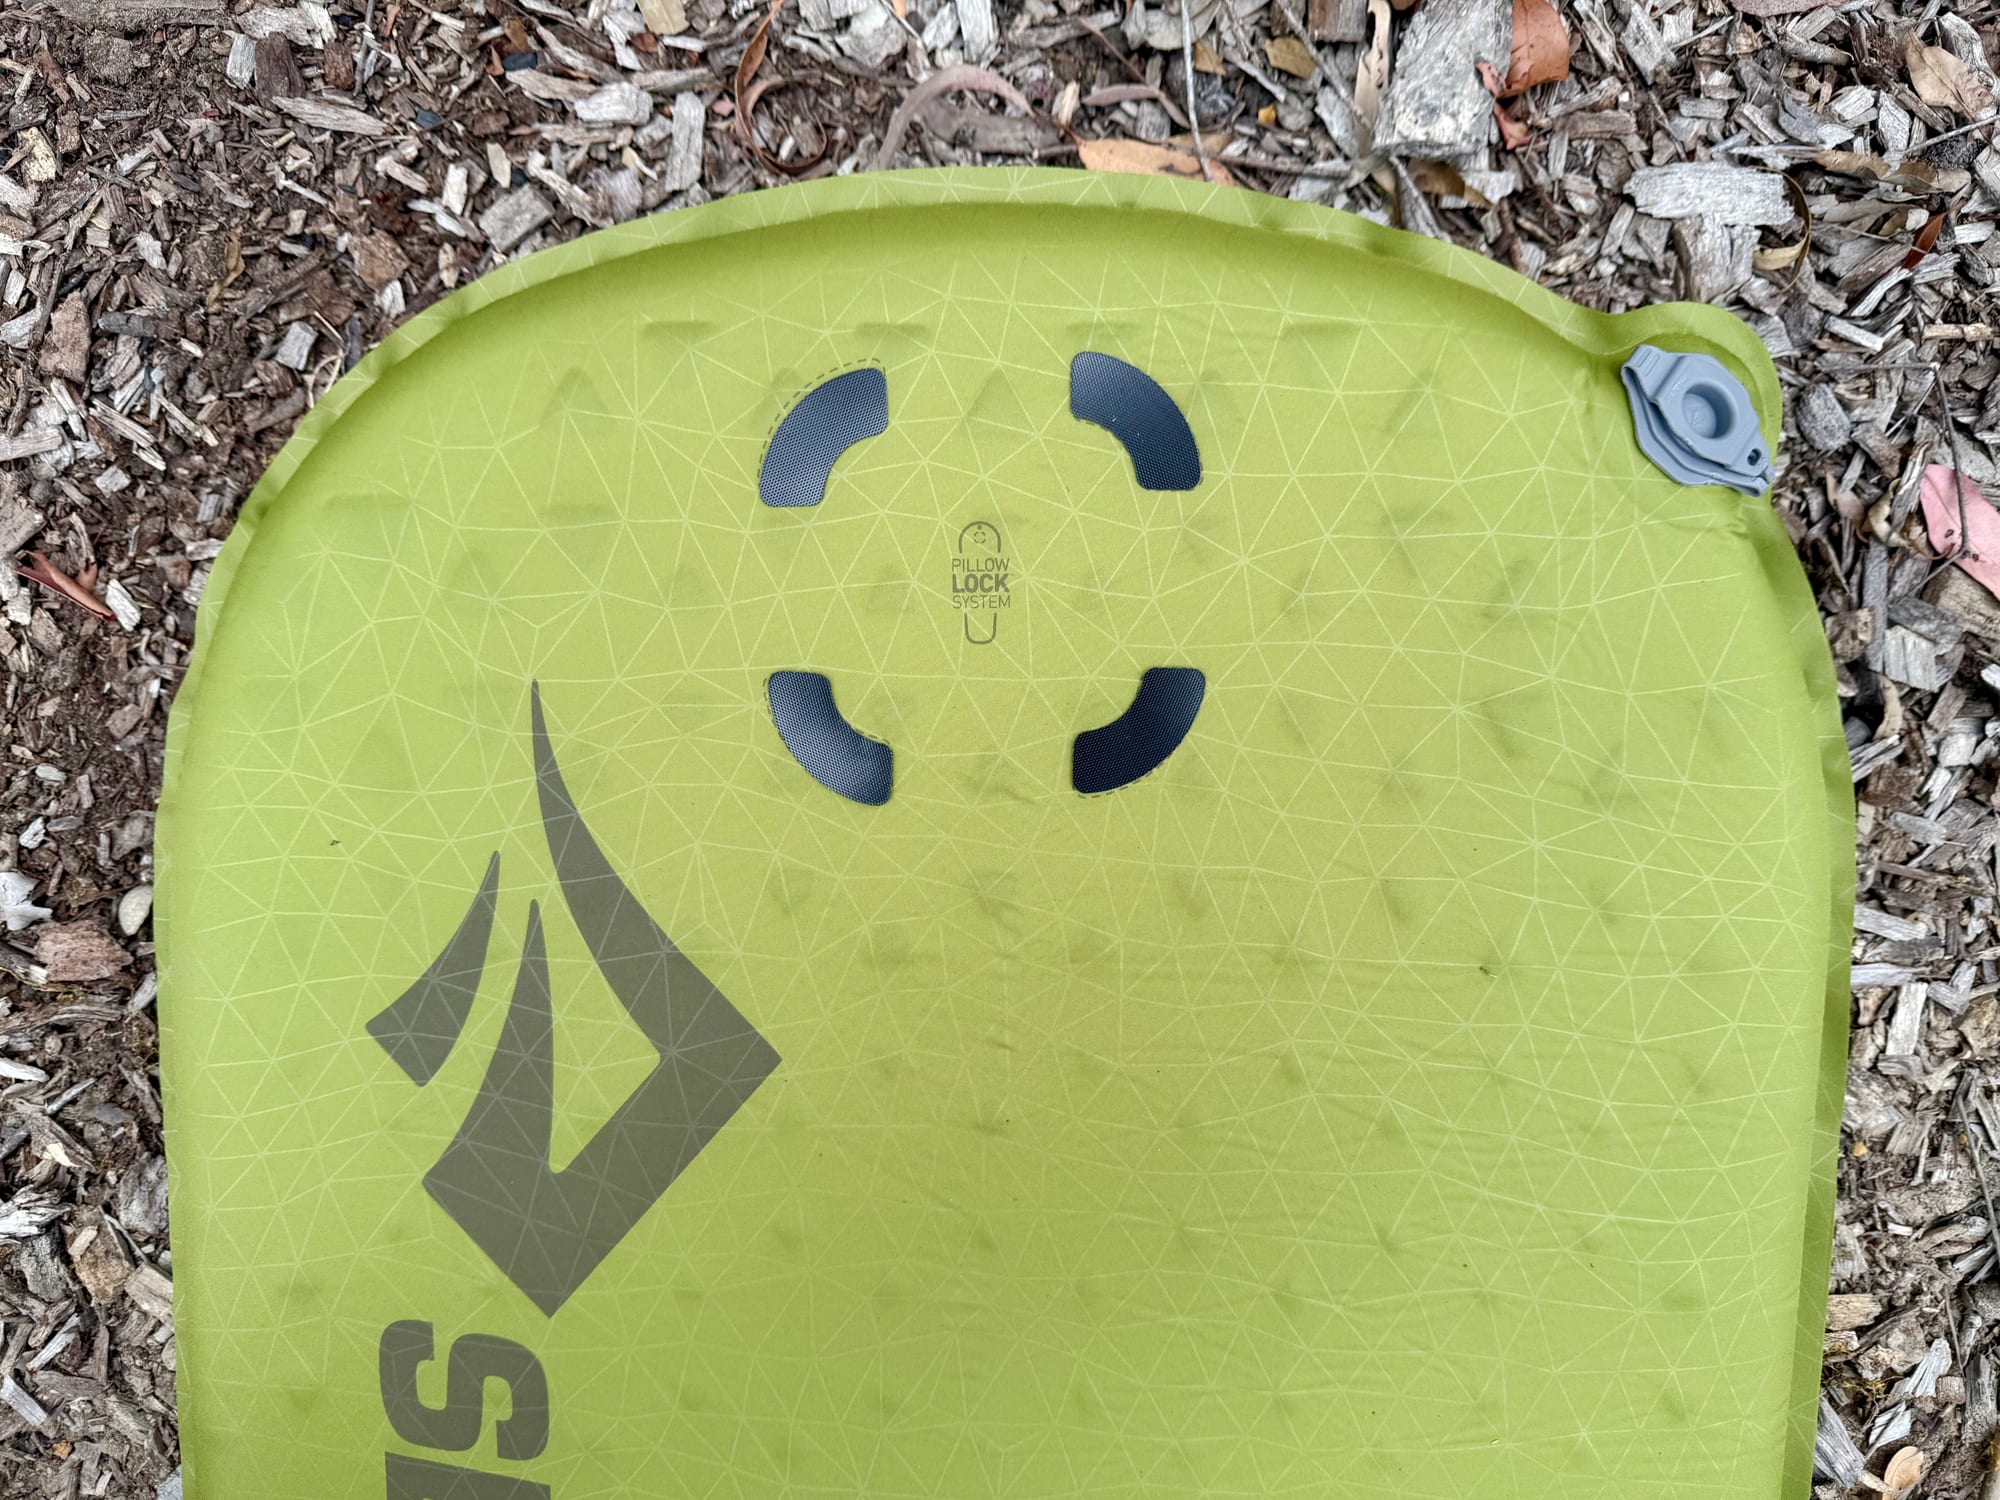
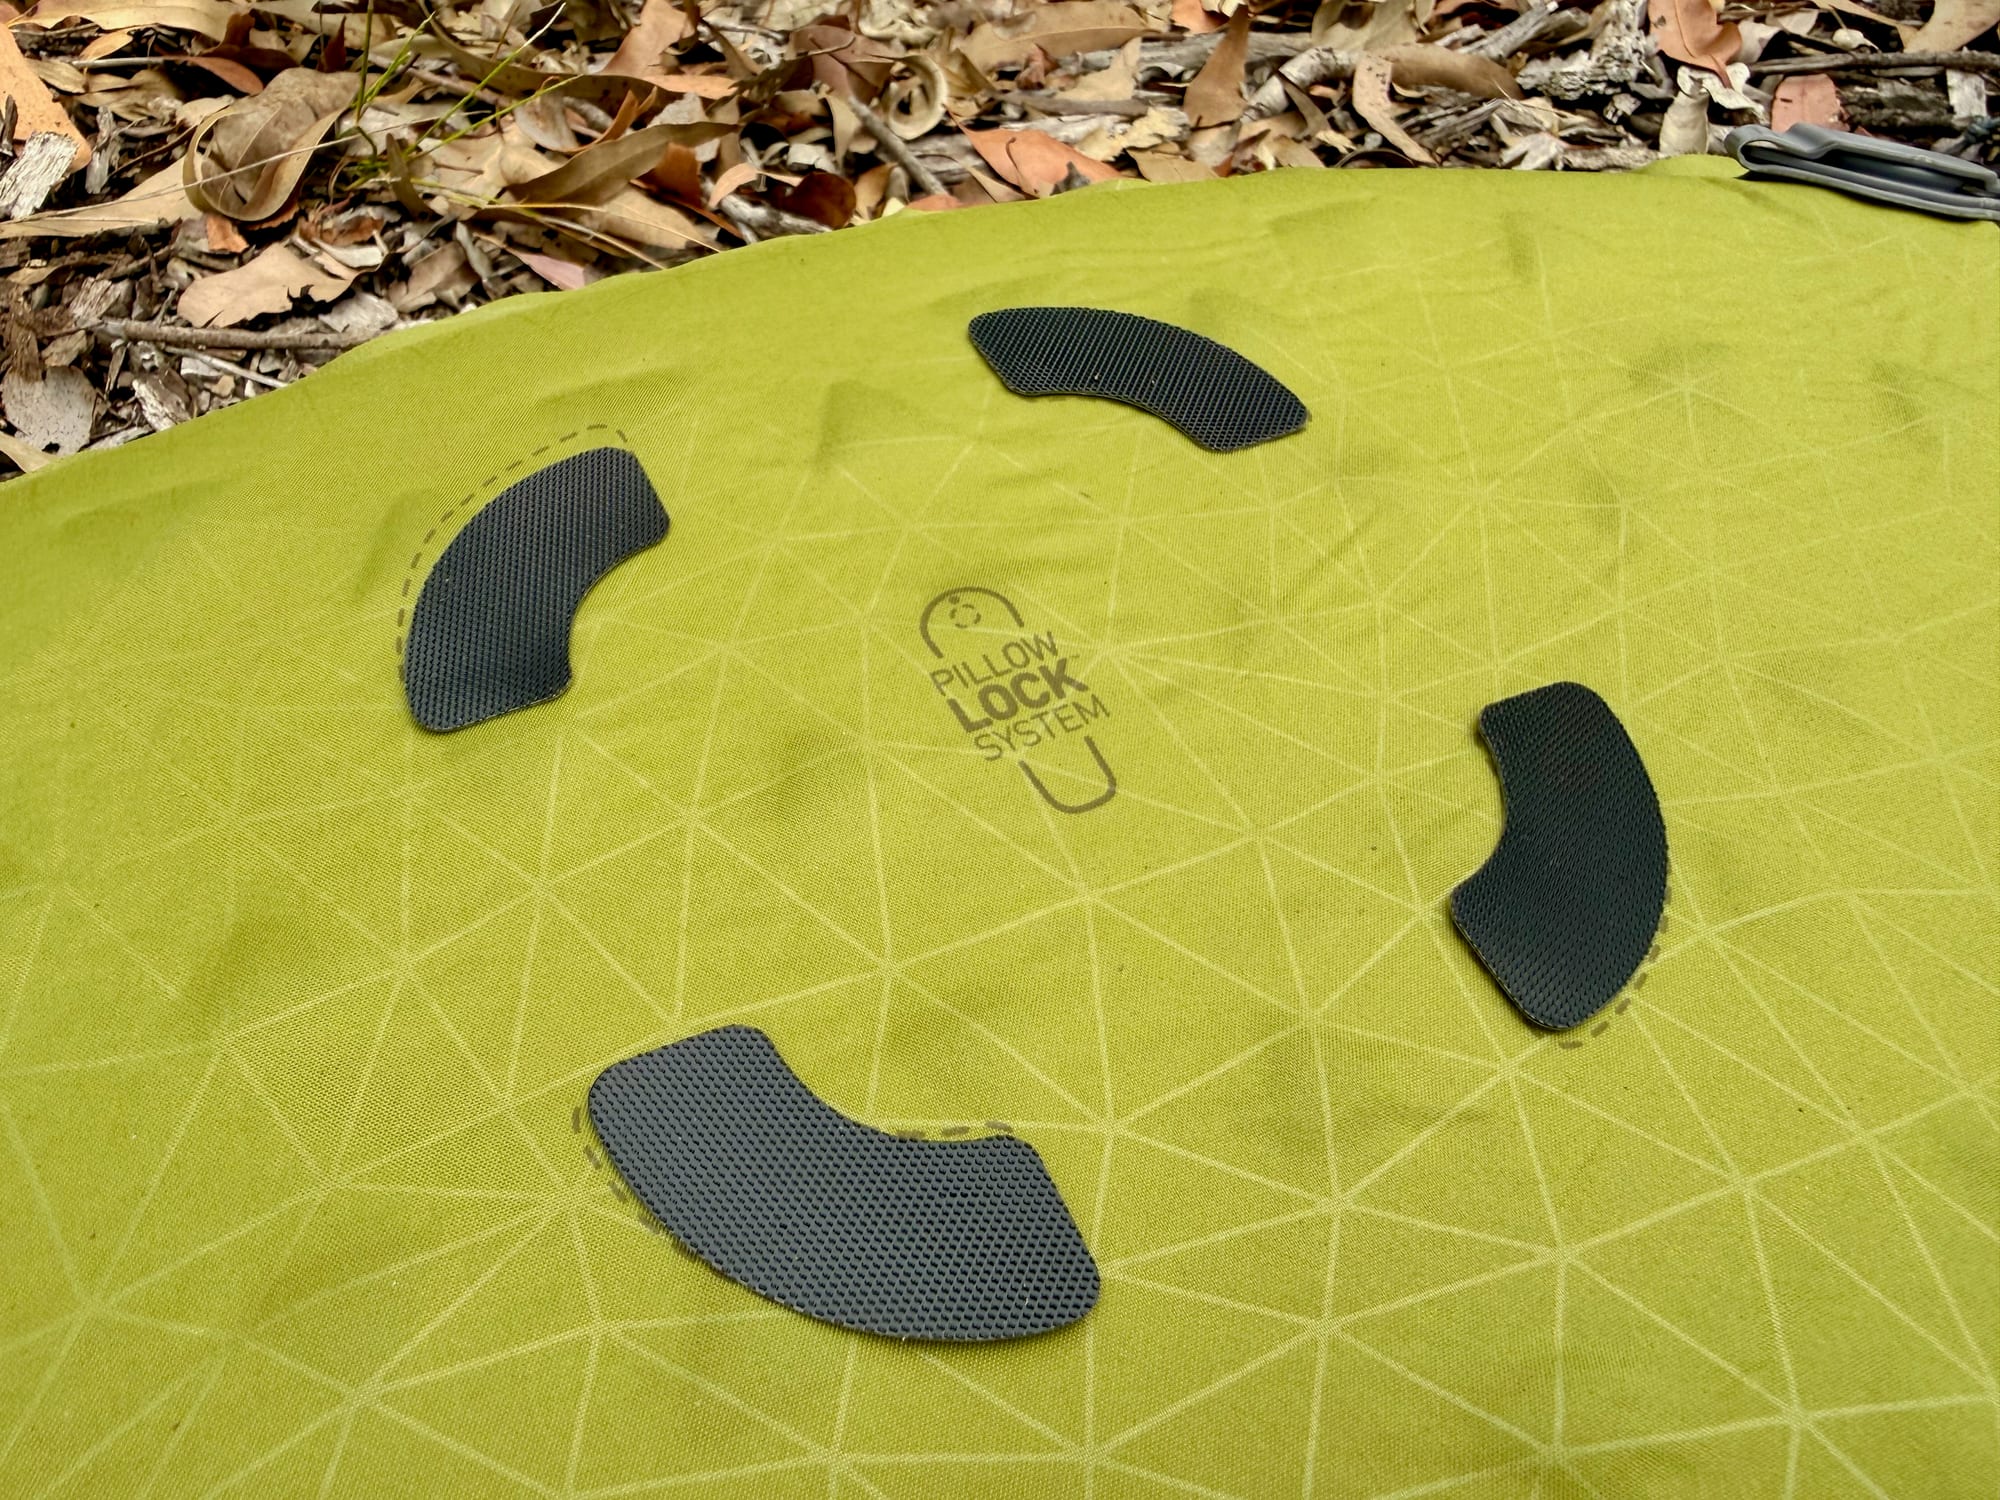
The patches go at the head end of the mat, where your pillow already sits. On our Camp Mat SI the spot is printed on the fabric: a small Pillow Lock logo with four dashed outlines around it, one for each patch. The ring sits in the middle of the mat’s width, close to the valve.
Each patch matches one outline, and they all curve around the logo. If your mat has no printed outlines, use the layout on the back of the instruction sheet and place the ring where the middle of your pillow rests.
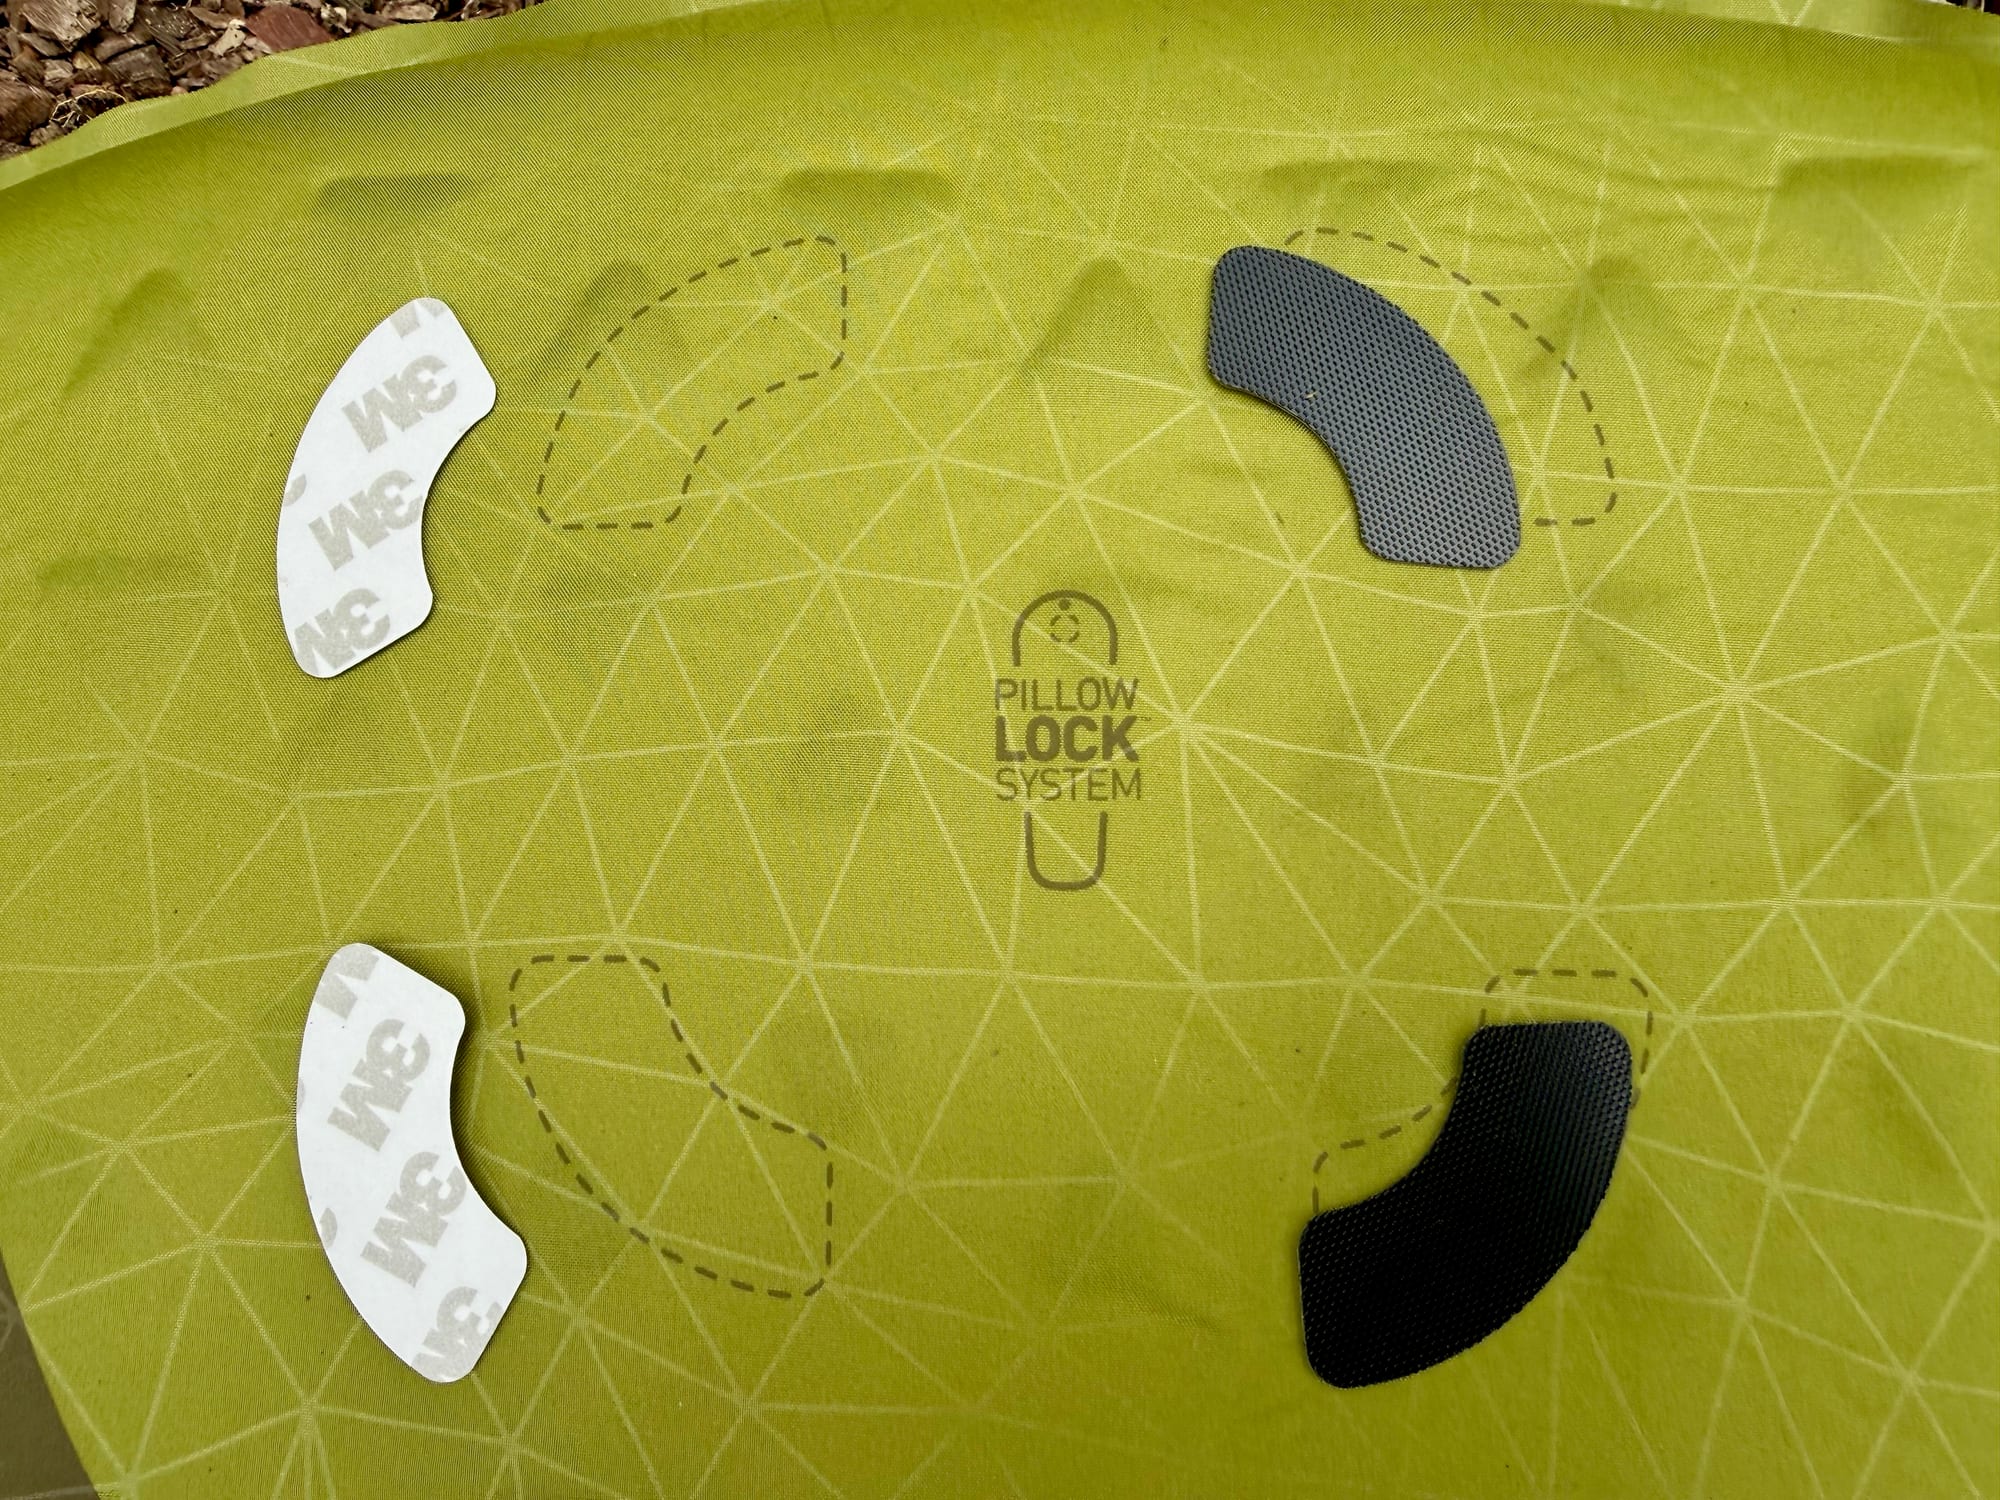
Then peel the white backing off one patch and lay it on its outline. Line it up before it touches the fabric, because the adhesive grabs straight away. Then press down firmly over the whole patch, edges included. Pressure is what makes the adhesive stick properly, so don’t just pat it.
Repeat with the other three, one at a time. Peeling one backing at a time keeps the sticky sides off each other and off your fingers.
3. Wait 30 minutes before inflating3. Wait 30 minutes
Leave the mat flat for 30 minutes before you inflate it. That is the wait time on the instruction sheet, and it gives the adhesive time to set.
When the time is up, run a finger around the edge of each patch. If an edge has lifted, press it down again and give it a bit longer. After that the patches stay on for good, and the mat rolls up and packs away with them on.
4. Inflate, then press and twist the pillow on4. Lock the pillow on
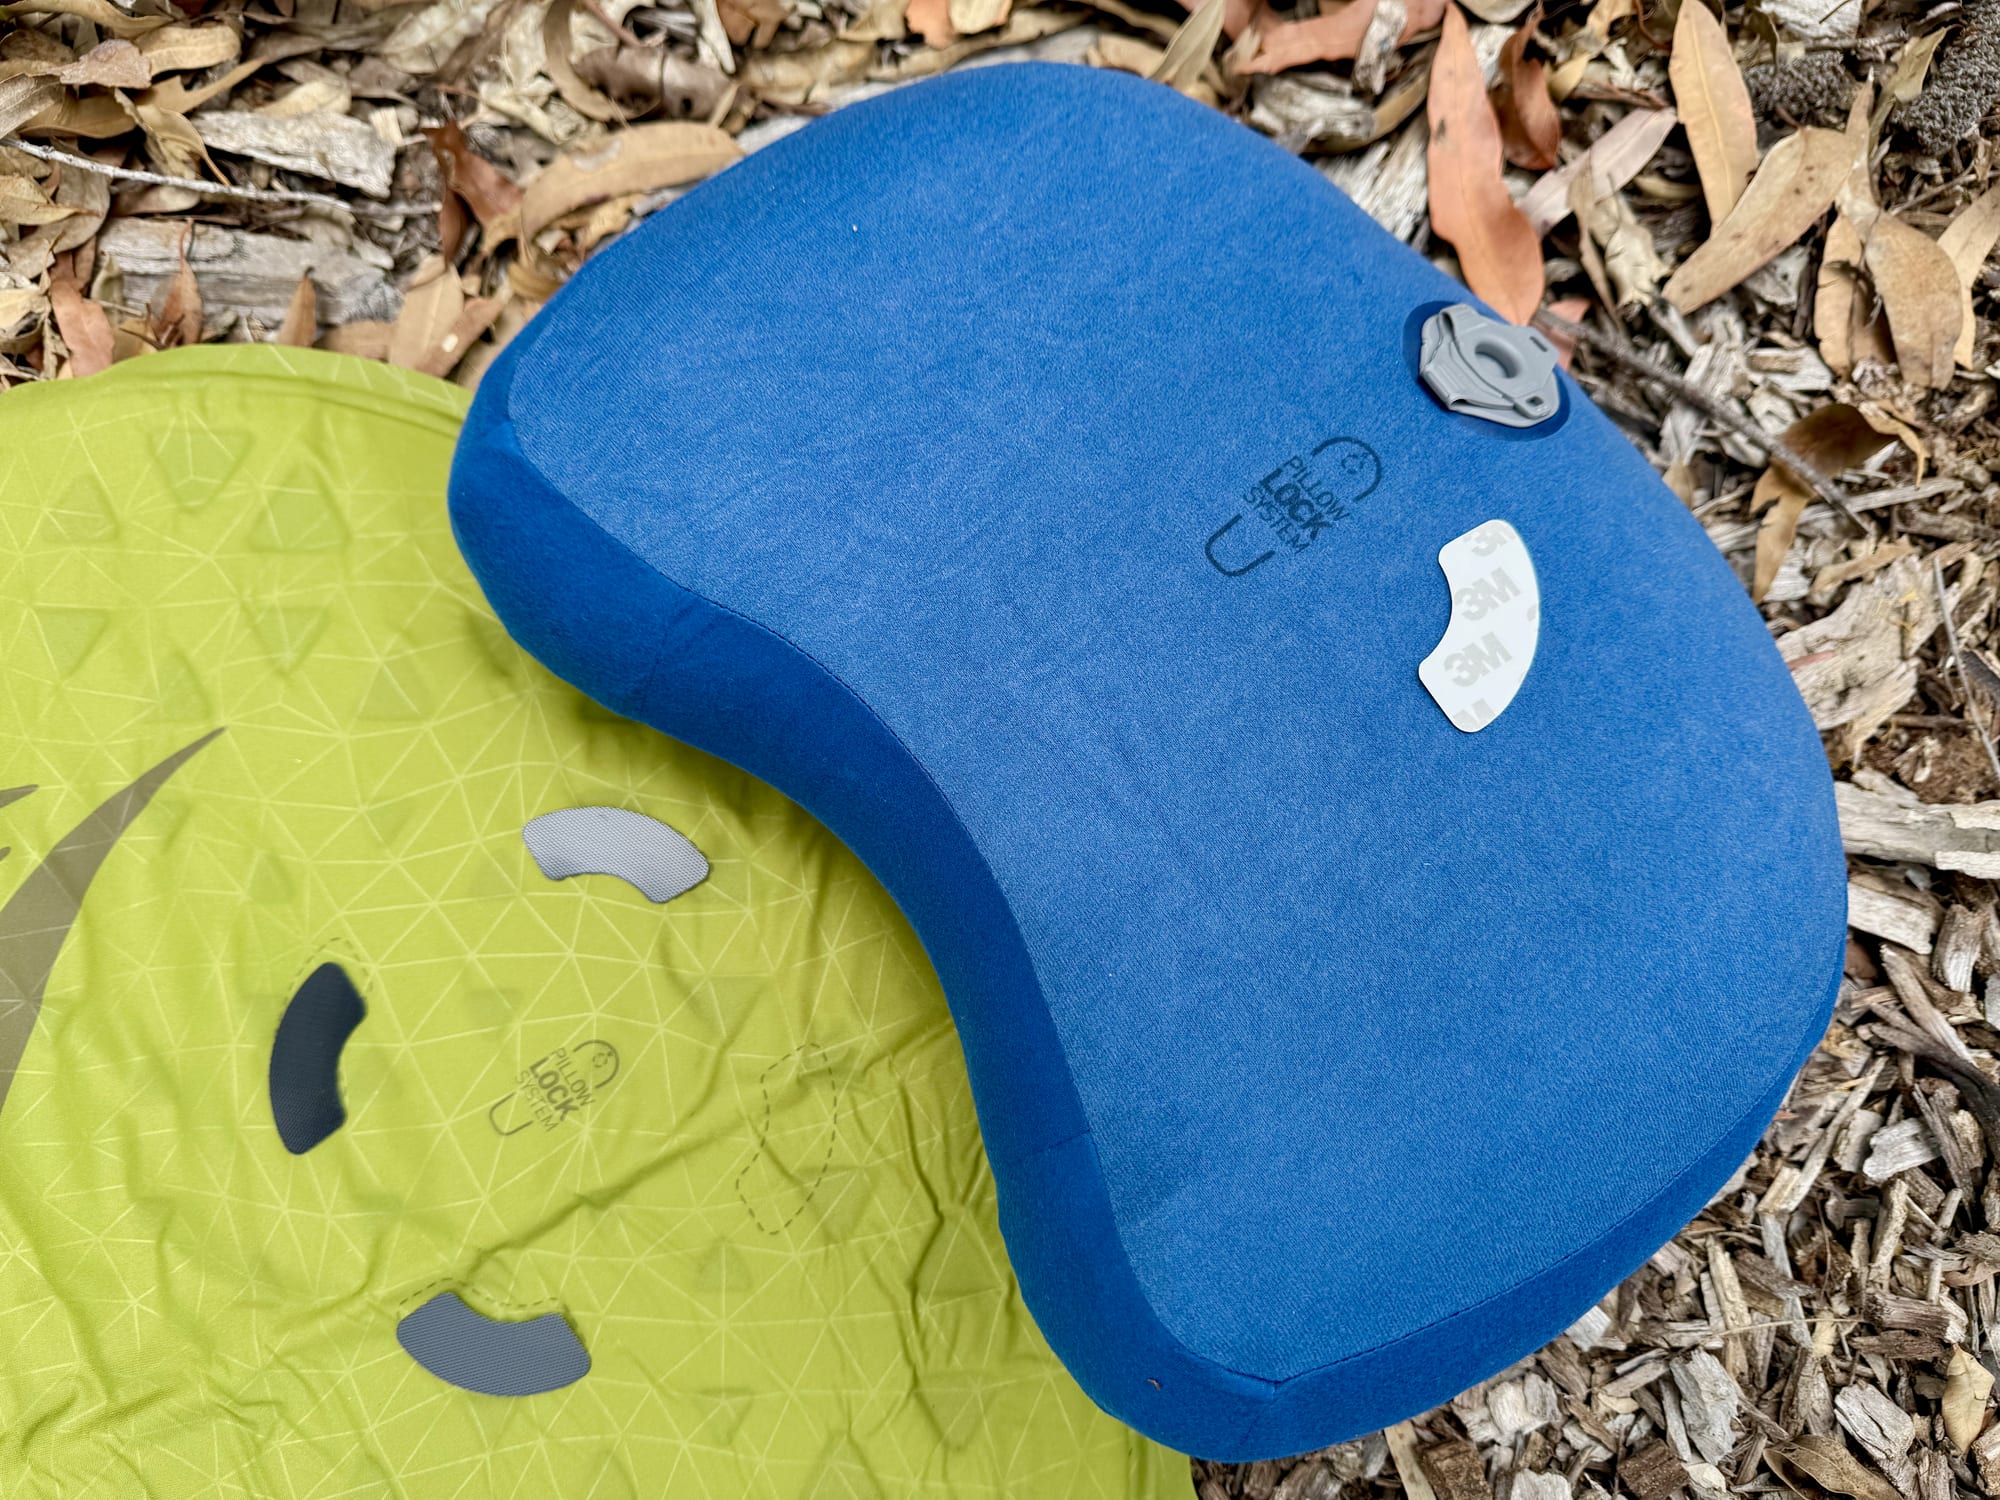
Inflate the mat first, then the pillow. Place the pillow over the ring with the Pillow Lock logo on its base facing down, press it onto the patches and give it a gentle twist. The twist is what engages the hook and loop; just setting the pillow down doesn’t lock it.
If the pillow doesn’t feel locked, check that it sits centred over the ring with the logo side down, then press and twist again. To take it off, lift it away from the mat.
Compatible gear
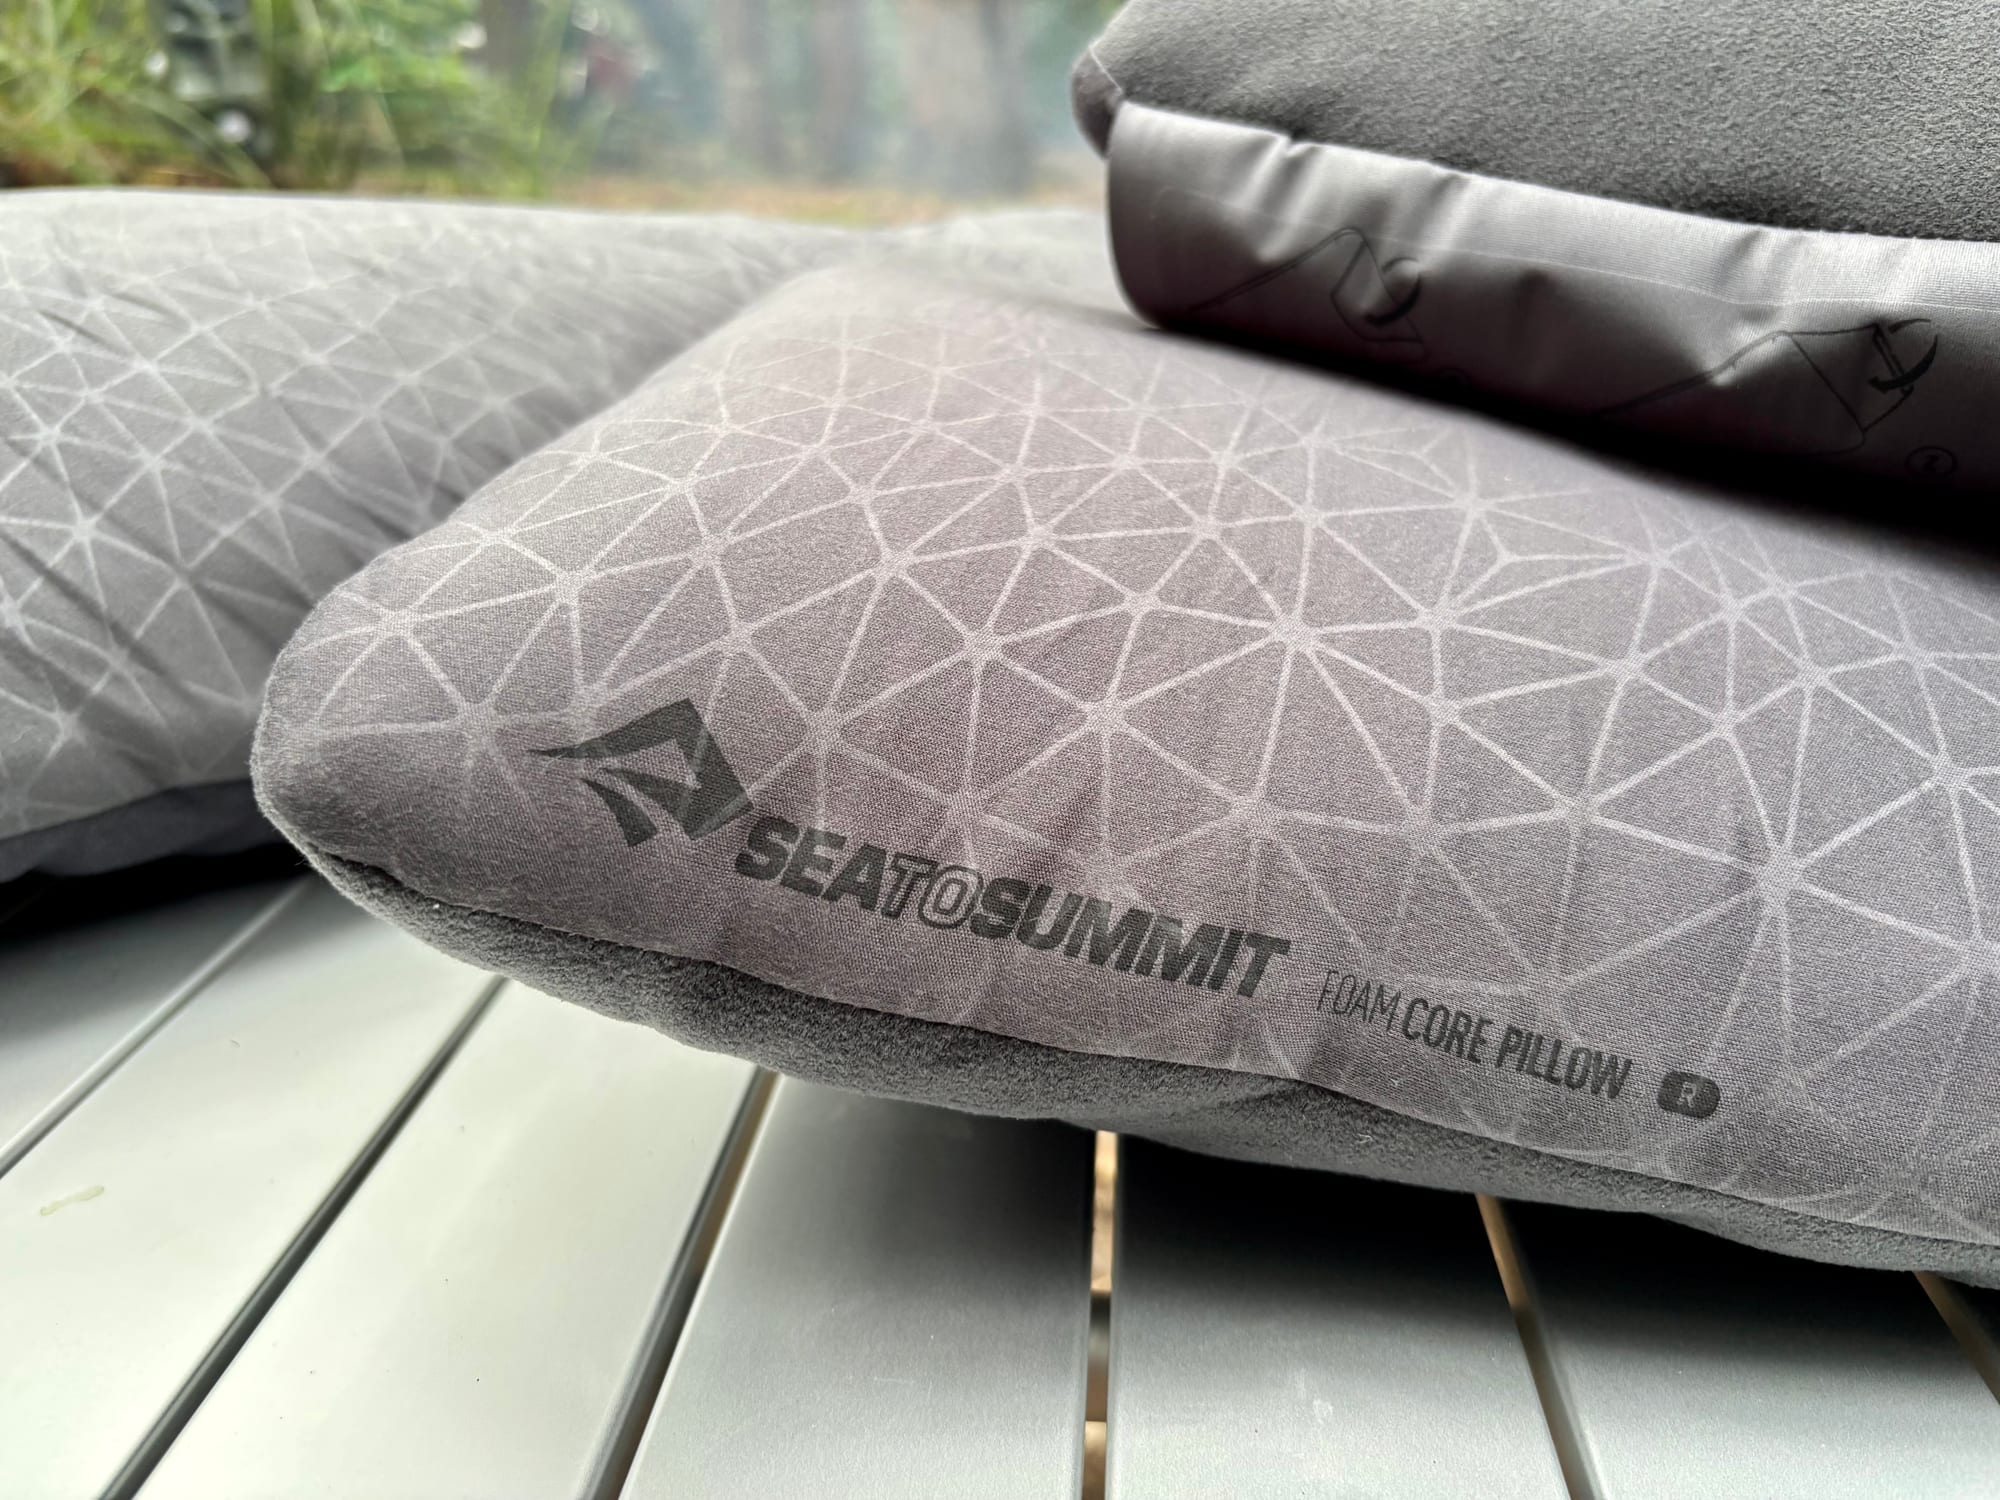
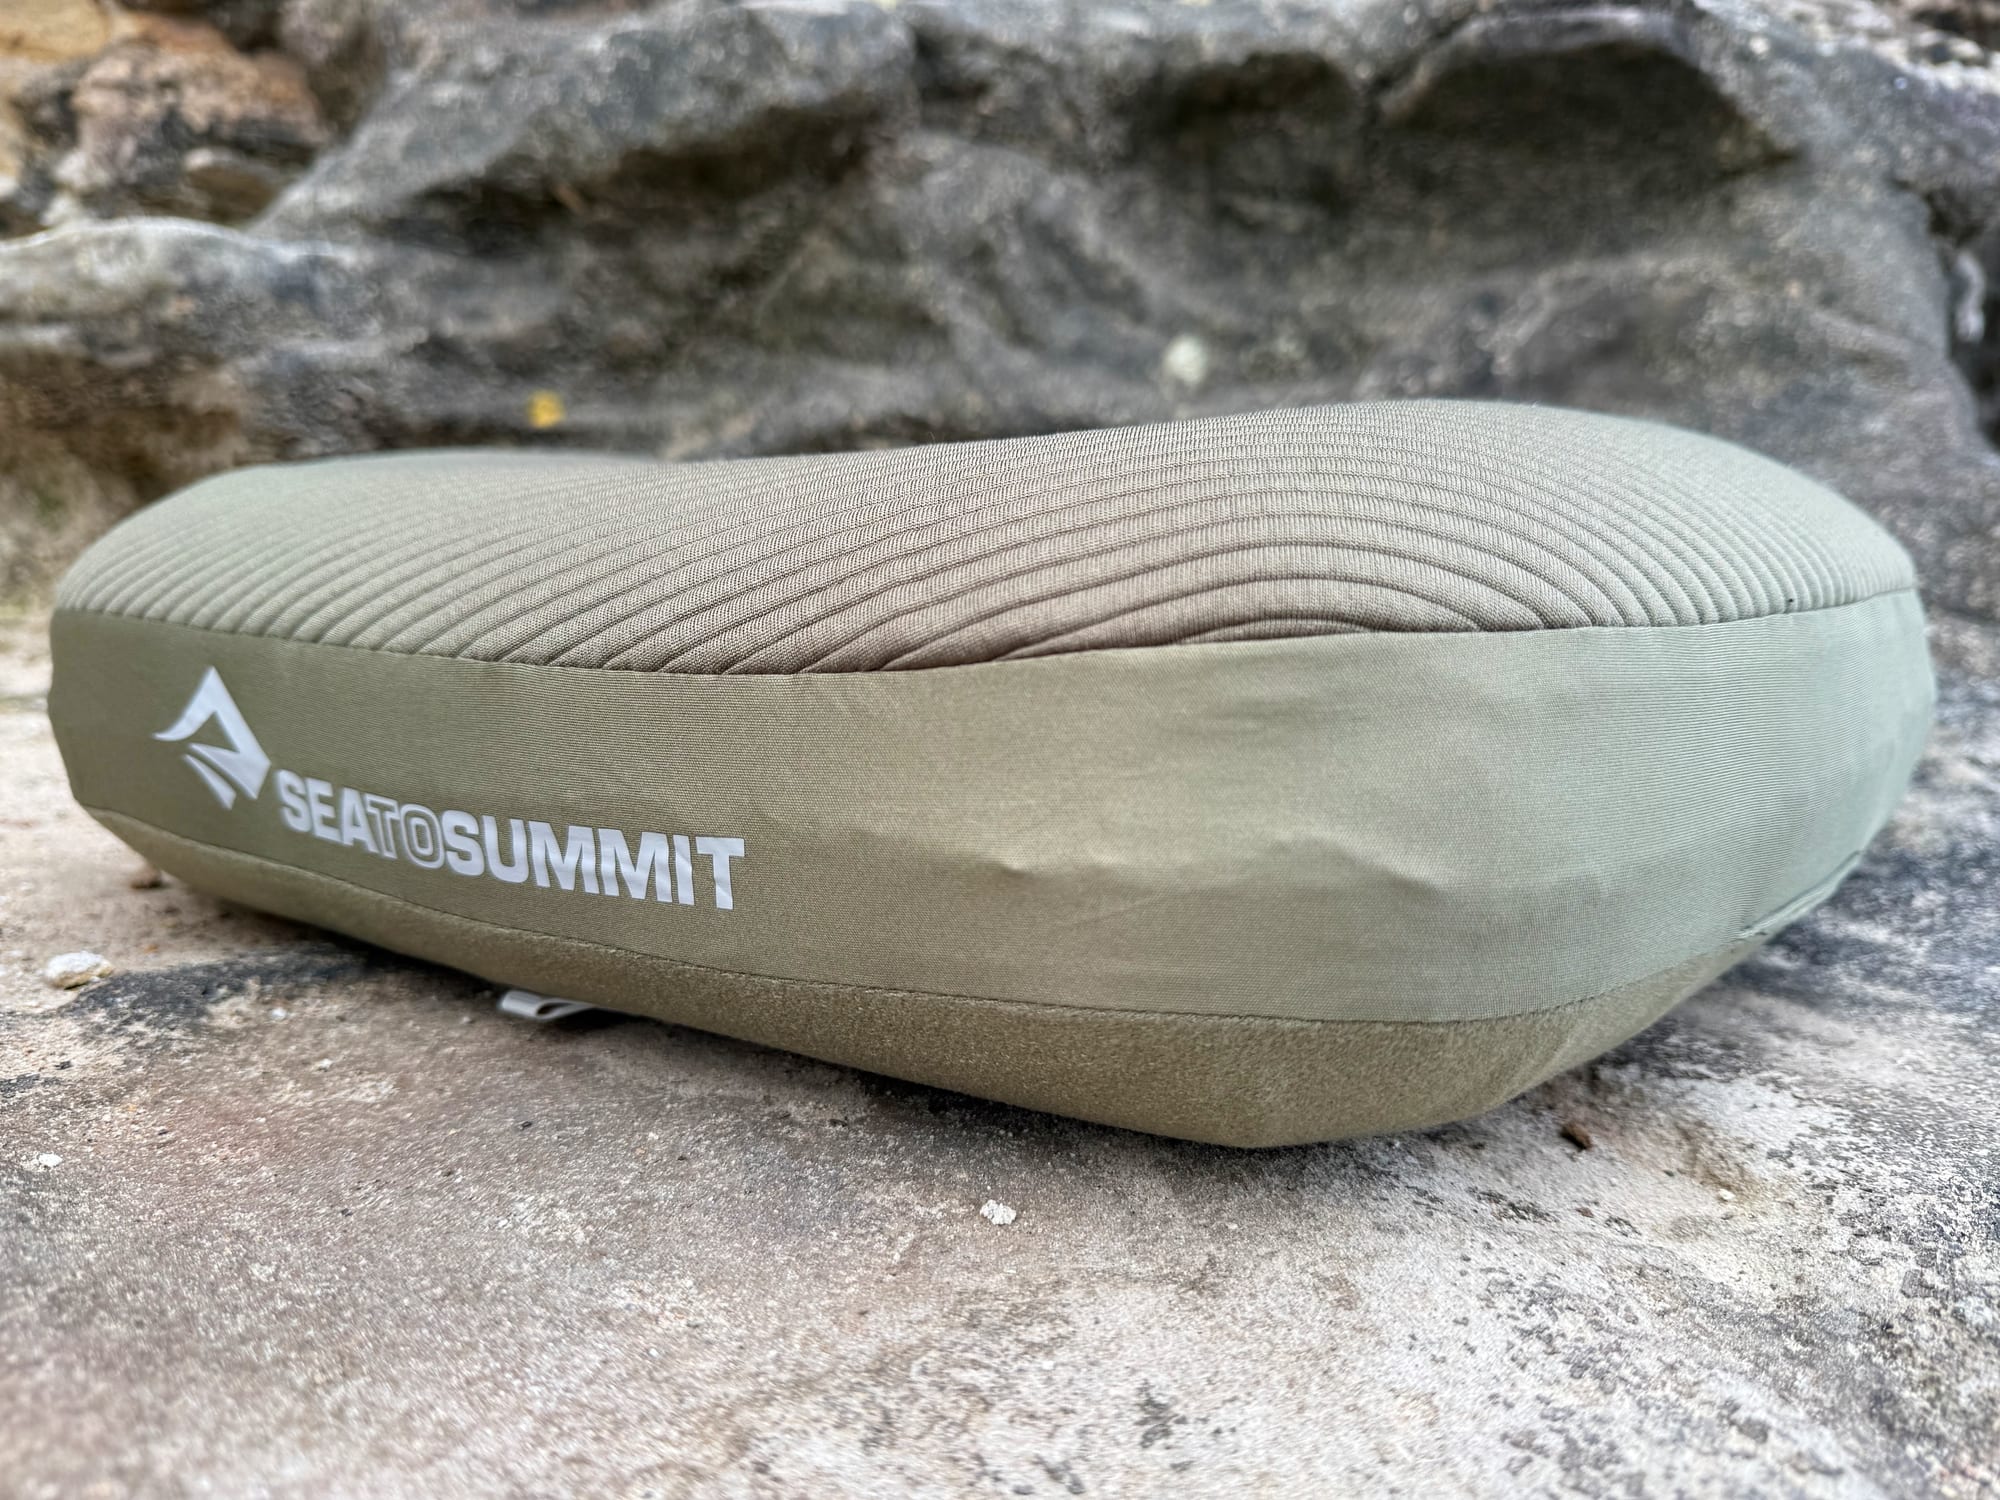
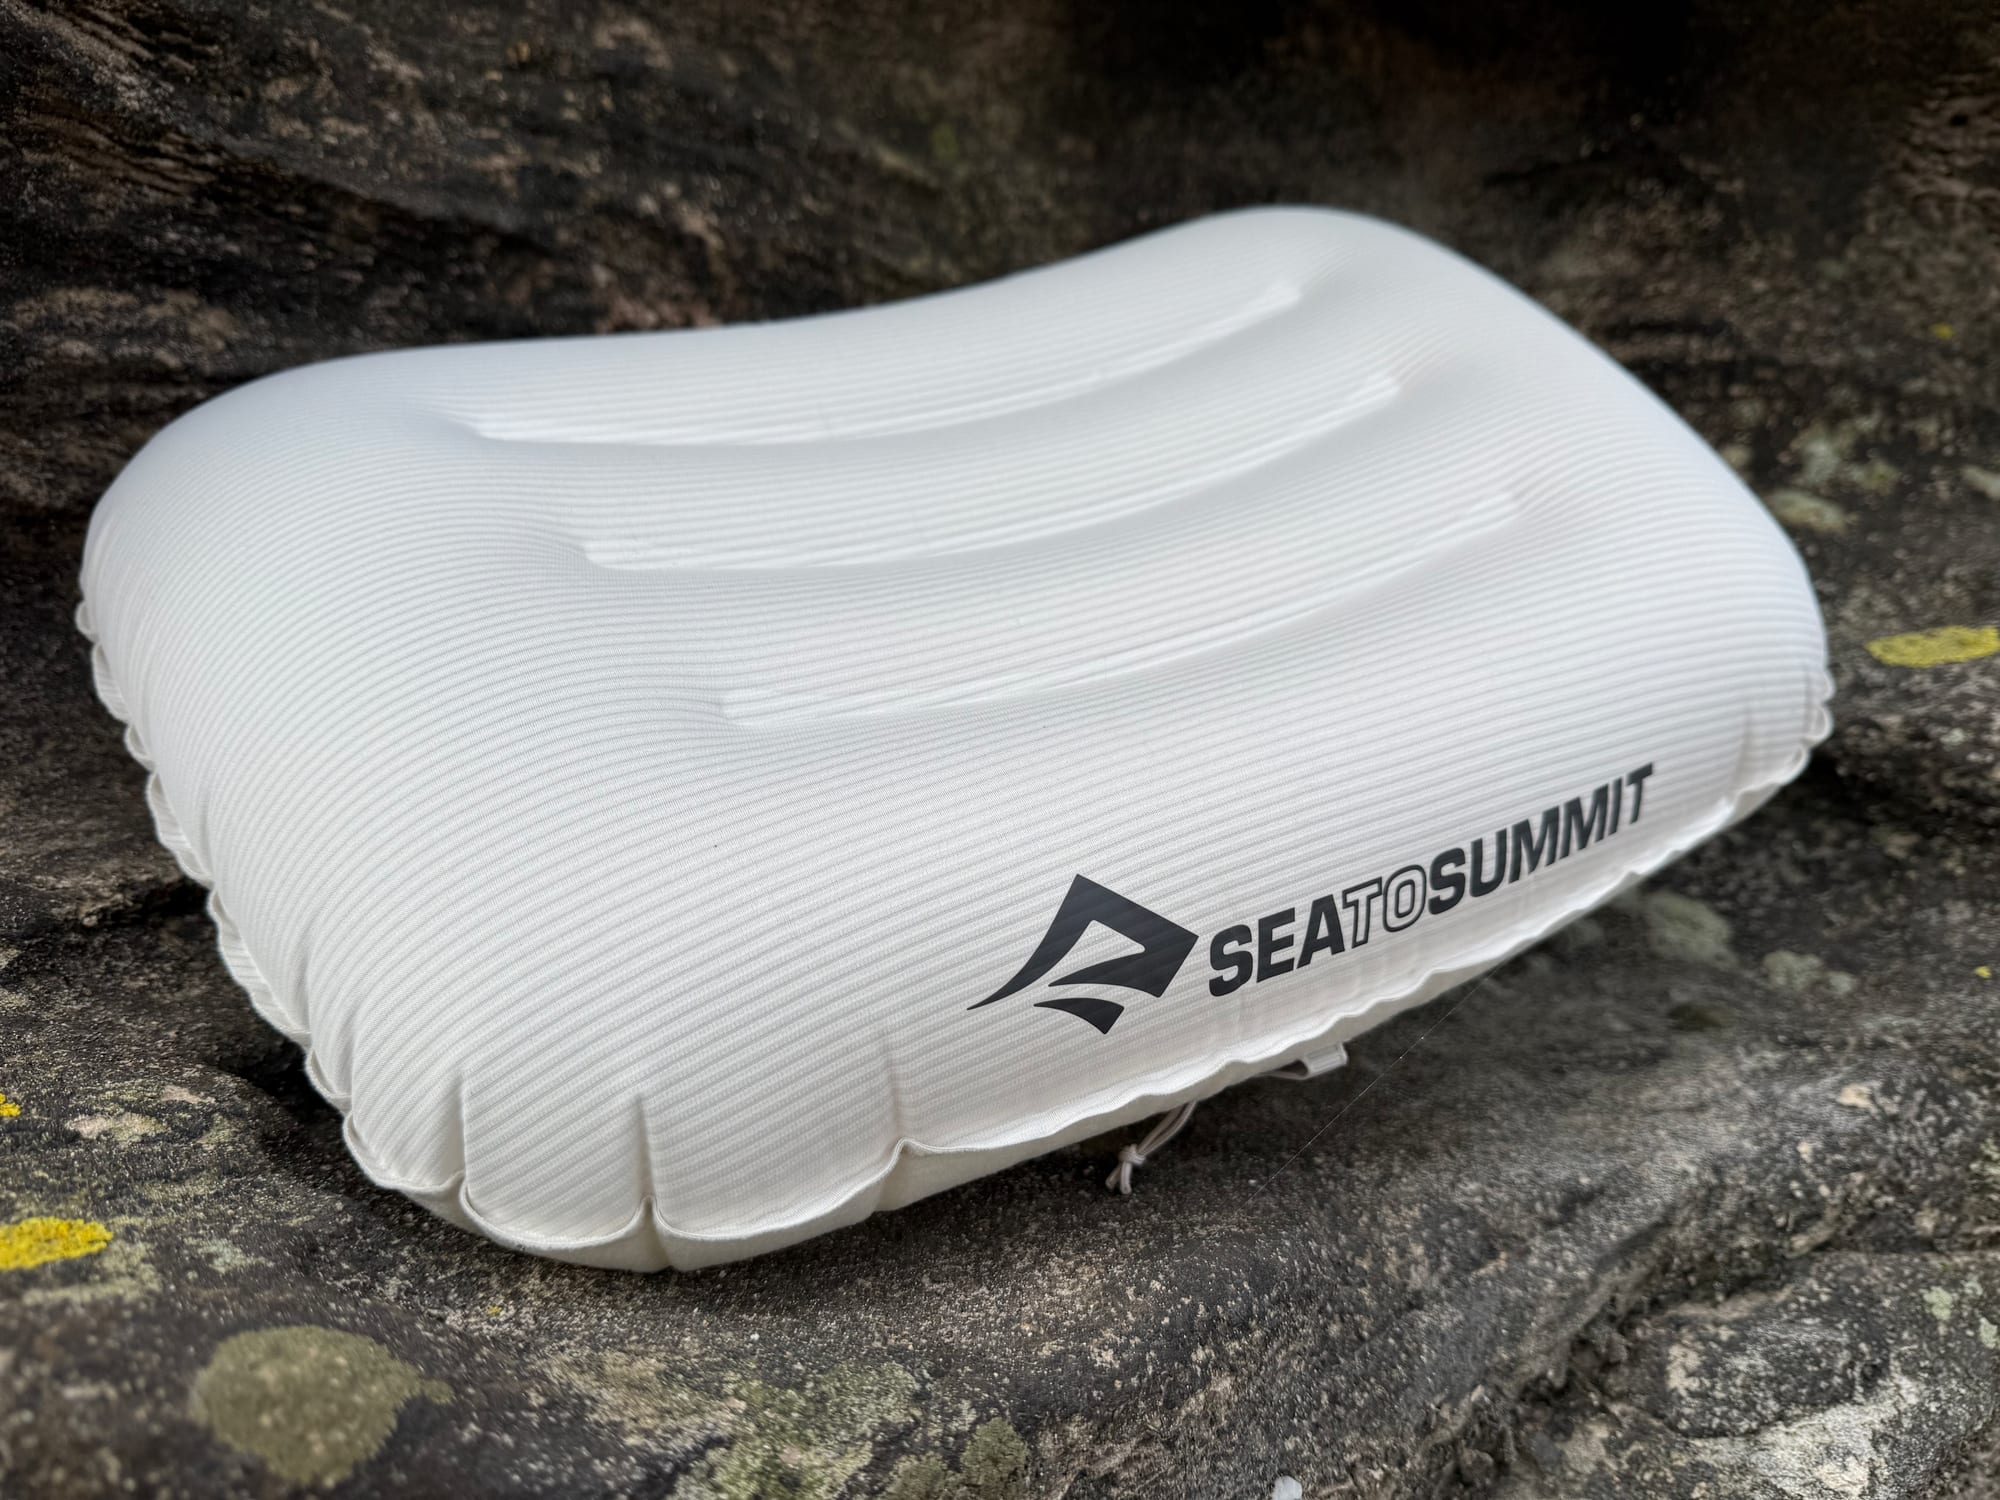
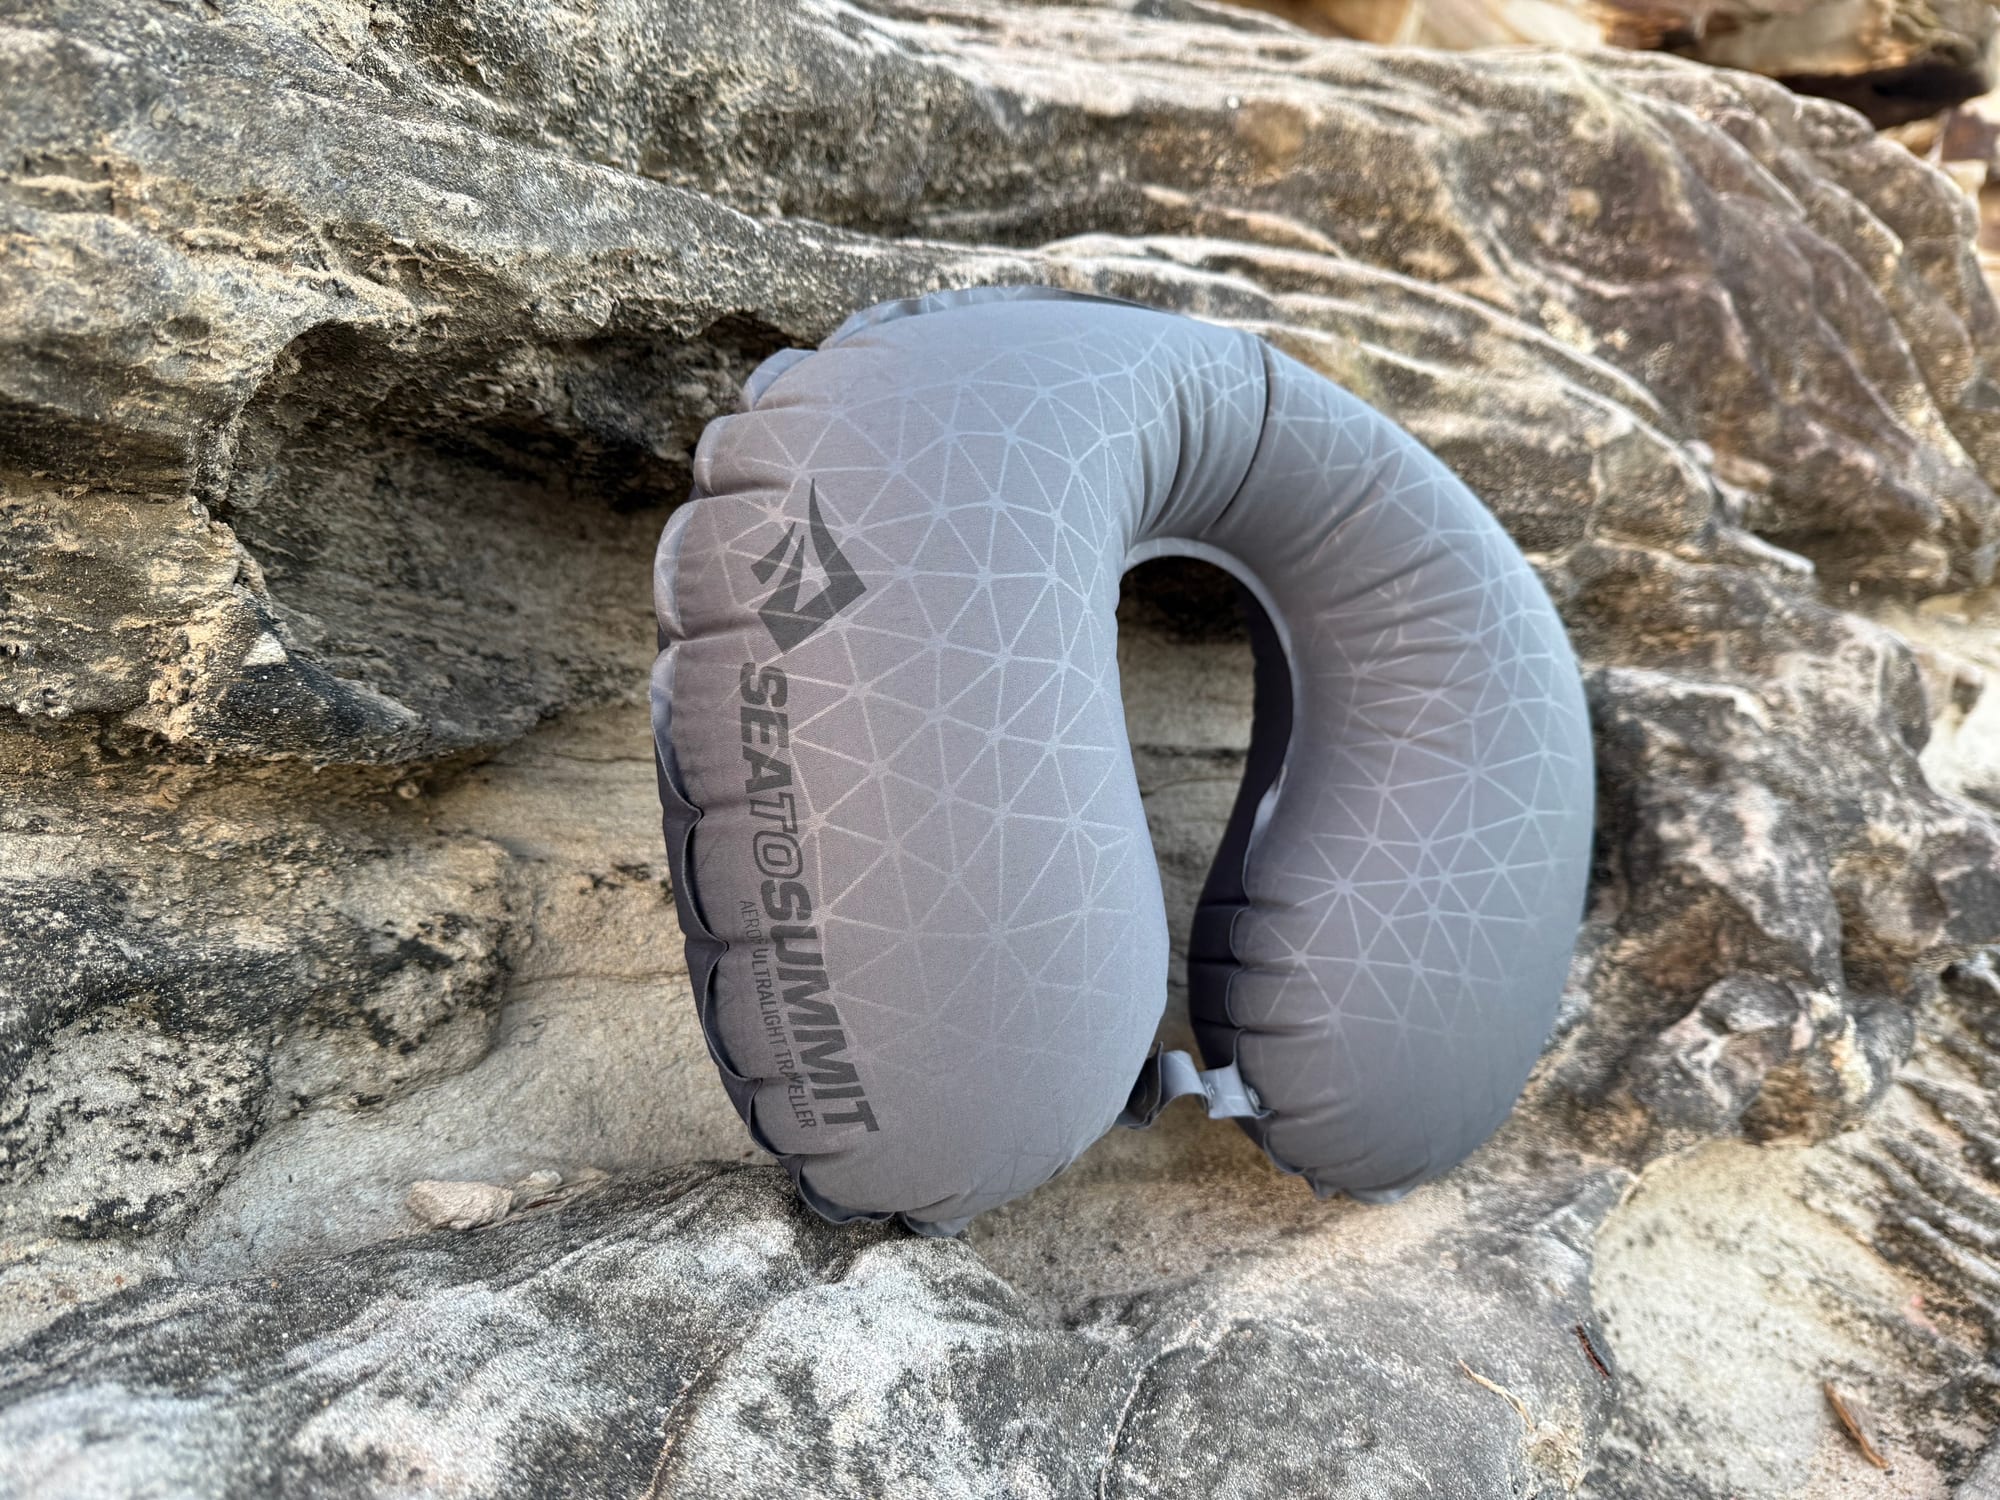
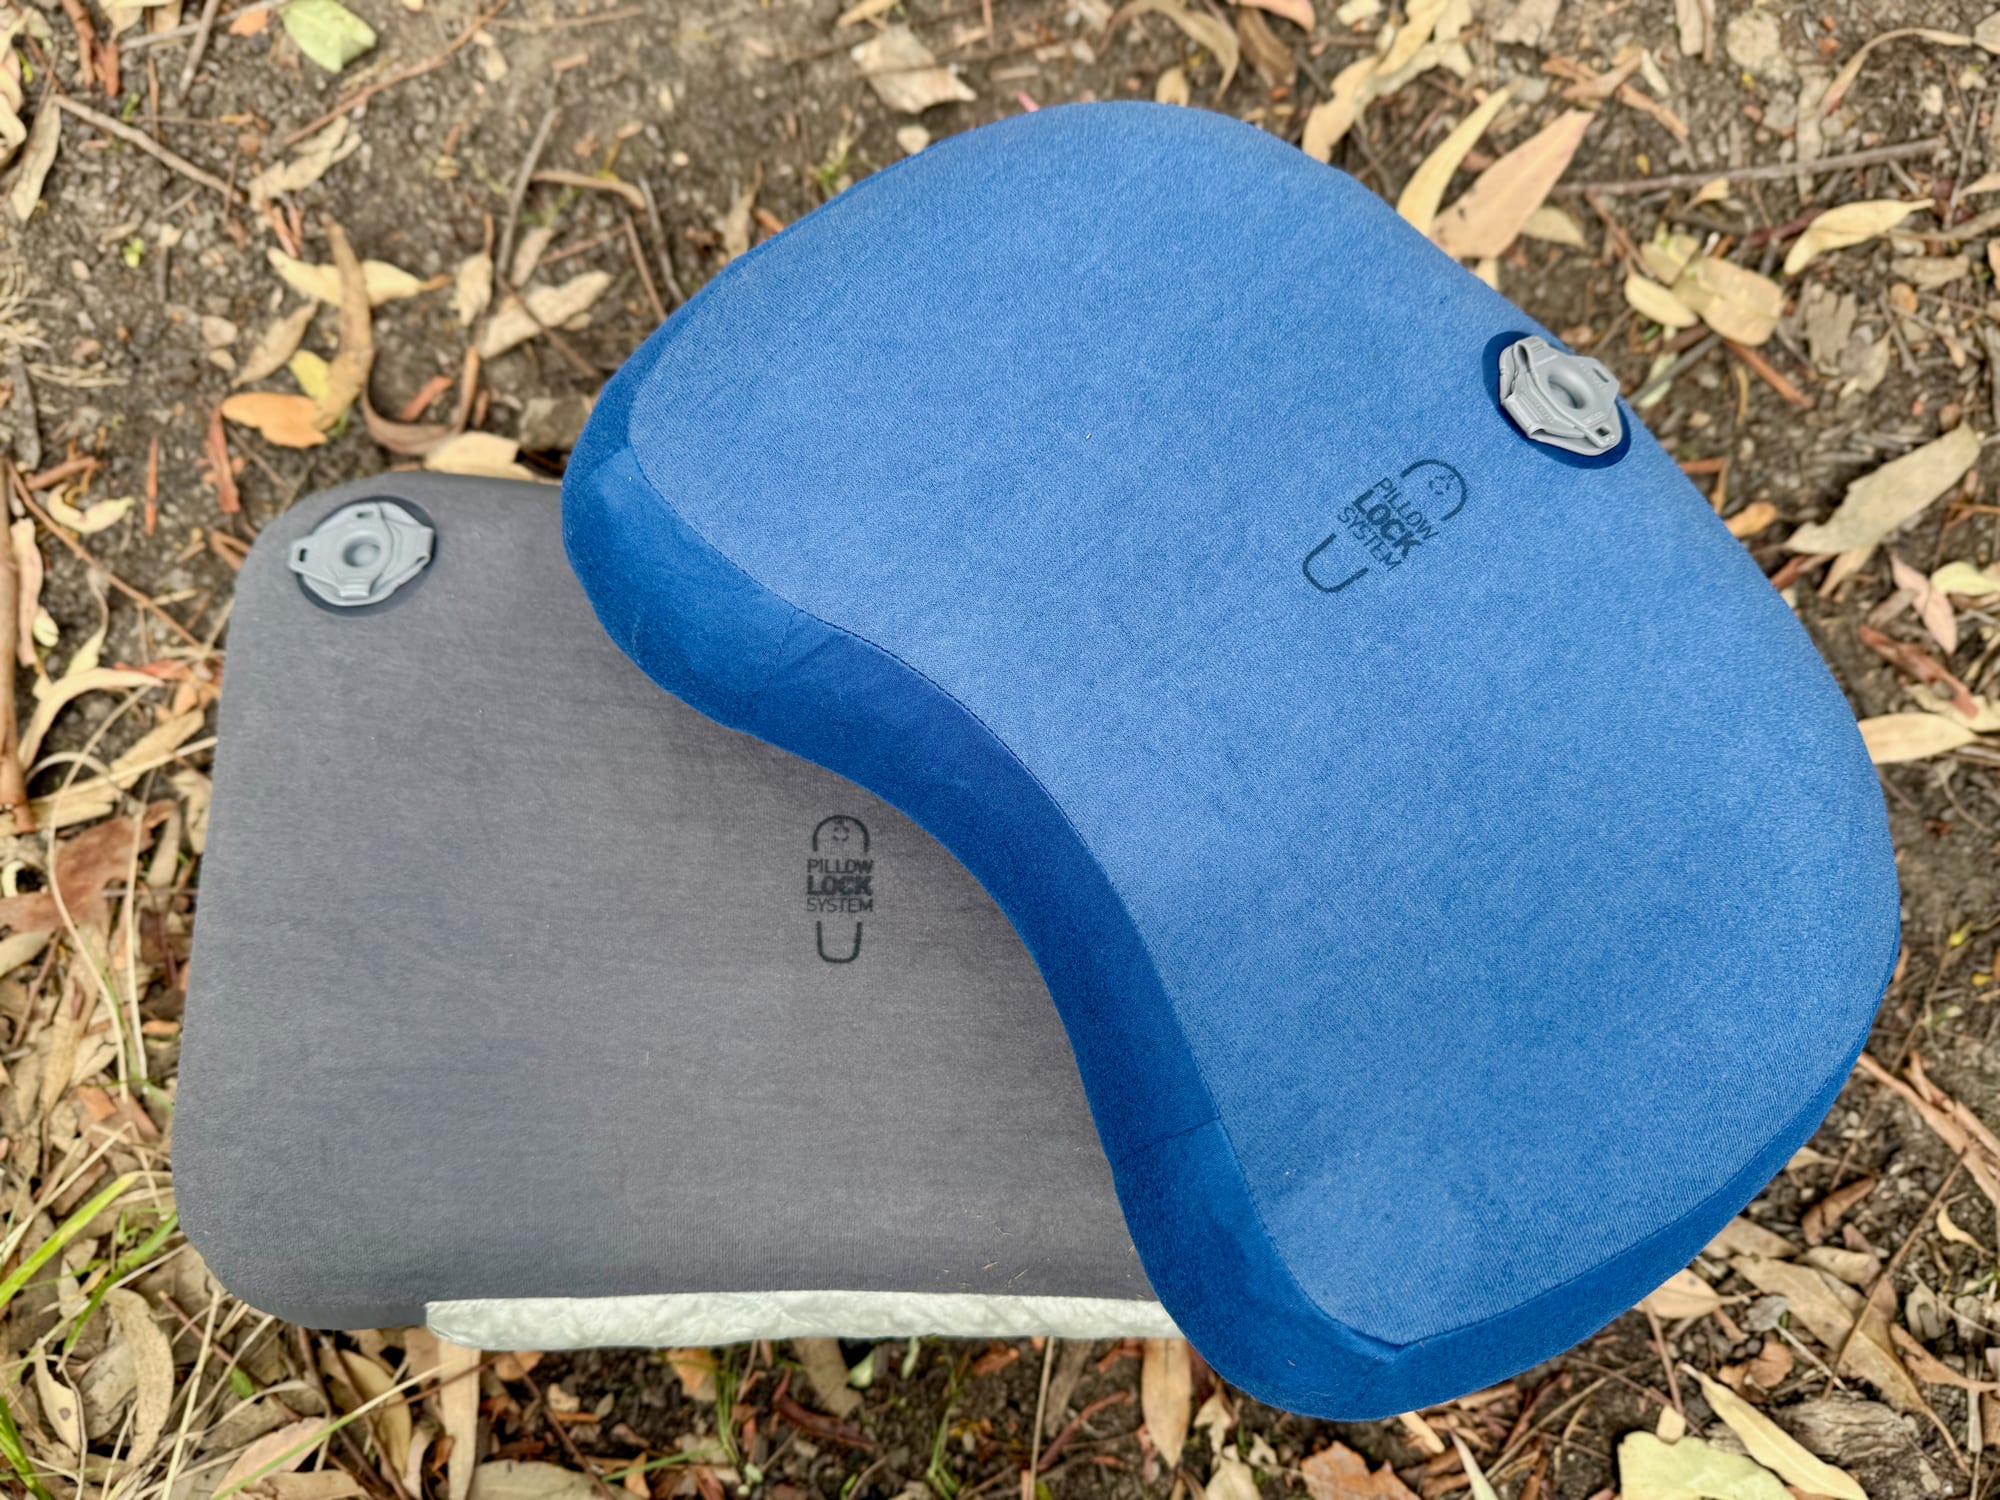
Pillow Lock needs a pillow and a mat that both have it. On the pillow, look at the base. Sea to Summit pillows that work with the system have the Pillow Lock logo printed there, near the valve. Of the pillows we have reviewed, the Aeros Ultralight, the Aeros Premium and the Foam Core all have it.
On the mat side, the patches come with Sea to Summit mats, like the Camp Mat SI, and ours has the outlines printed on it. A pillow on its own, such as the Foam Core, doesn’t come with patches. If you have two Pillow Lock pillows, each one needs its own ring of four patches.
Summary
Pillow Lock is four patches on the mat and a matching base on the pillow. Clean the spot with an alcohol wipe, stick each patch on its outline and press it down hard, then wait 30 minutes before inflating. After that it’s one press and a twist, and the pillow stays put all night.
It adds nothing you notice to the weight or the packed size. Since fitting it we haven’t woken up to find the pillow on the tent floor, which after a few nights of that is reason enough.
Do's
- Wipe with an alcohol-based cleaner
- Let the mat dry fully
- Use the printed outlines
- Press each patch down firmly
- Wait 30 minutes to inflate
- Press and twist to lock
Don'ts
- Don't fit patches to a damp mat
- Don't inflate straight away
- Don't just set the pillow down
Recommended gear
Pillows with Pillow Lock tabs that we’ve reviewed. For more options, see our camping pillows and camping mattresses guides.