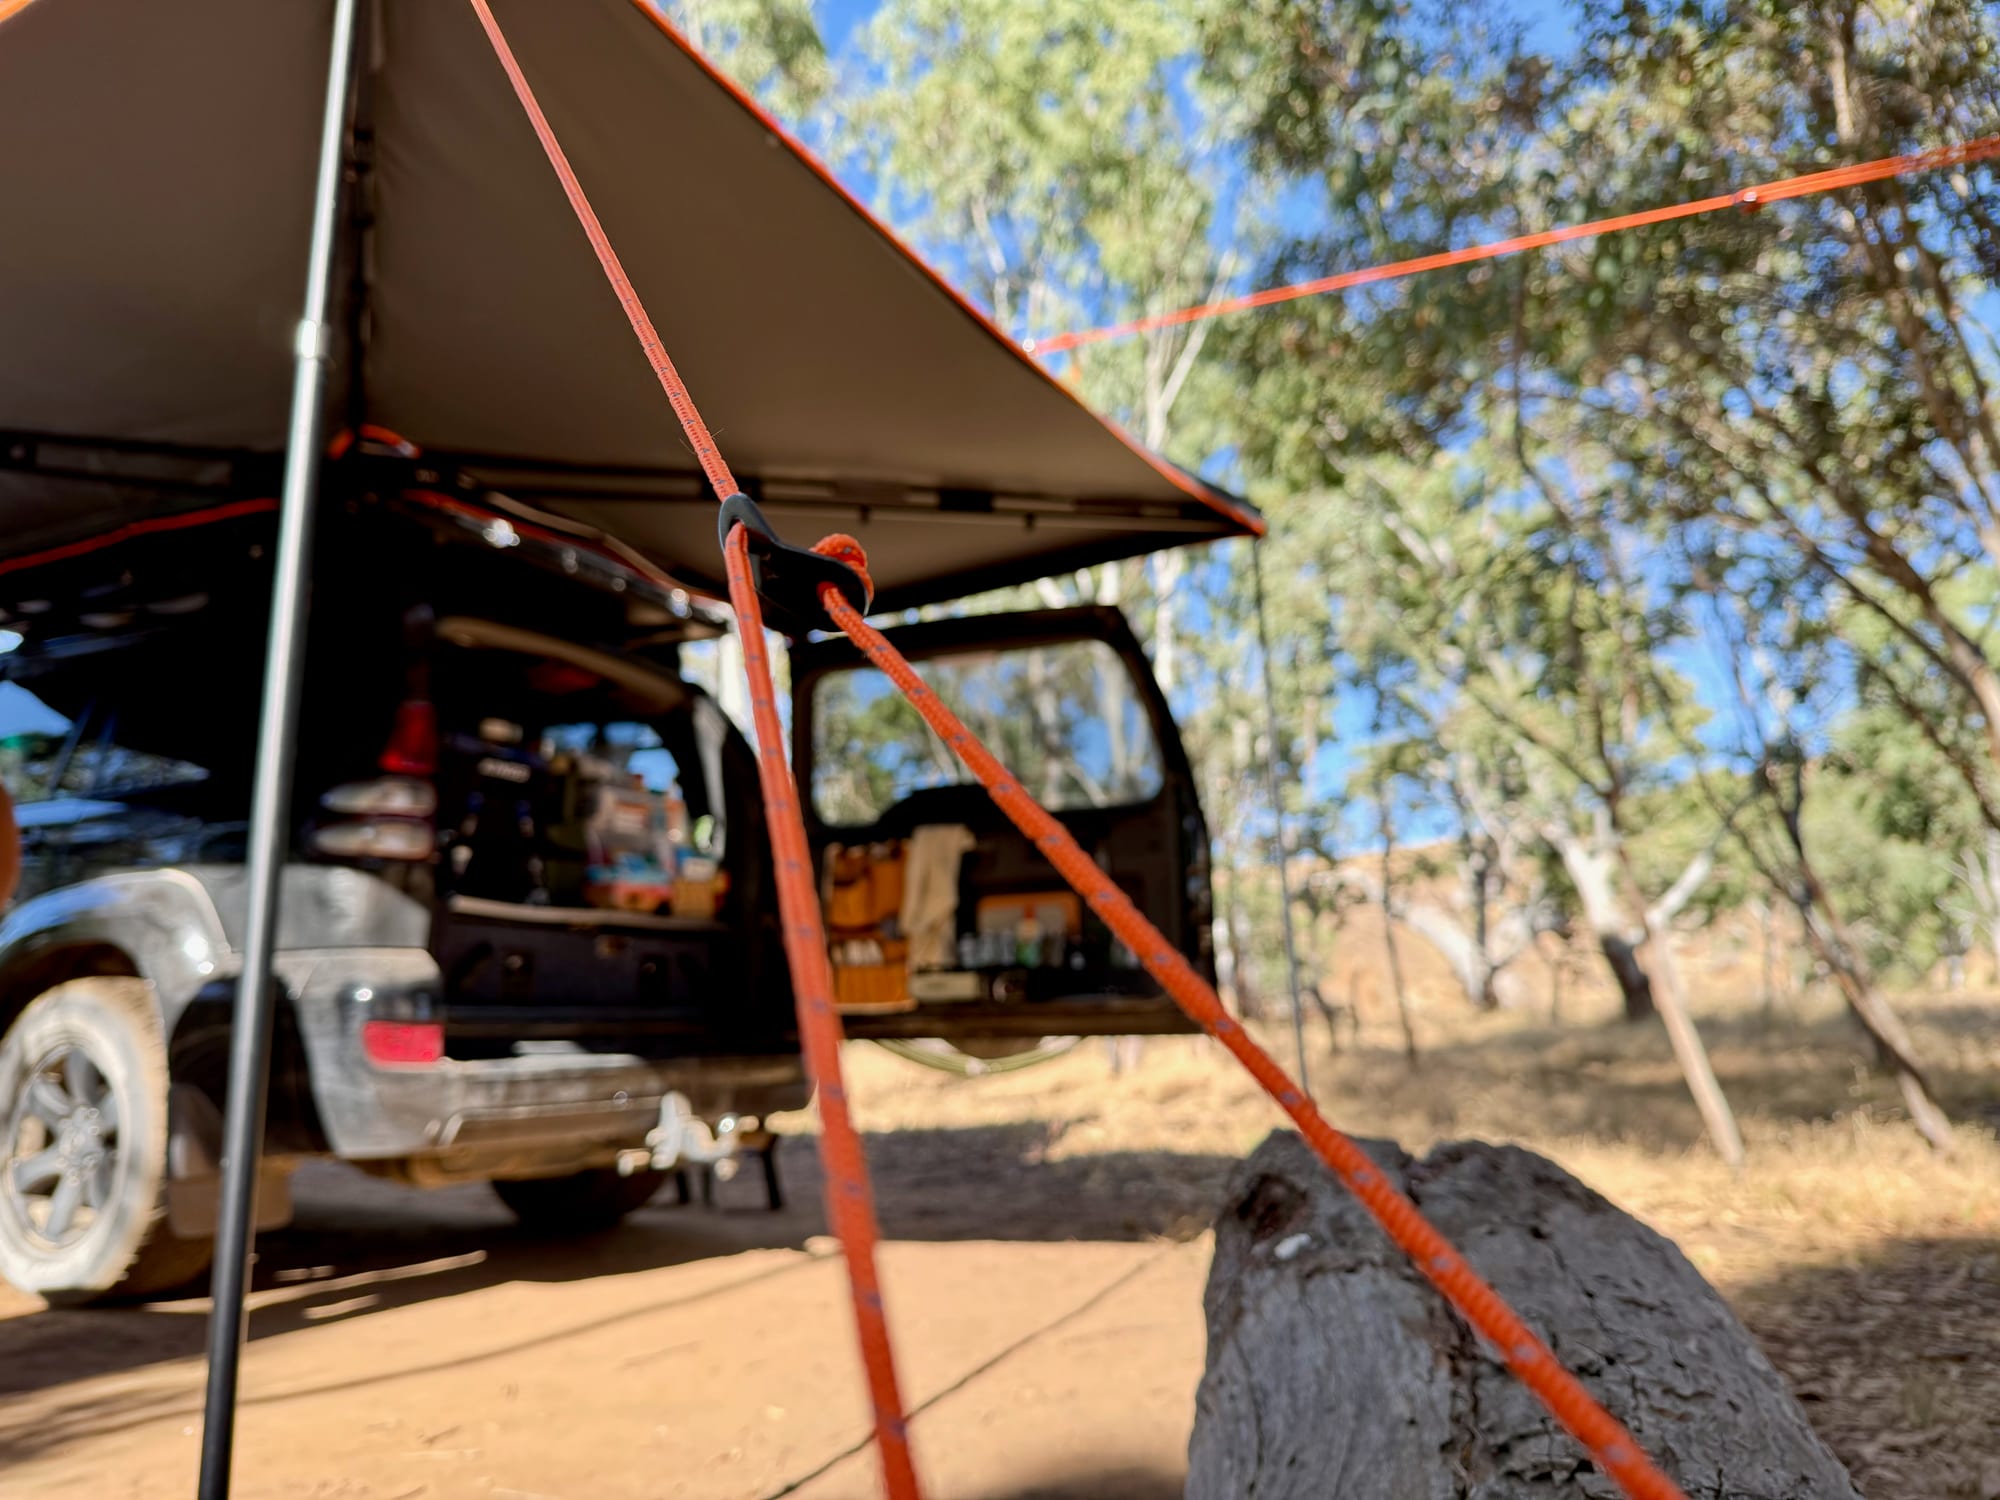
On a windy day, an awning without its guy ropes is asking for trouble. Ours is an OCAM 270 awning on the Prado, and we always tie it down for extra stability, at the latest before we go to sleep in the rooftop tent: you never know if the wind will pick up overnight. Here’s how we tie the guy rope to the corner with a bowline, not a simple knot, which pulls tight and won’t come loose easily when you pack up.
What you need
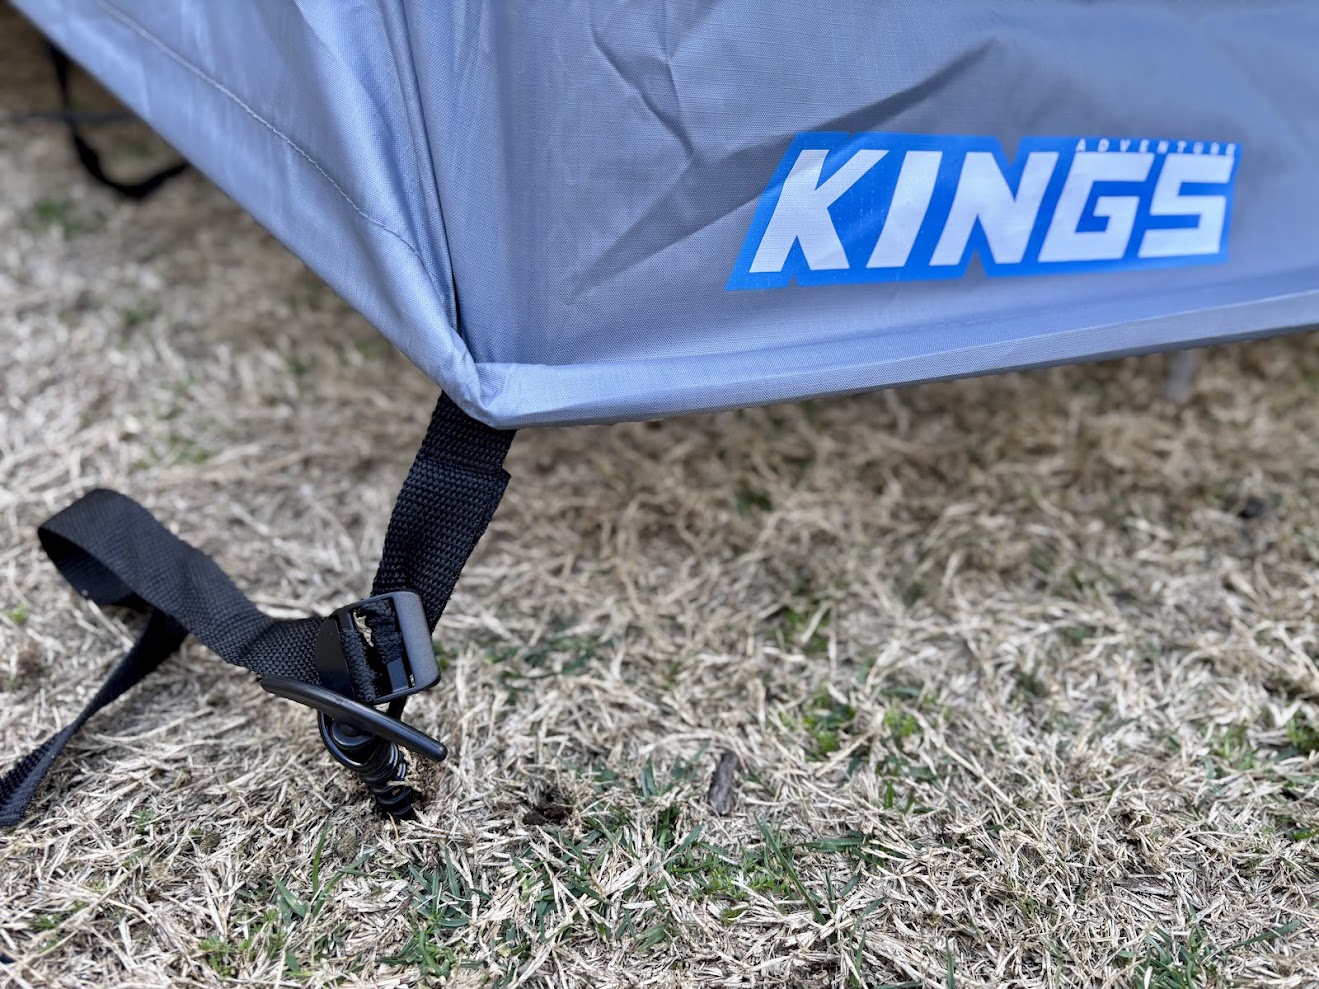
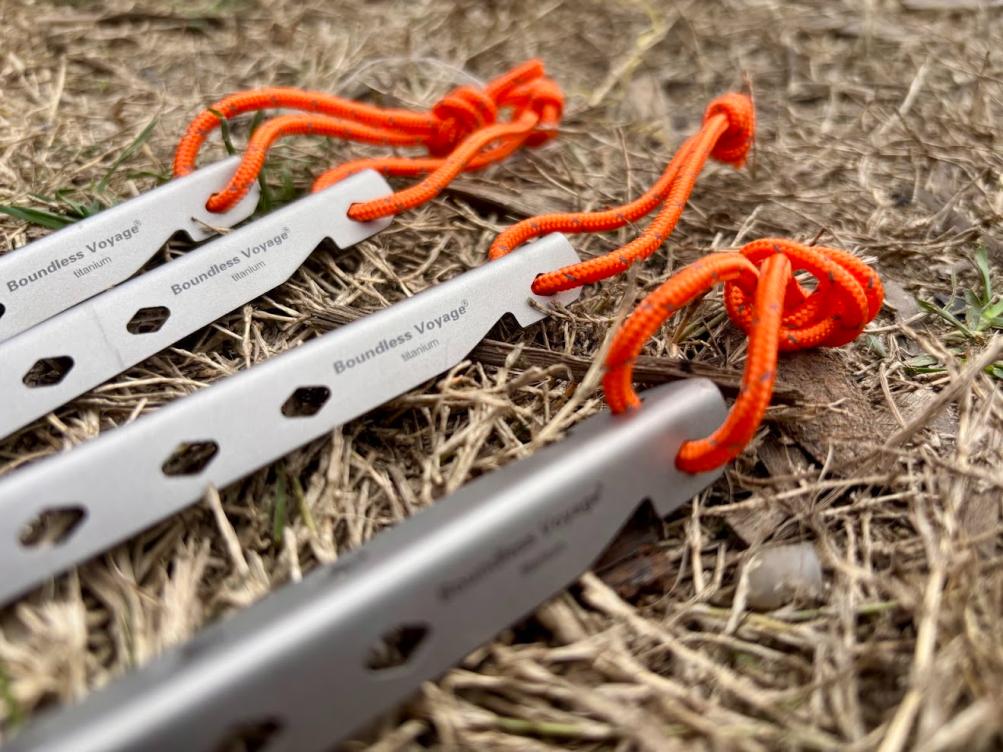
All you need is a guy rope with a guyline tensioner and a tent peg. The orange guy ropes, tensioners included, came with our awning. For pegs that hold in sand and hard ground, see our tent pegs guide.
Step 1: Thread the eyelet1. Thread the eyelet
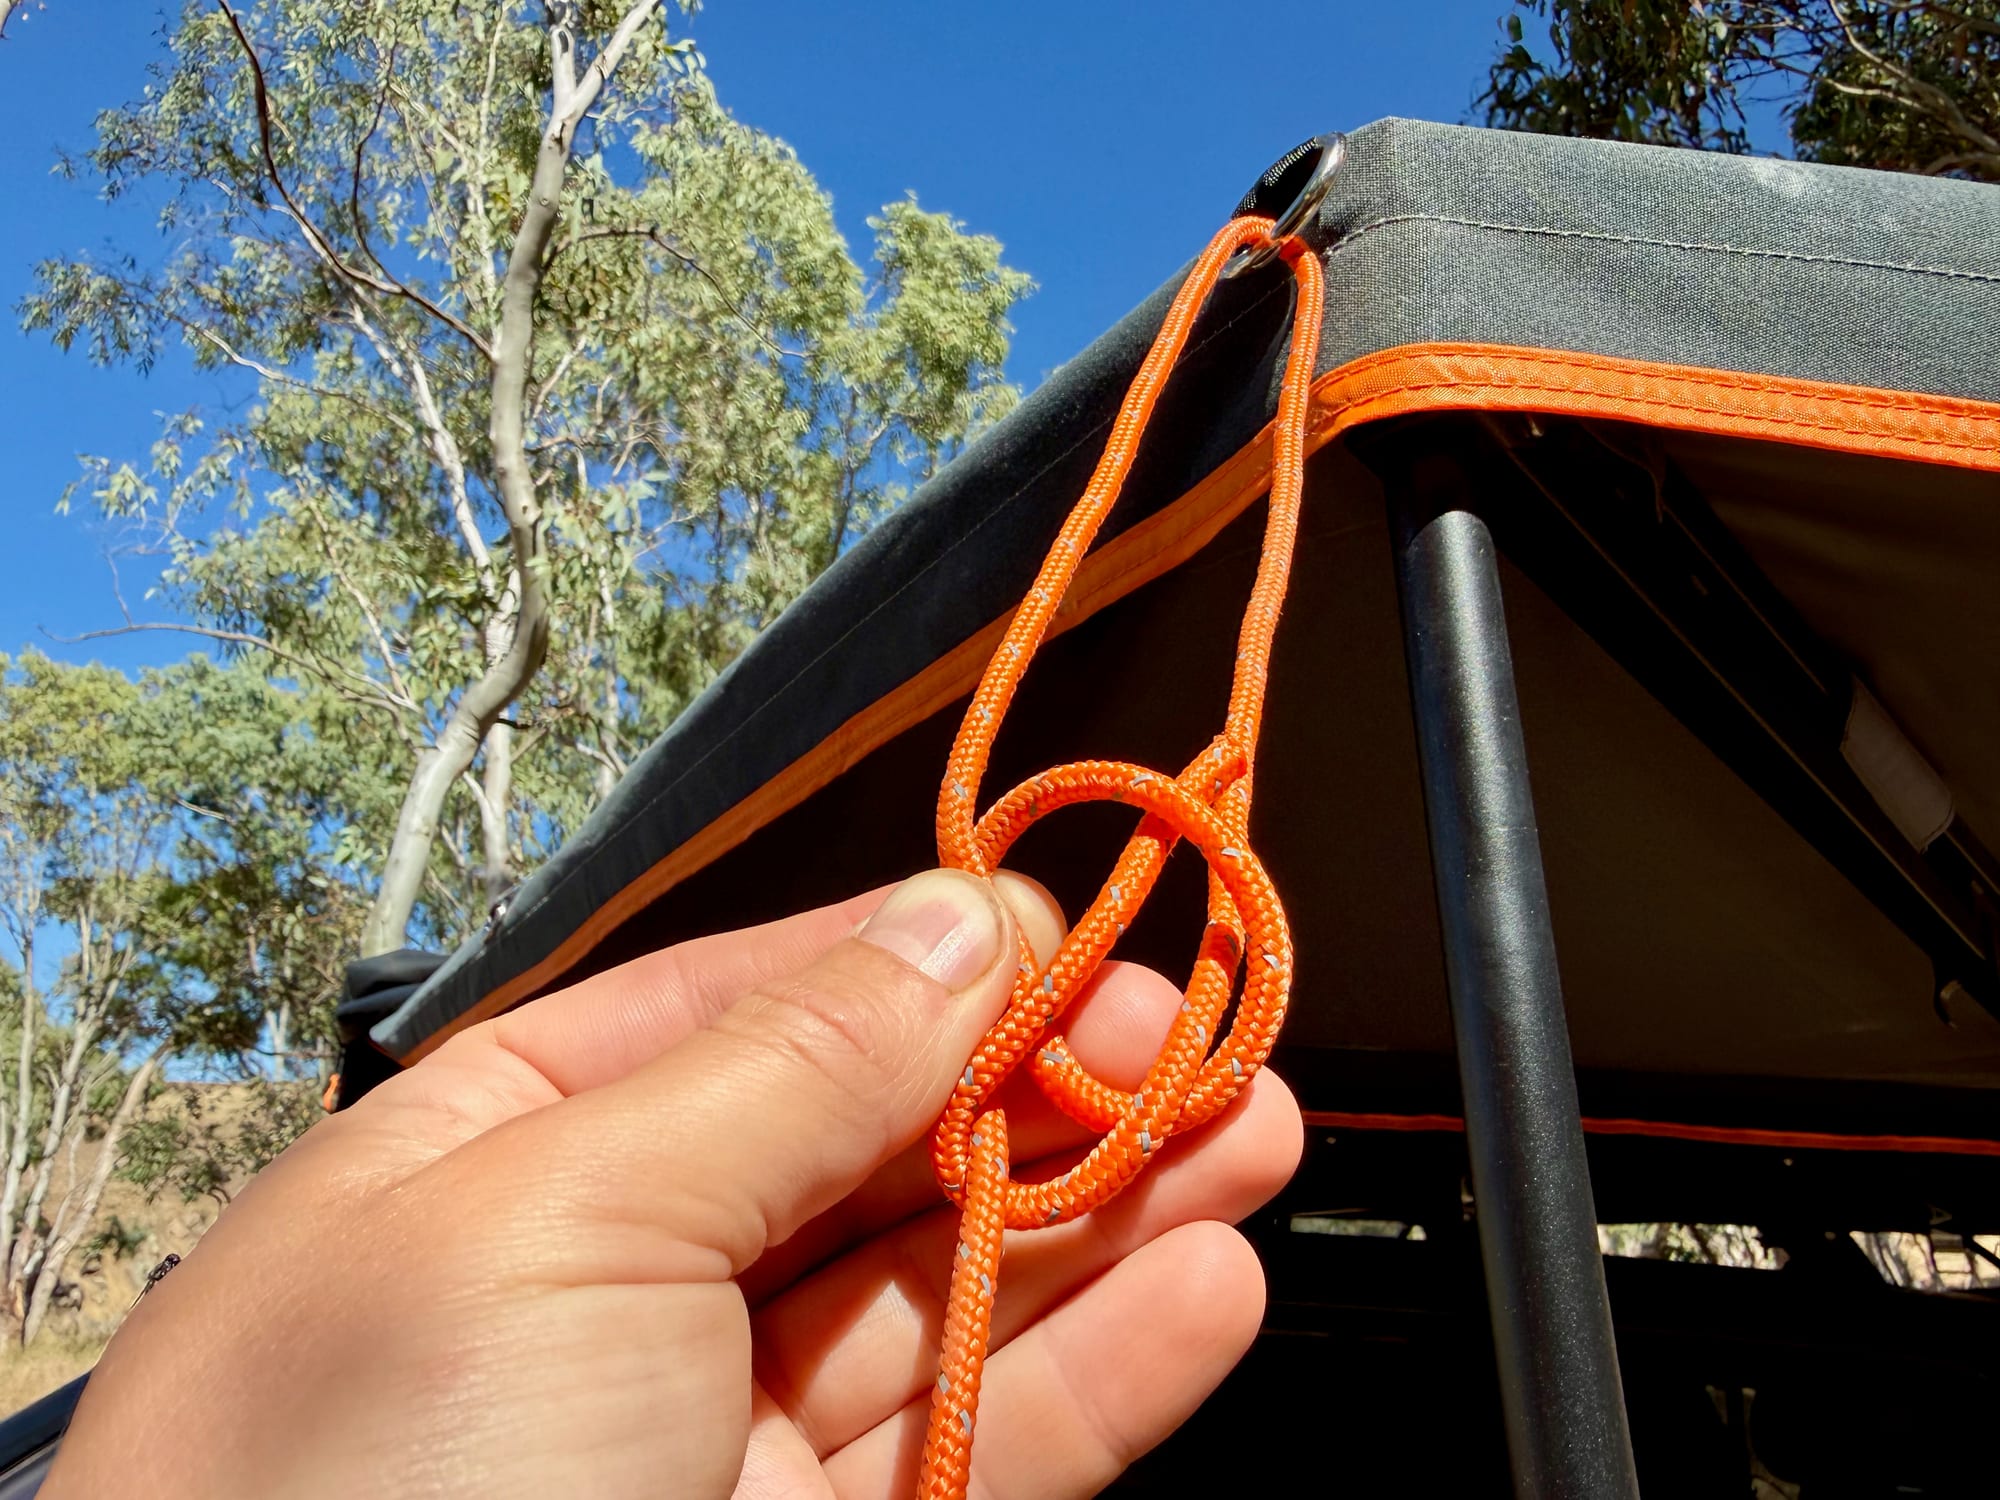
Each corner of the awning has a metal eyelet for the guy rope. Thread one end of the rope through it and pull roughly 50 cm through: that’s plenty to tie the knot with.
Step 2: Tie the knot2. Tie the knot
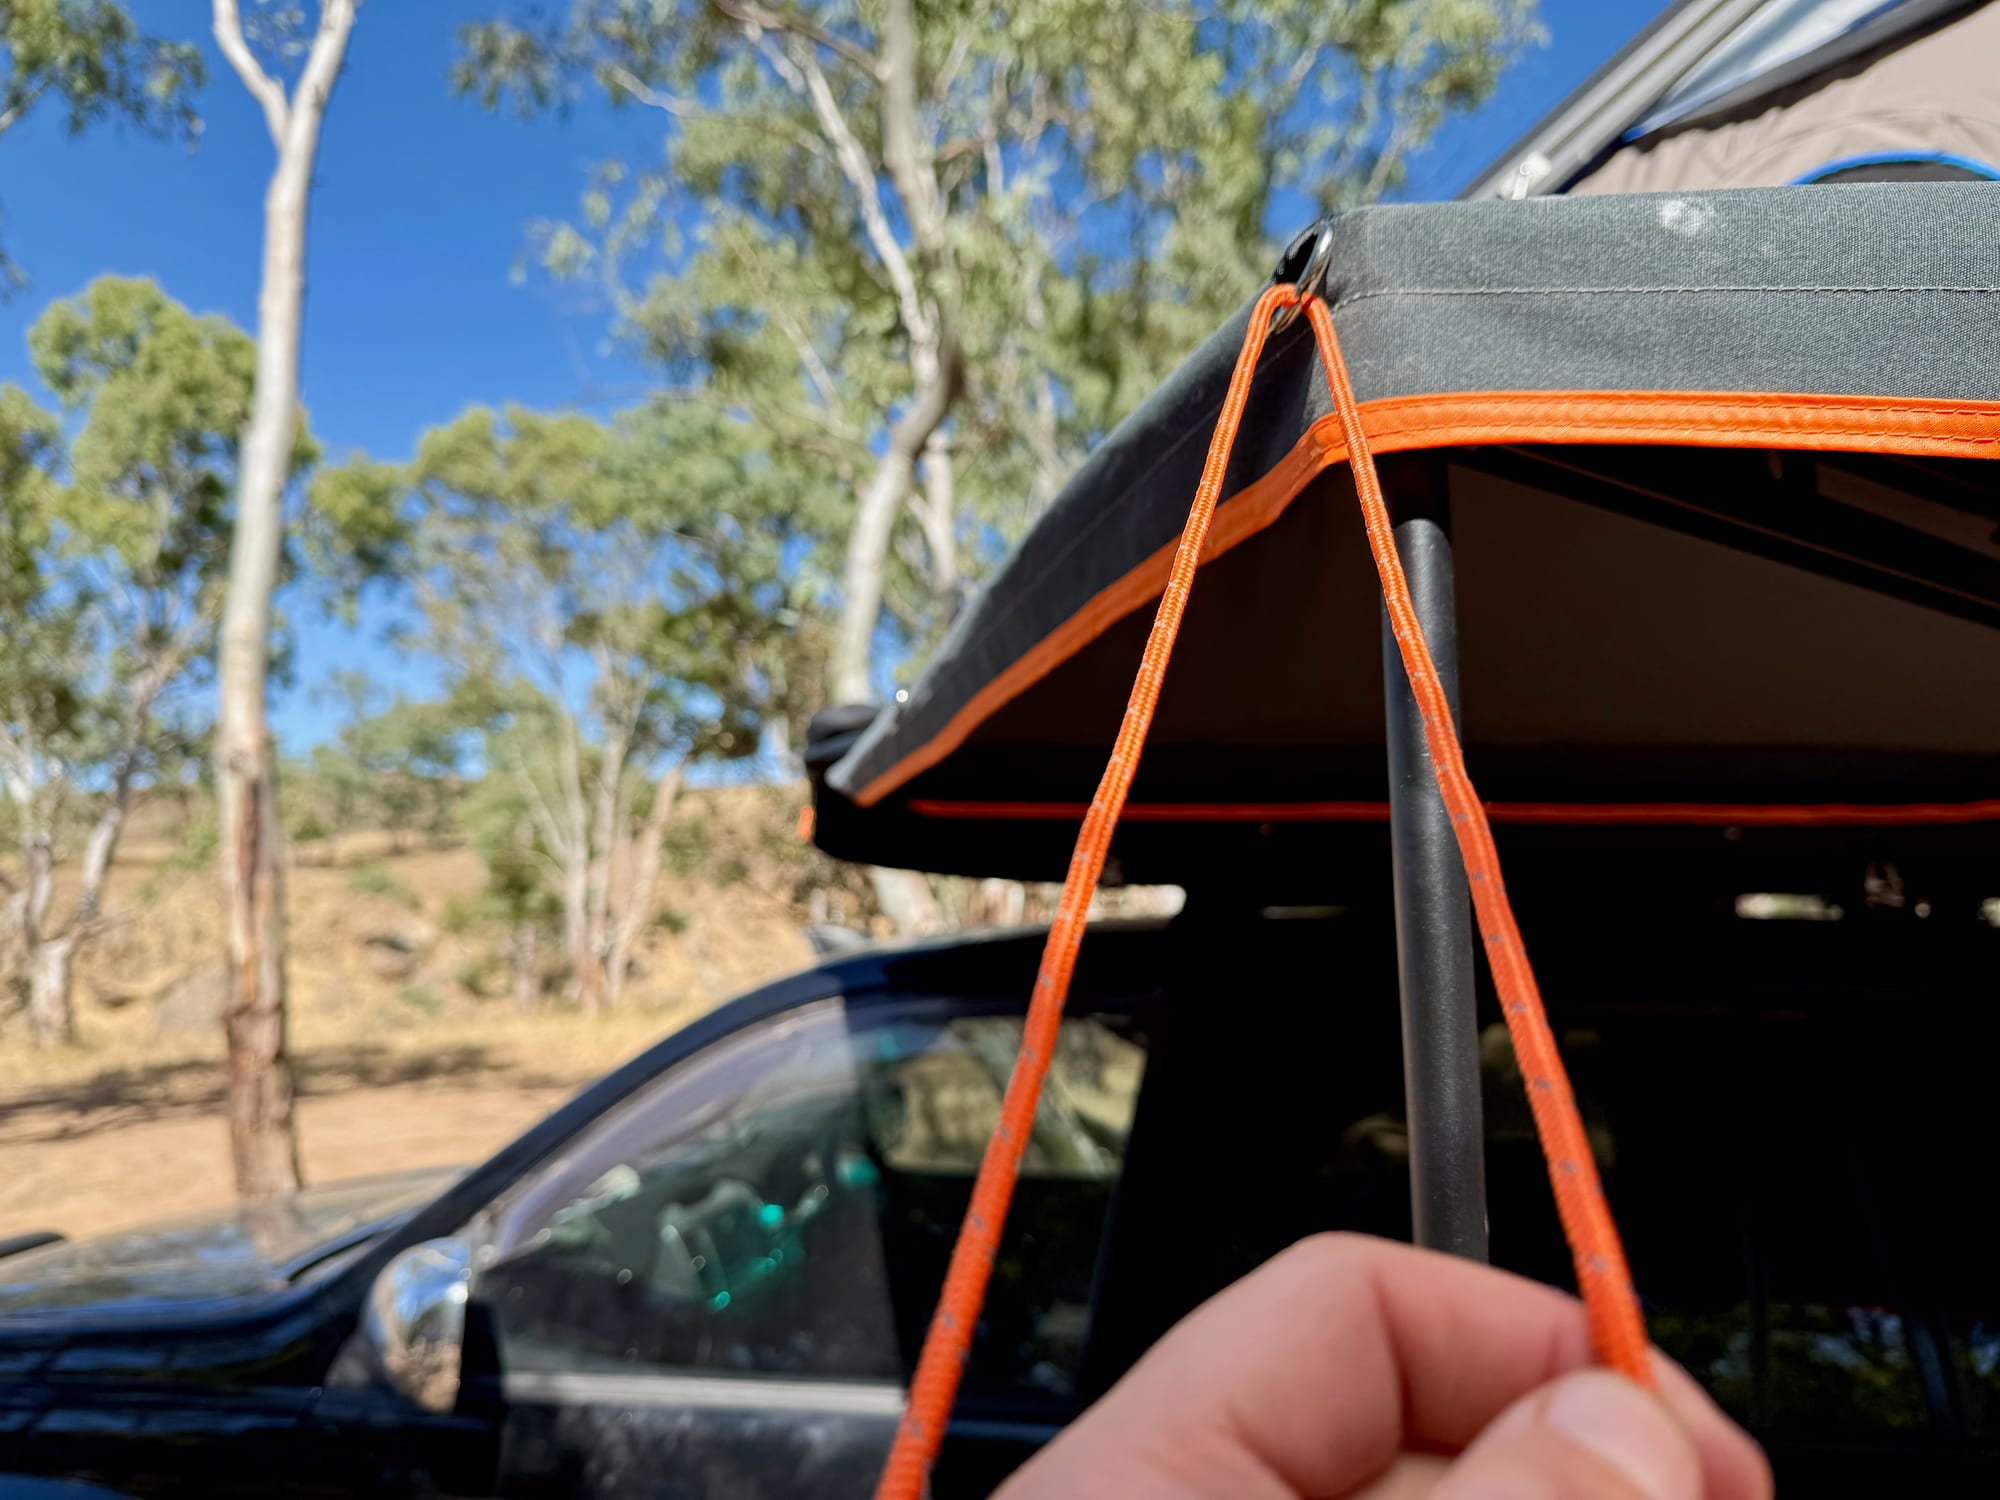
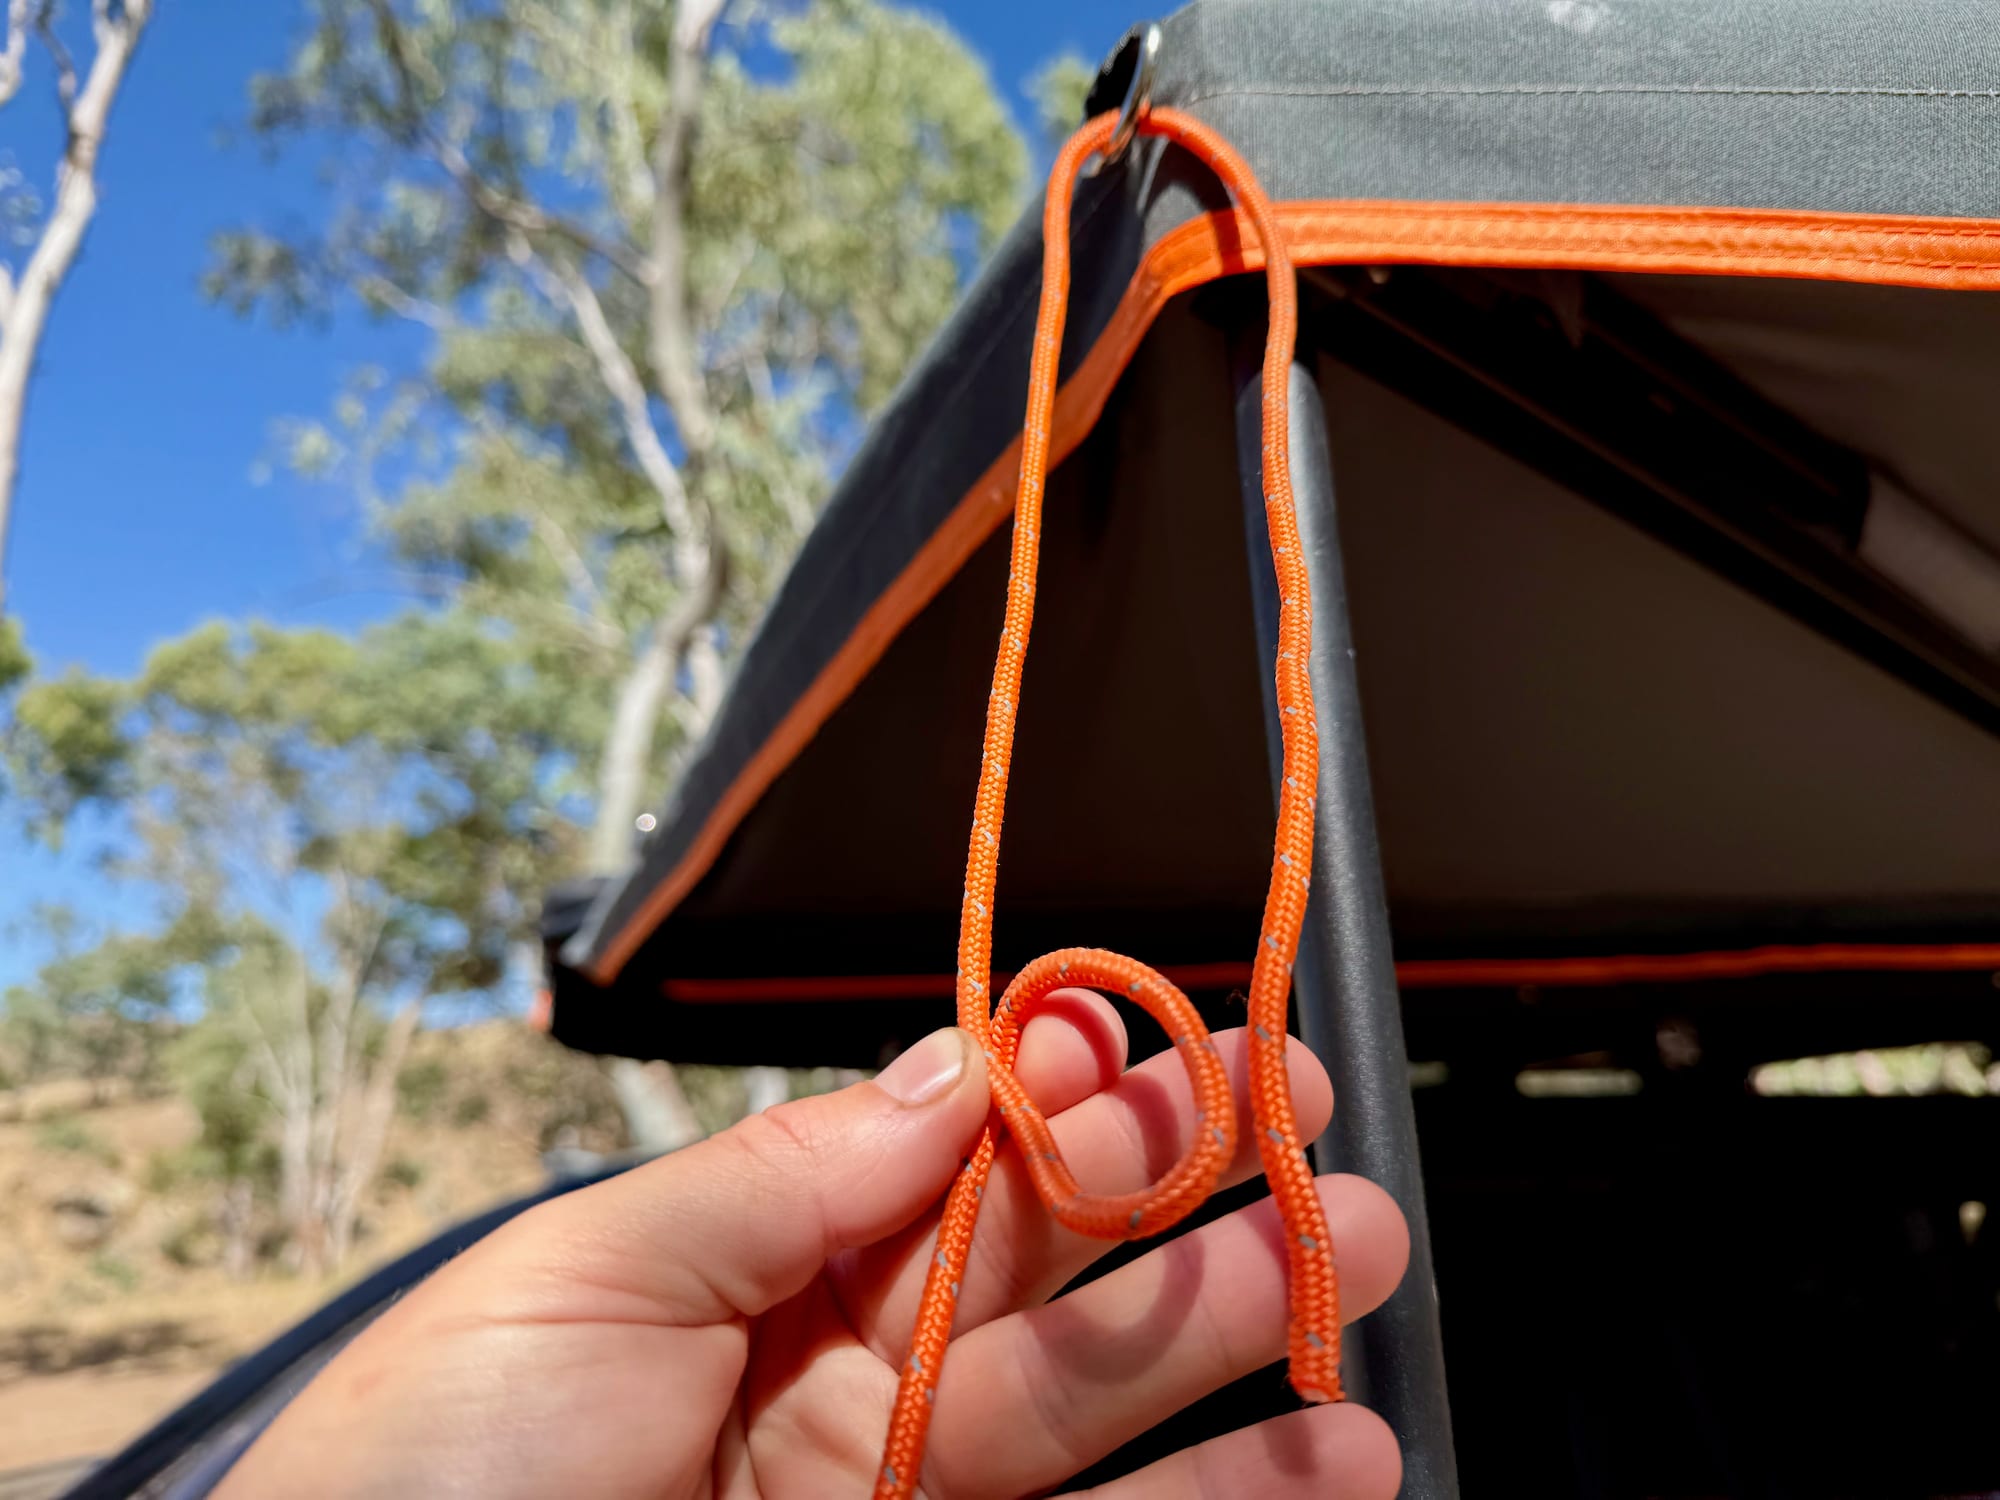
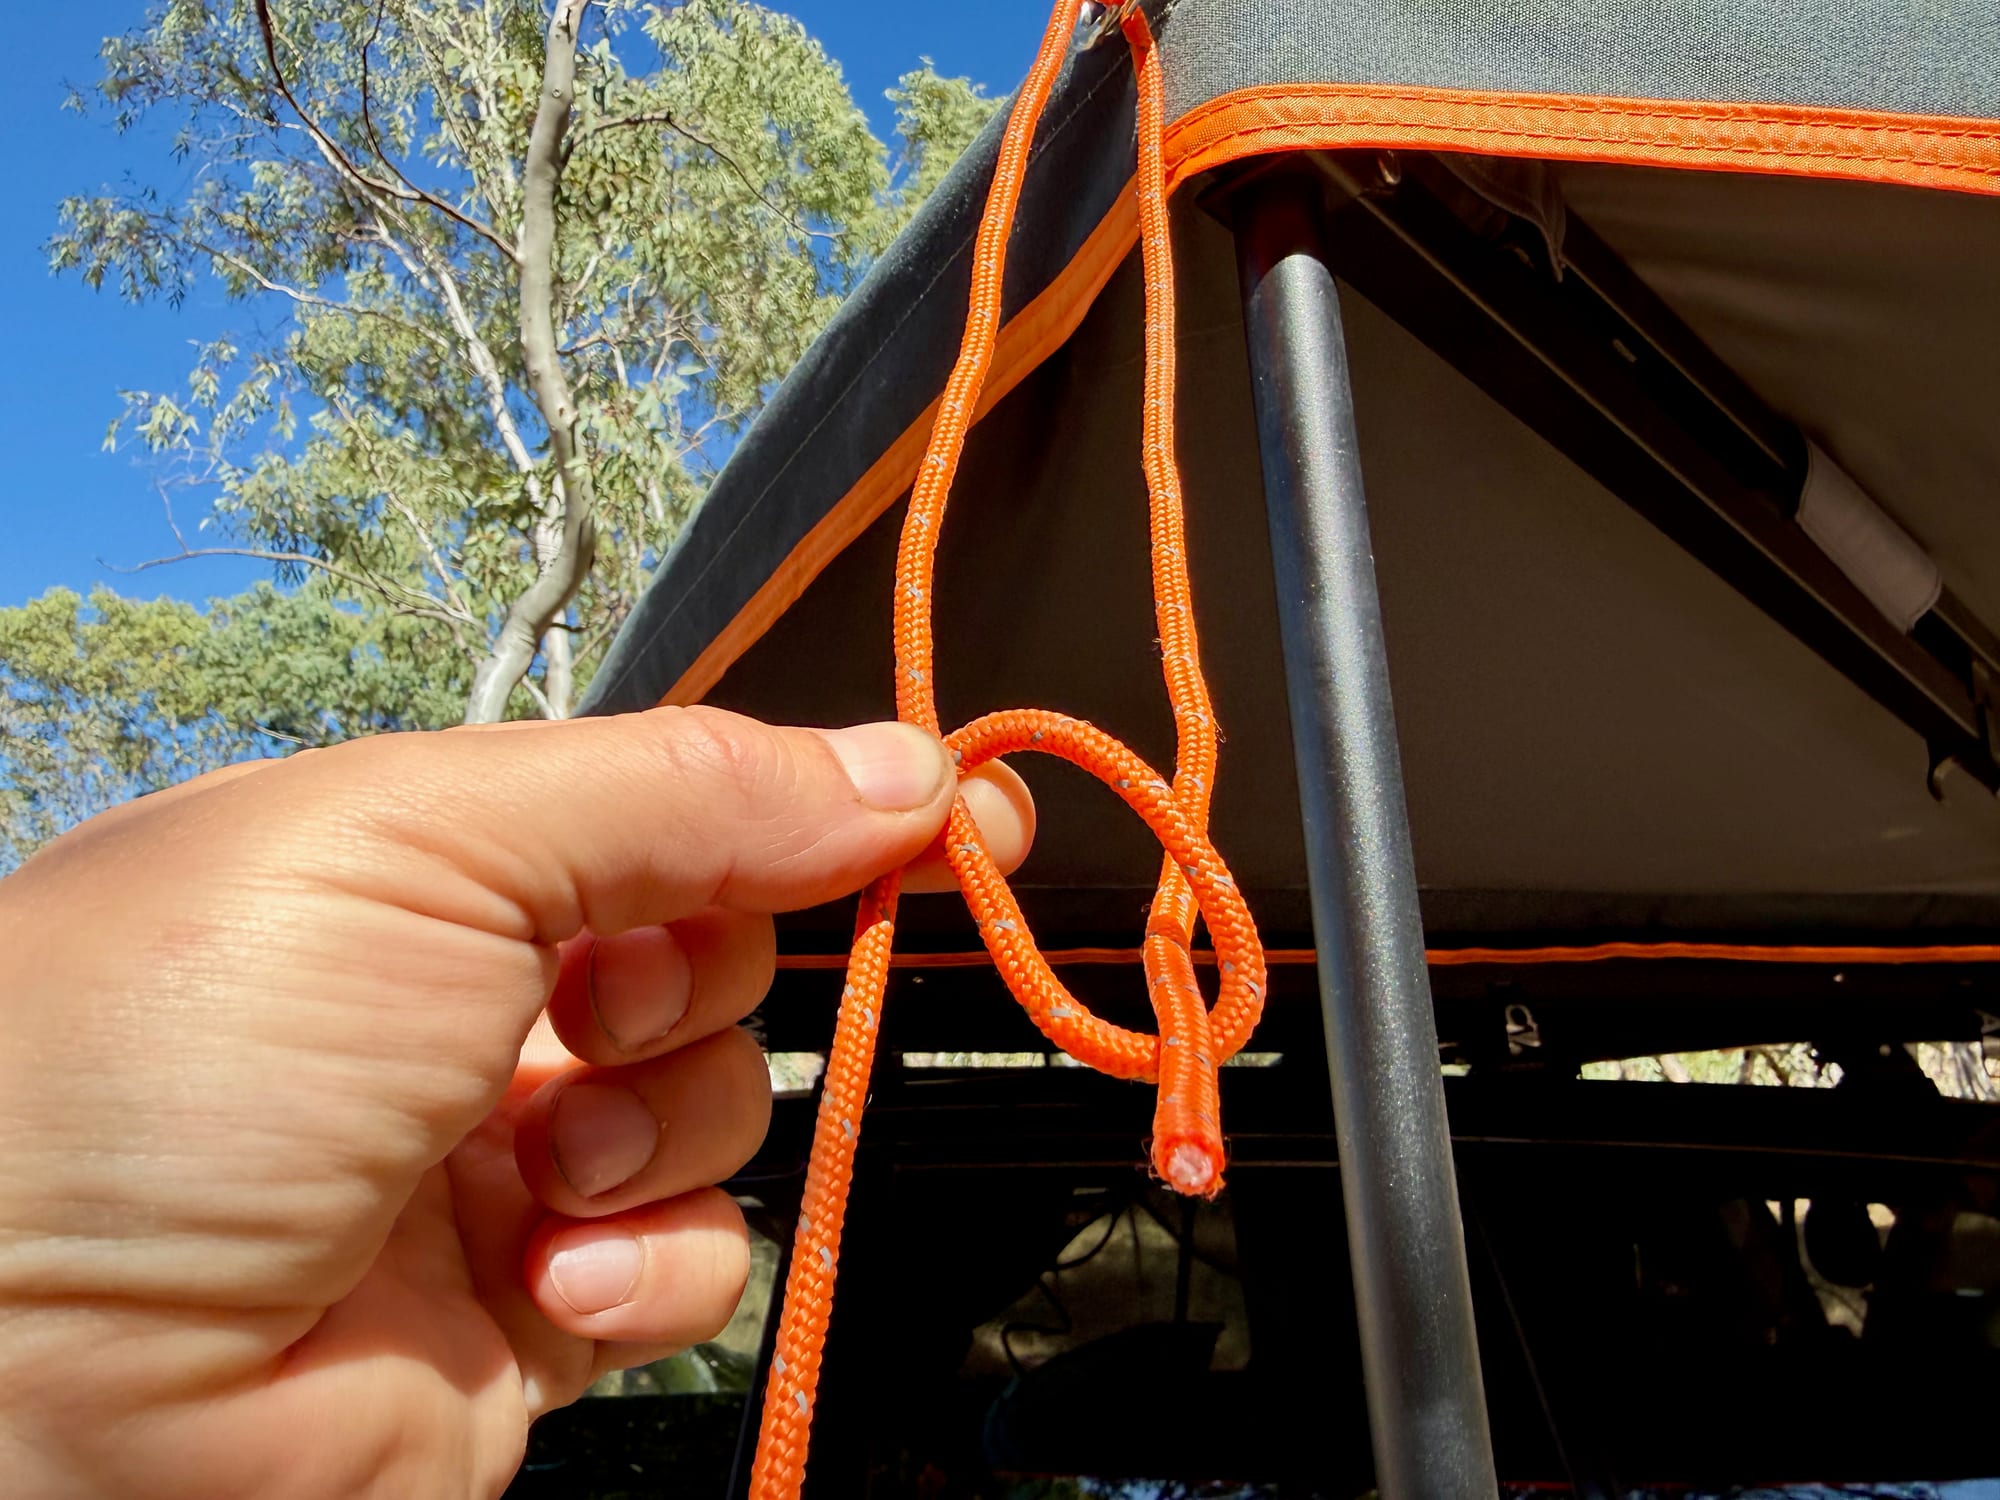
We use a bowline. With the rope through the eyelet, you have a short end and a long part that runs down to the ground. Make a small loop in the long part, just below the eyelet, then pass the short end up through that loop from underneath.
The easiest way to remember it is the rabbit and the tree: the small loop is the rabbit’s hole, the short end is the rabbit and the long part of the rope is the tree. The rabbit comes up out of the hole, runs round the tree and goes back down the hole.
Form a small loop in the long part of the rope
The short end comes up through the loop from underneath
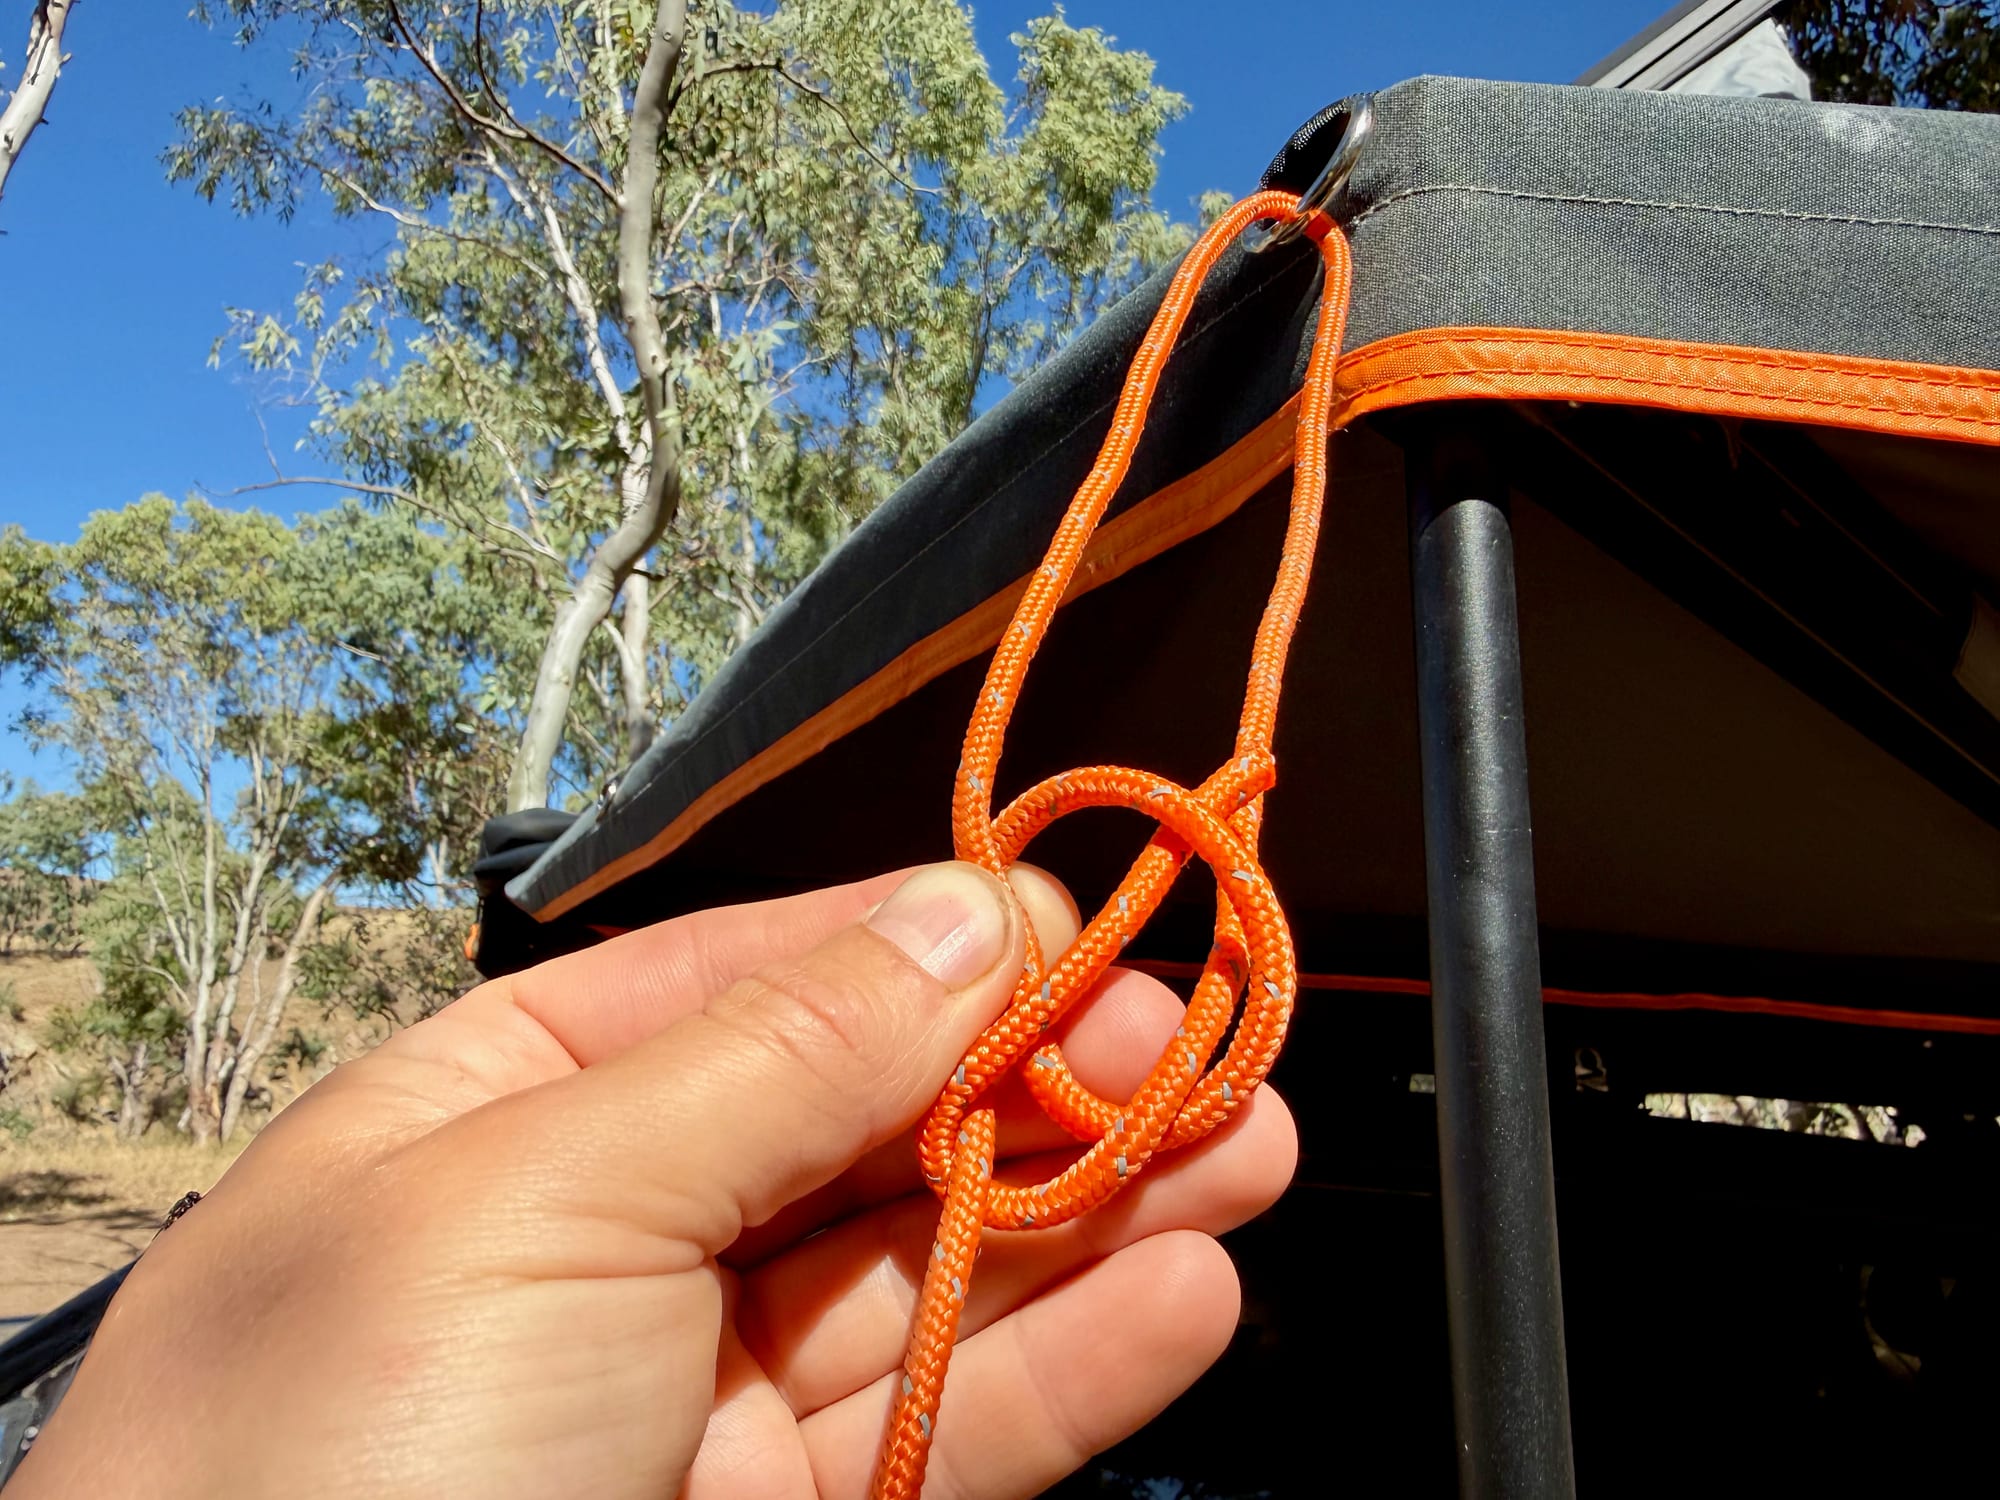
Take the short end round behind the long part
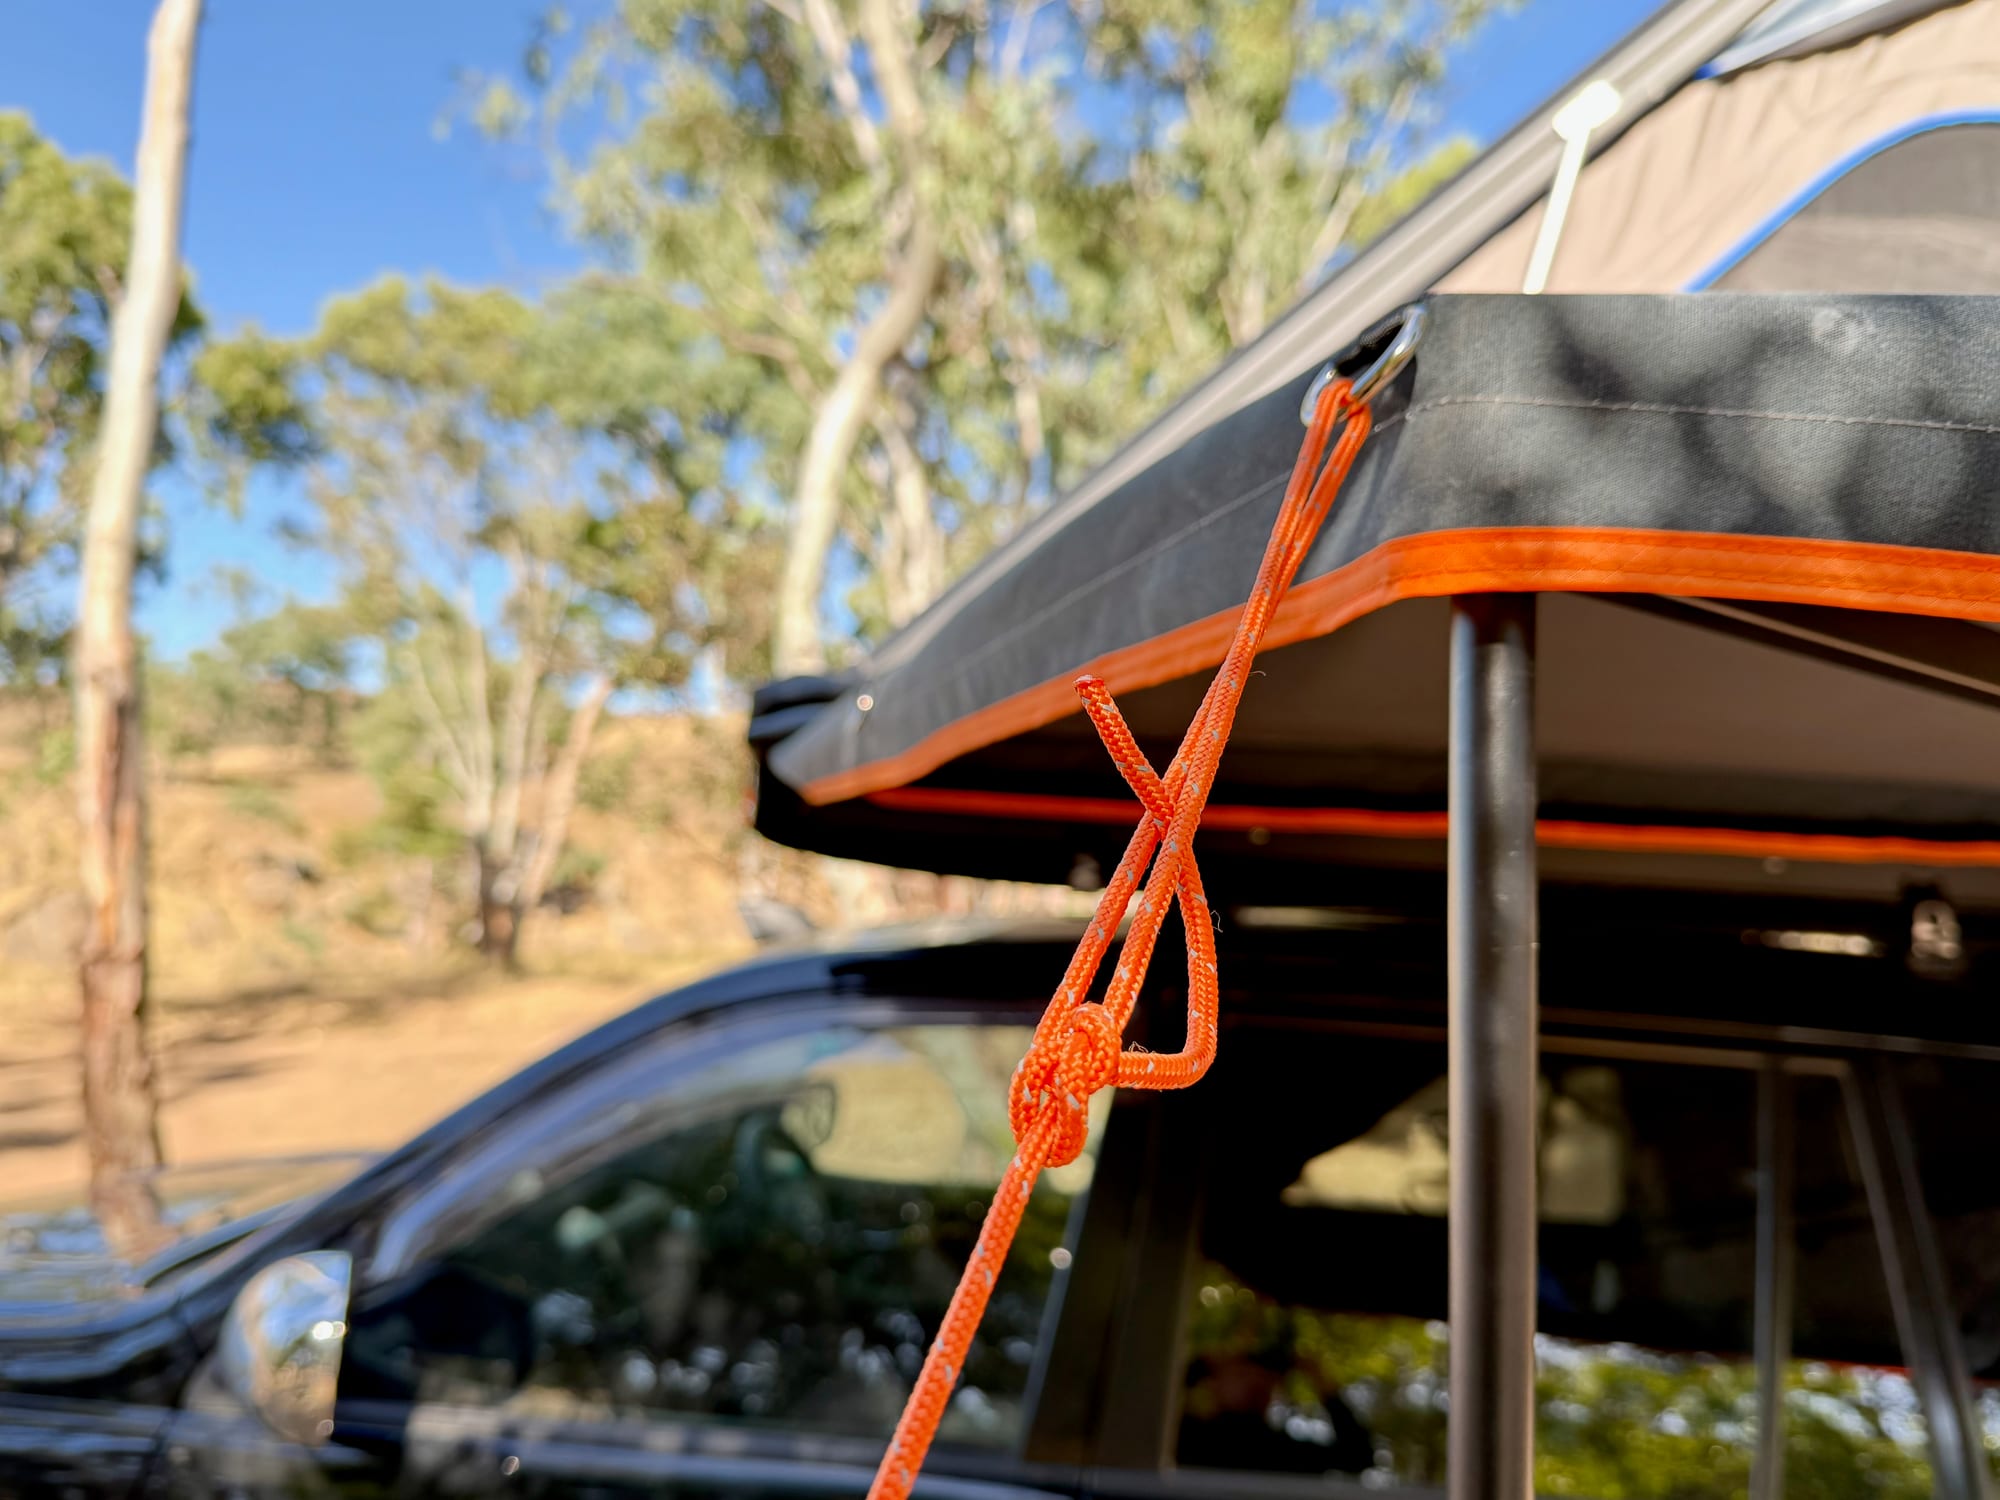
Back down the loop; hold it and pull the long part tight
Step 3: Finish the knot3. Finish the knot
Take the short end round behind the long part of the rope, then bring it back down through the small loop, next to where it came up. Hold the short end and the side of the big loop together and pull on the long part to tighten it. The loop through the eyelet is fixed: it won’t slip or pull tight on the eyelet when the awning flaps in the wind. You don’t need to get the tension right with the knot: that’s what the guyline tensioner at the other end of the rope is for.
Step 4: Peg it out4. Peg it out
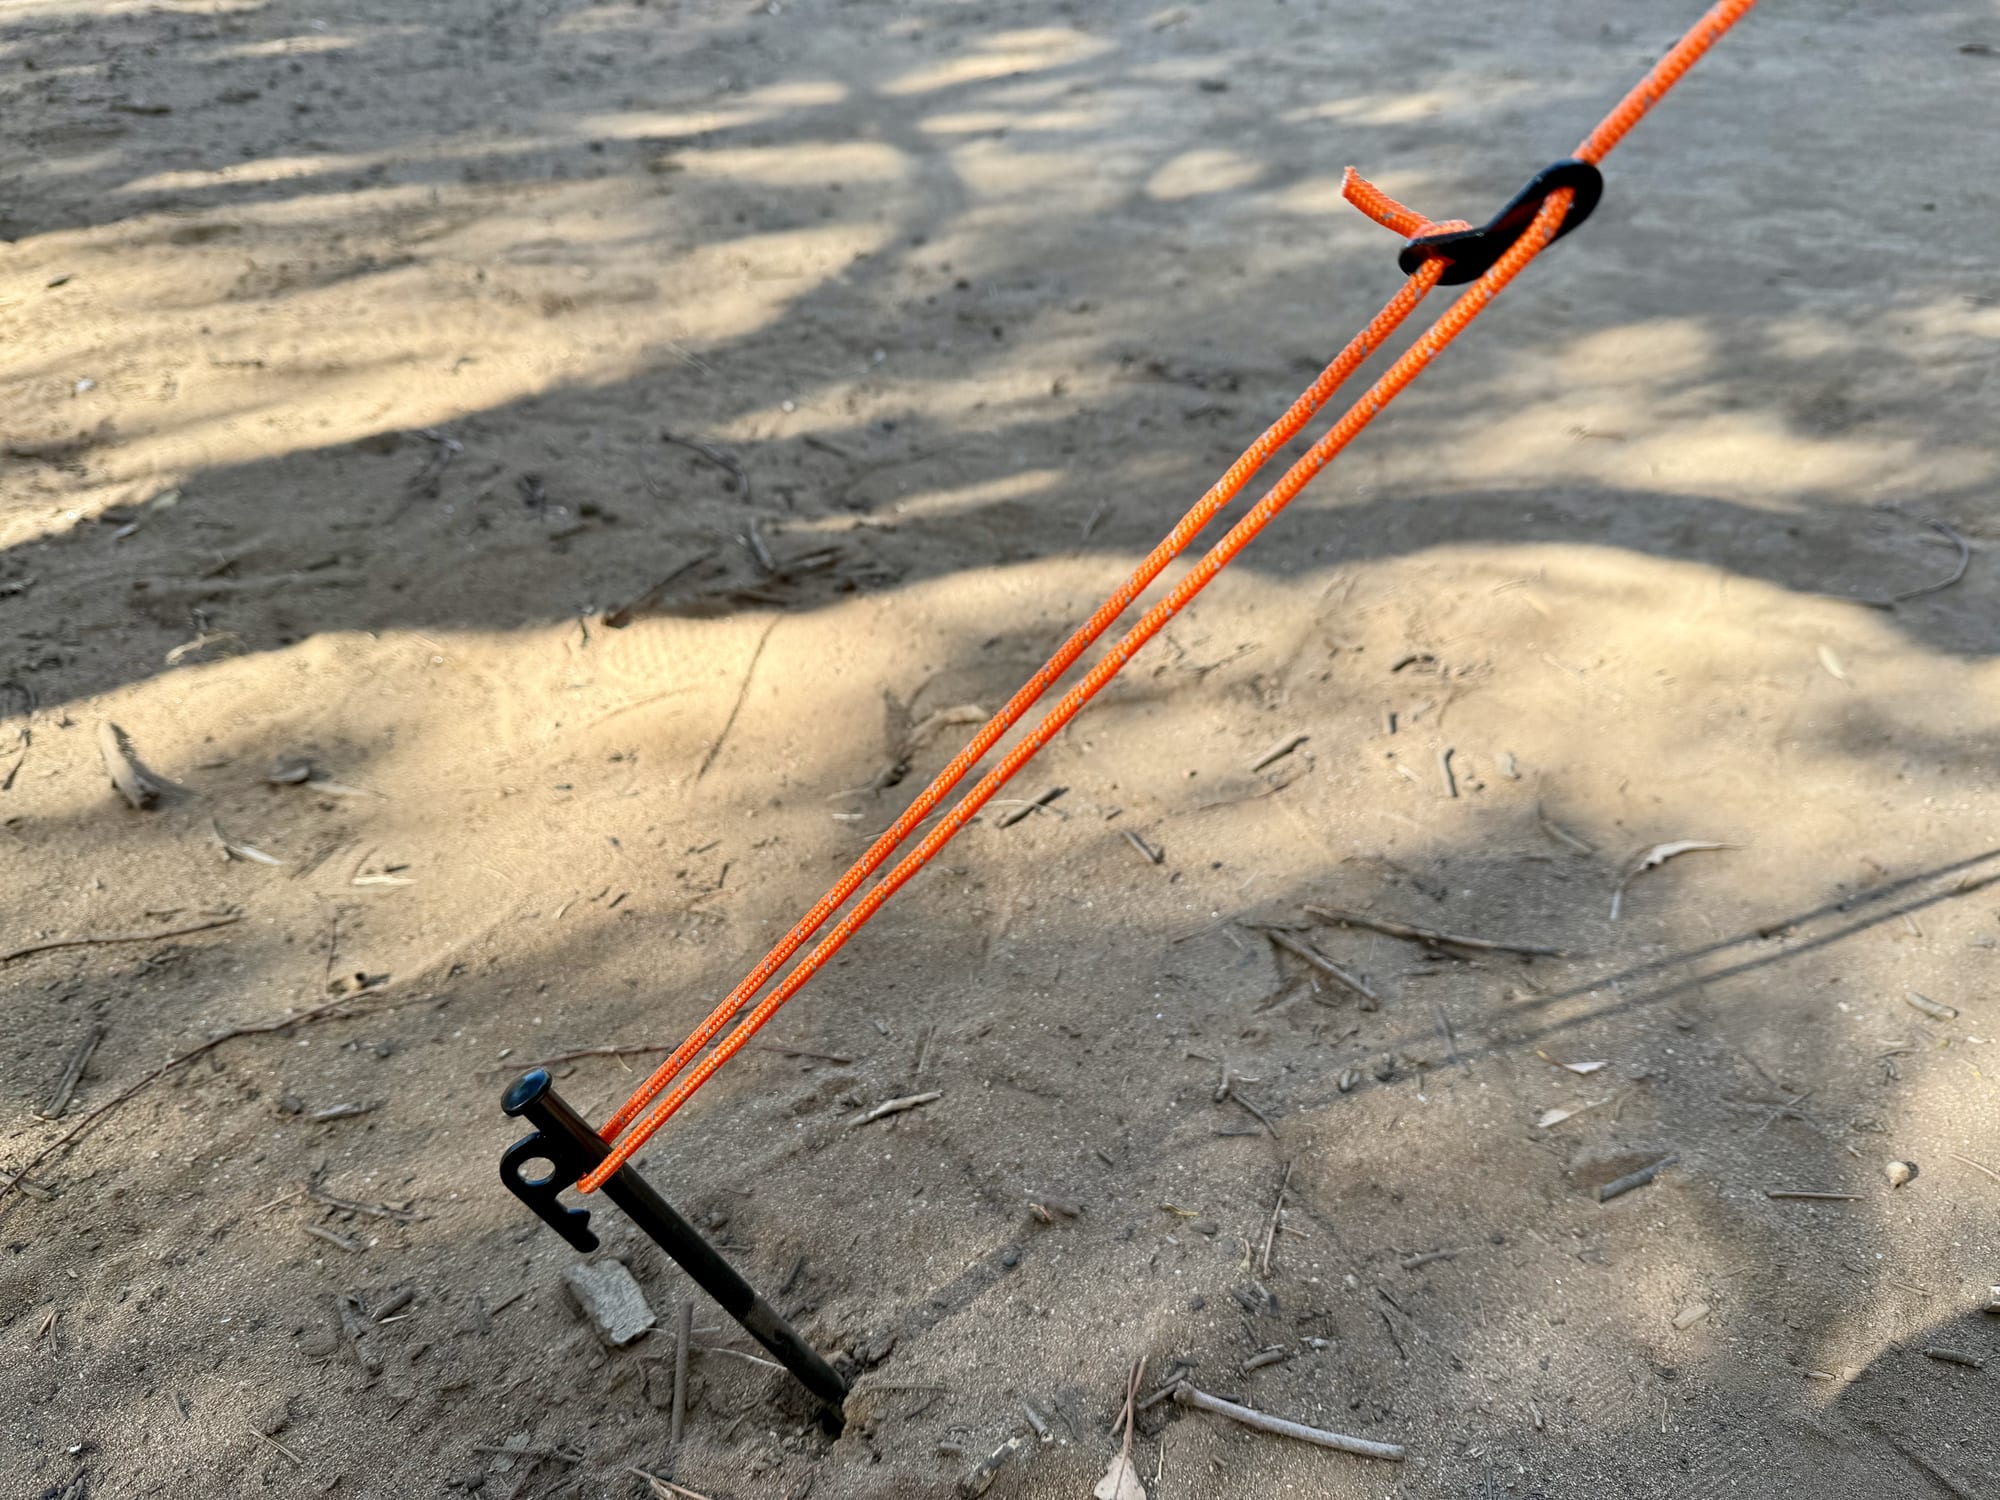
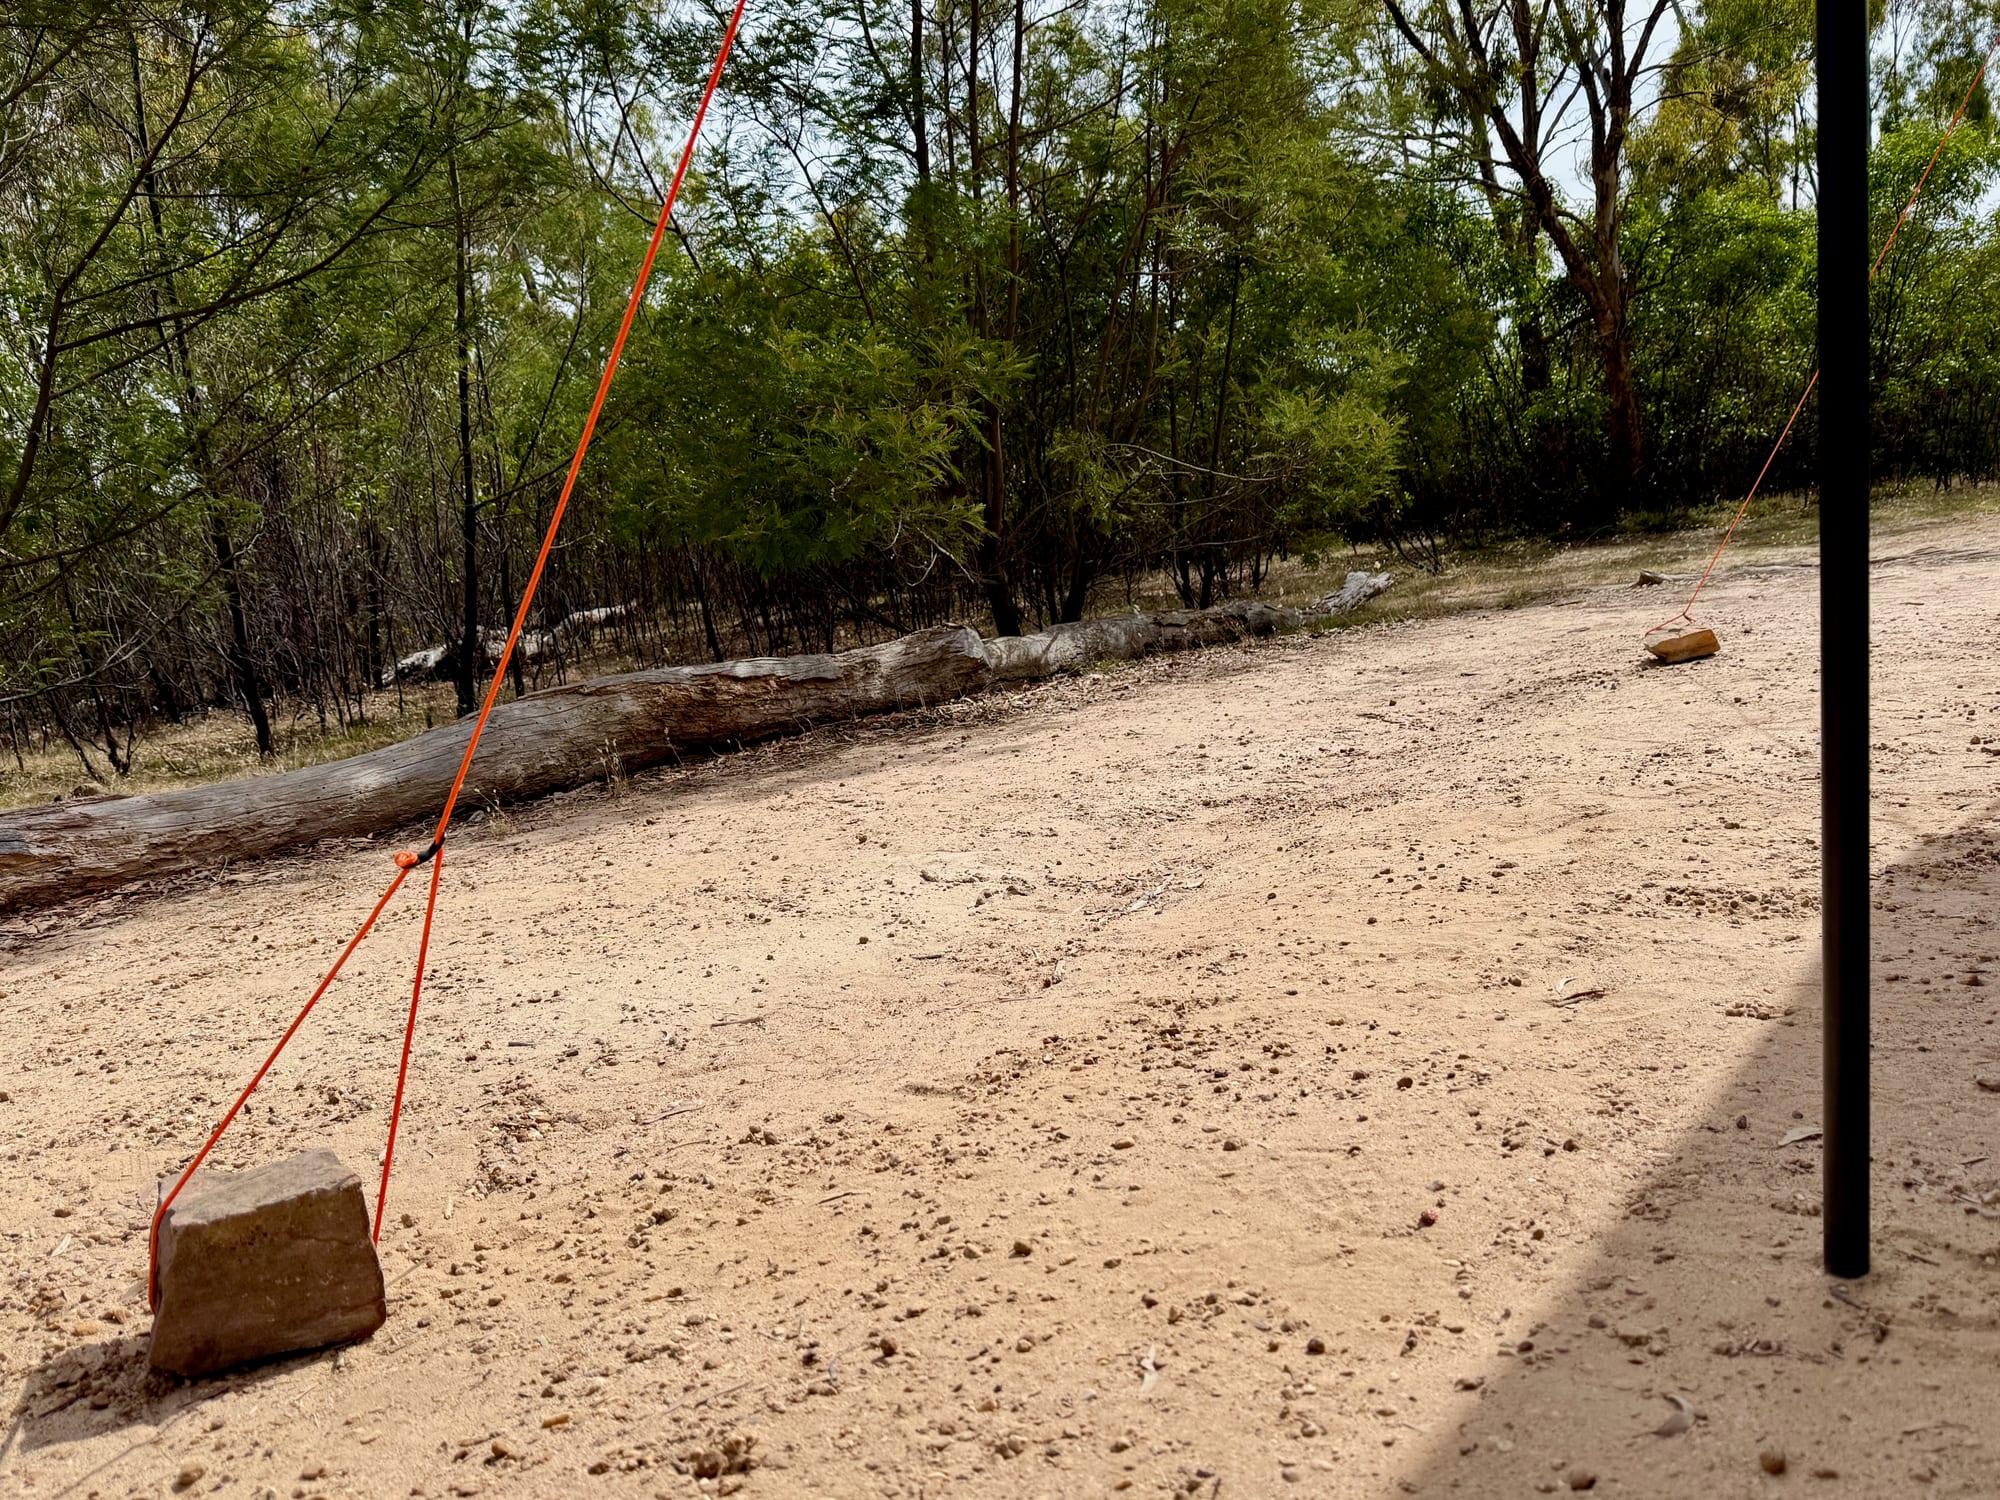
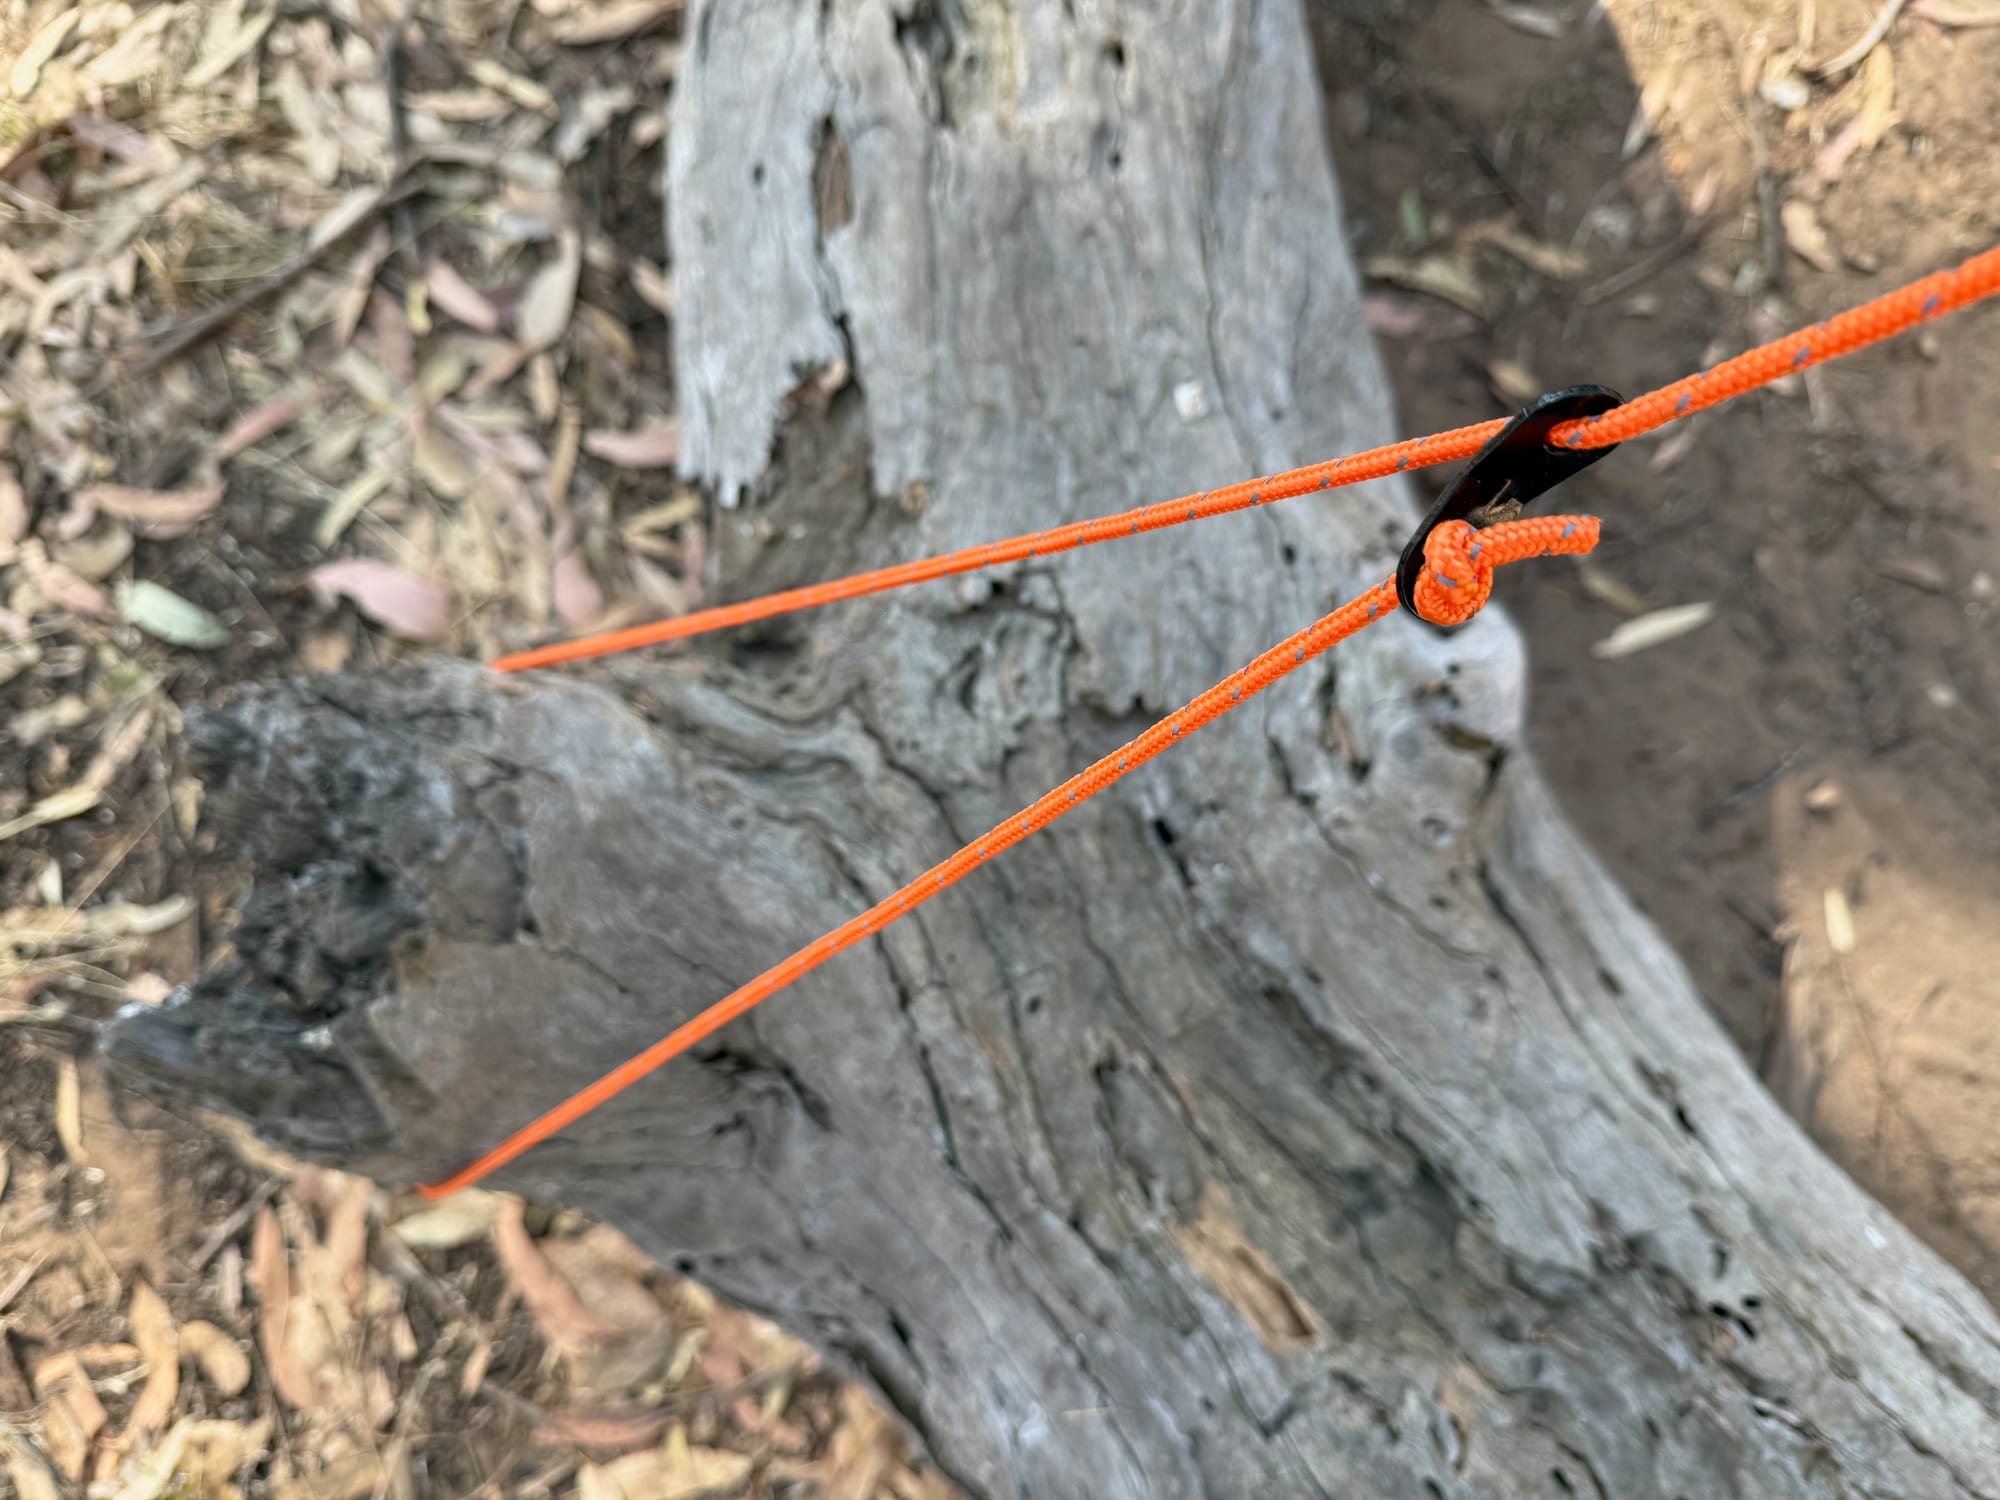
Run the rope out at an angle from the corner, away from the awning, and peg it down. Then tighten it with the guyline tensioner, the little clip on the rope near the peg: pull it up the rope until the line is taut. A handy trick when the ground is so hard that pegs barely go in: hold the rope down with a heavy rock instead, or, if there are no big rocks around, run it round a tree trunk or a fallen log and back to the tensioner.
Summary
Thread the guy rope through the corner eyelet, tie a bowline, pull it tight, peg the rope out at an angle from the corner and set the tension with the guyline tensioner. The bowline is a great all-round knot to know when camping: it’s easy to tie, easy to undo and doesn’t come loose easily.
Do's
- Do use a bowline
- Do peg the rope out at an angle
- Do tighten it with the tensioner
Don'ts
- Don’t tie a simple knot
- Don’t tension it with the knot
Recommended gear
Awnings and pegs from our reviews. For pegs that hold in sand and hard ground, see our tent pegs guide.