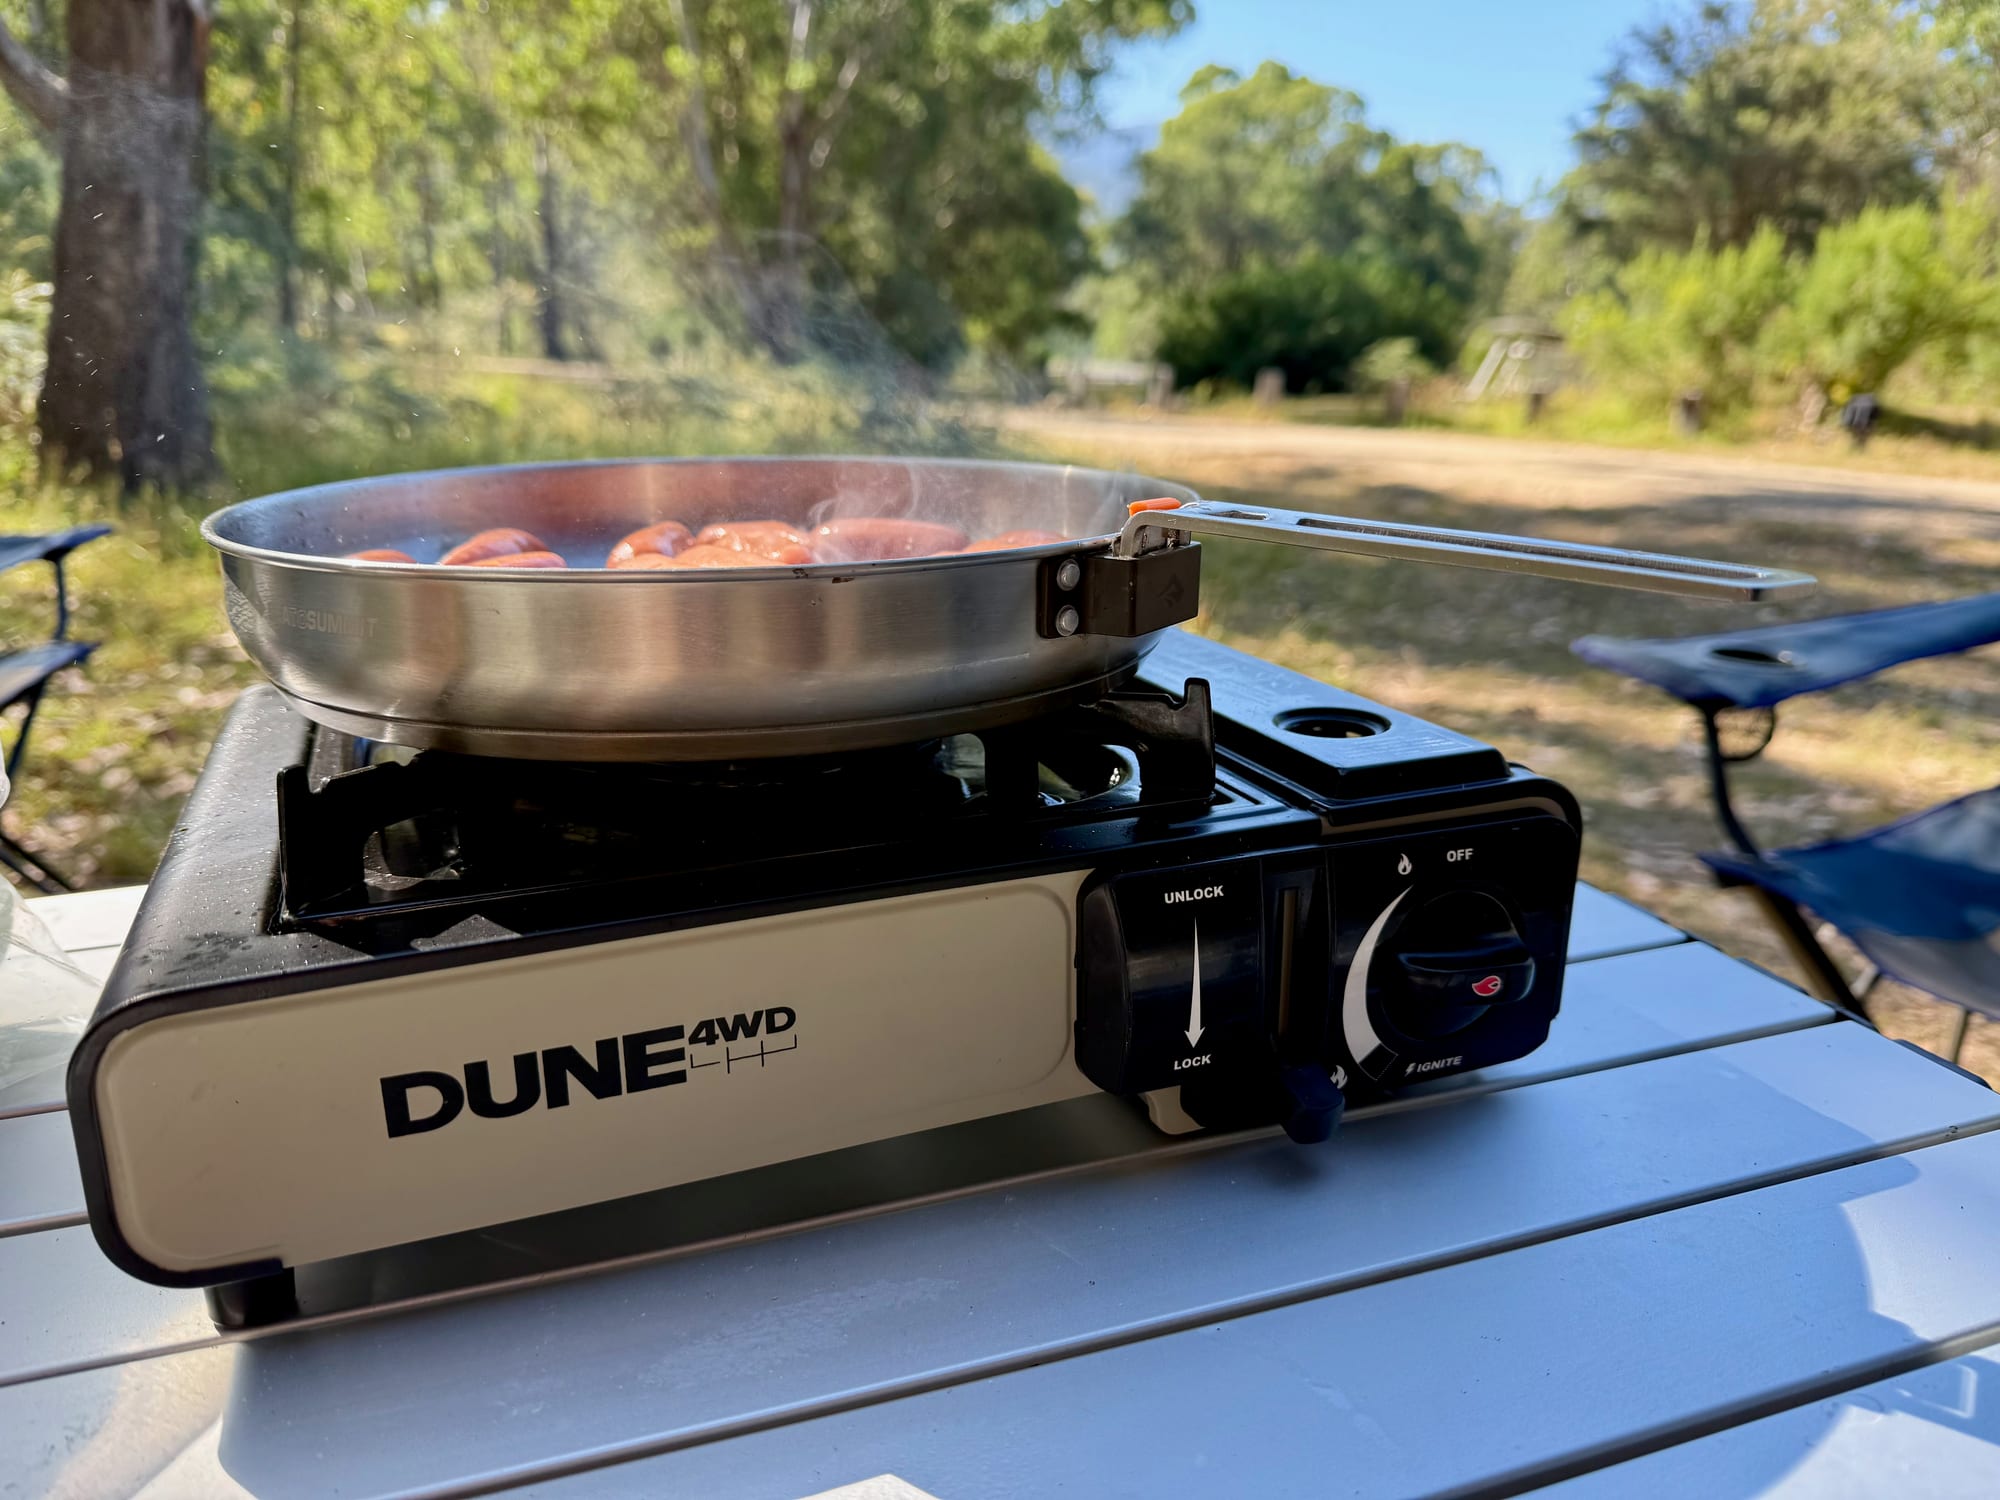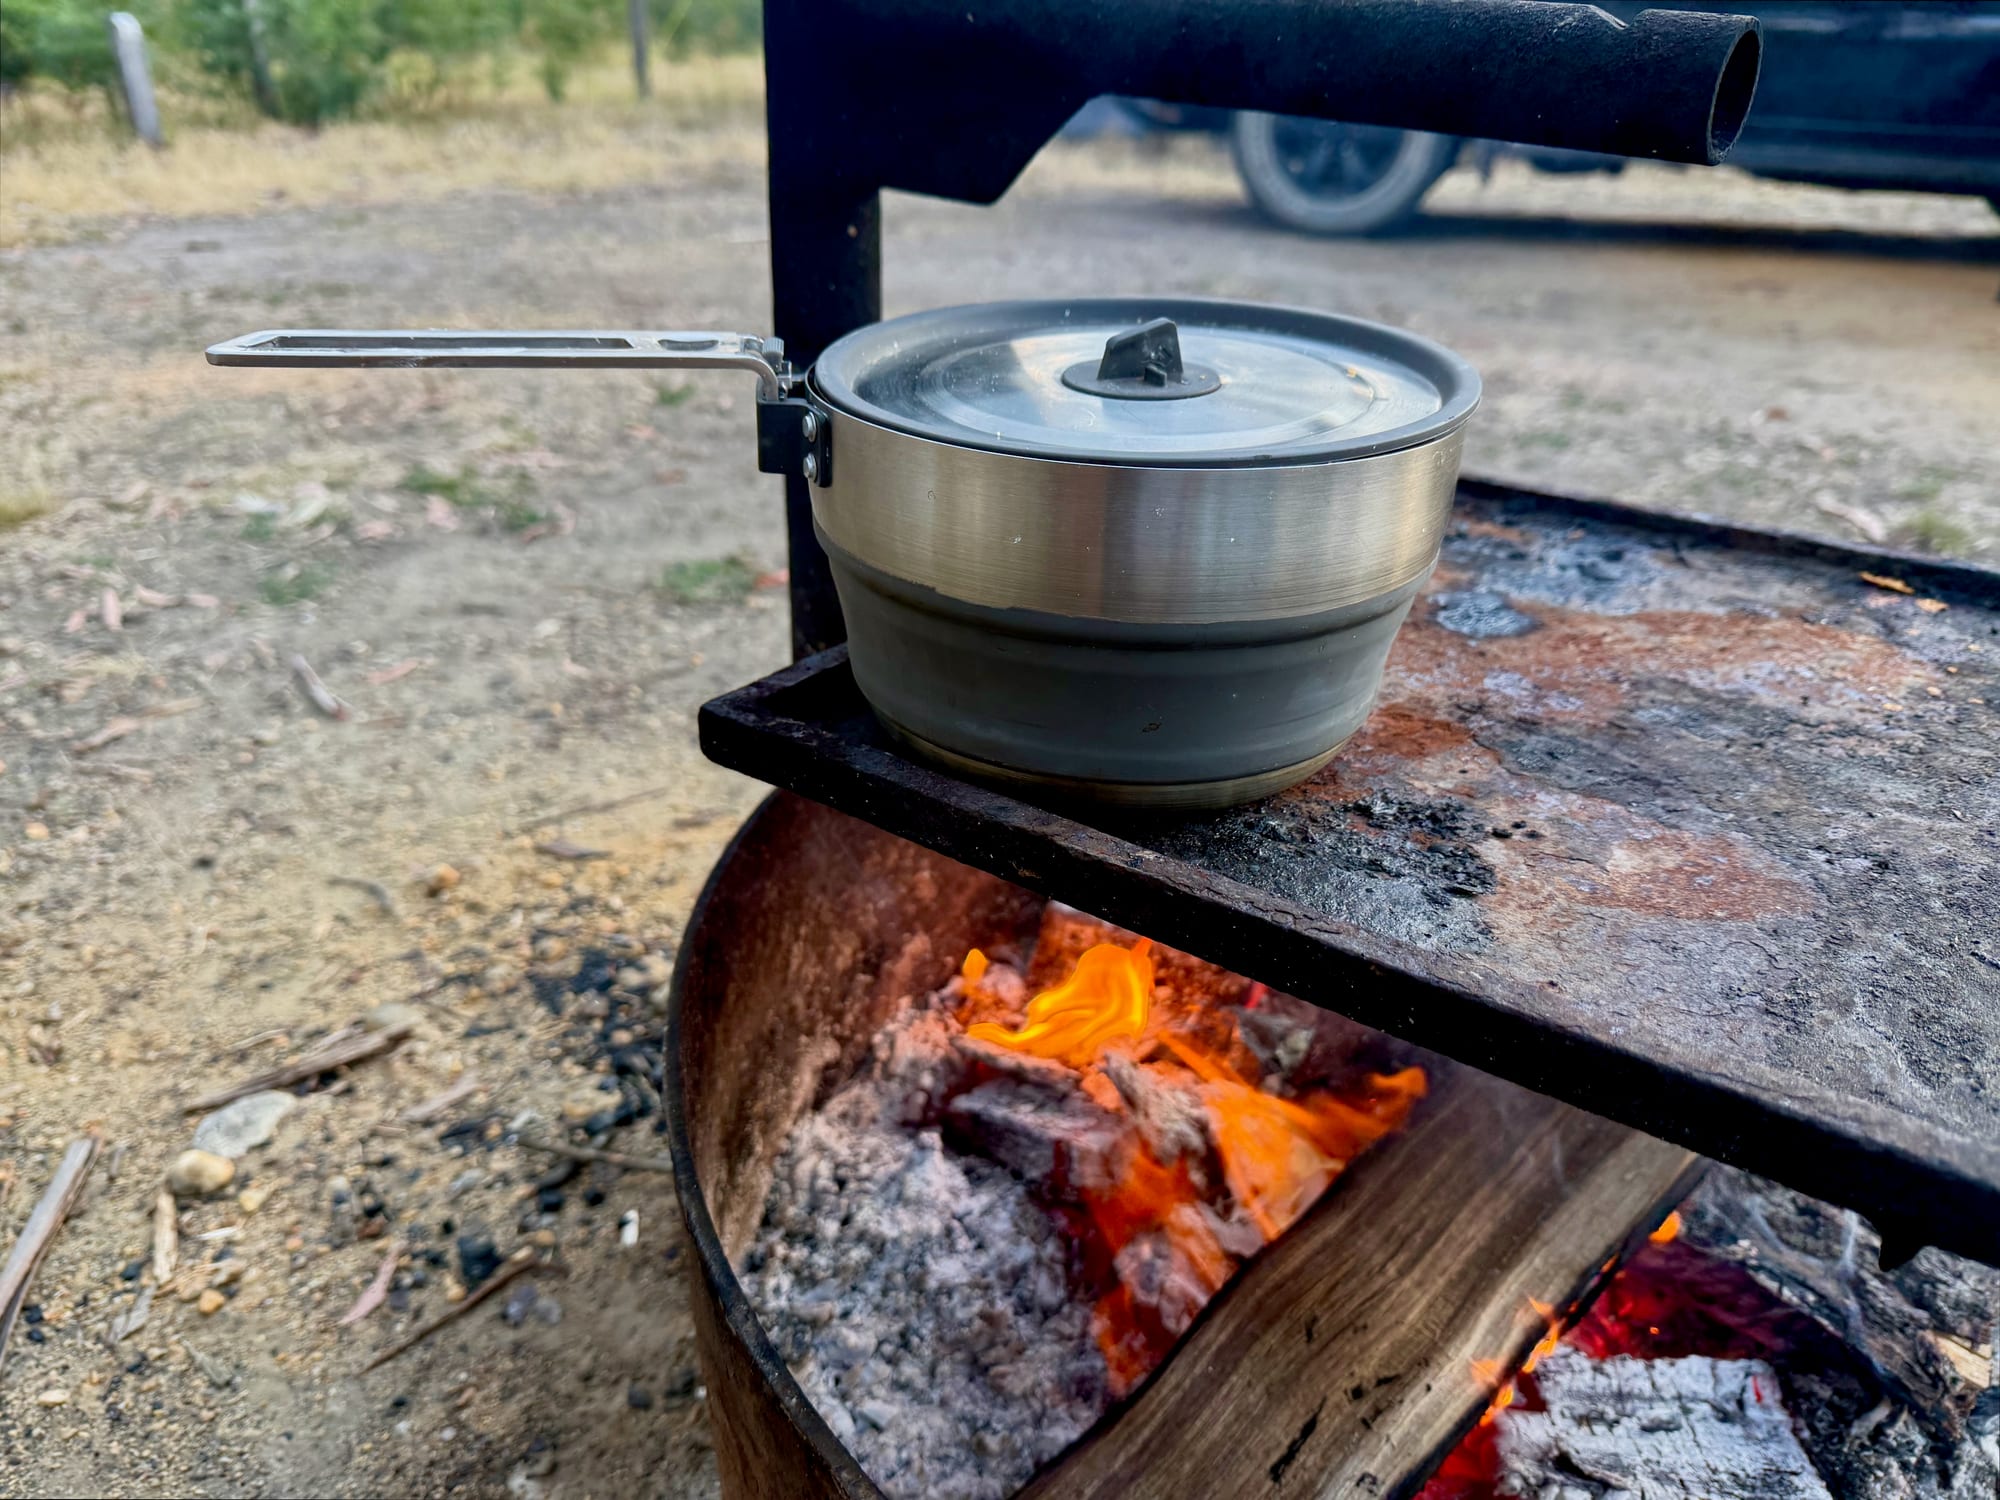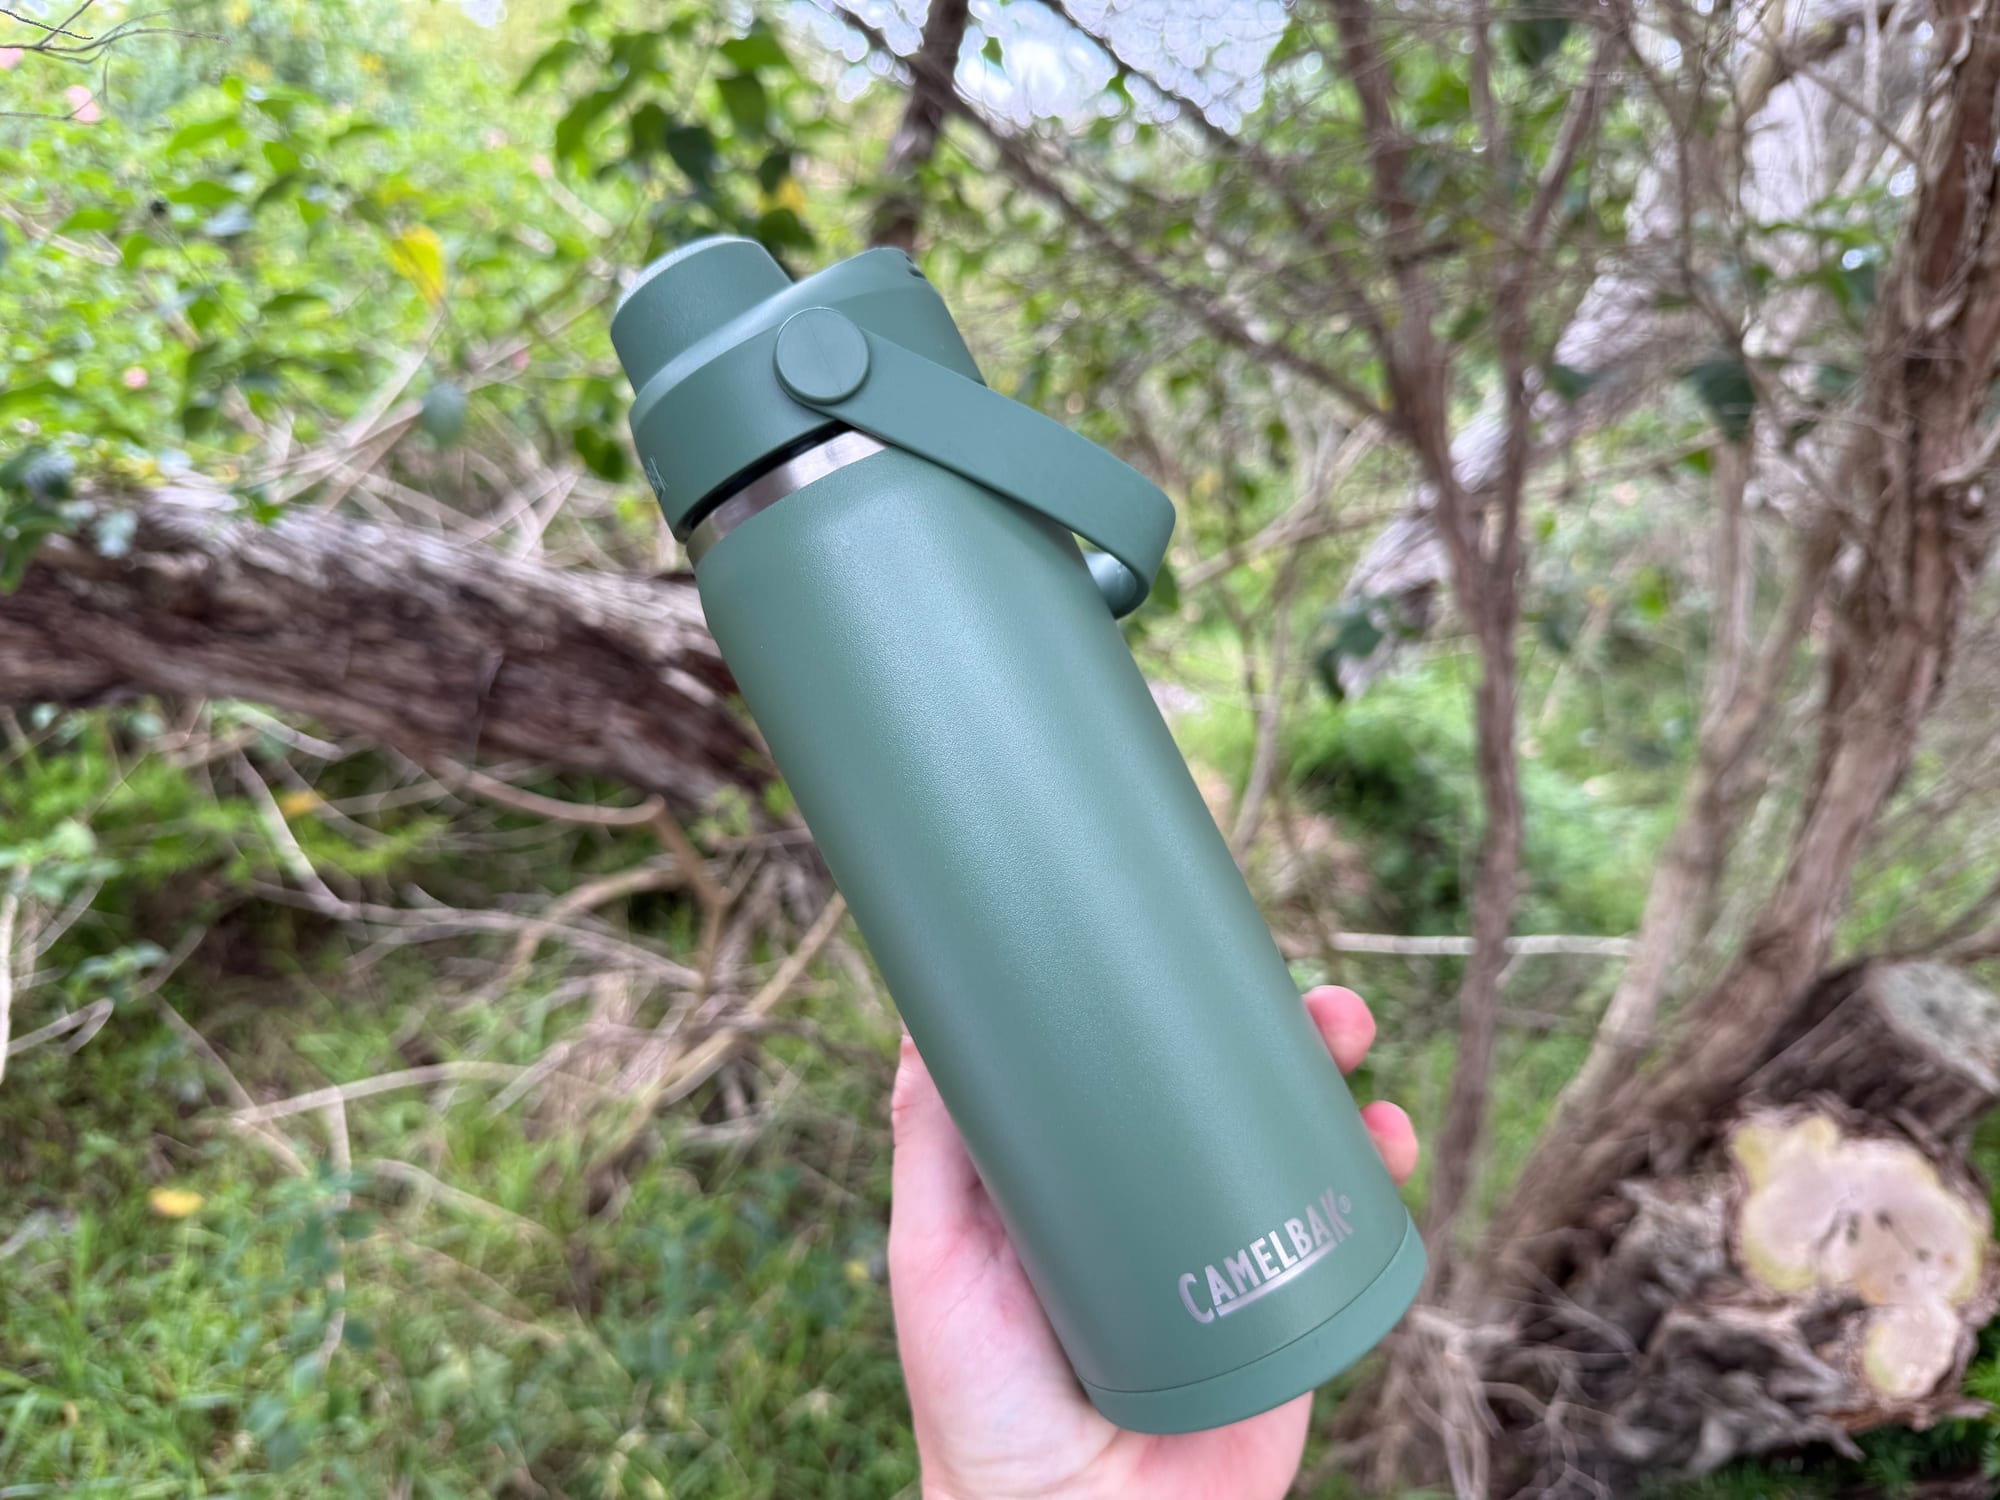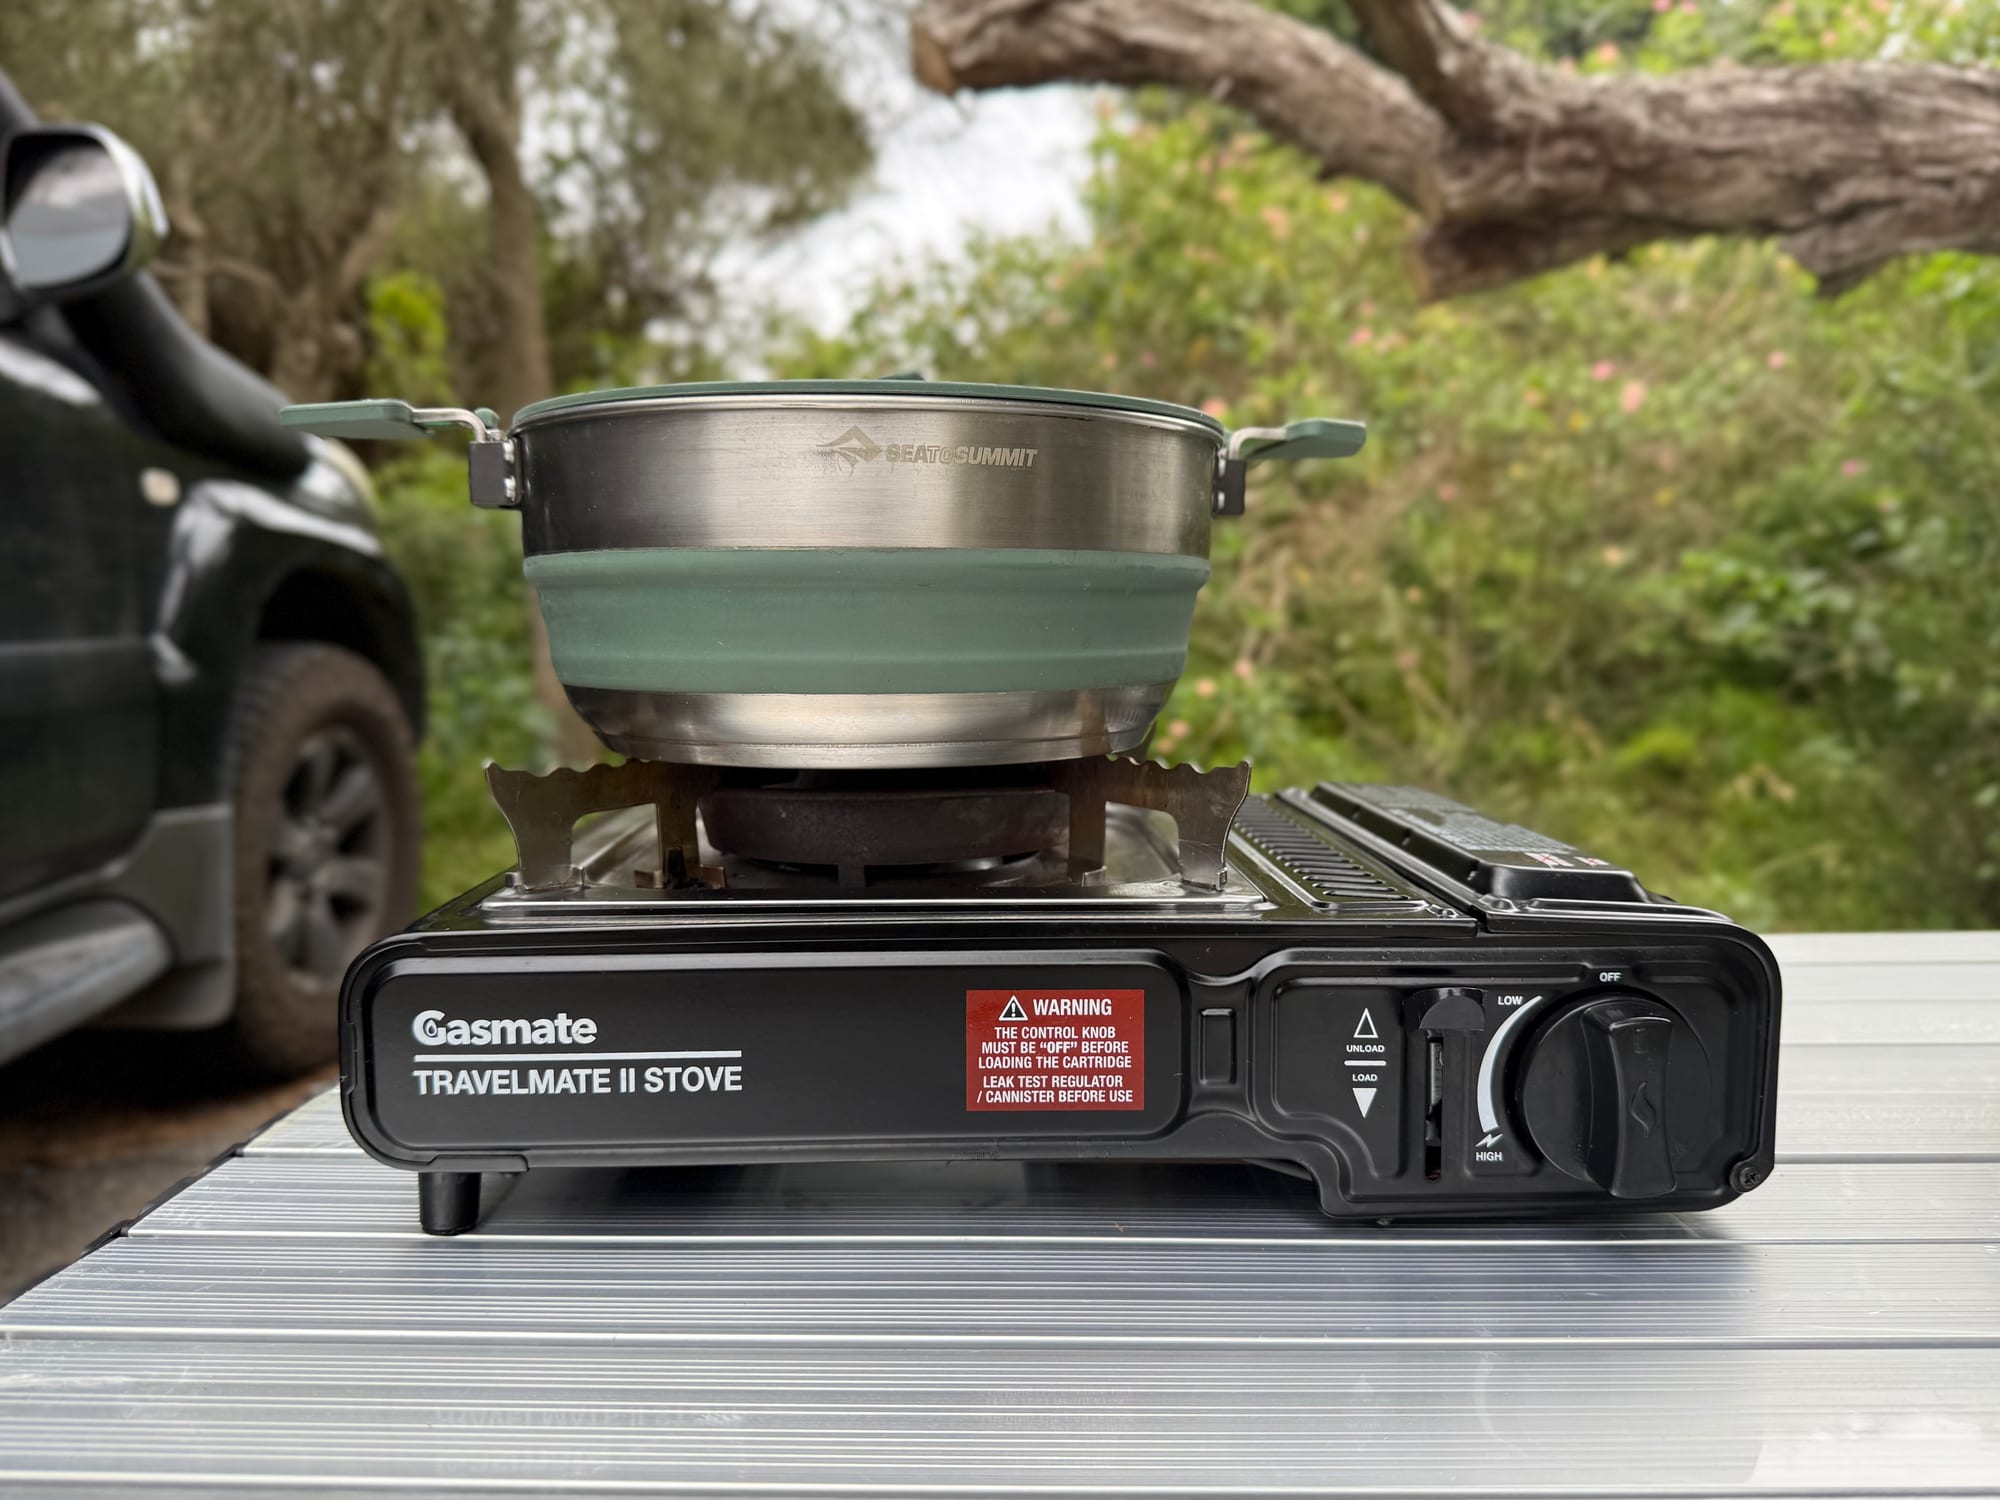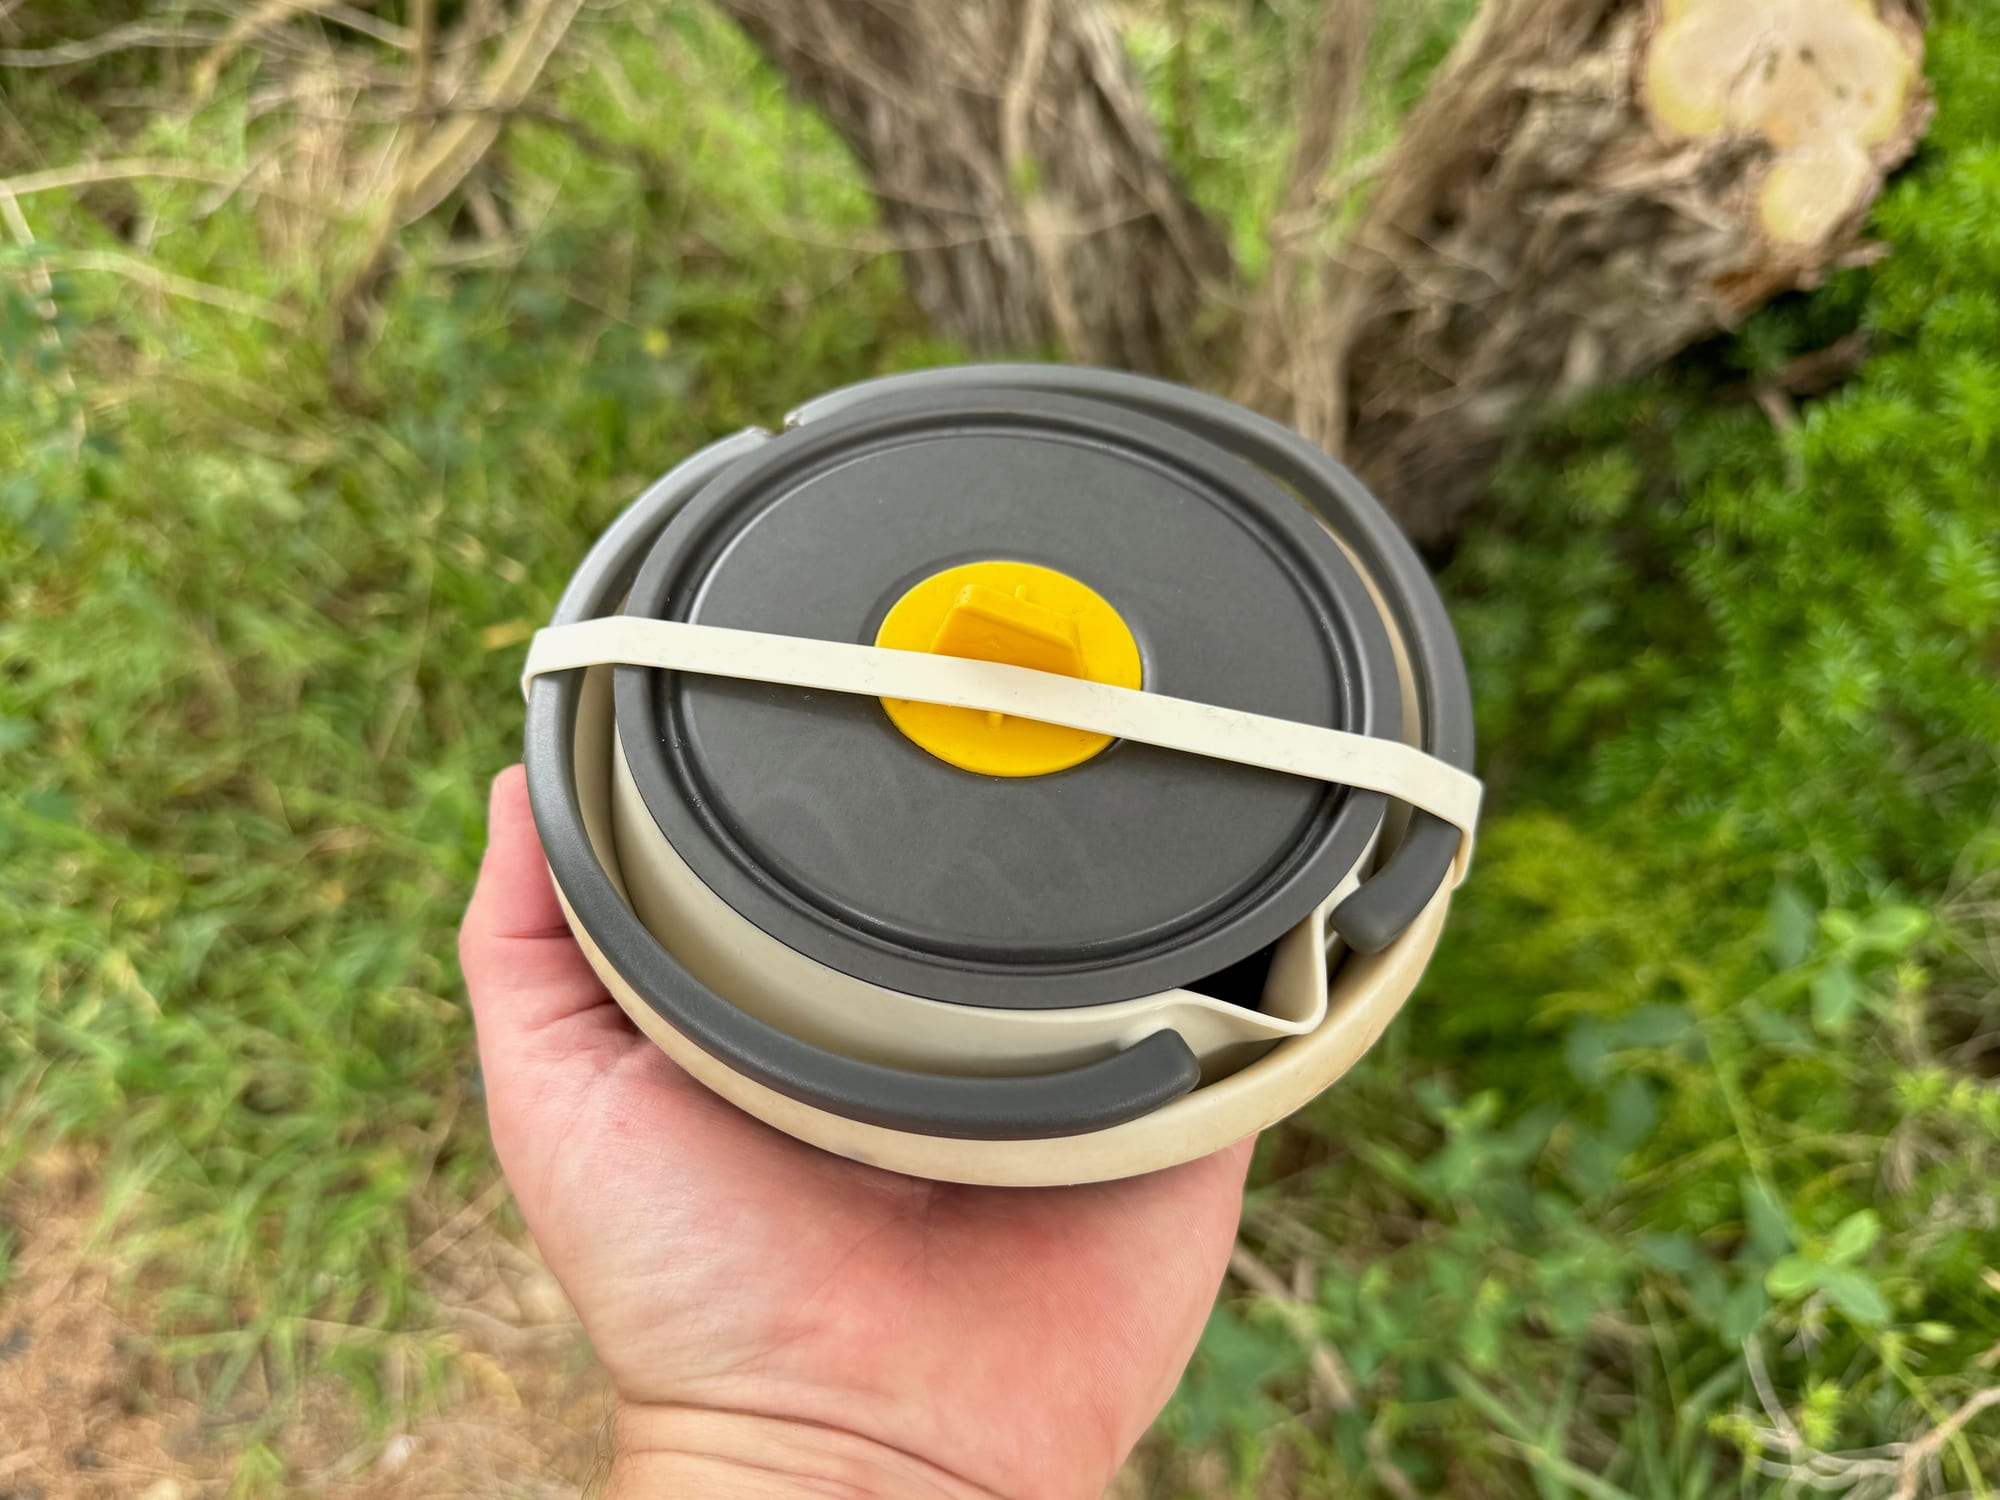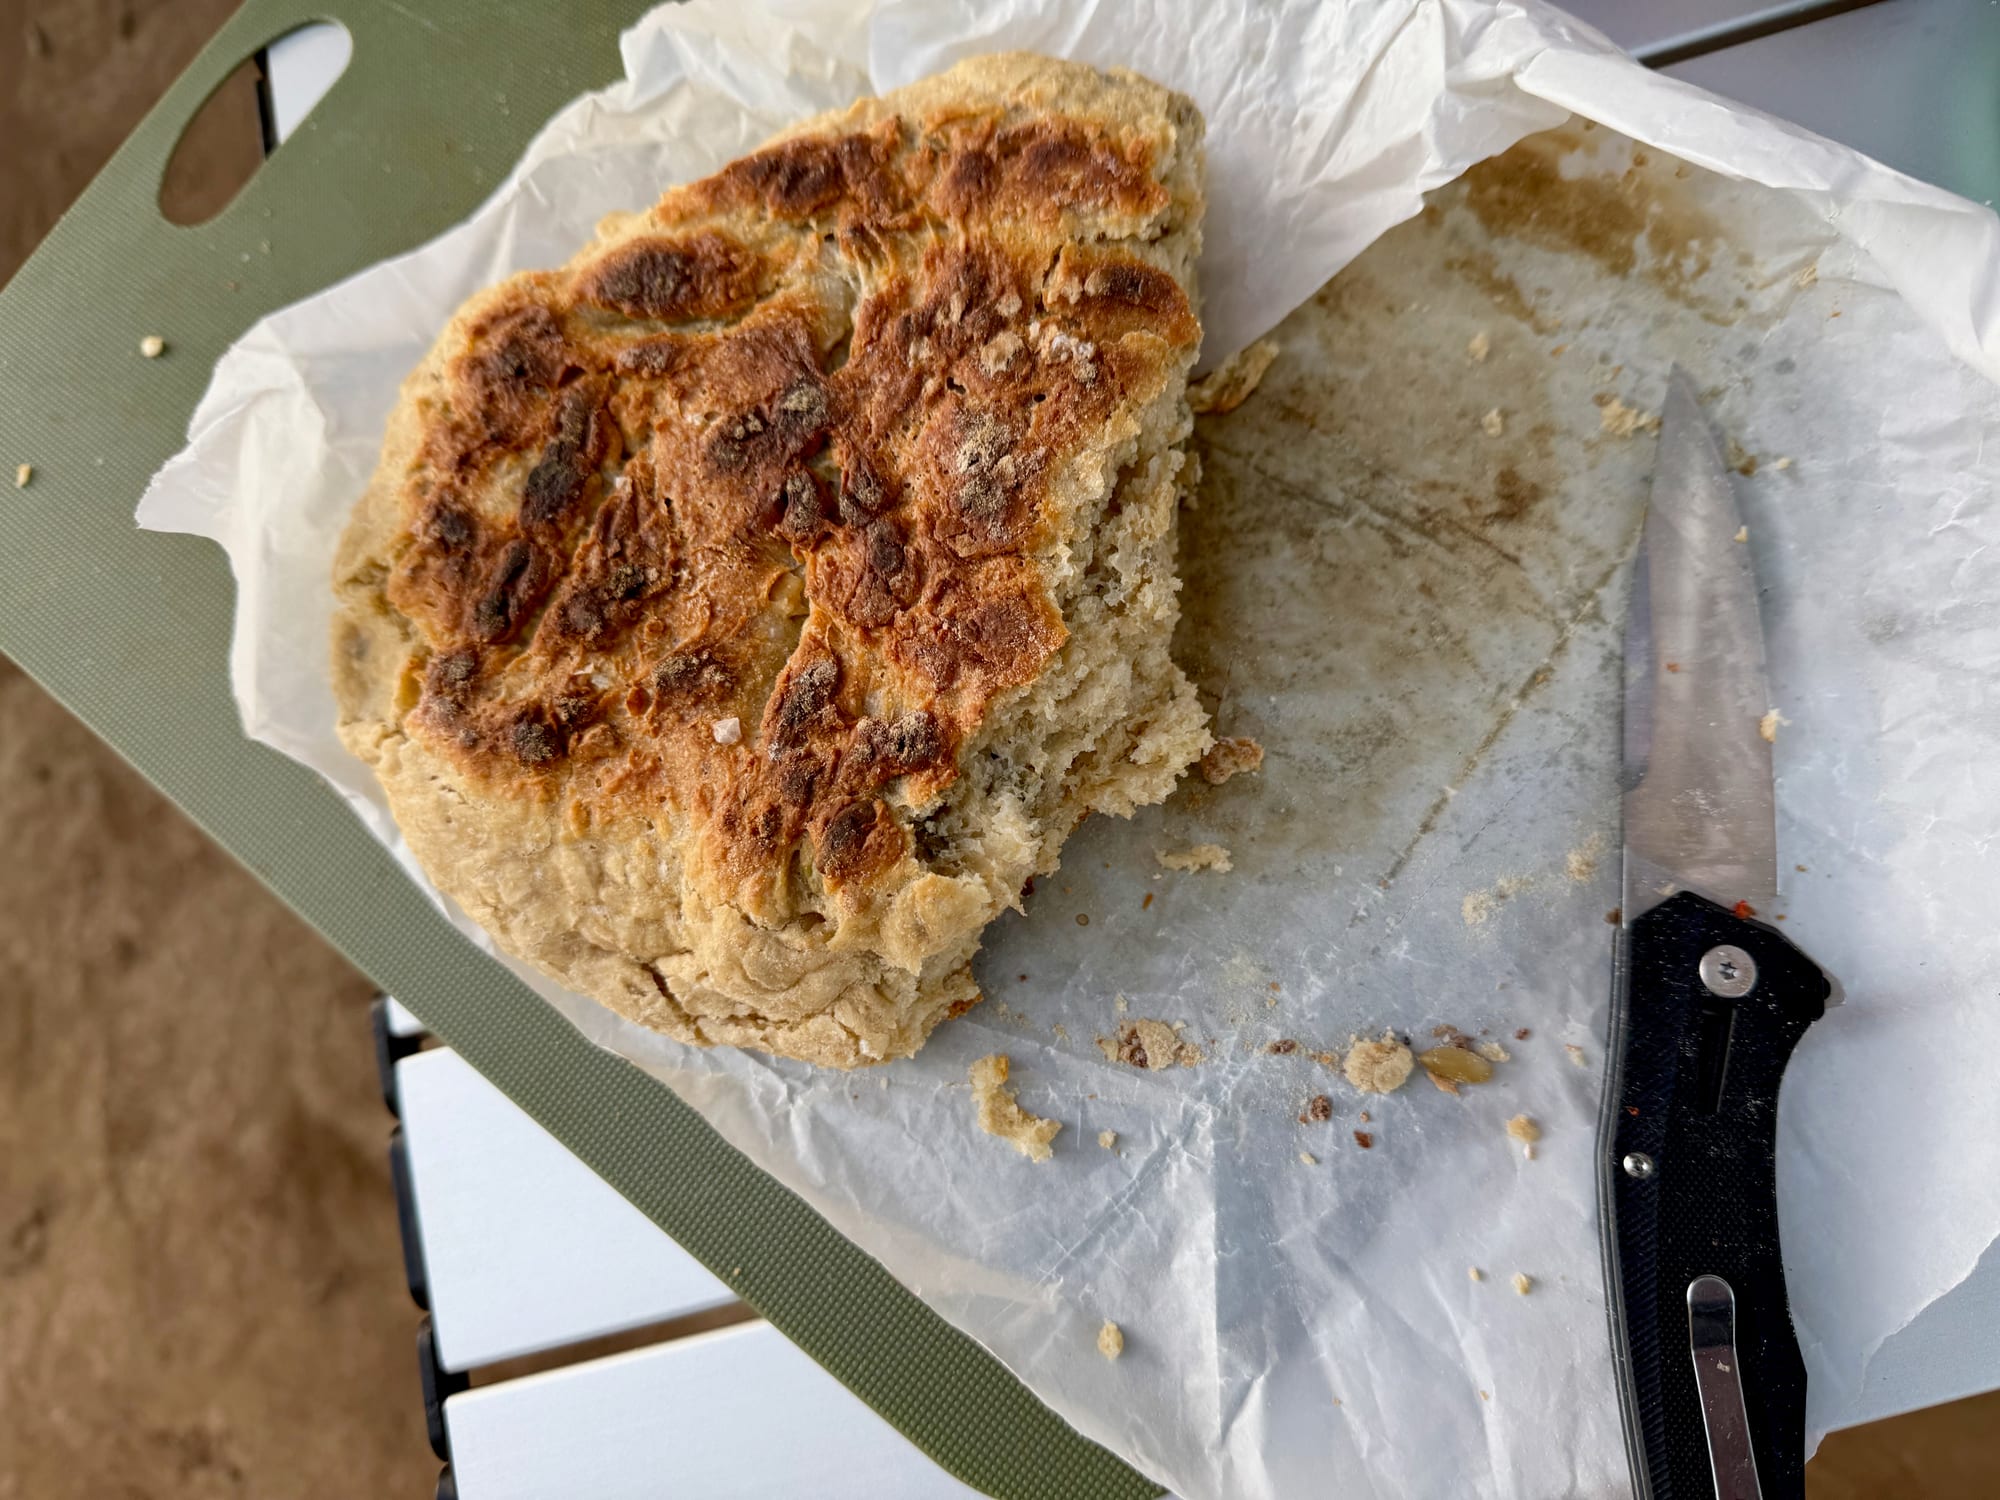
You don’t need a camp oven or a fire to have fresh bread at camp. On longer trips, like the long stretch to Adelaide, we bake our own when we’re camped somewhere remote, on our little Dune 4WD single burner stove. The photos here are from Acraman Campground in the Flinders Ranges and Daly Head on the Yorke Peninsula. We’ve made it in our Sea to Summit Detour pot and in a steel saucepan. Our first loaf came out burnt; once we kept the flame low and the pan off the flame, it came out golden. Here’s how we do it now, plus stick bread for while you wait.
What you need
The dough needs only a few basic ingredients that keep well in the car: plain flour, dry yeast, water, a bit of olive oil, salt and a little sugar. Raisins are optional, if you like them.
Plus extra for kneading
Warm, to wake the yeast up
Goes in with the yeast water
Froths in the warm water
Feeds the yeast
For flavour
If you like them
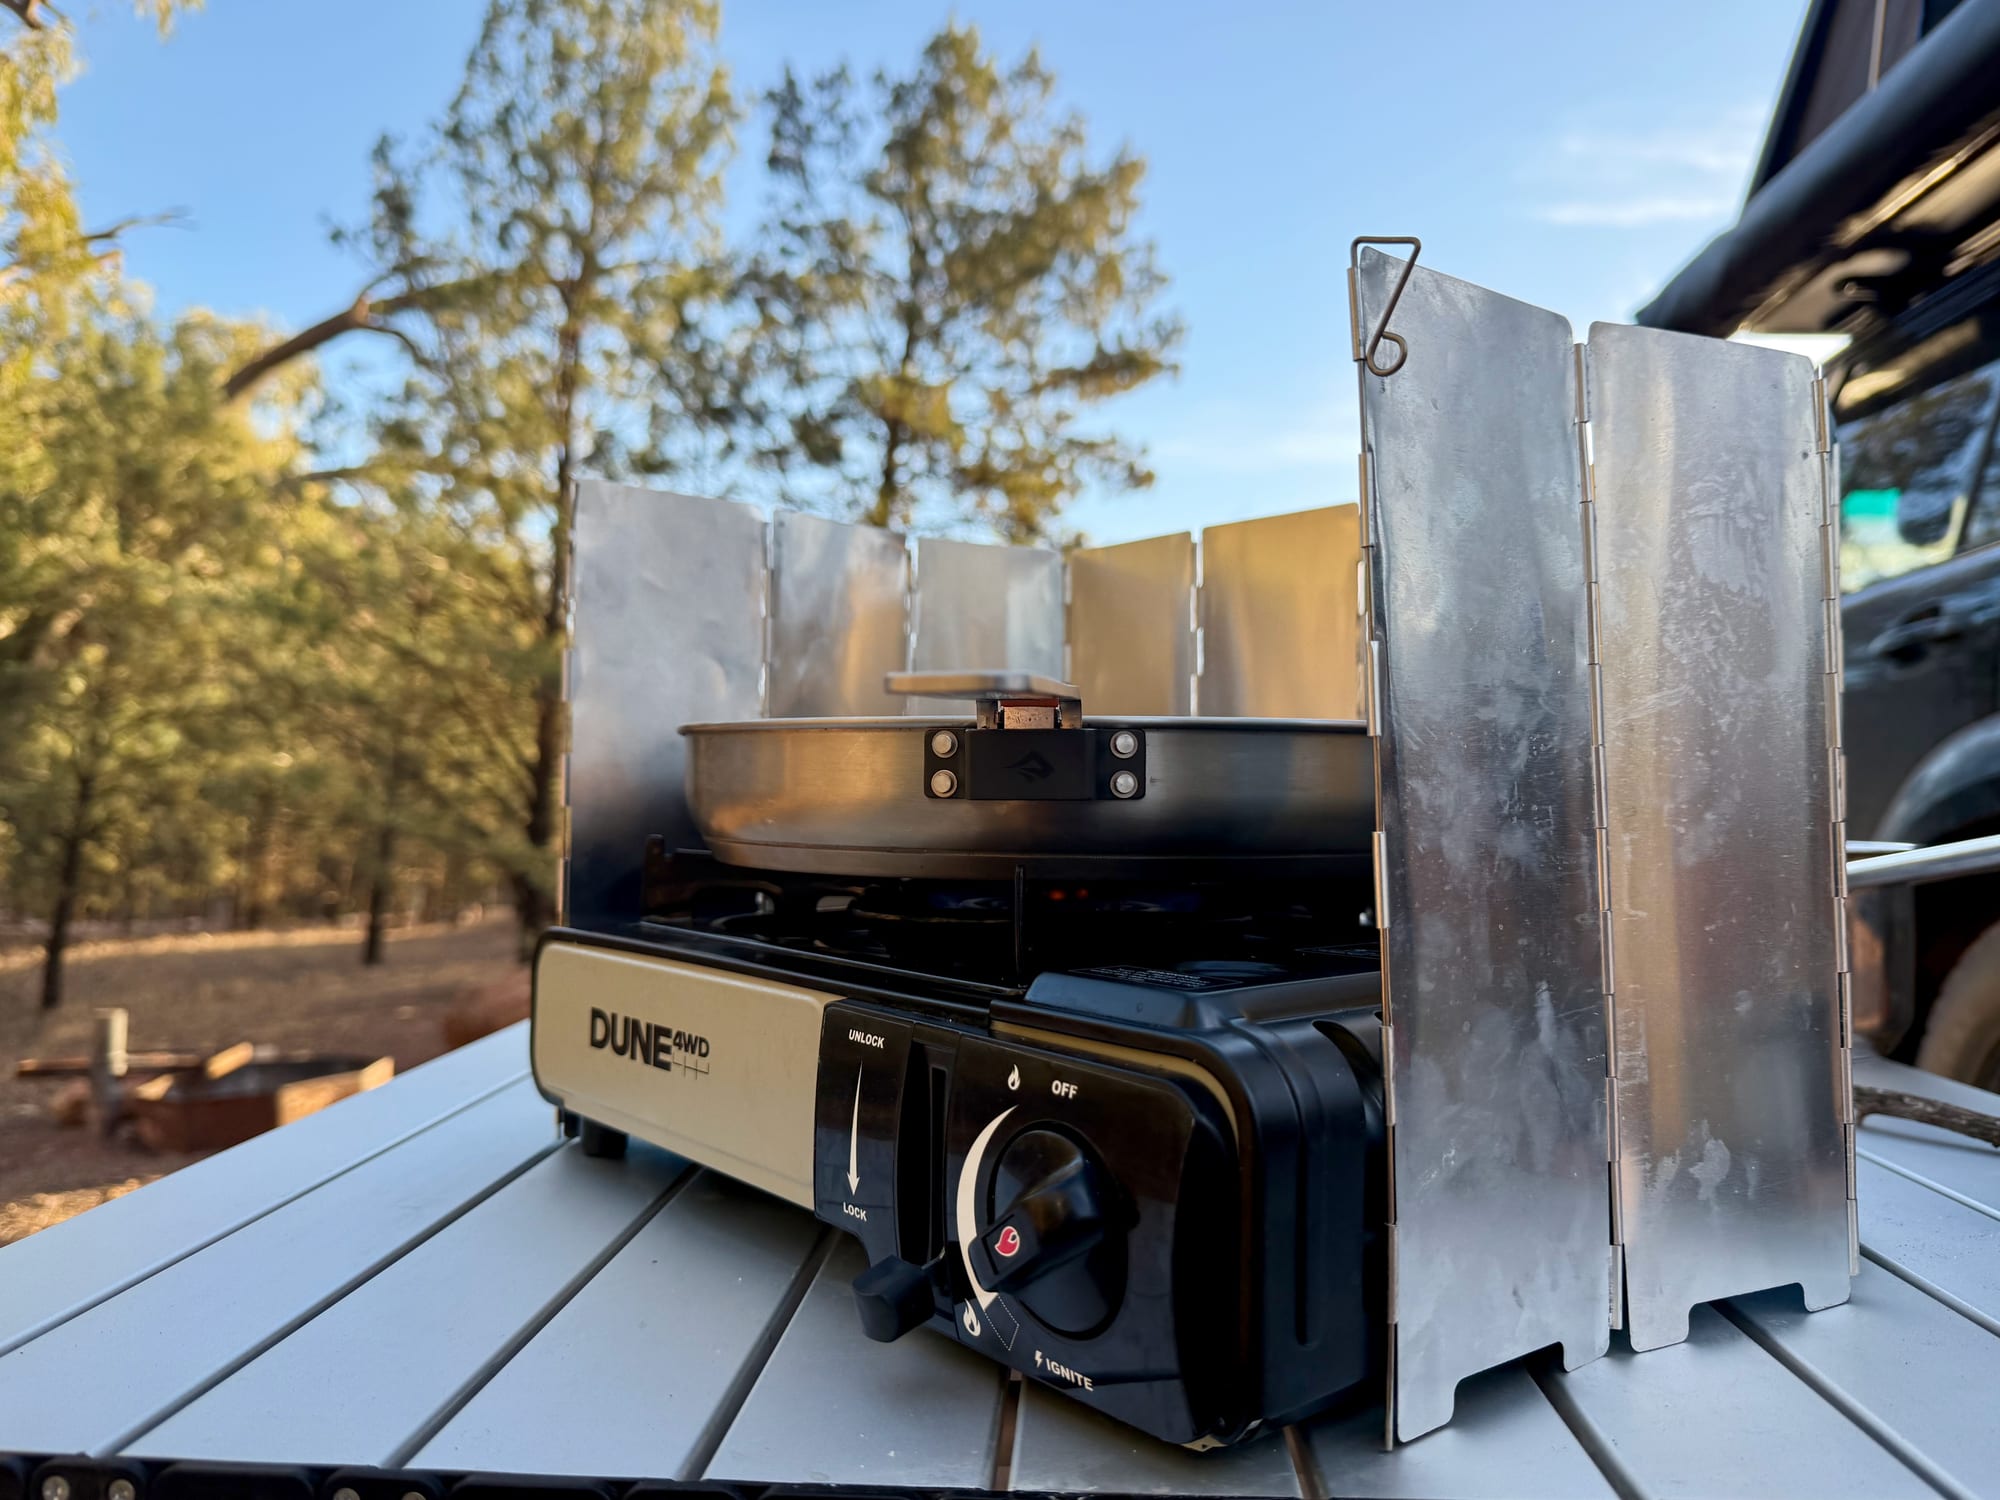
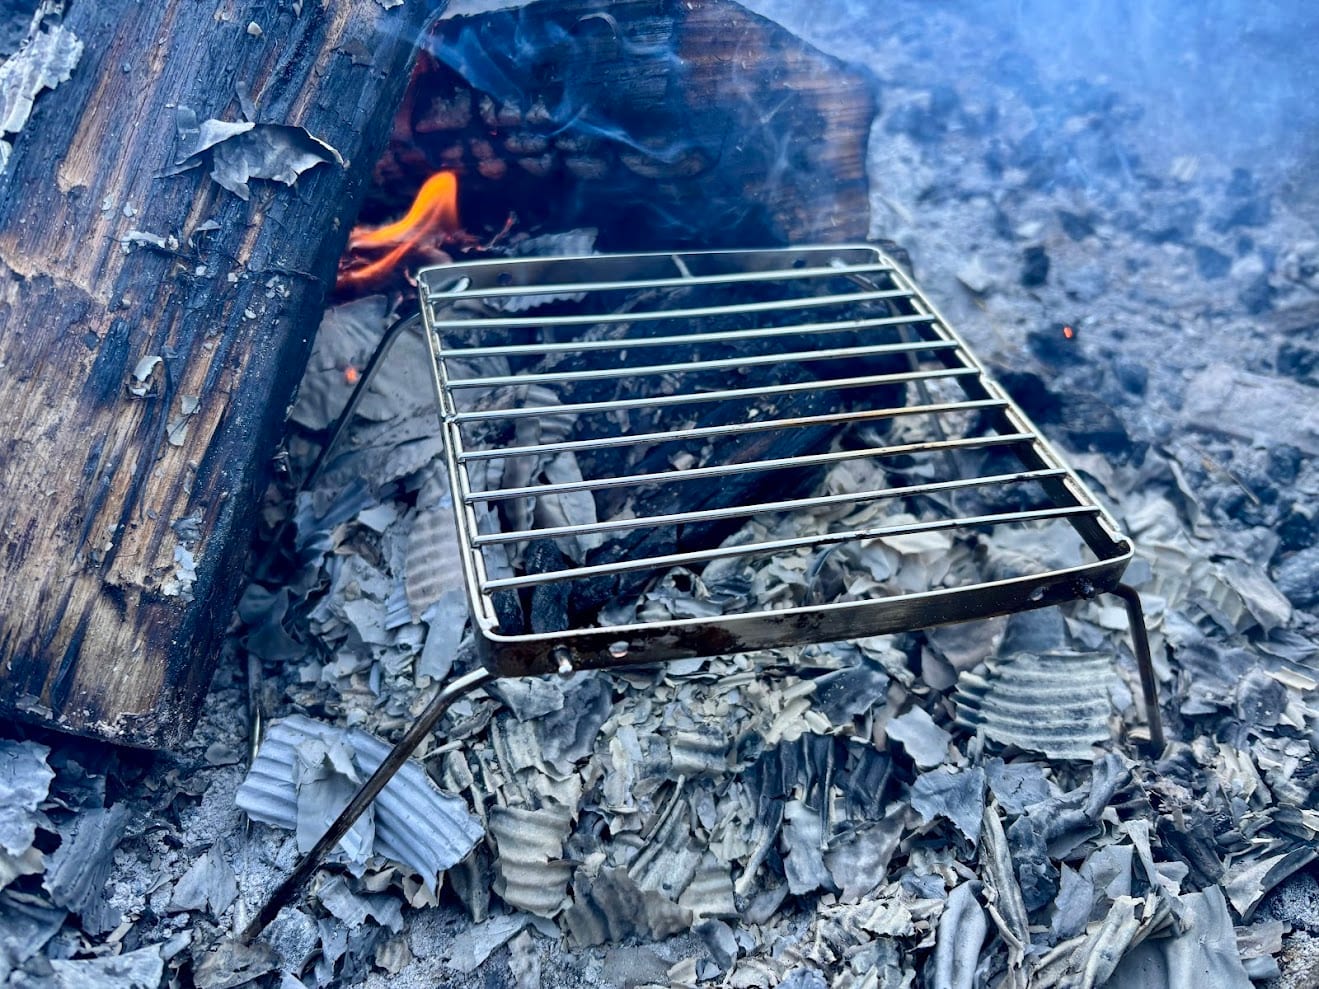
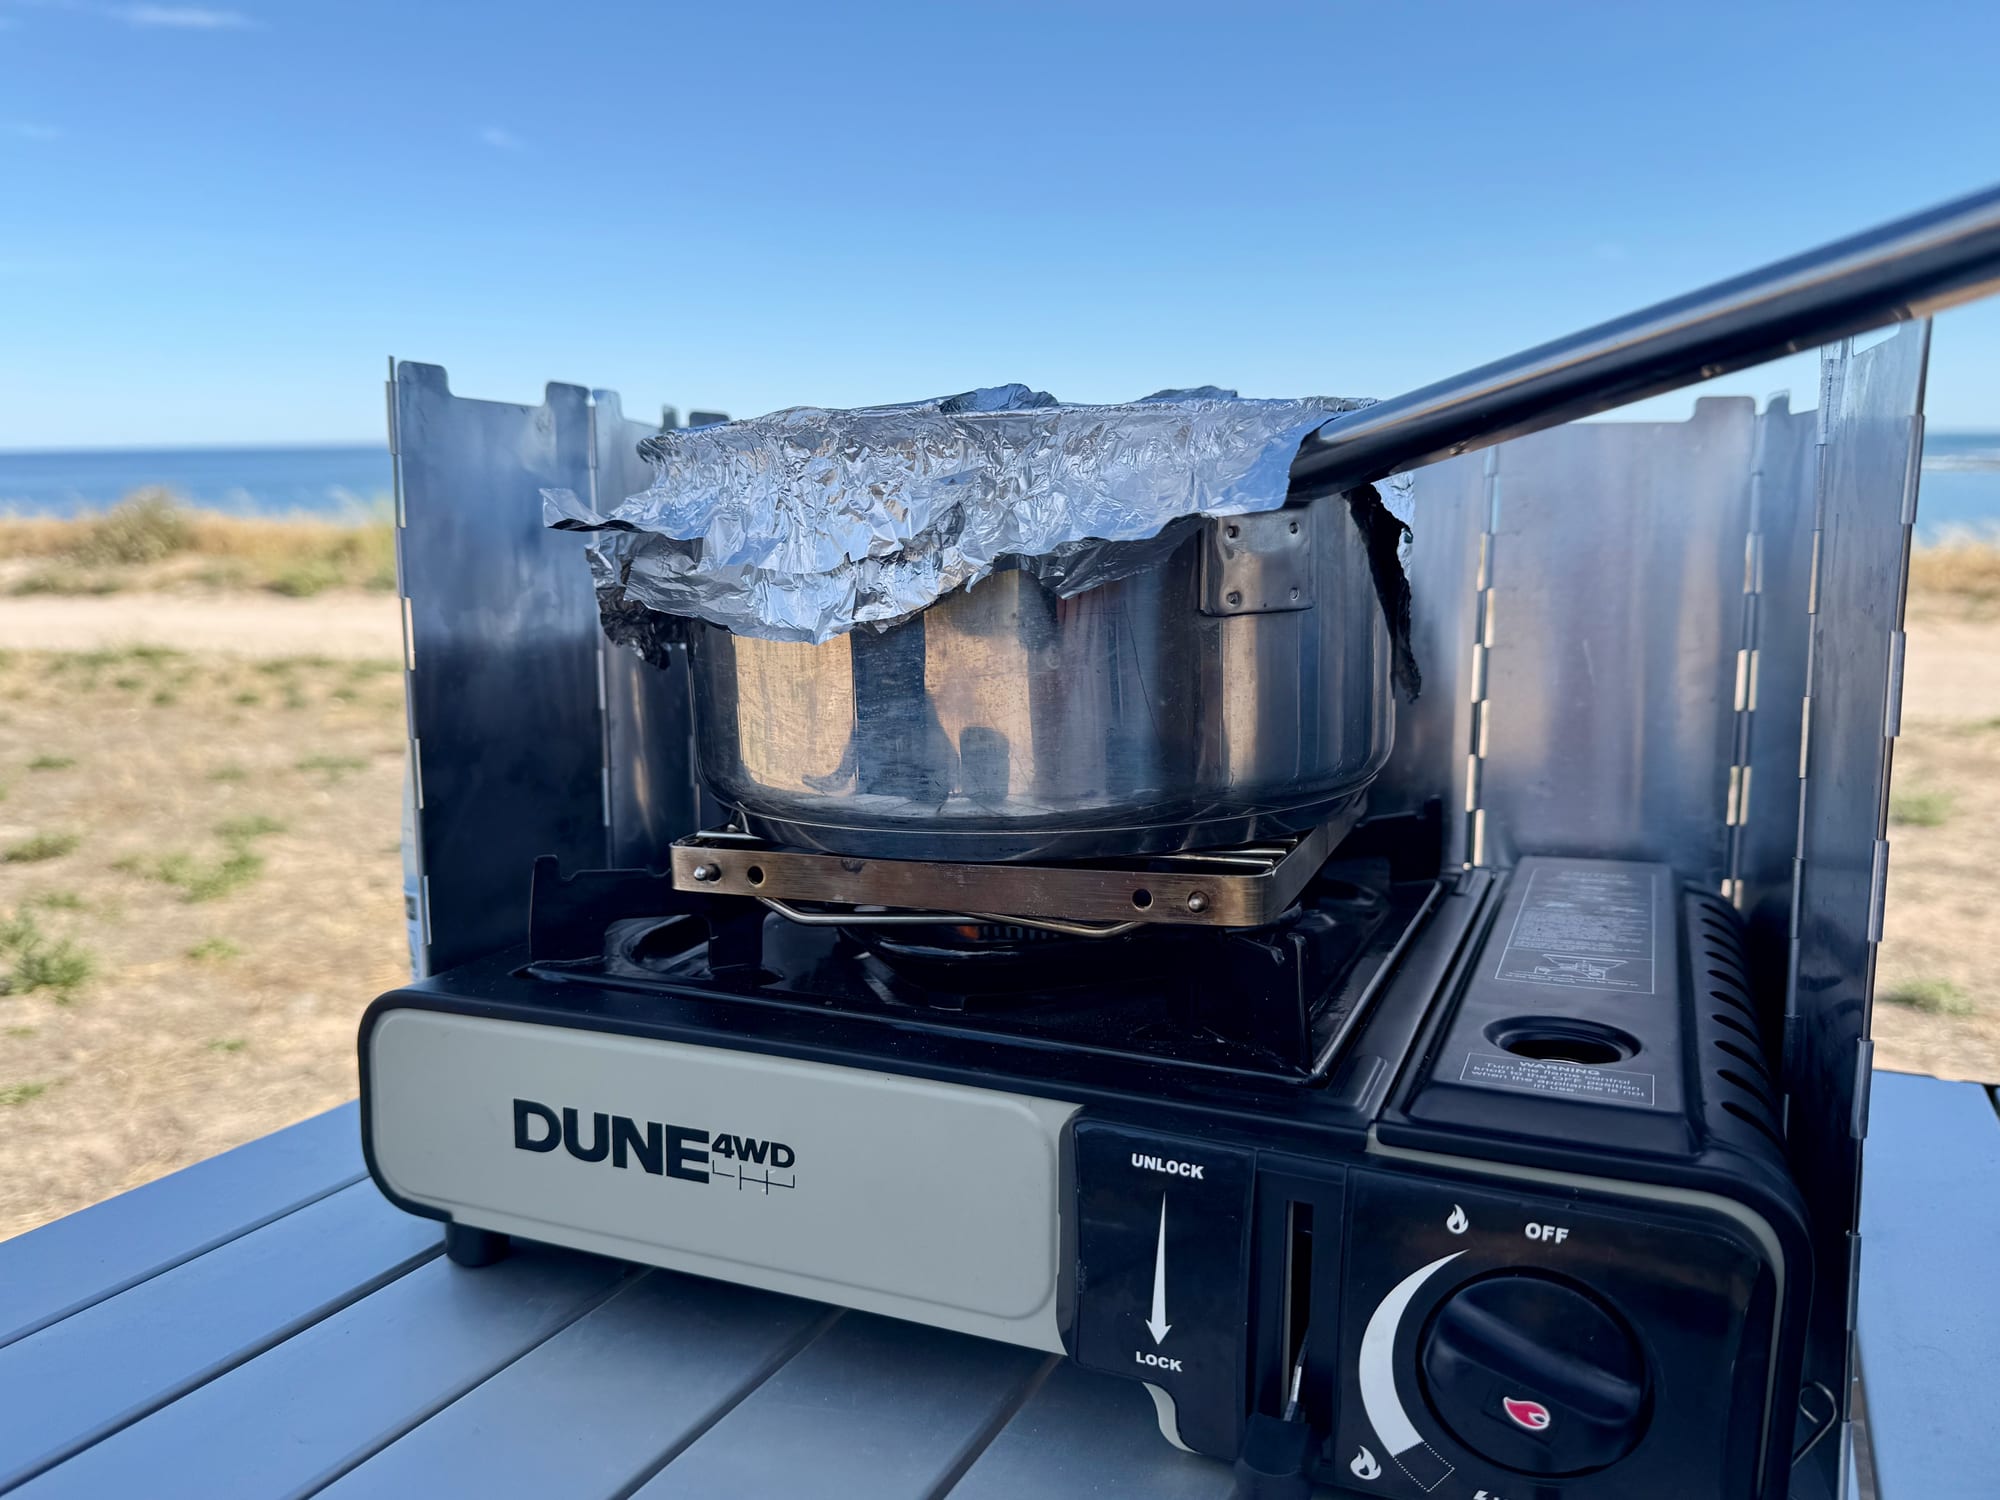
For the gear, we used two steel bowls, a pot or saucepan, baking paper, foil (we had no lid), our collapsible grill plate (the Compact Folding Campfire Grill) to stand the pan on, and our Captain Stag cutting board for kneading, all set out on our Spinifex folding table. A folding windshield around the stove keeps the flame steady, which matters when you bake on a low flame for a long time.
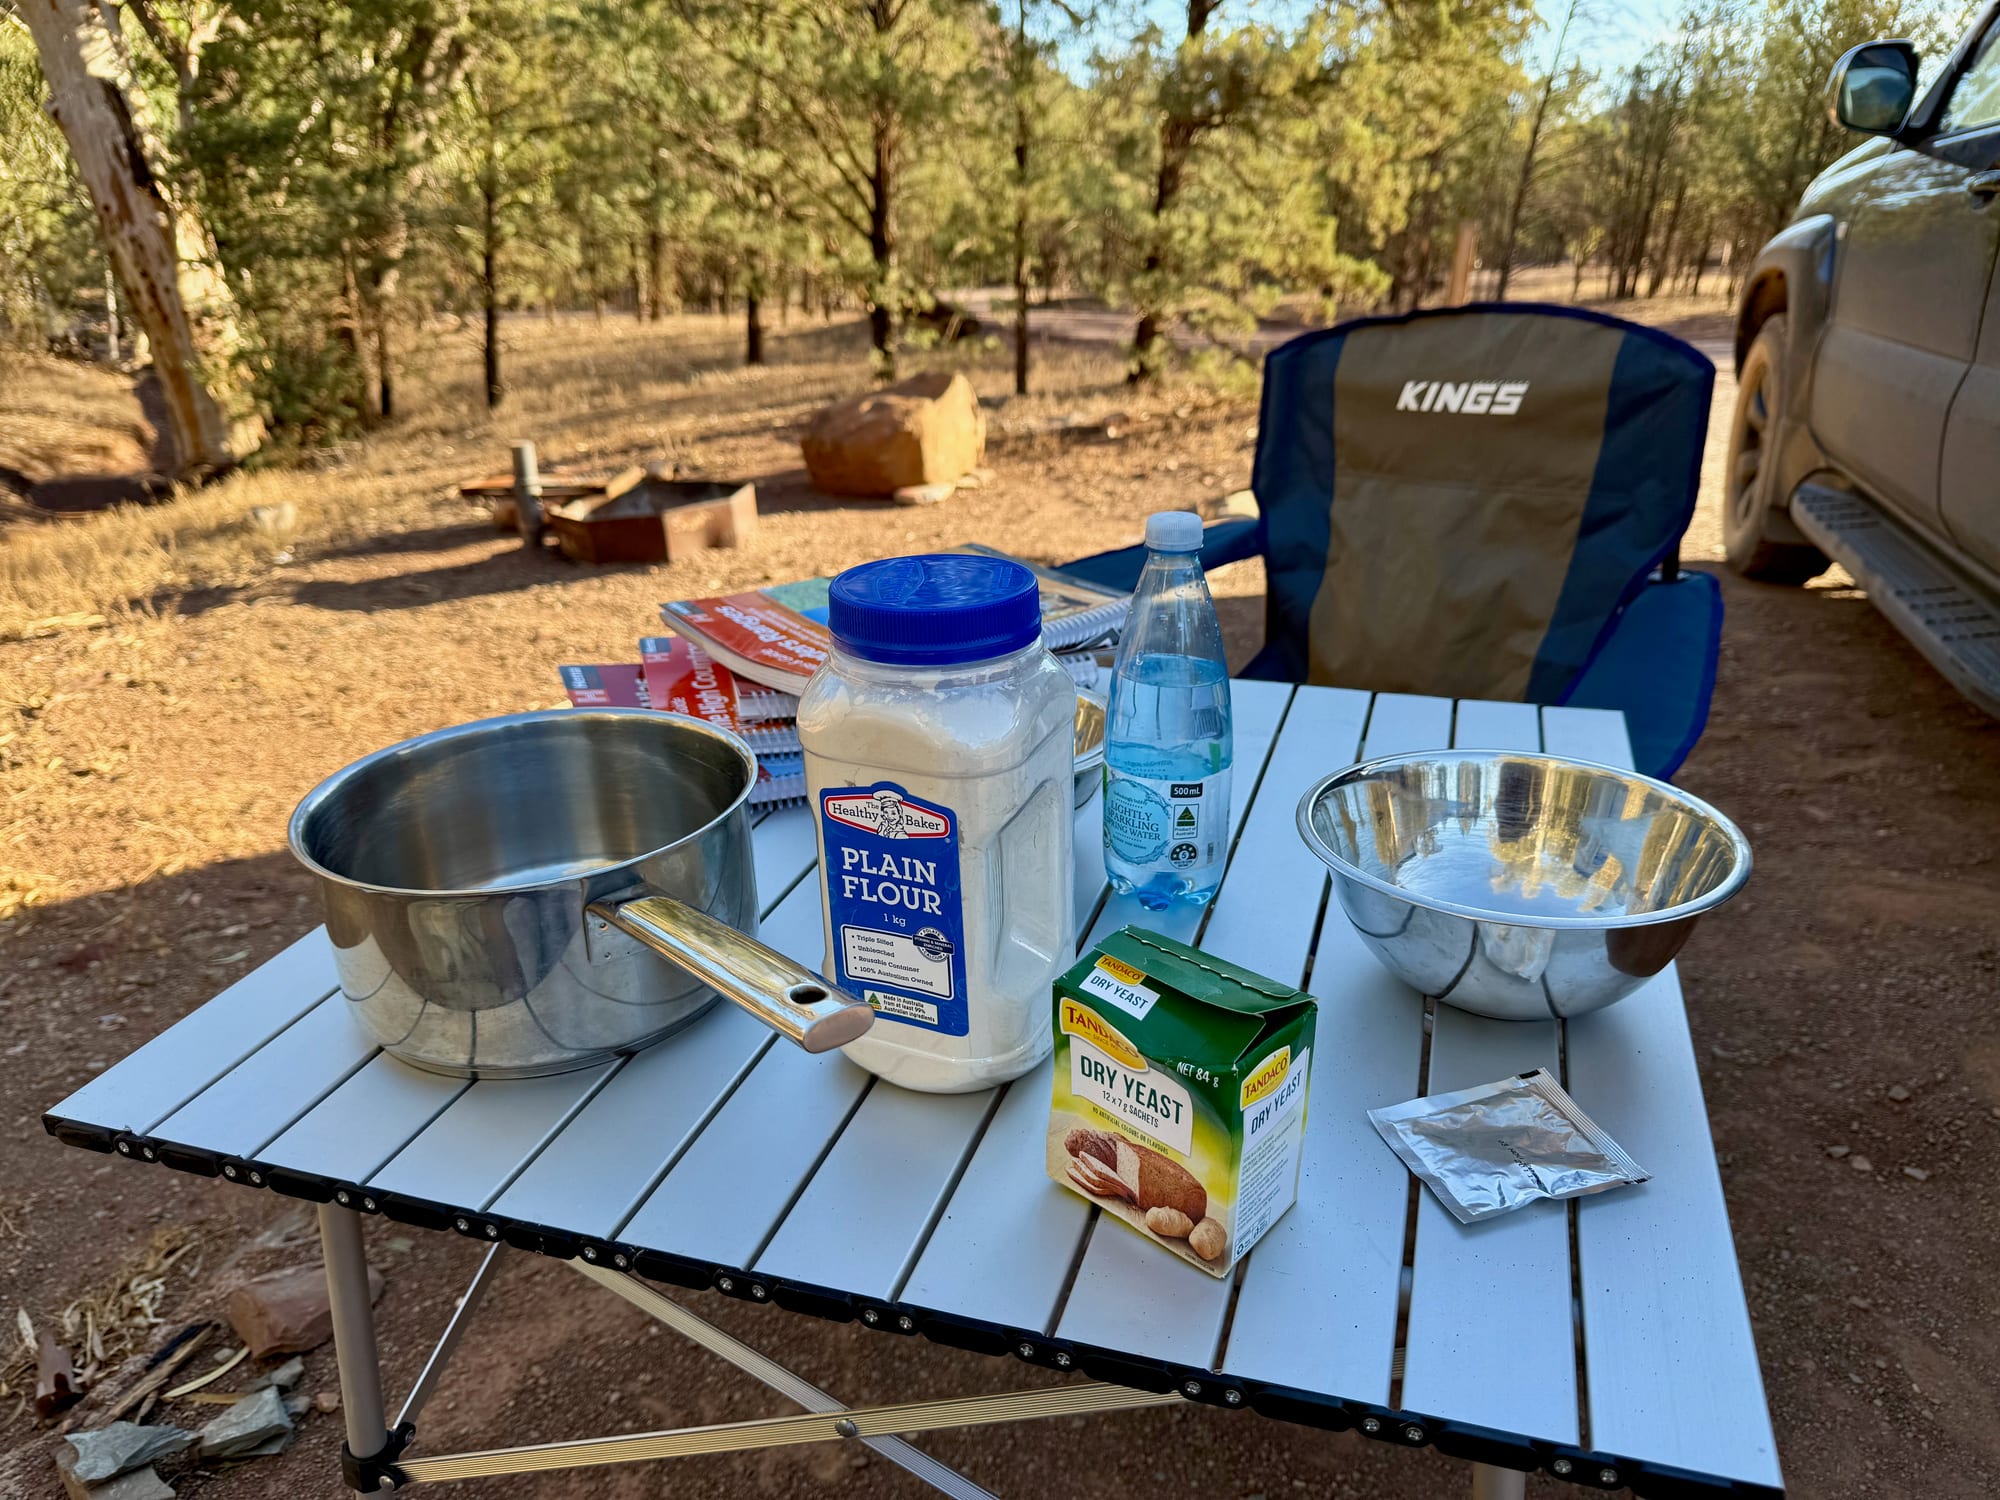
Step 1: Start the yeast1. Start the yeast
Stir the sugar and yeast into the warm water and leave it for about five minutes, until it froths. Mix most of the flour with the salt in a bowl, then add the olive oil and the yeast water and stir it into a thick batter. Put a tea towel over the bowl and leave it to rise for an hour. By then the top is full of bubbles.
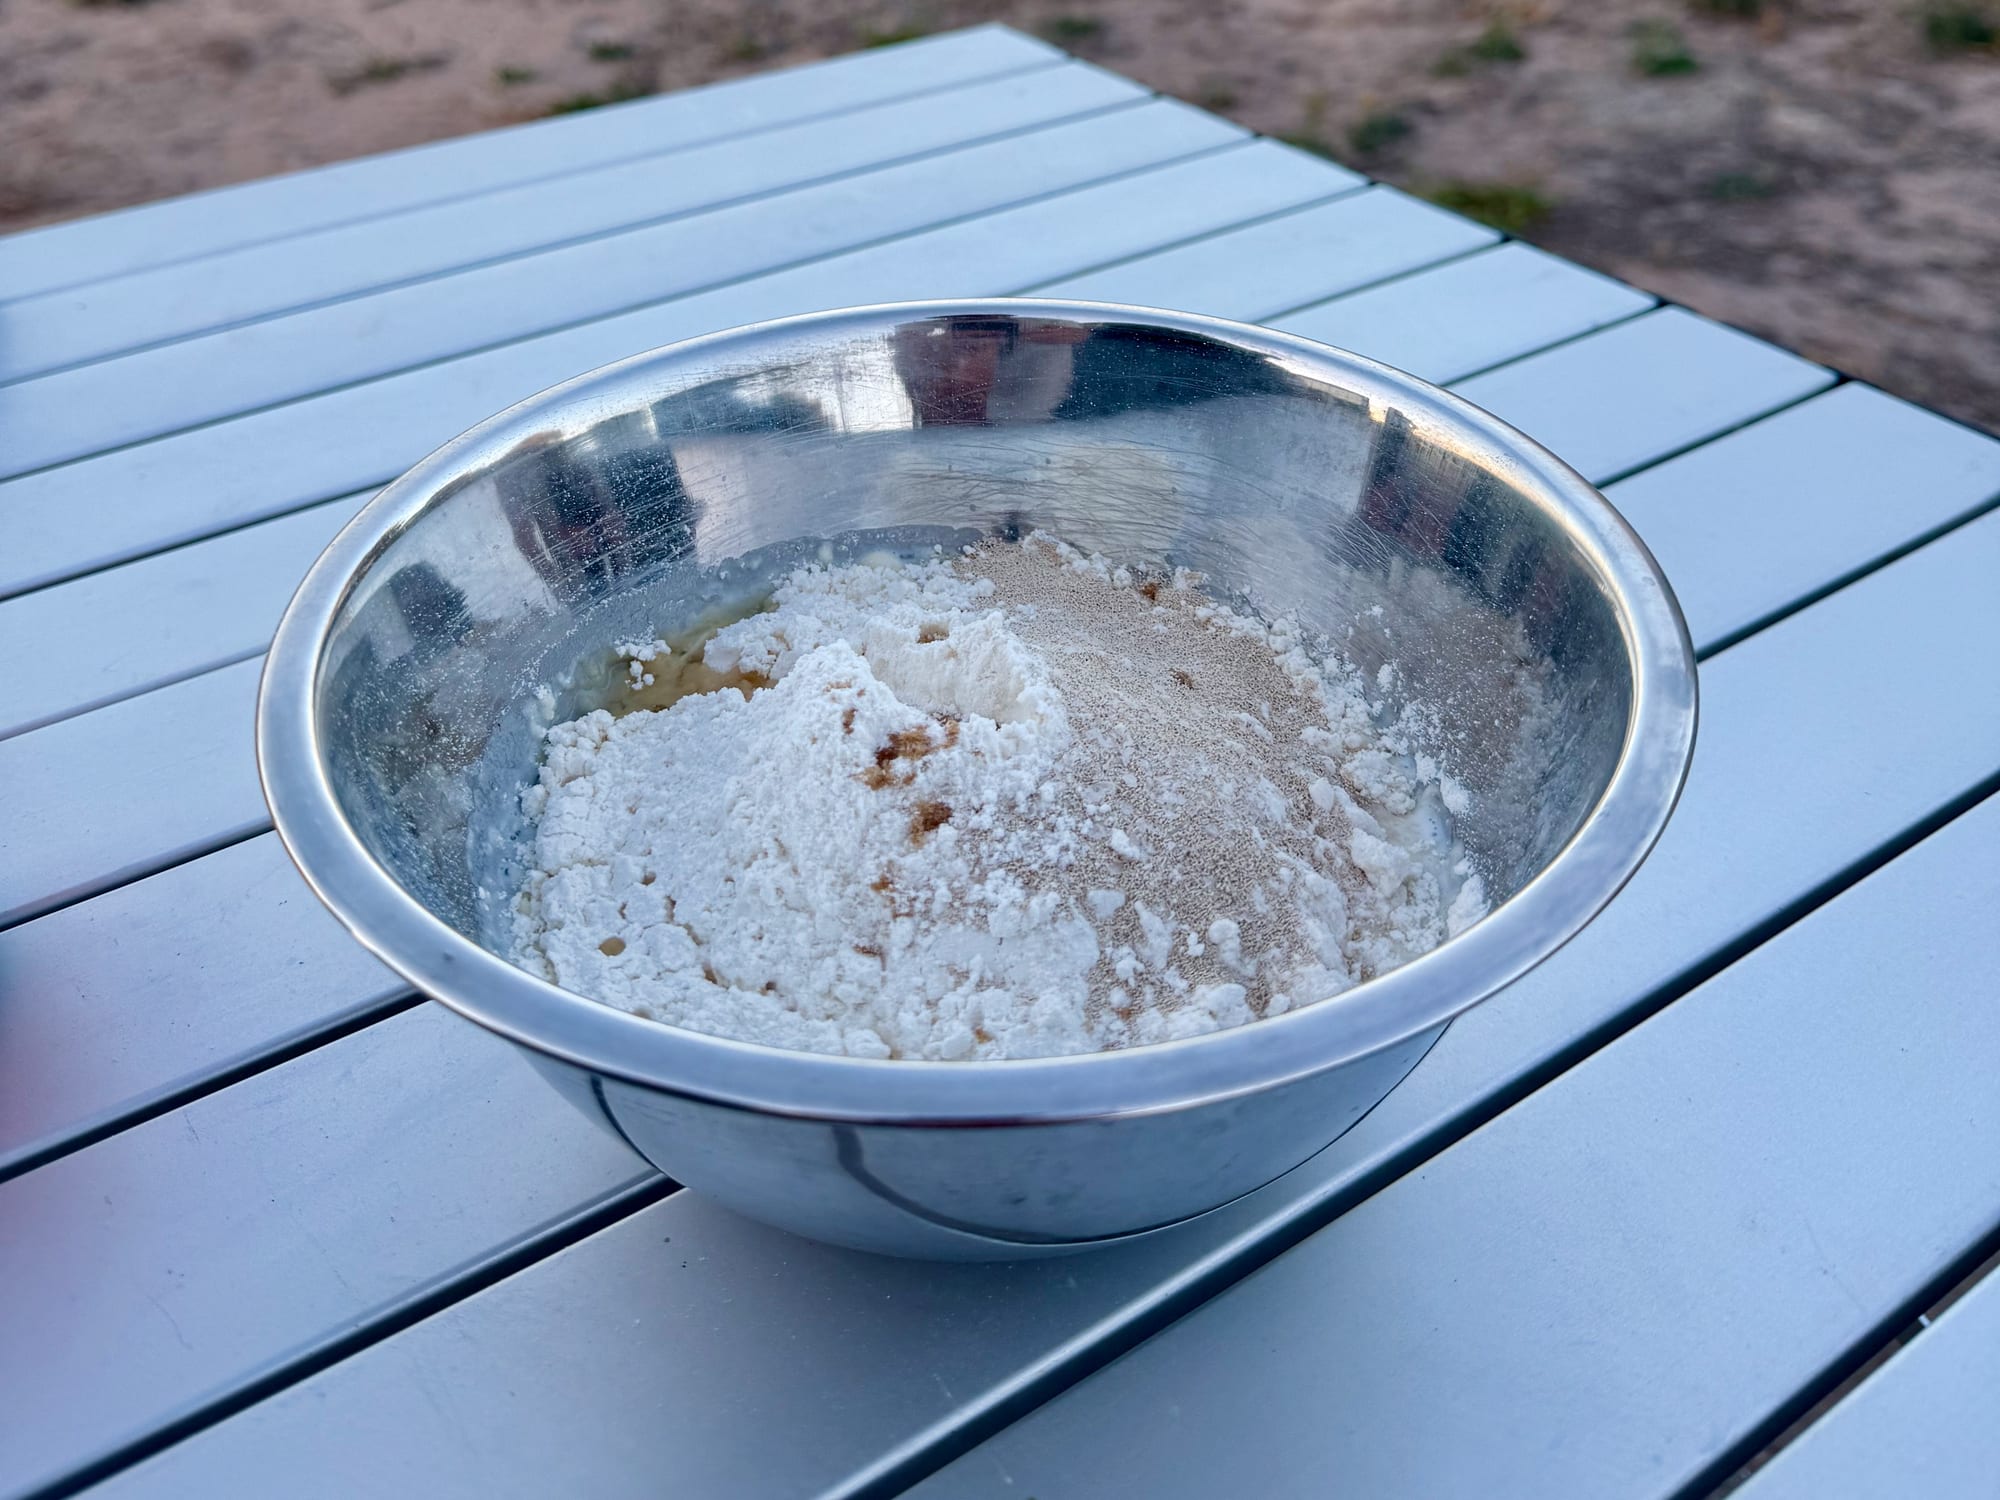
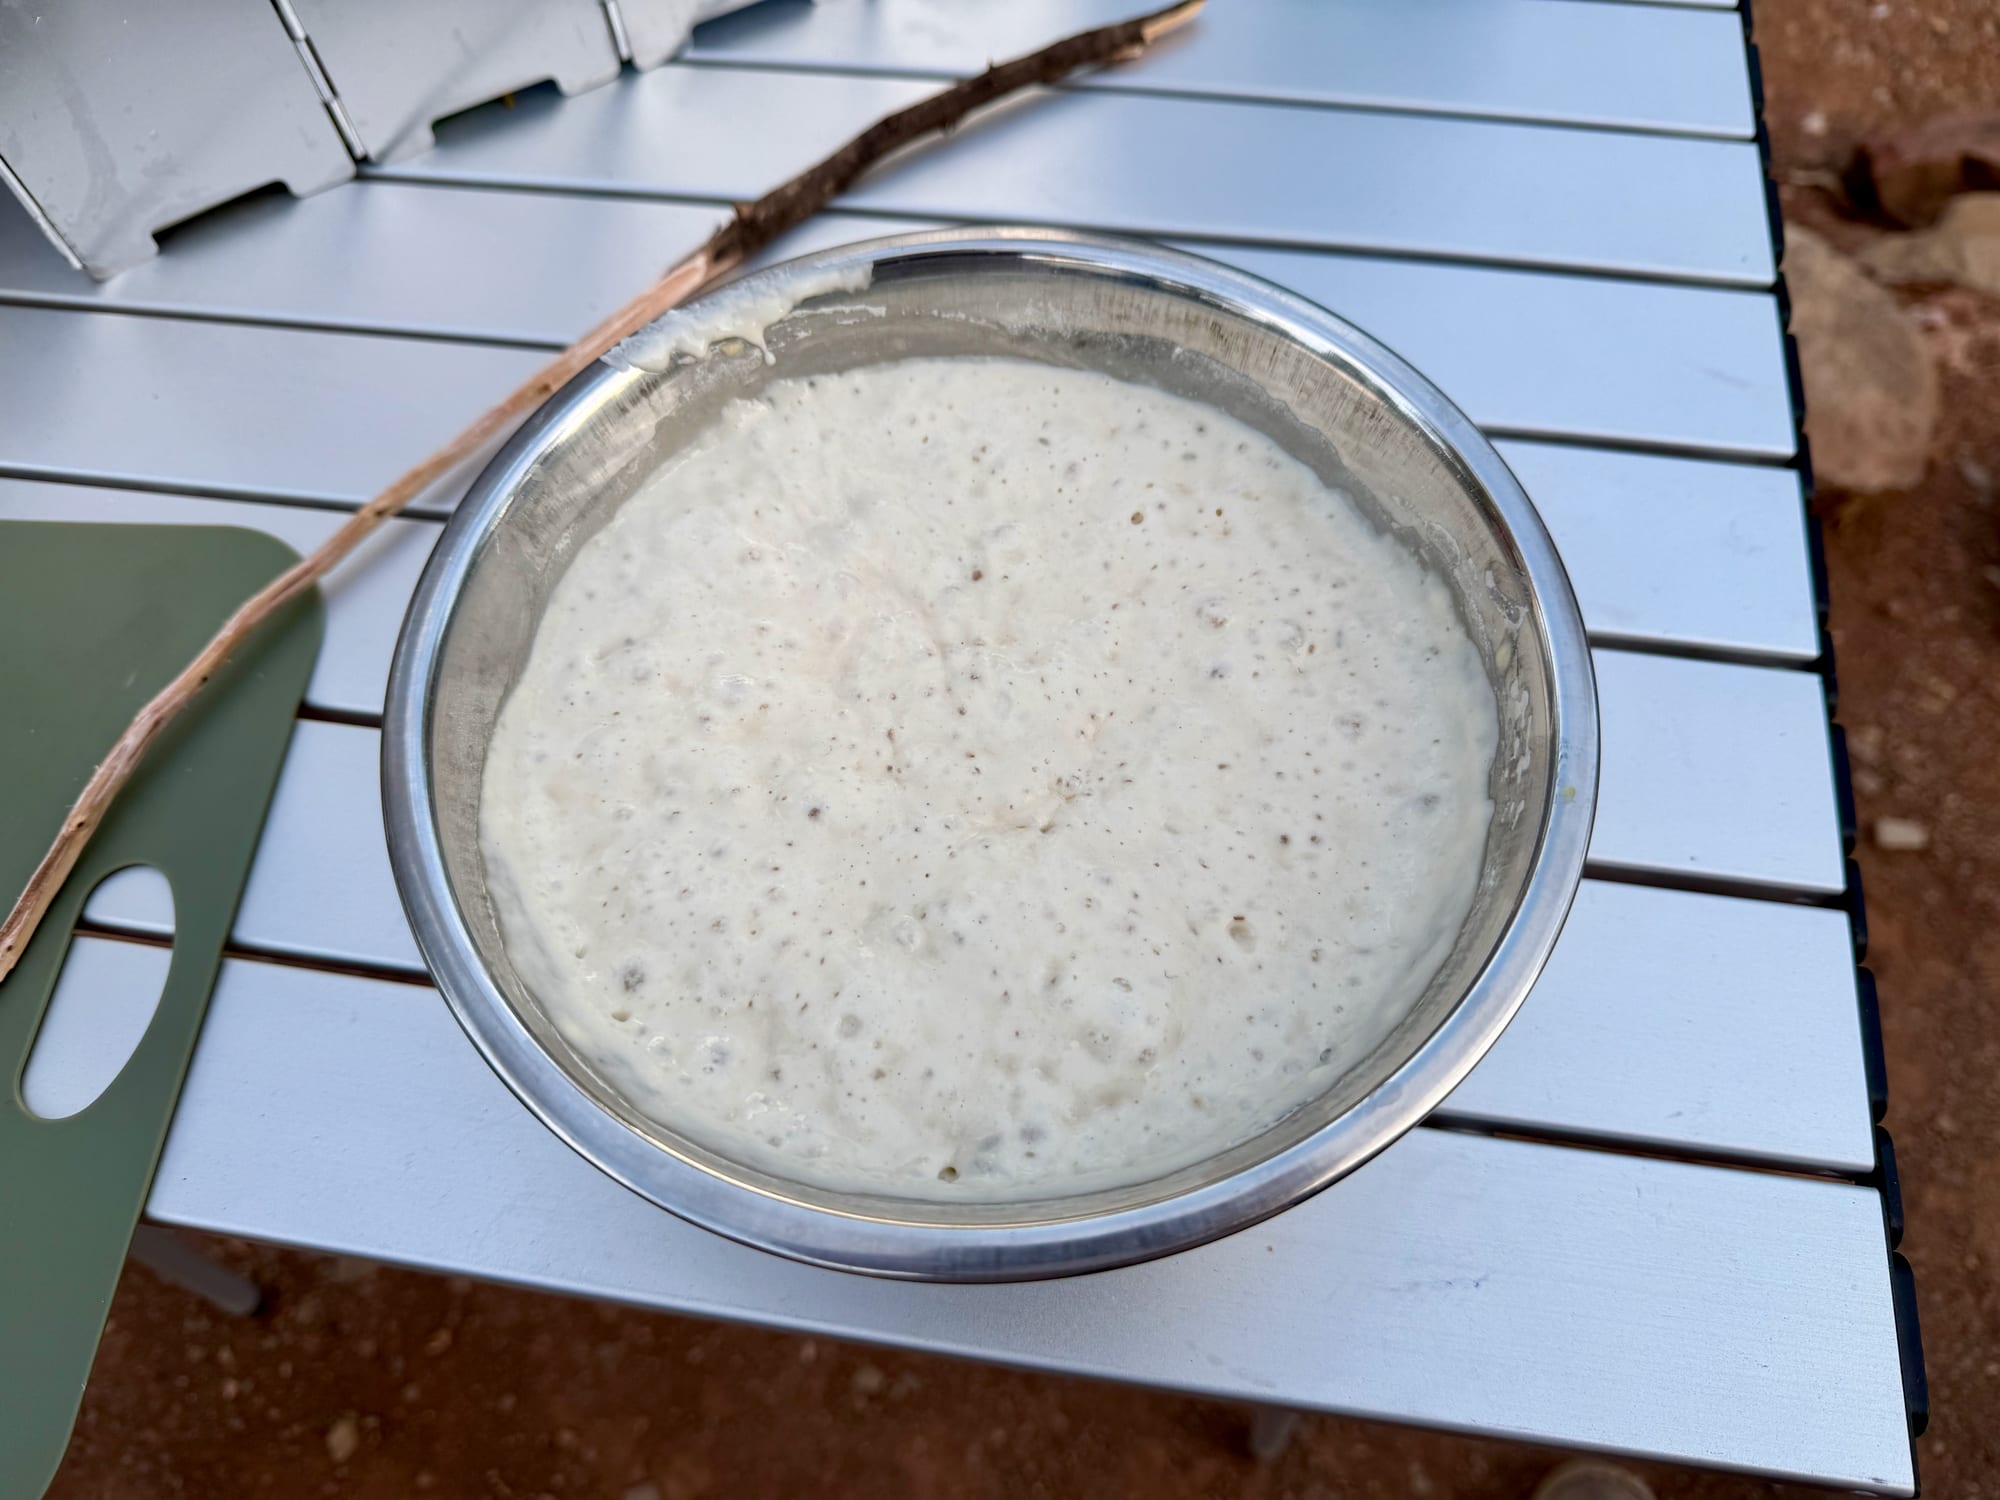
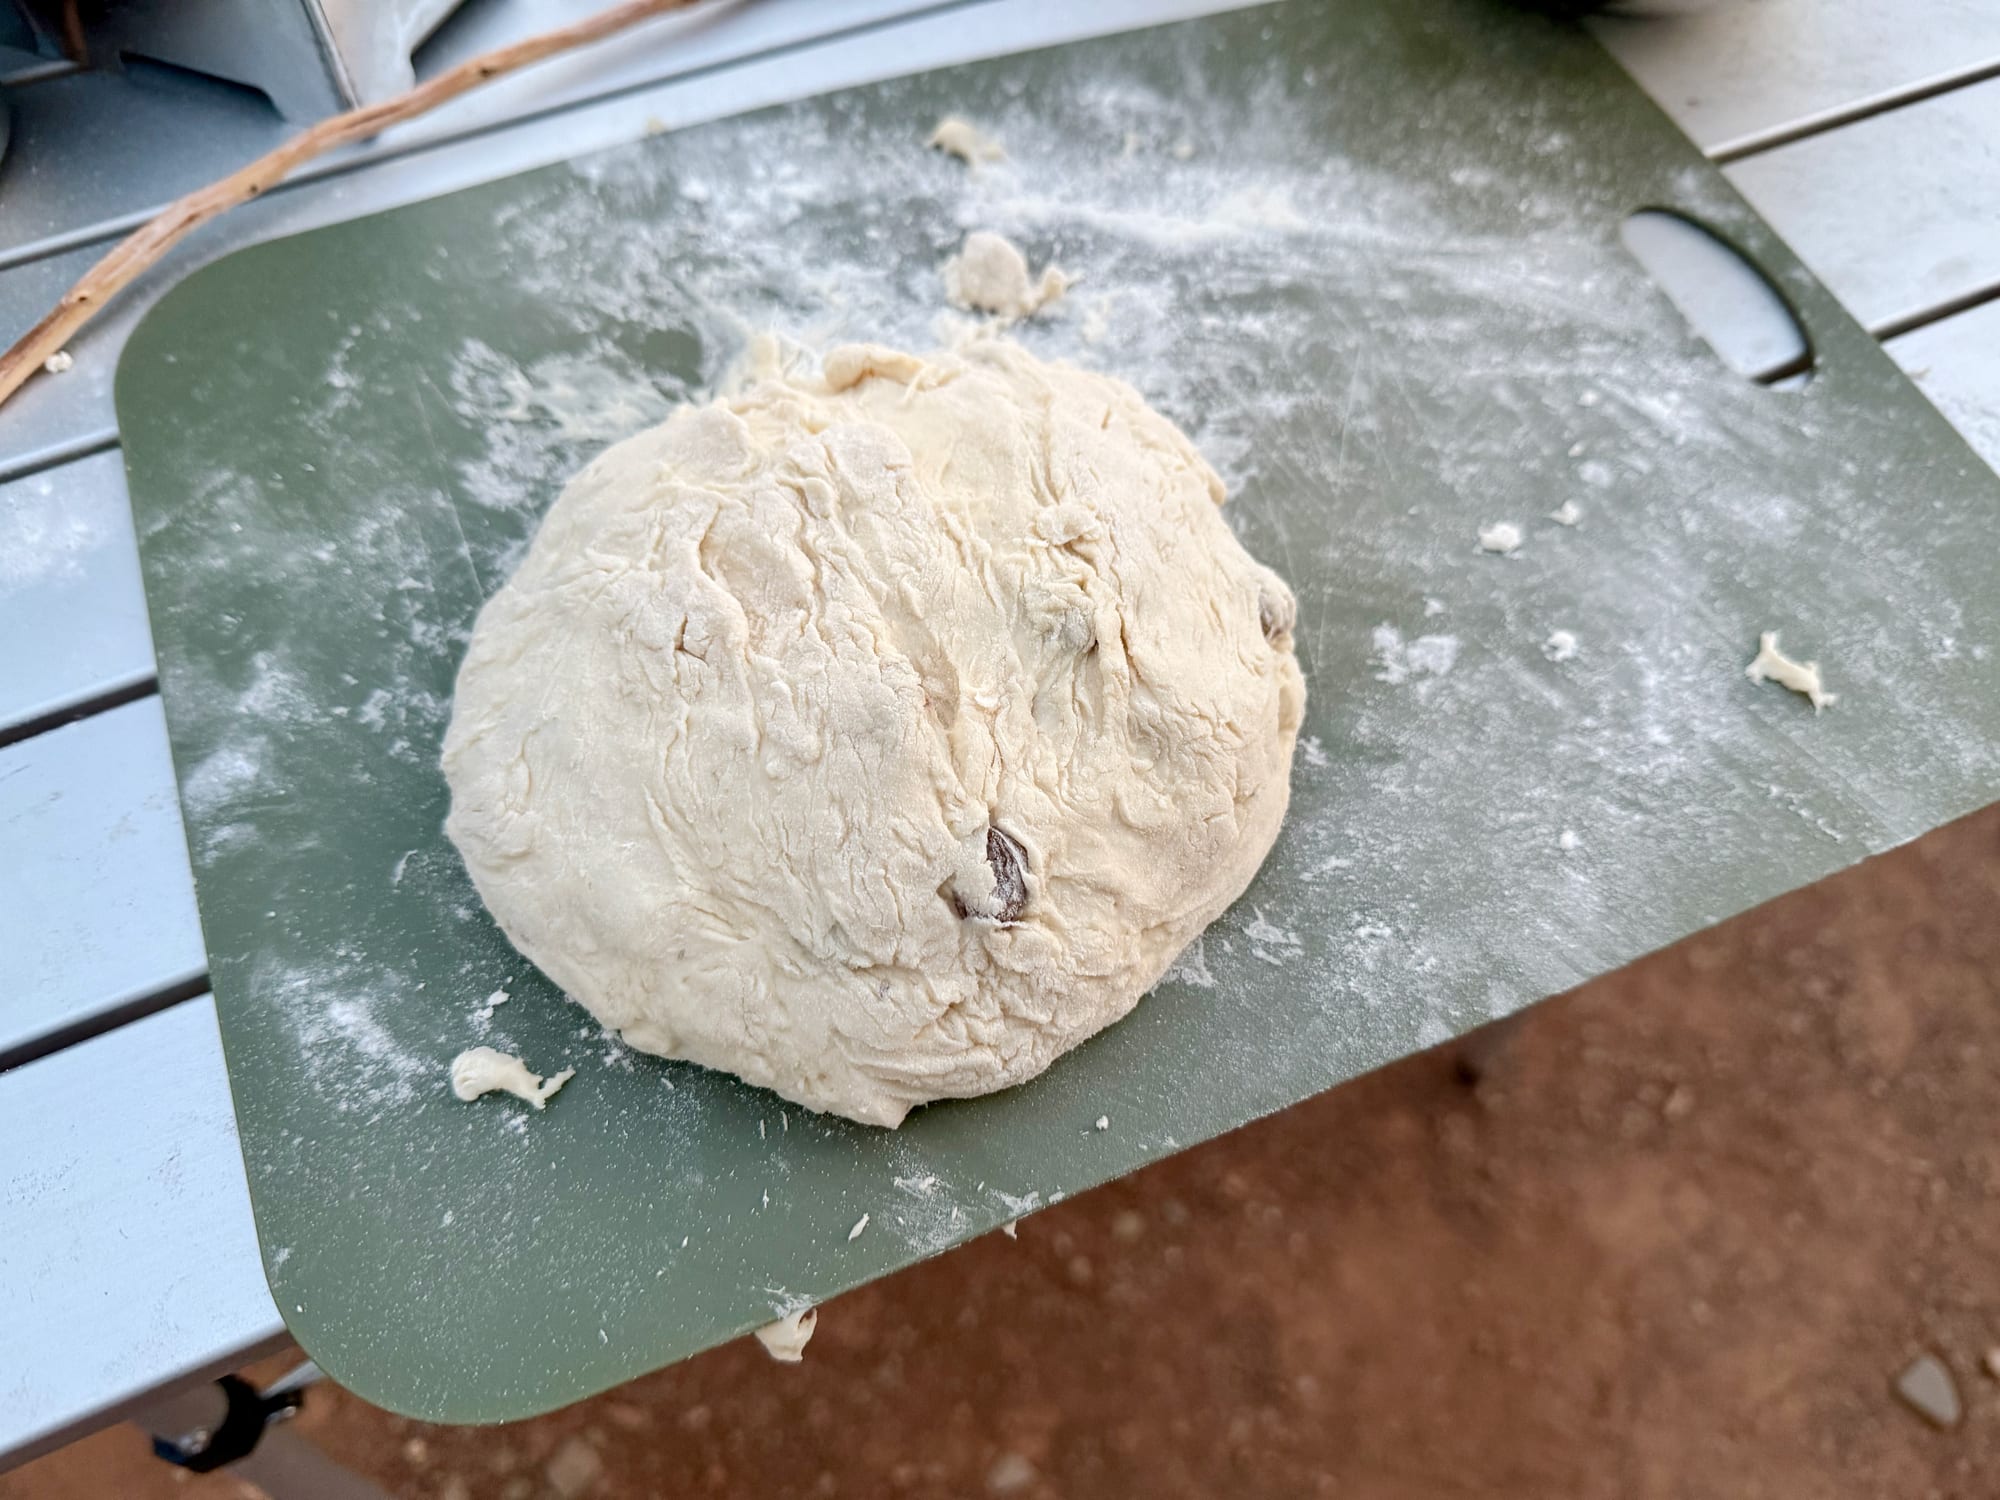
Step 2: Knead the dough2. Knead the dough
Once the batter has risen, add the rest of the flour bit by bit until the dough stops sticking, then tip it out onto a floured board and knead it for three to five minutes, until it’s smooth. We added raisins to ours. Keep a handful of dough aside if you want to make stick bread too.
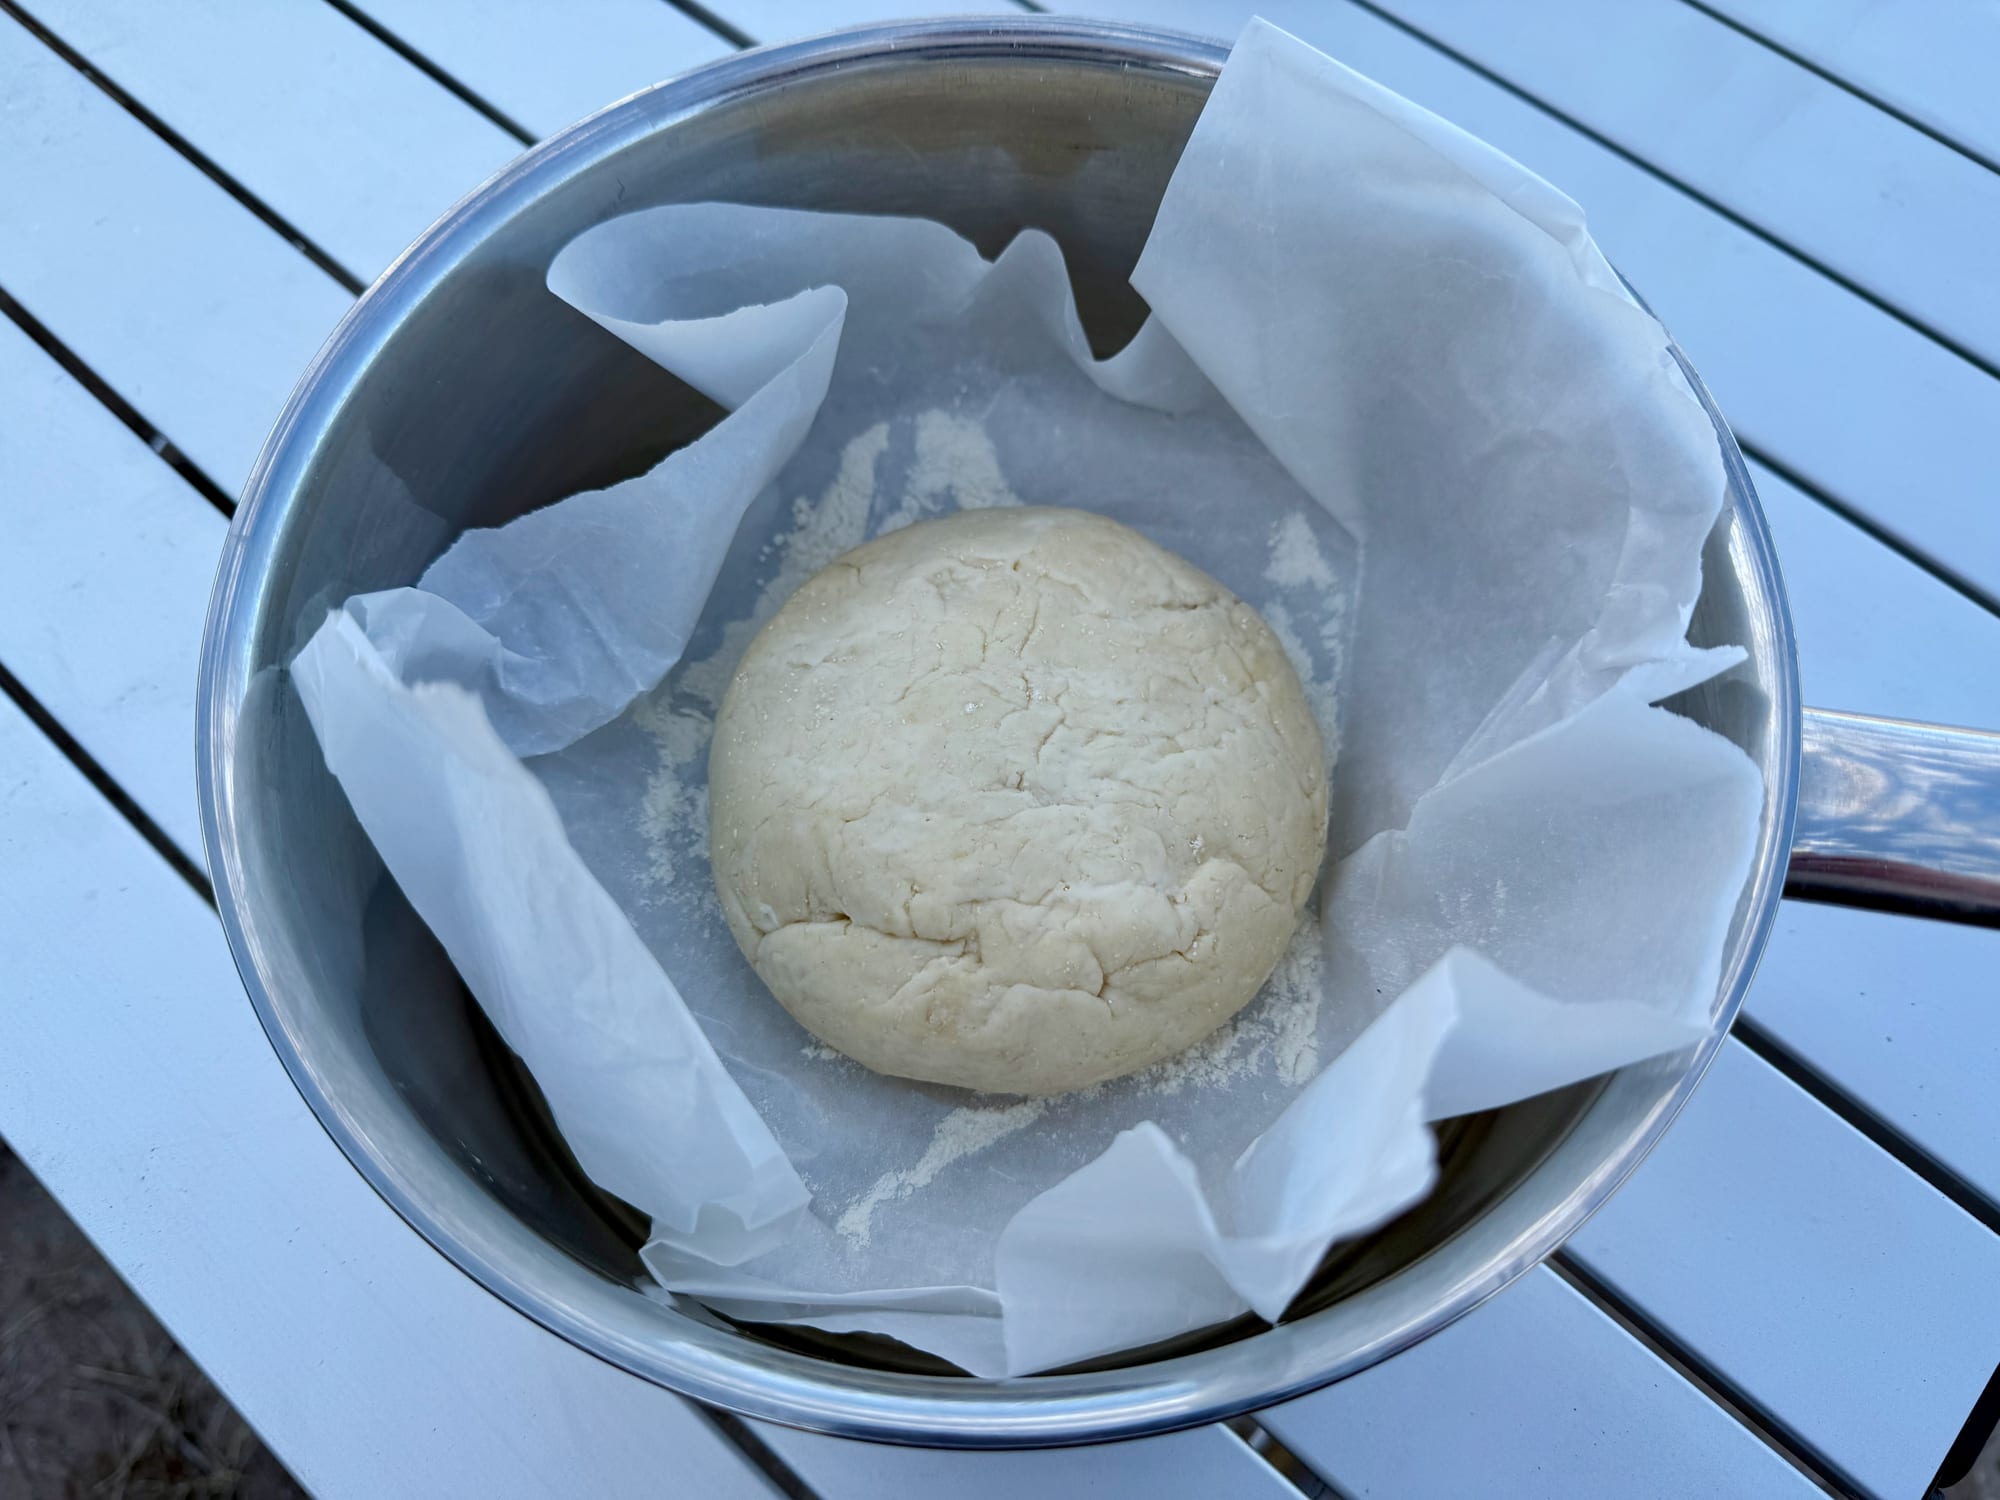
Step 3: Line the pan3. Line the pan
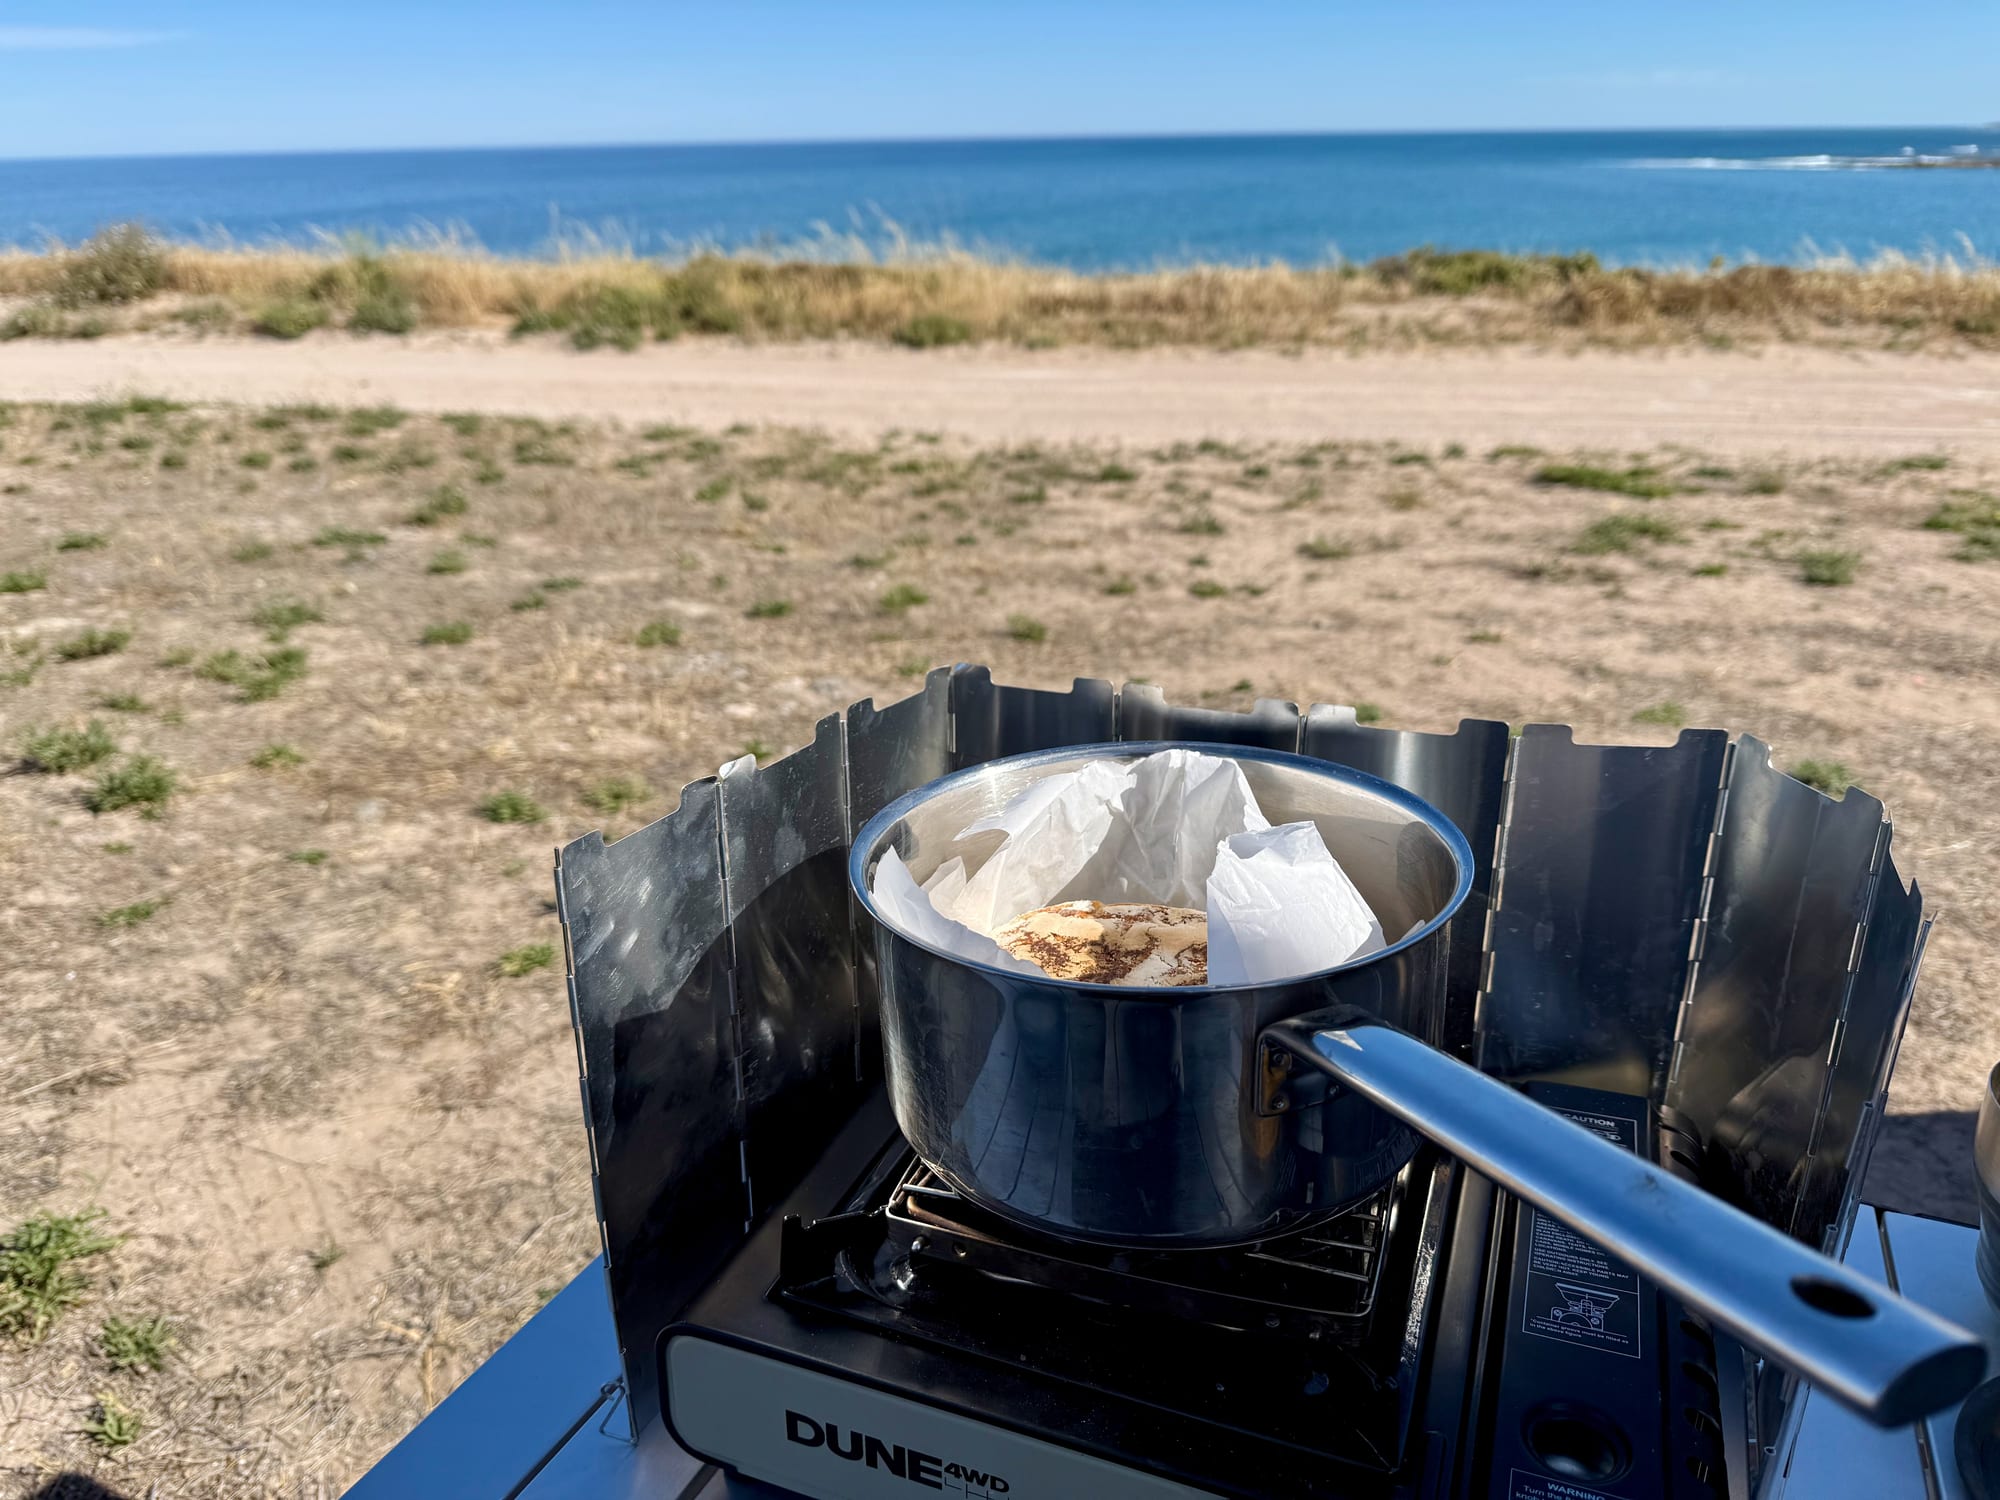
Line the pan with a big sheet of baking paper, scrunched in so it covers the base and the sides, and coat the paper with some flour. Rest the dough ball in the middle. The paper stops the loaf sticking and lets you lift it out in one piece. Then cover the pan: with a lid if you have one, or with foil like we did.
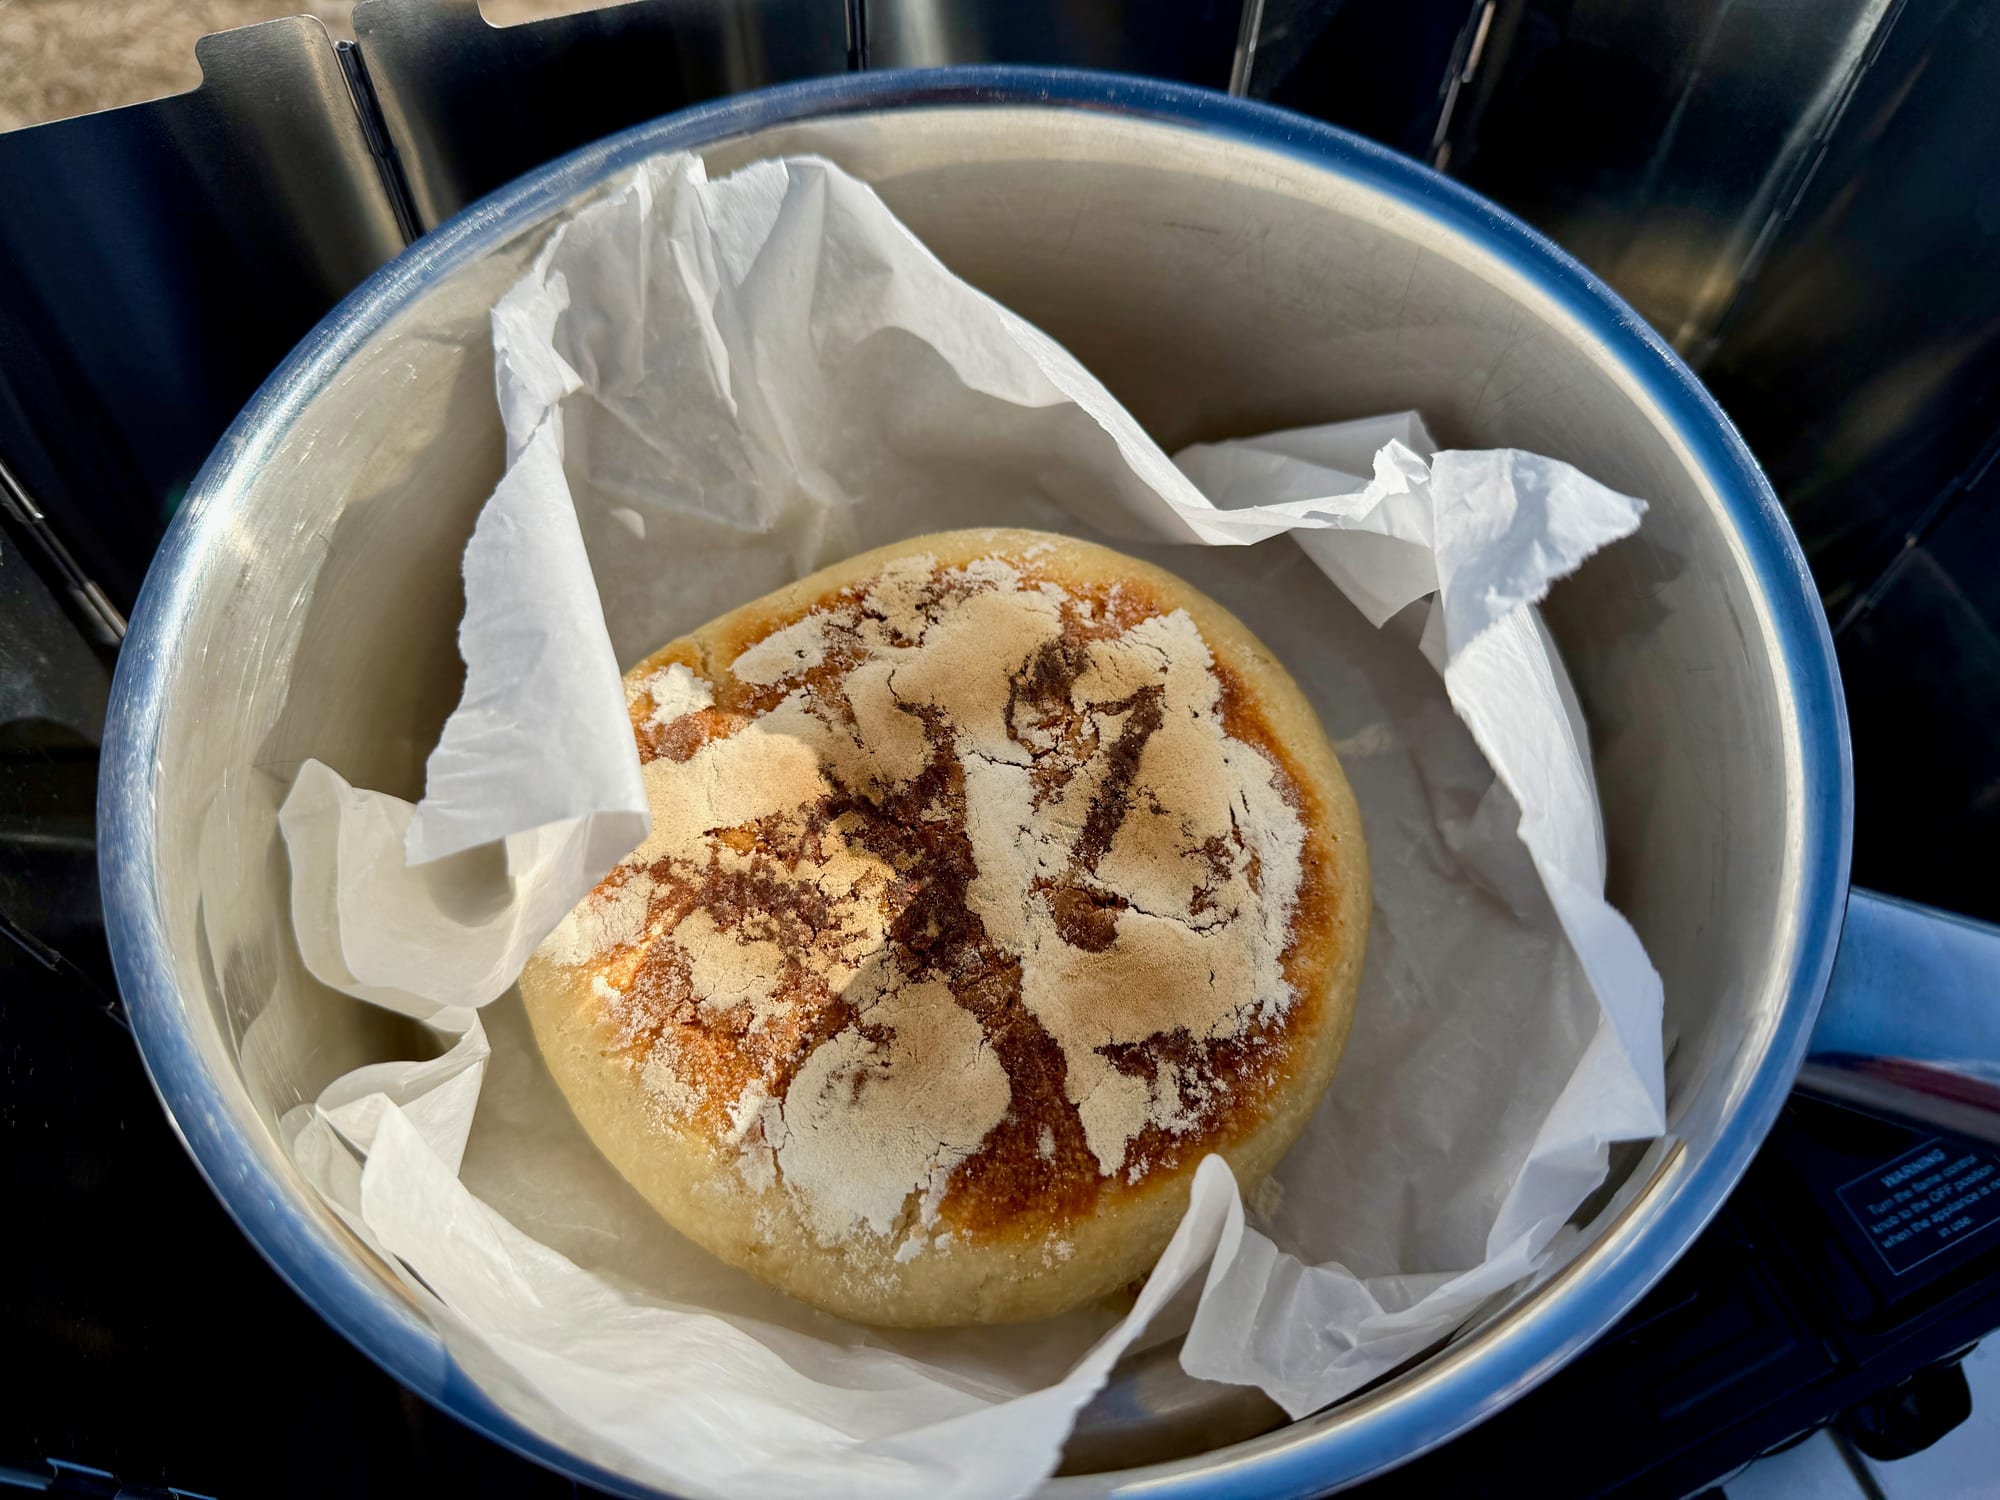
Step 4: Bake it low and slow4. Bake it low and slow
Bake it on a low flame for at least half an hour. Any hotter and it burns: our first loaf did. Keep checking it, and ideally leave a little space between the pan and the flame. We stand the pan on our collapsible grill plate over the burner, with the windshield up to keep the low flame steady.
Stick bread while you wait
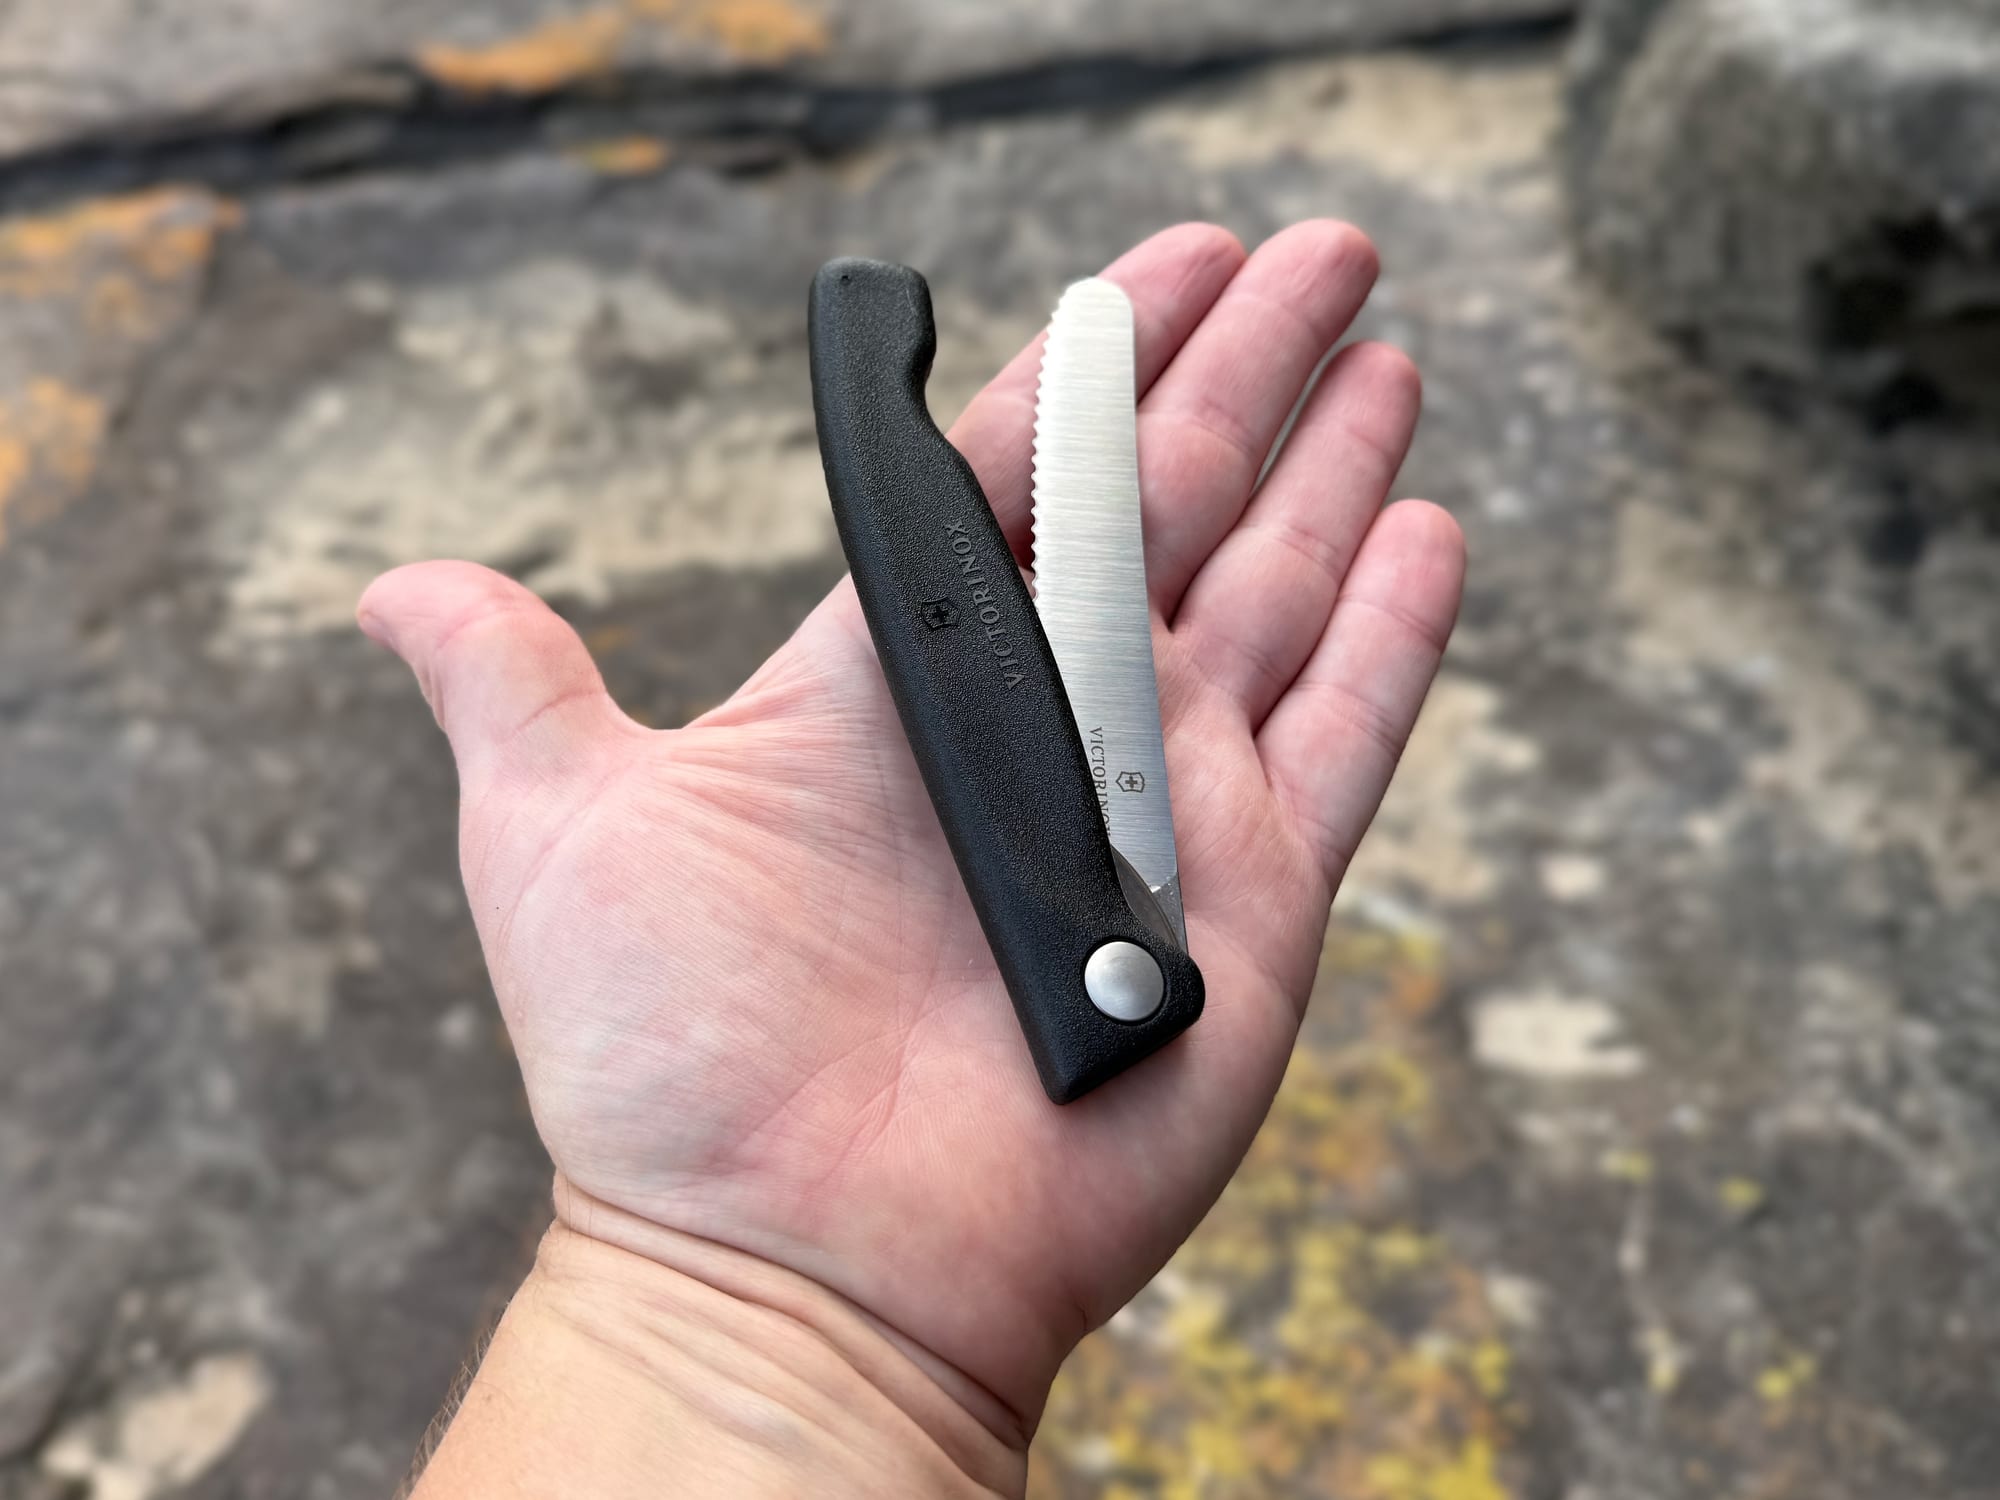
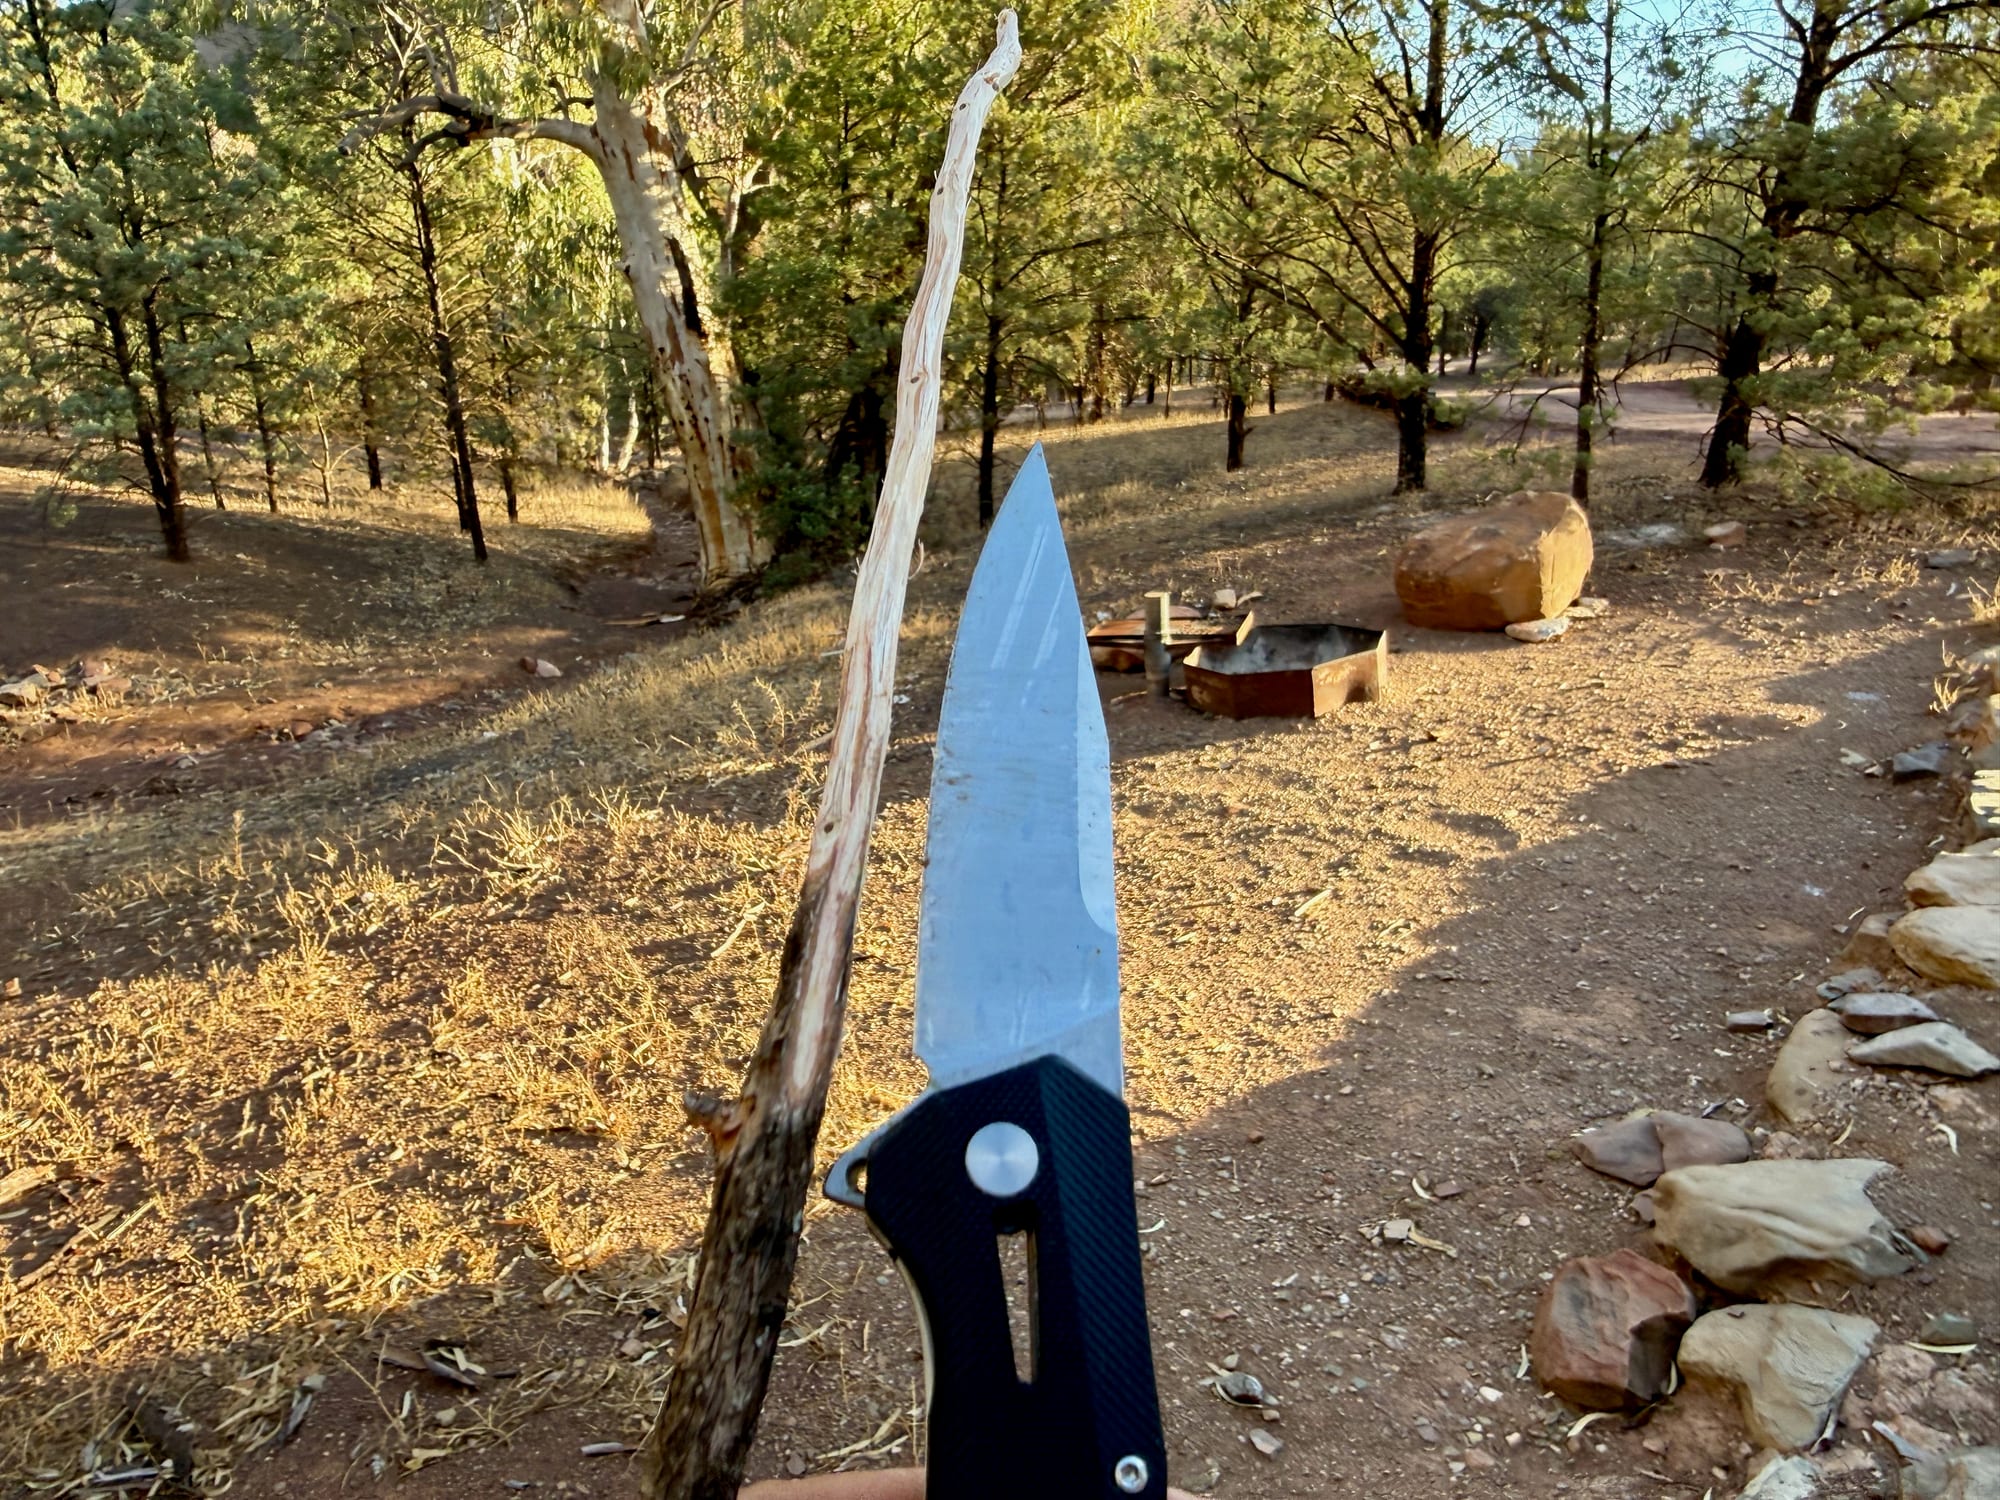
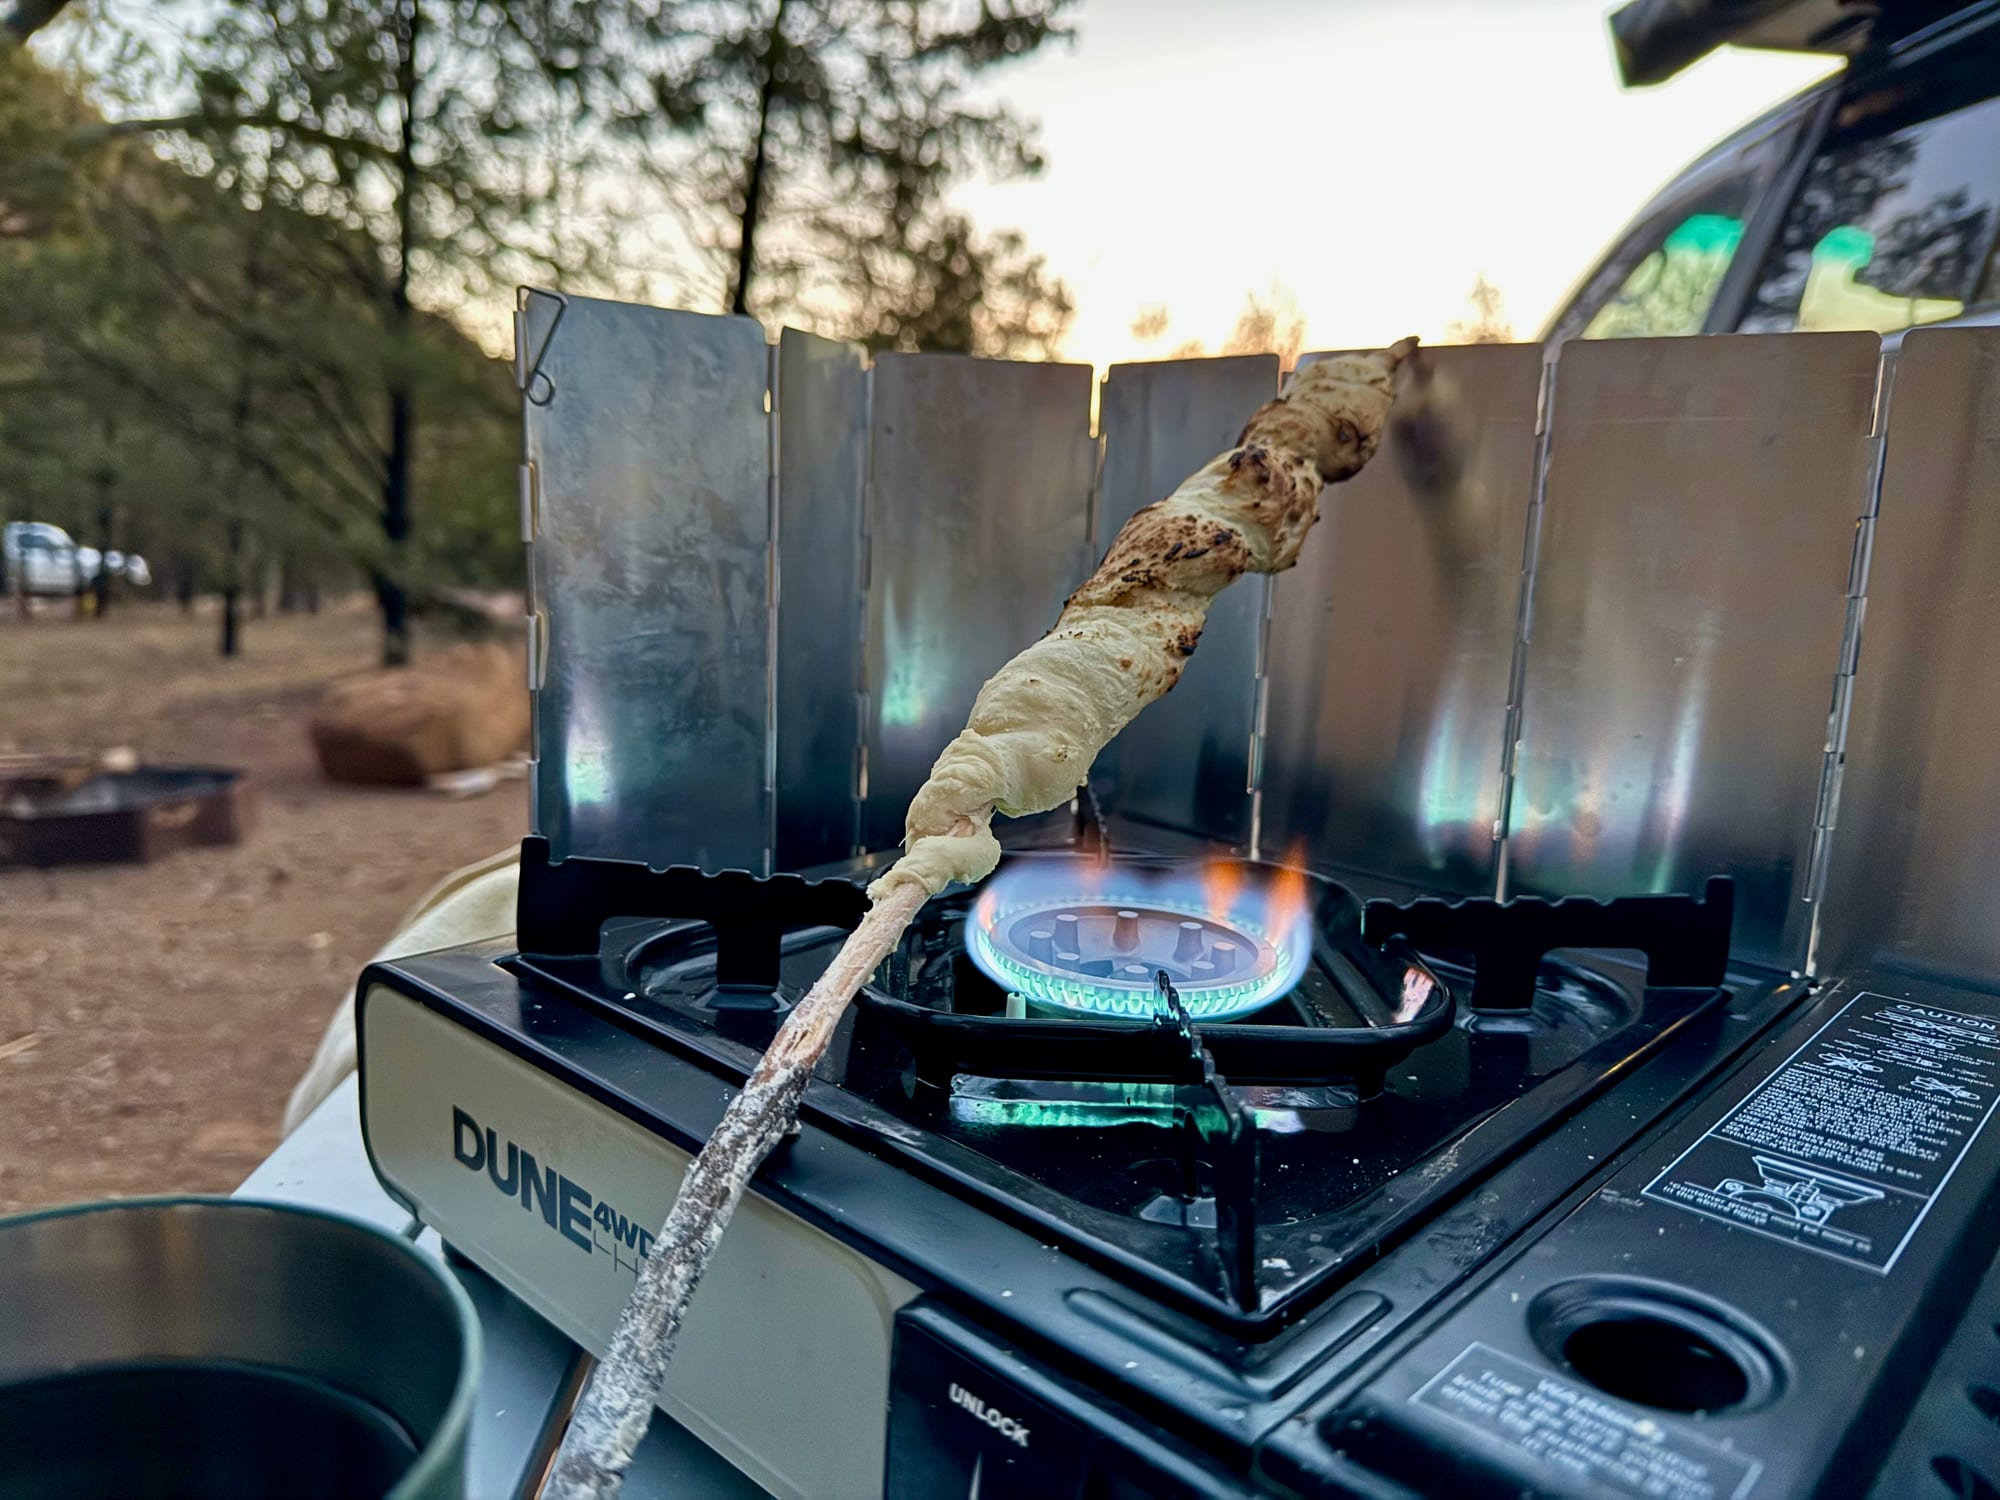
With the dough you kept aside, you can make stick bread. Whittle the bark off a straight stick with a knife, roll the dough into a long rope and twist it around the stick. Then hold it over the burner and keep turning it until it’s browned all over.
Summary
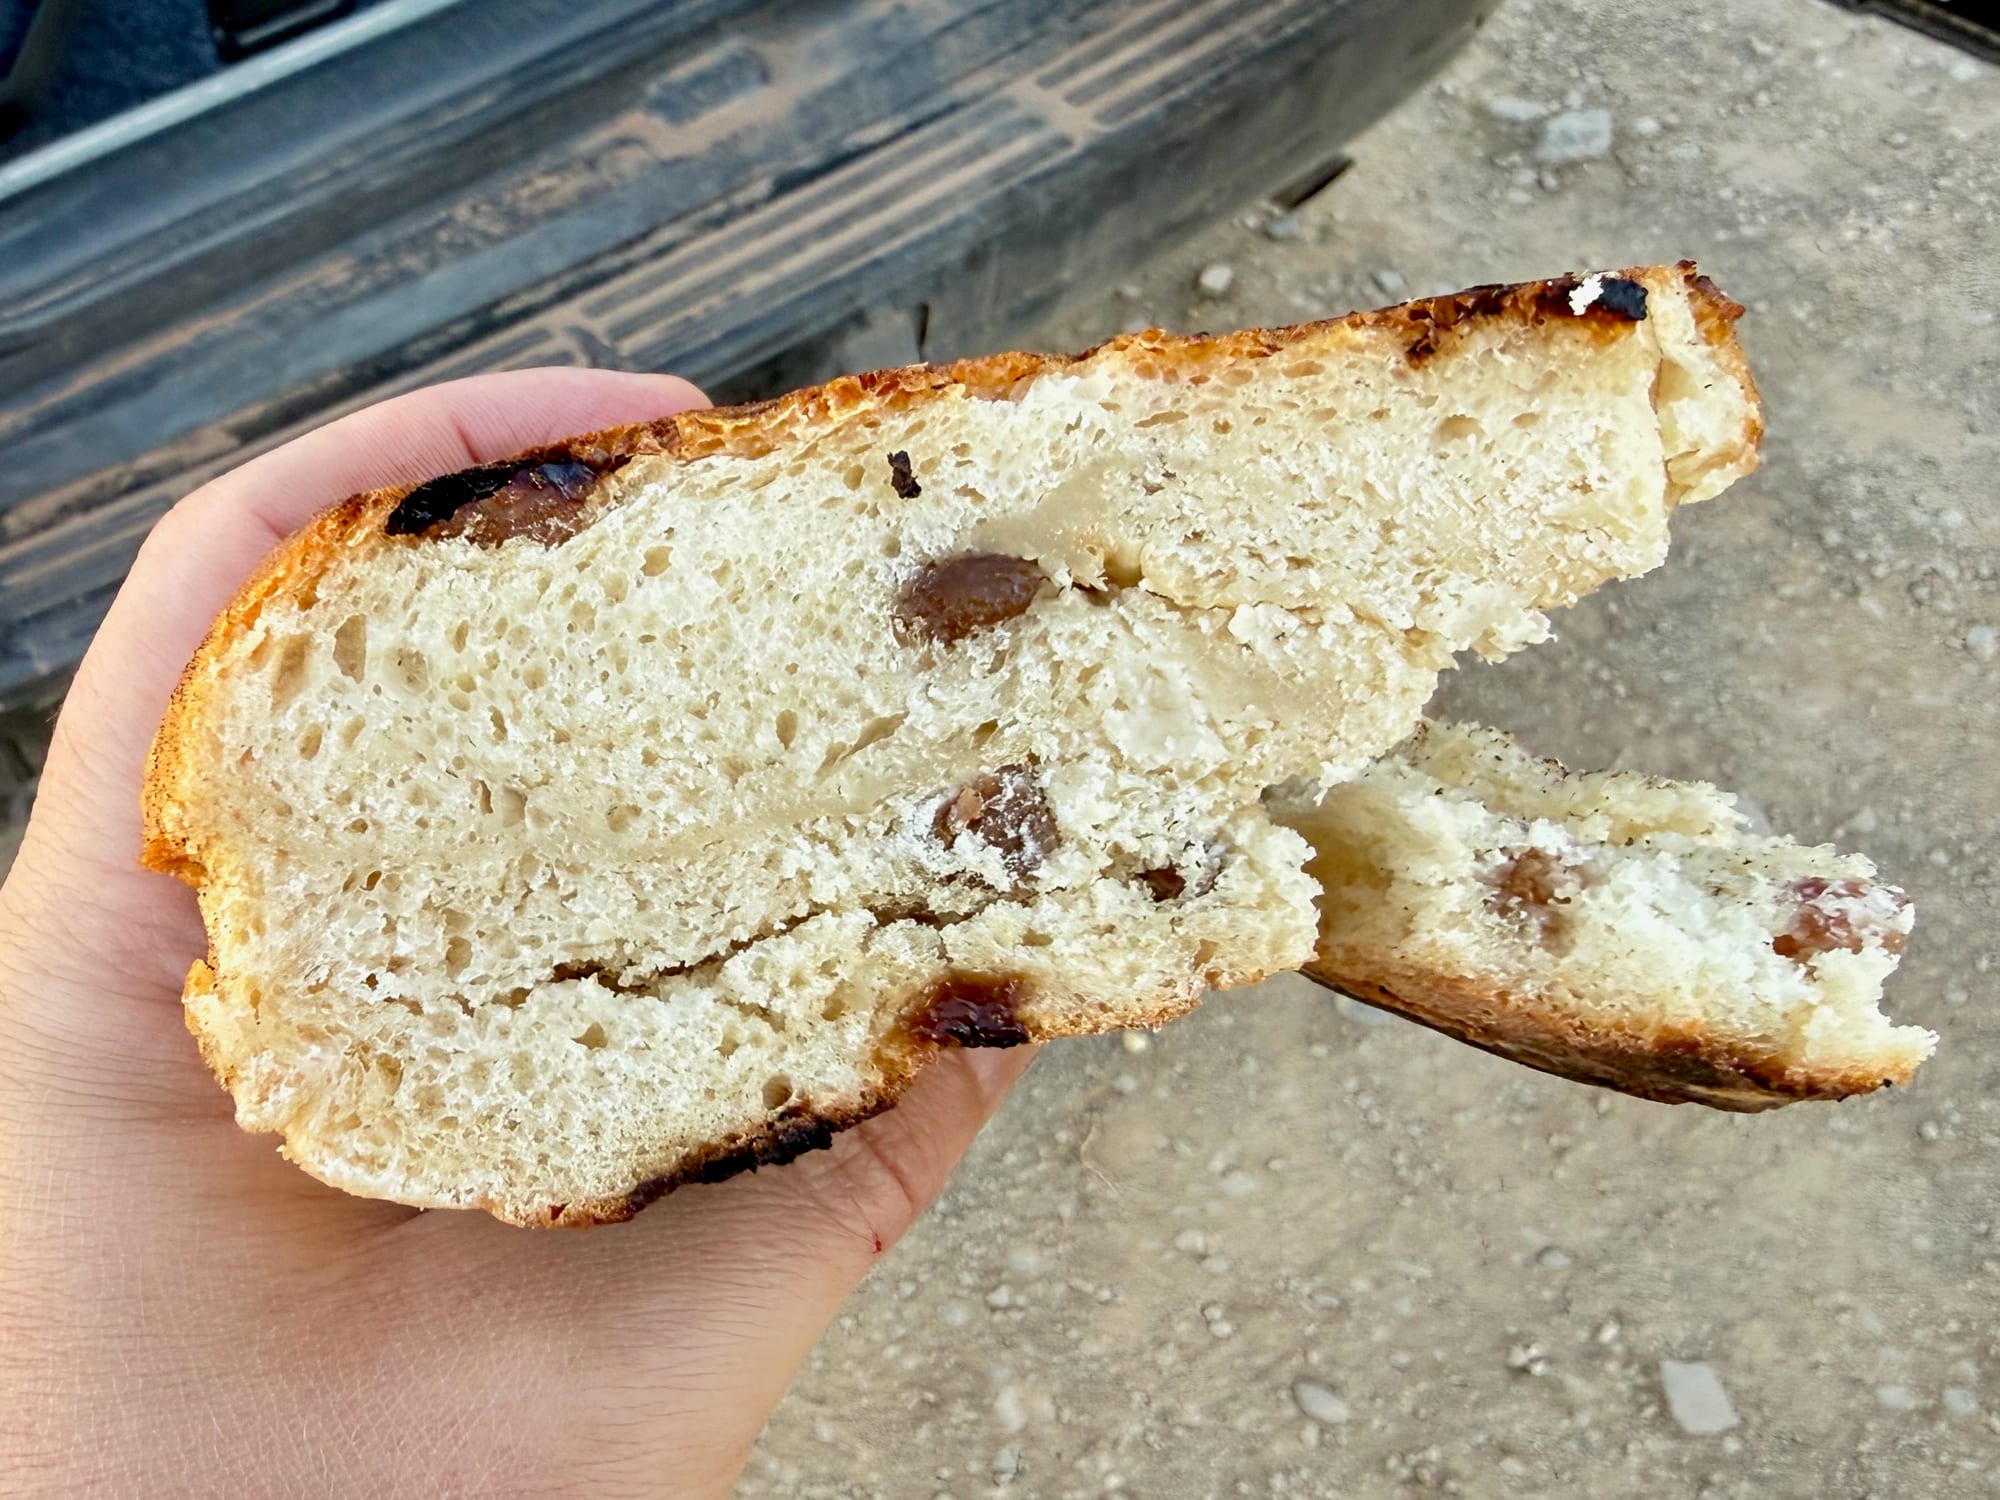
Baking bread on a camp stove takes a simple yeast dough that rises for an hour, a pan lined with floured baking paper, a lid or foil, and patience: at least half an hour on a low flame, checking it as it goes. A grill plate under the pan keeps the base from burning, and a windshield keeps the flame steady. It’s great on longer trips: carry some flour and yeast and you’re good to go, and we always have plenty of water anyway. There’s nothing better than waking up in the middle of nowhere to freshly baked bread.
Do's
- Do flour the baking paper
- Do cover the pan (foil if no lid)
- Do keep the flame low
- Do keep checking it
- Do raise the pan off the flame
Don'ts
- Don’t bake on a high flame
- Don’t rush it: give it half an hour
Recommended gear
The stove, windshield, grill and pot from our bread bakes. For more options, see our camping stoves and camping cookware guides.