Airing down before sand or rocks gives you more grip, an easier ride and less strain on the suspension. Doing it with a gauge and a stick, one tyre at a time, is slow, and you end up kneeling in the dirt while everyone else drives off.
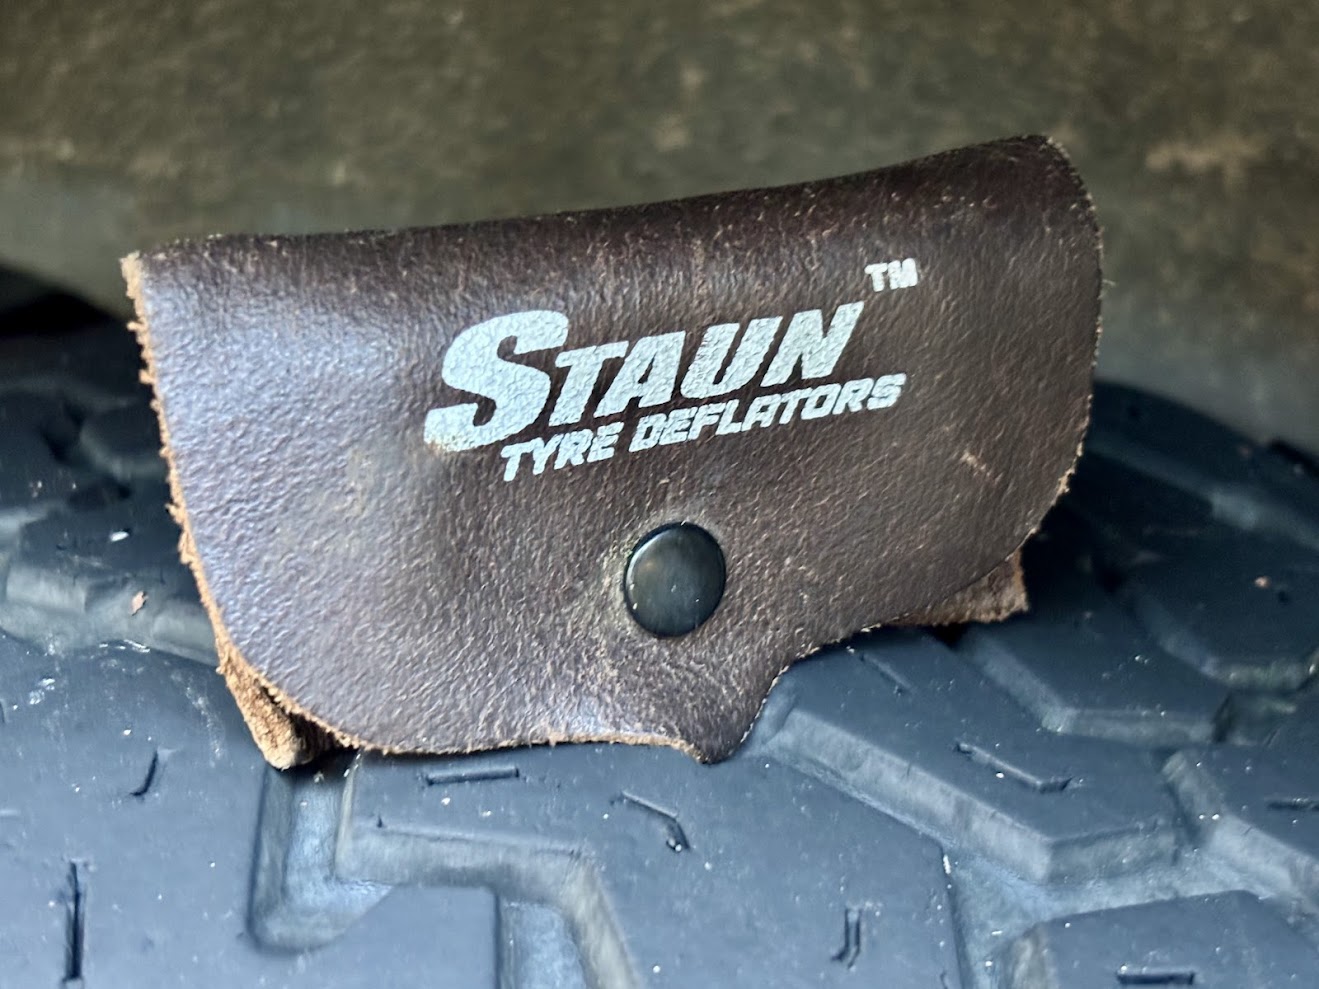
Staun deflators do the job for you. You screw one onto each valve, all four tyres drop to the pressure you set, and the deflators shut off by themselves. The only work is setting them to the right pressure in the first place. That takes a few minutes with a good gauge, and once it is done you don’t touch them again. Ours are set to 20 PSI, which is what we air down to for mud, sand and rocky tracks, and they have stayed there. Here is how to set them.
How do Staun tyre deflators work?How they work
A Staun deflator is a small brass valve with a spring inside. Screwed onto the tyre valve, it lets air out until the tyre reaches the pressure the spring is set for, then closes. If you switch between highway and track pressures a lot, that saves real time.
Inside is a central shaft and an adjustable cap that changes the tension on the spring. More tension holds the valve closed longer, so the tyre ends up lower; less tension closes it sooner, so the tyre stays higher. The adjustment is fine, so you need an accurate gauge to set it. Once you have the pressure you use most (ours is 20 PSI for mud, sand and rocky tracks), it stays set.
The parts of a Staun tyre deflatorThe parts
A Staun deflator has three parts that matter when you set it. Here’s what each one does before you start turning anything.
- Adjustment Cap
The outermost, removable cap used to physically turn and lock the pressure setting.
- Locking Ring (Collar)
A small nut that locks the adjustment cap in place once the desired pressure is found.
- Internal Screw (Spring Tensioner)
The core mechanism that determines the shut-off pressure. Turning it adjusts the spring tension.
How to set Staun tyre deflatorsHow to set them
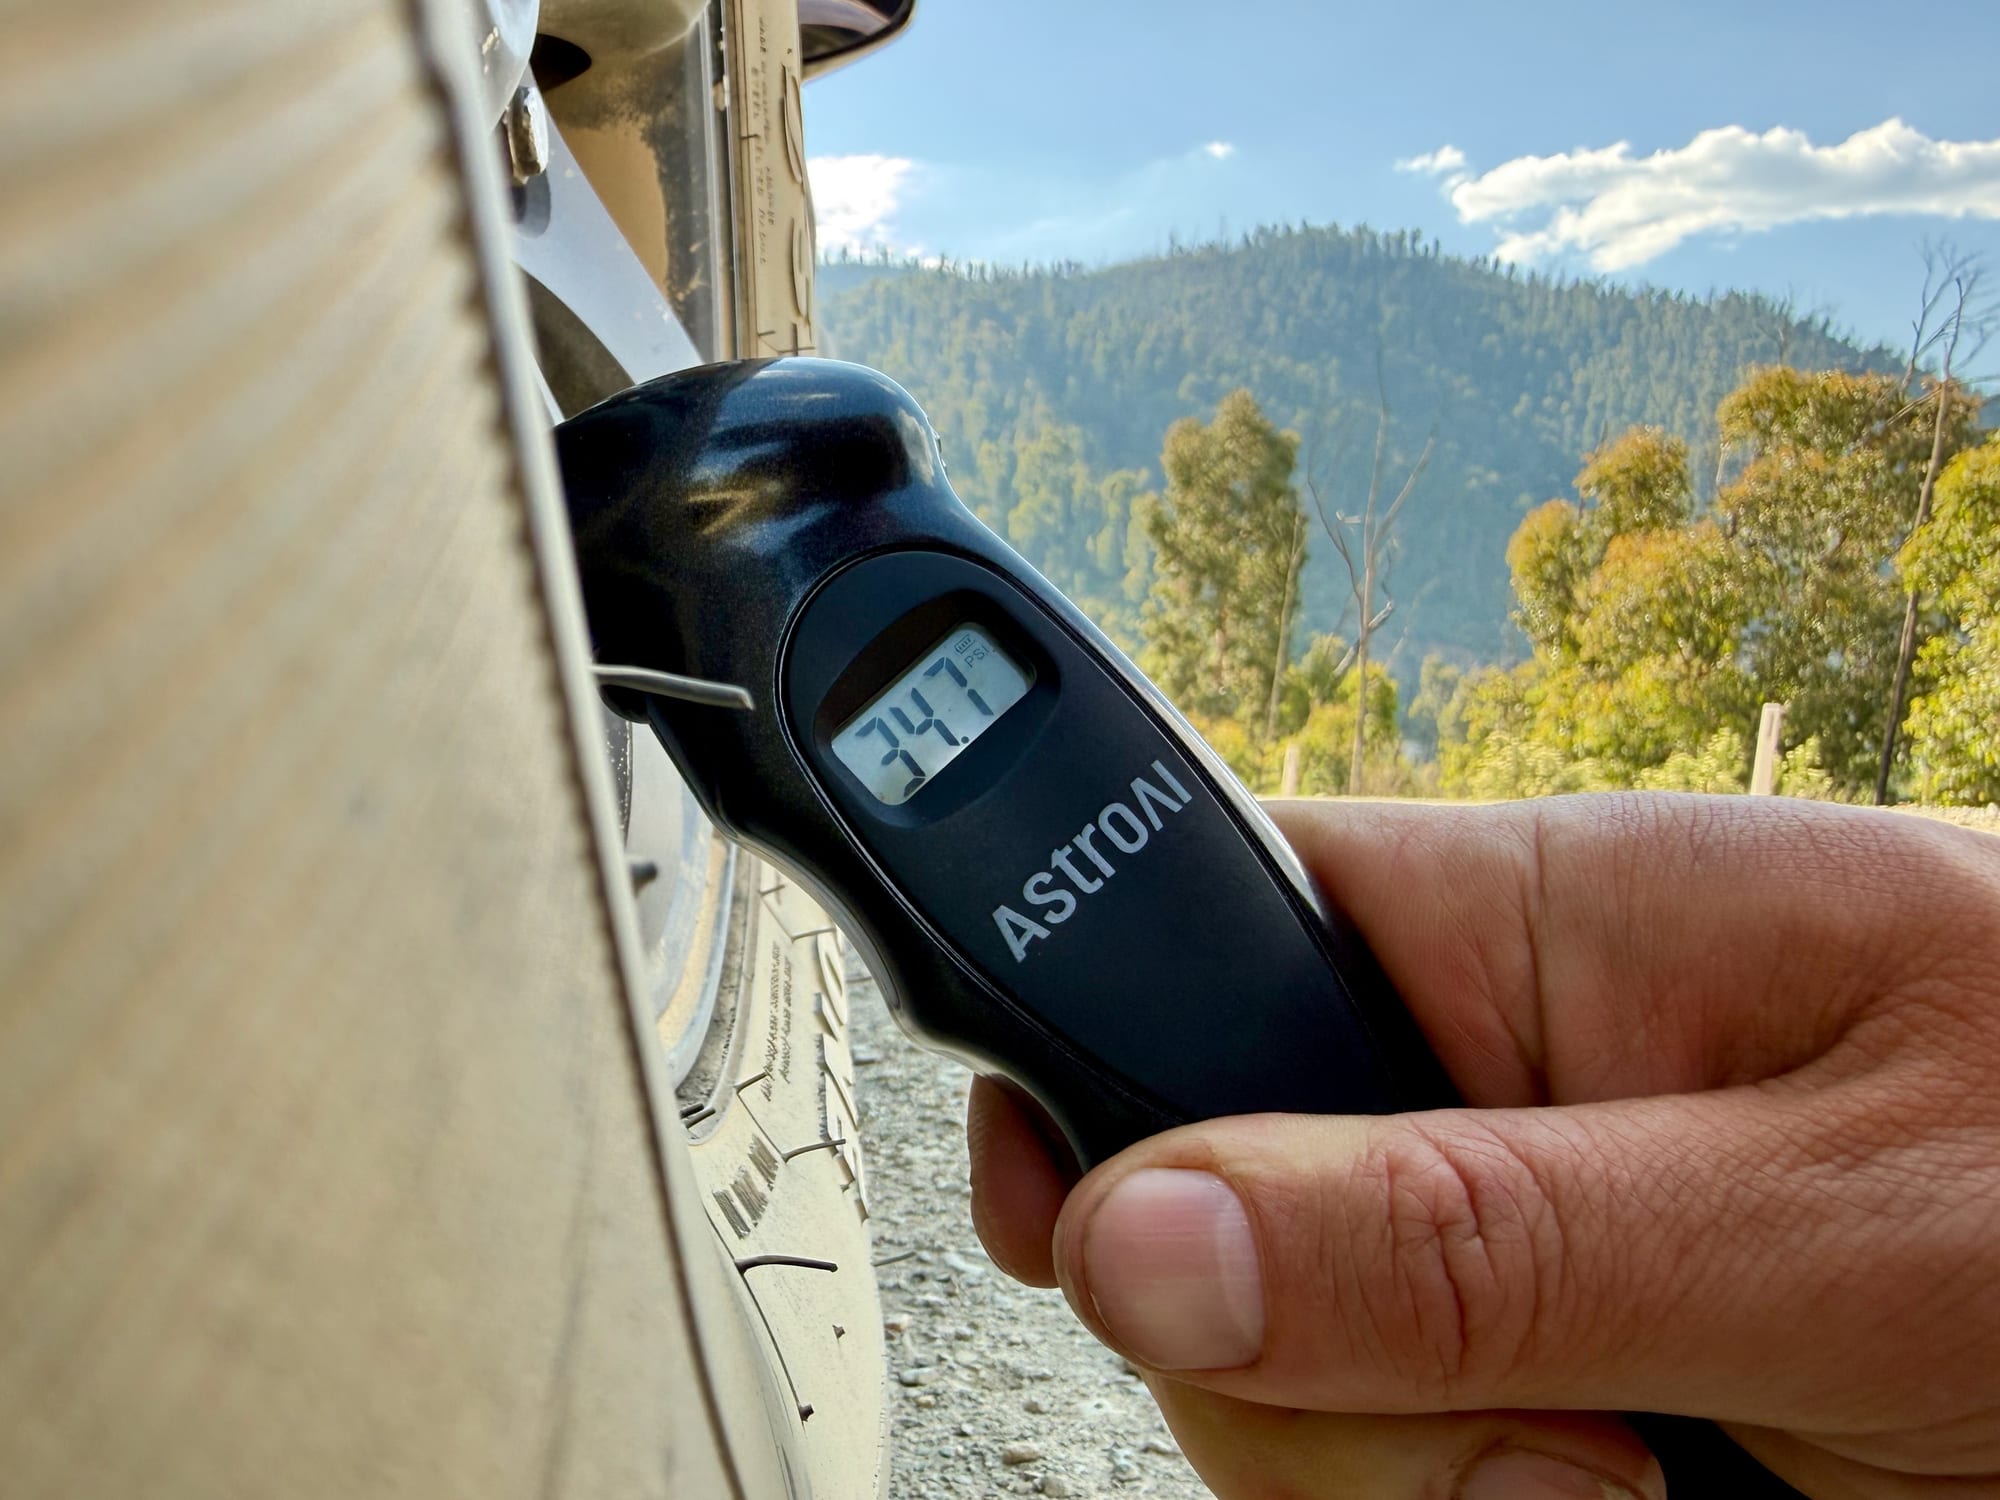
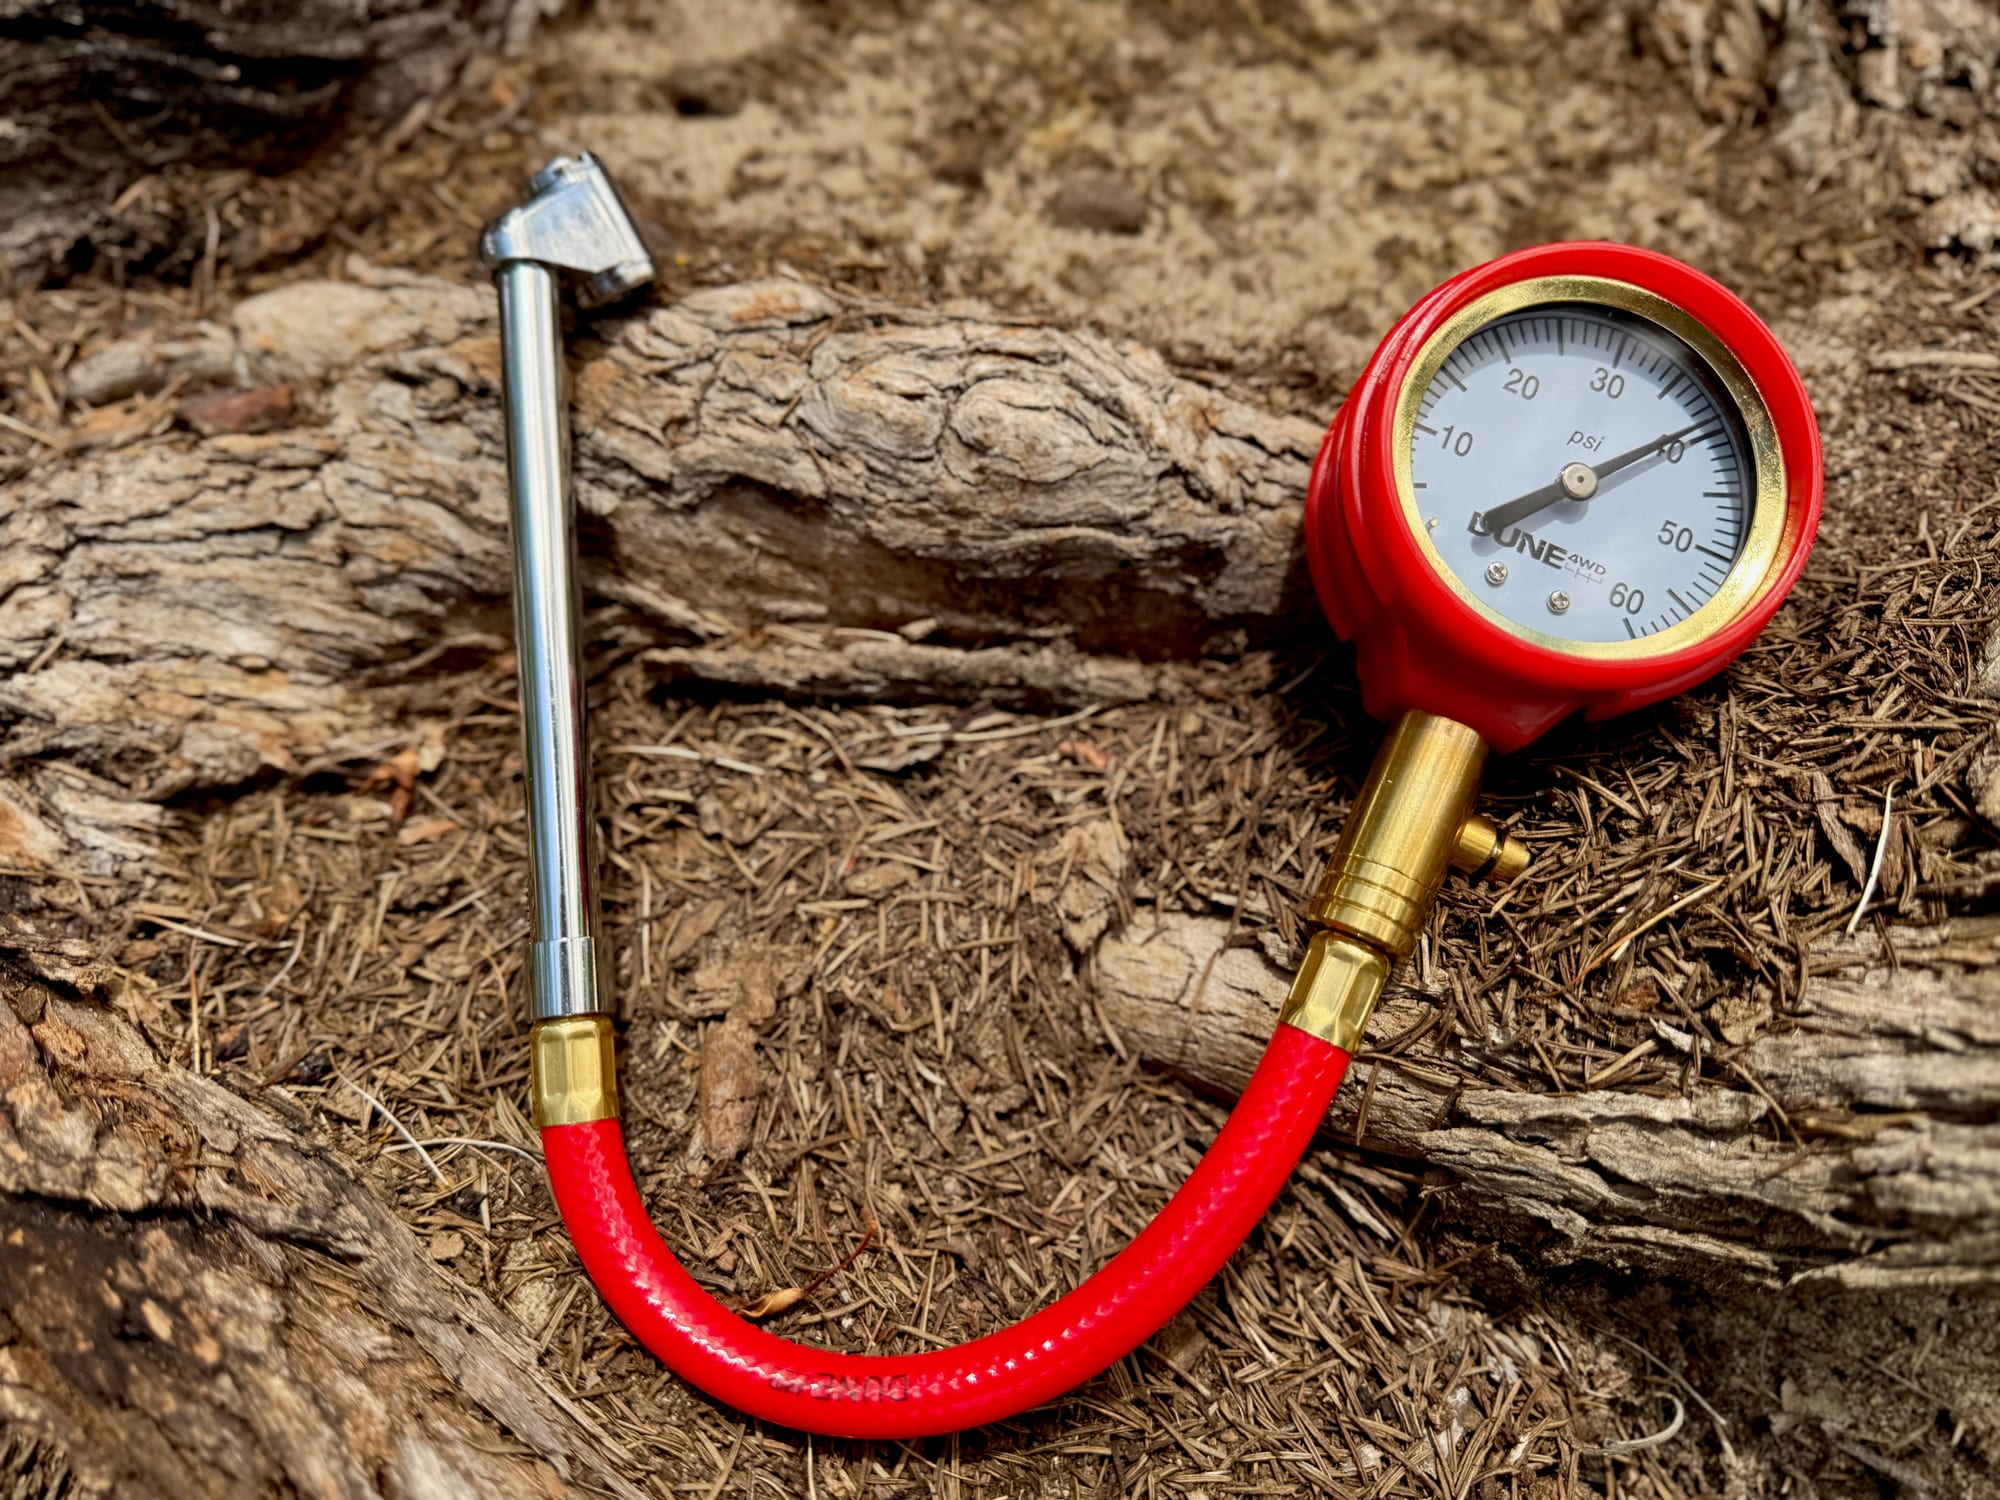
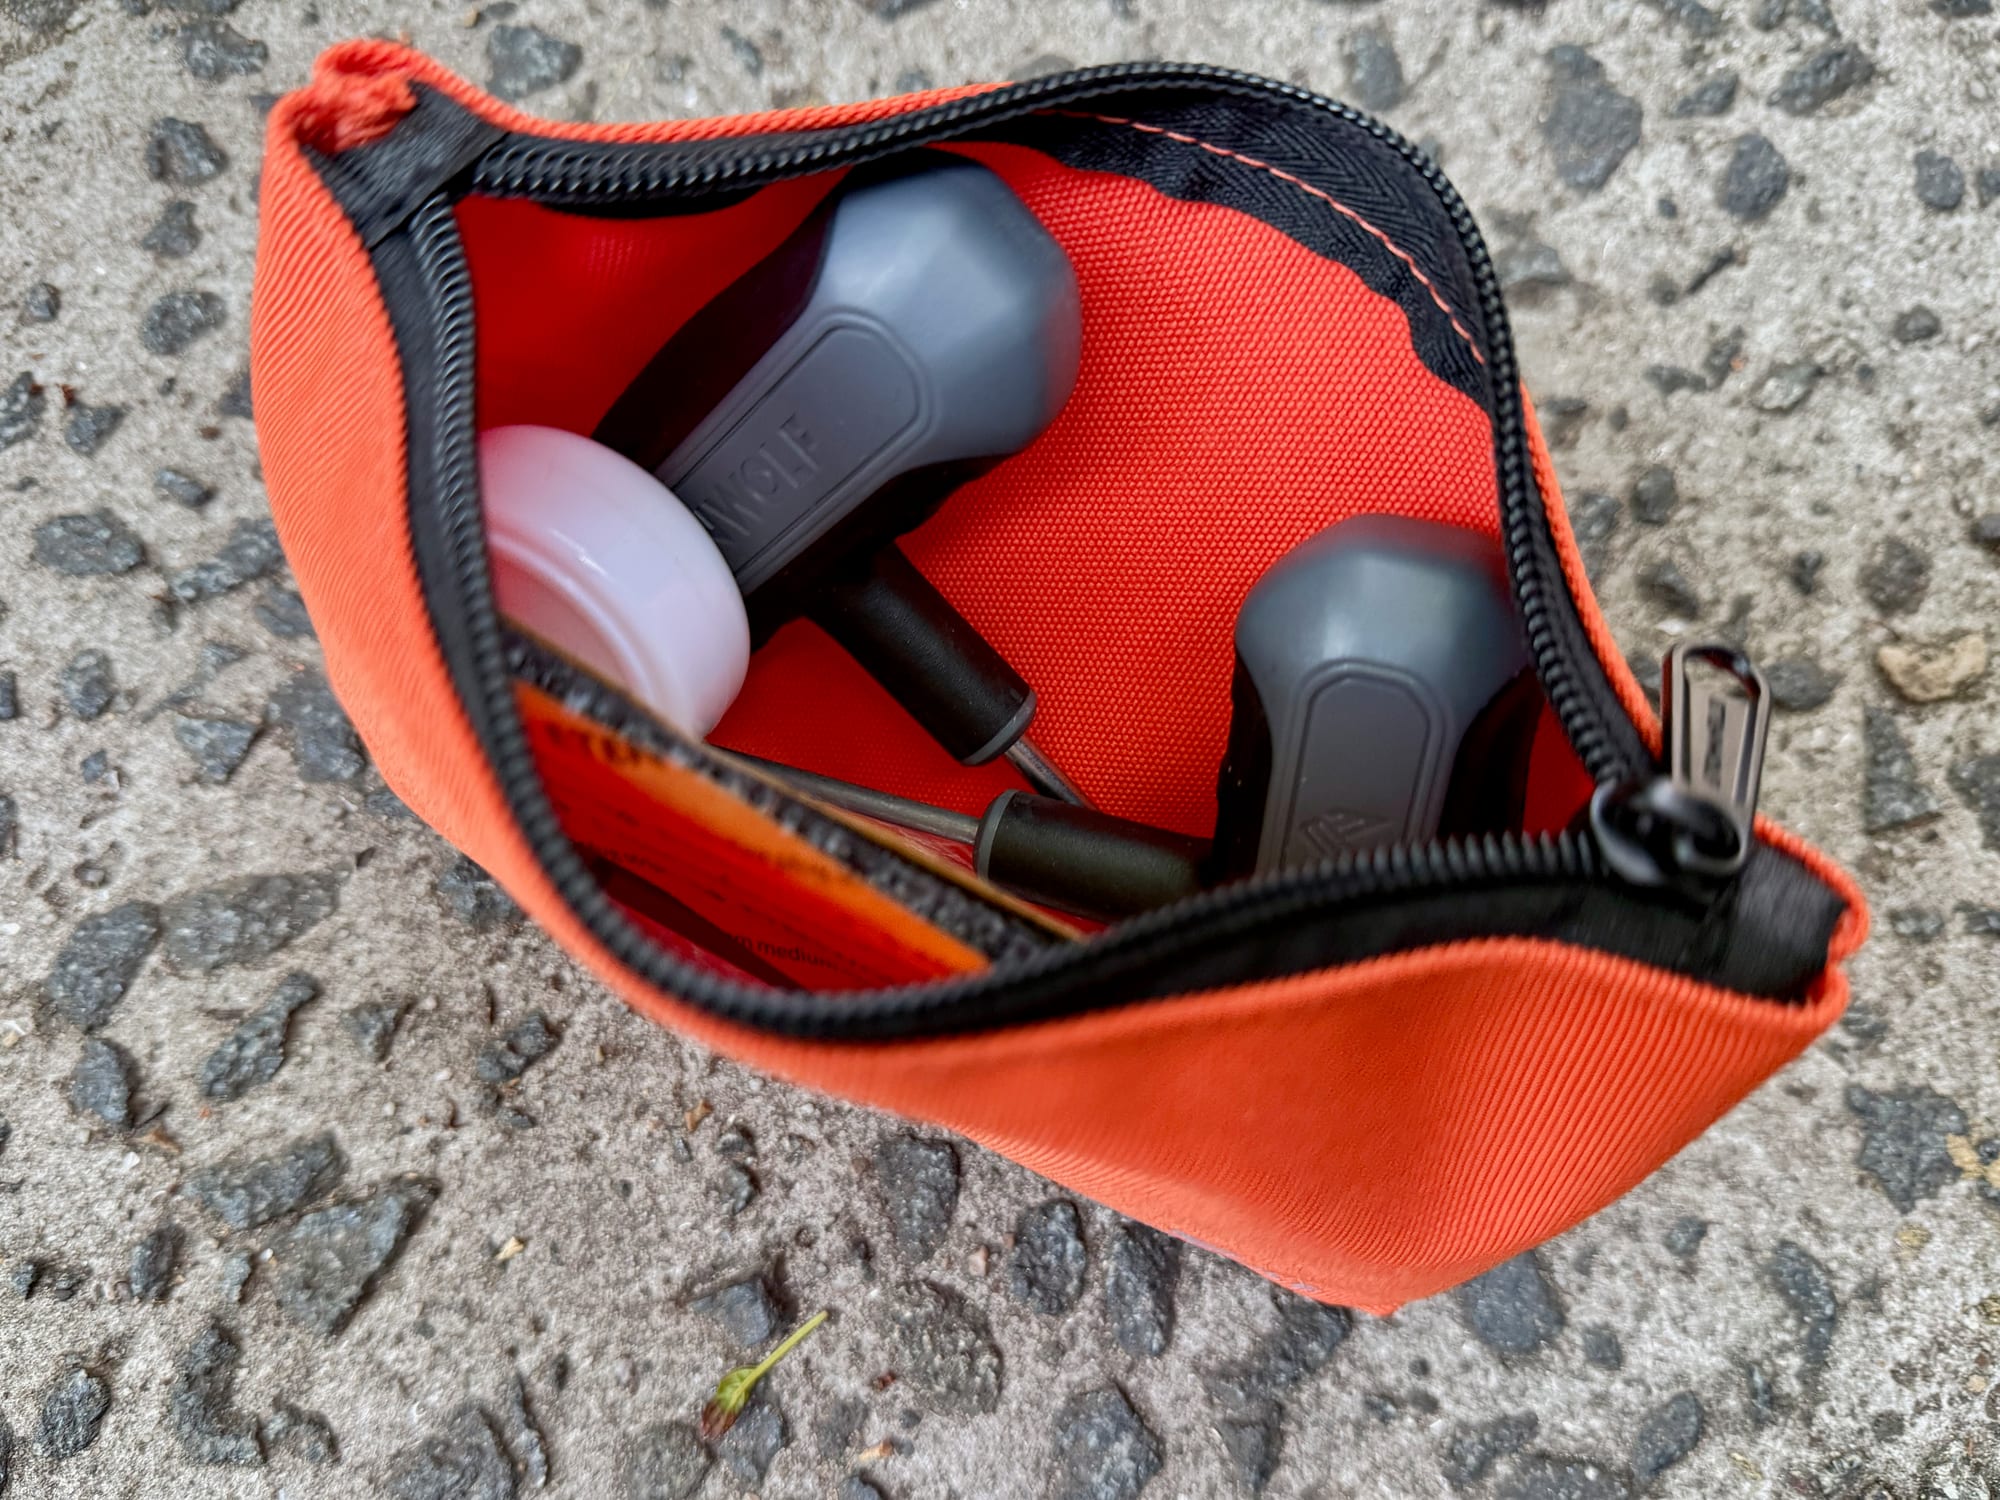
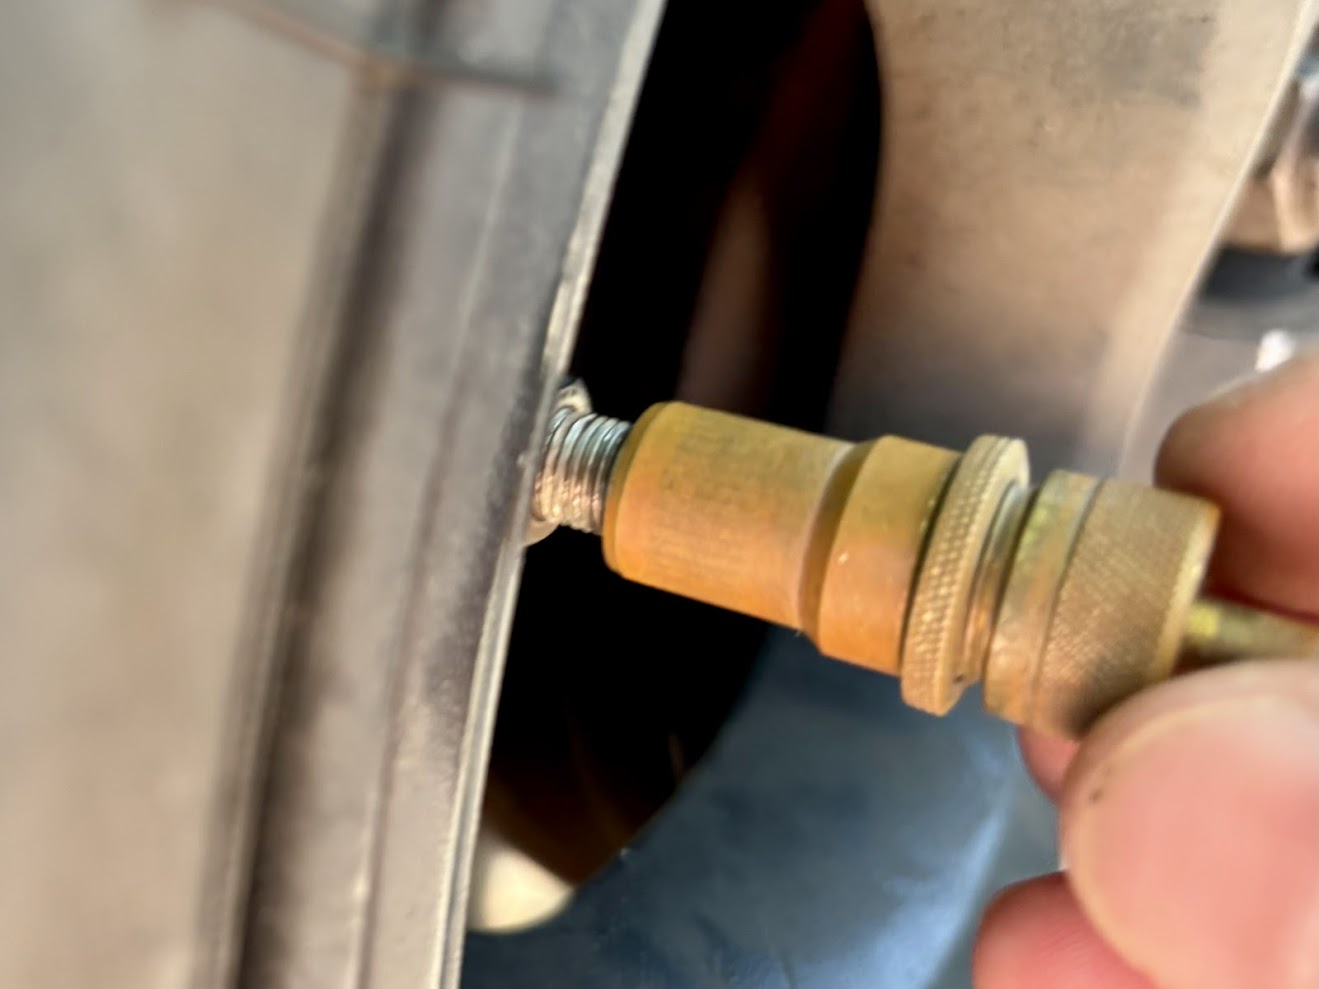
Start with the tyre at its normal highway pressure and a gauge you trust. Take the small adjustment cap off the deflator and loosen the locking ring under it.
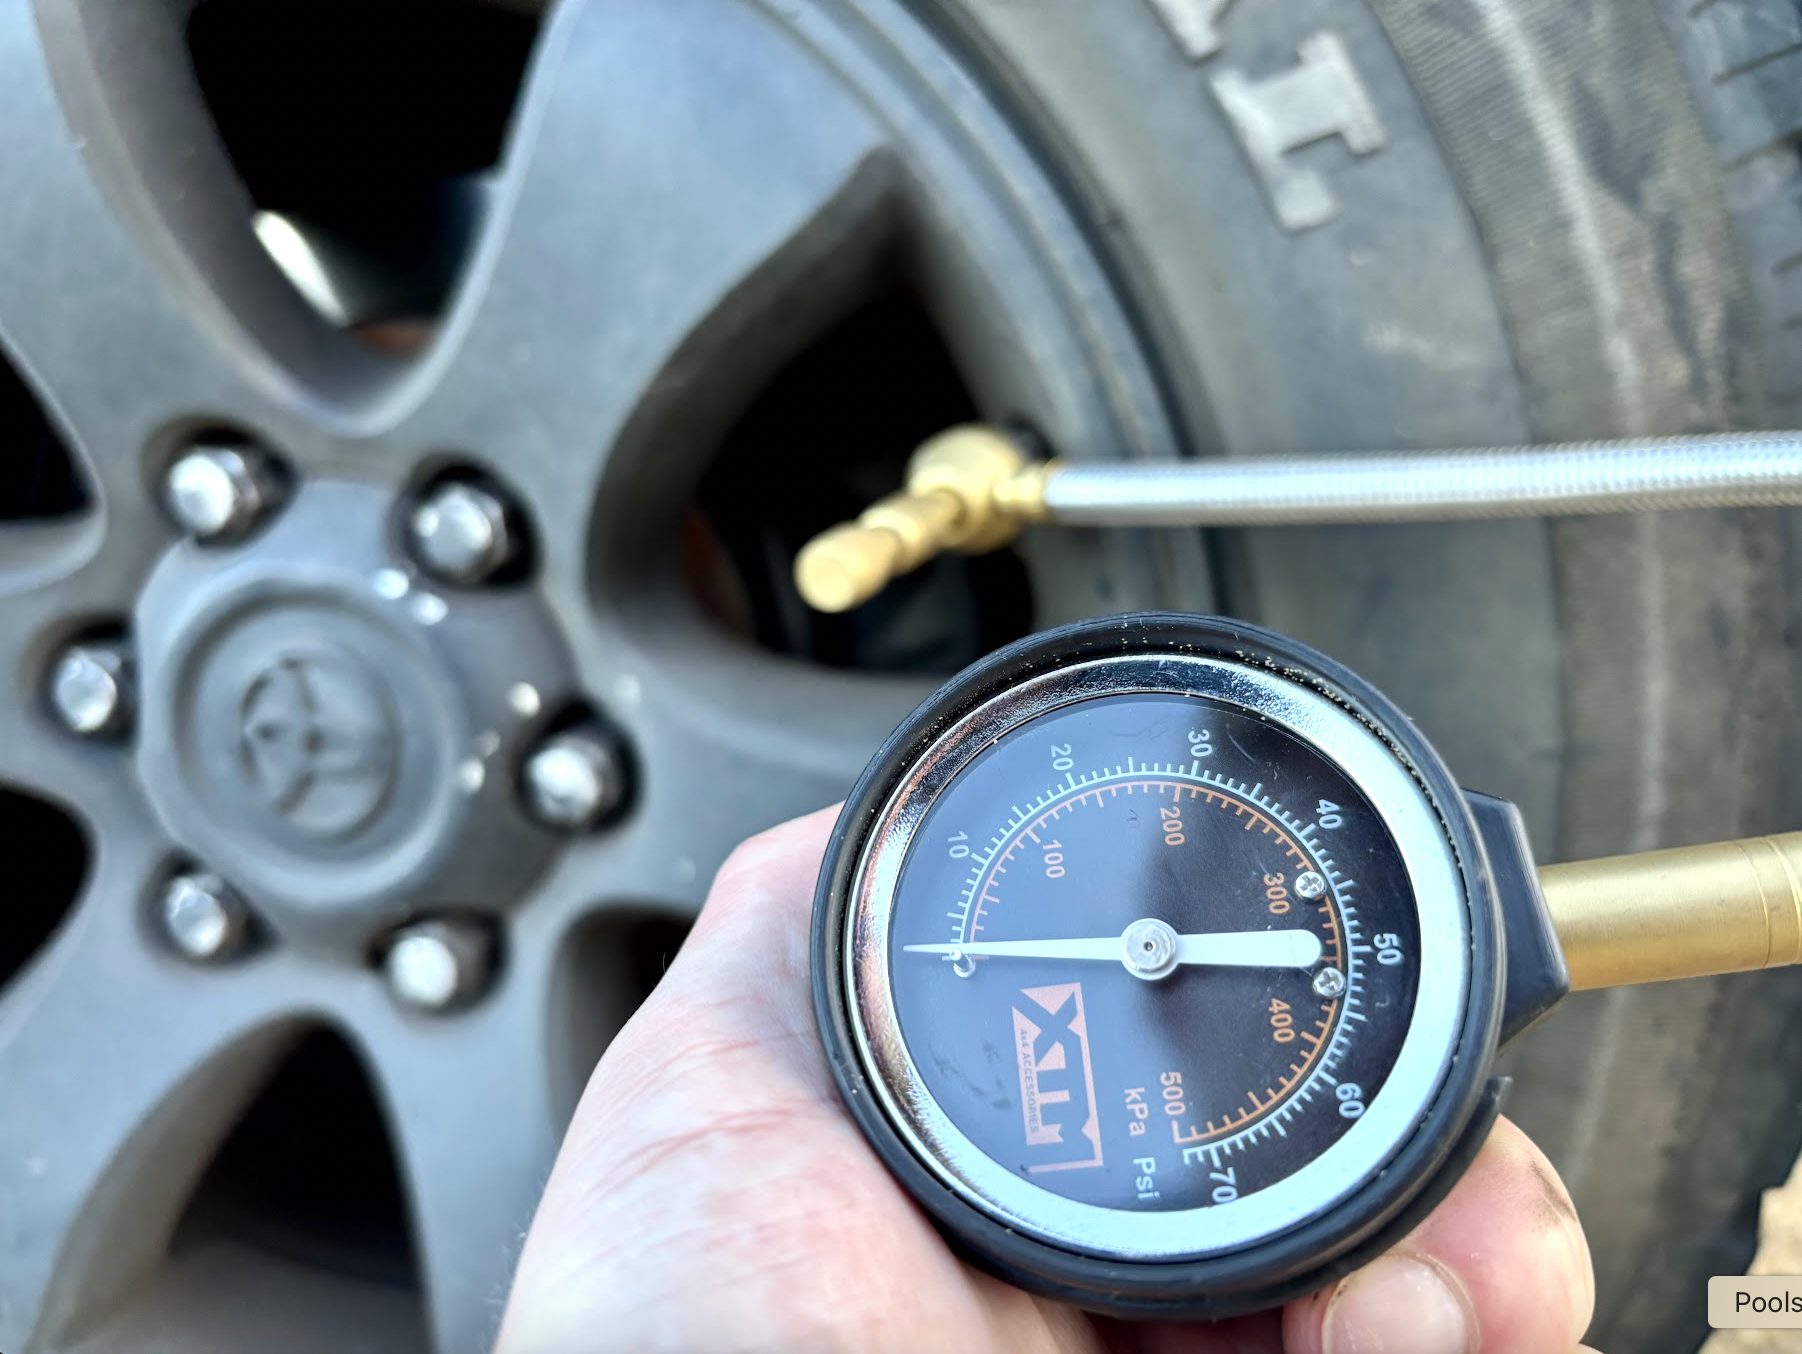
Screw the deflator onto the tyre valve. Air hisses out and stops on its own. Take the deflator off and check the tyre straight away. Say you wanted 20 PSI and the gauge reads 25: the deflator stopped too early, so it needs to let out more air, which means unscrewing the internal screw (the spring tensioner) about a quarter turn. Re-inflate the tyre (any of the tyre inflators we’ve tested will do), screw the deflator on again and check again. Small turns, one at a time, until it stops exactly where you want it. Then tighten the locking ring against the brass body so the screw can’t move, and put the cap back on.
Tips for an accurate setting
Use the same gauge for the whole job. Gauges differ from each other by a couple of PSI, and swapping between them will throw the setting out. Temperature matters too: a tyre that has been sitting in the sun reads higher than a cold one, so set the deflators in the shade or on a cool morning, and expect a hot tyre to end up slightly lower than the number you set.
If you want two pressures, for example 20 PSI for rocks and 15 for soft sand, a second colour-coded set is the better answer. Changing the setting over and over loosens the locking ring in the end and the deflators stop being reliable. Screw them onto the valve quickly and firmly; if one keeps hissing faintly after it should have stopped, a quick clockwise twist usually reseats the seal. After a muddy or dusty trip, rinse them in fresh water and give the spring a touch of silicone spray.
Summary
Staun deflators save time and knees, but only if they are set properly once. Use a good gauge, loosen the locking ring, adjust the internal screw in quarter turns (unscrewing lowers the pressure), re-check after every change, and tighten the locking ring when the tyre stops at your preferred off-road pressure. That ring is what keeps the setting through weeks of corrugations.
After that, airing down is screwing four deflators on and waiting for the hiss to stop. For us that is 20 PSI, every time, whether the track ahead is mud, sand or rock.
Do's
- Do use a reliable pressure gauge
- Do set on a full-size spare tyre
- Do make quarter turn adjustments
- Do check the set pressure twice
- Do tighten the locking ring well
Don'ts
- Don't set on a hot tyre
- Don't use a worn out valve
- Don't overtighten the cap
Recommended gear
Setting deflators takes an accurate pressure gauge and a tyre inflator to pump the tyre back up between tries.