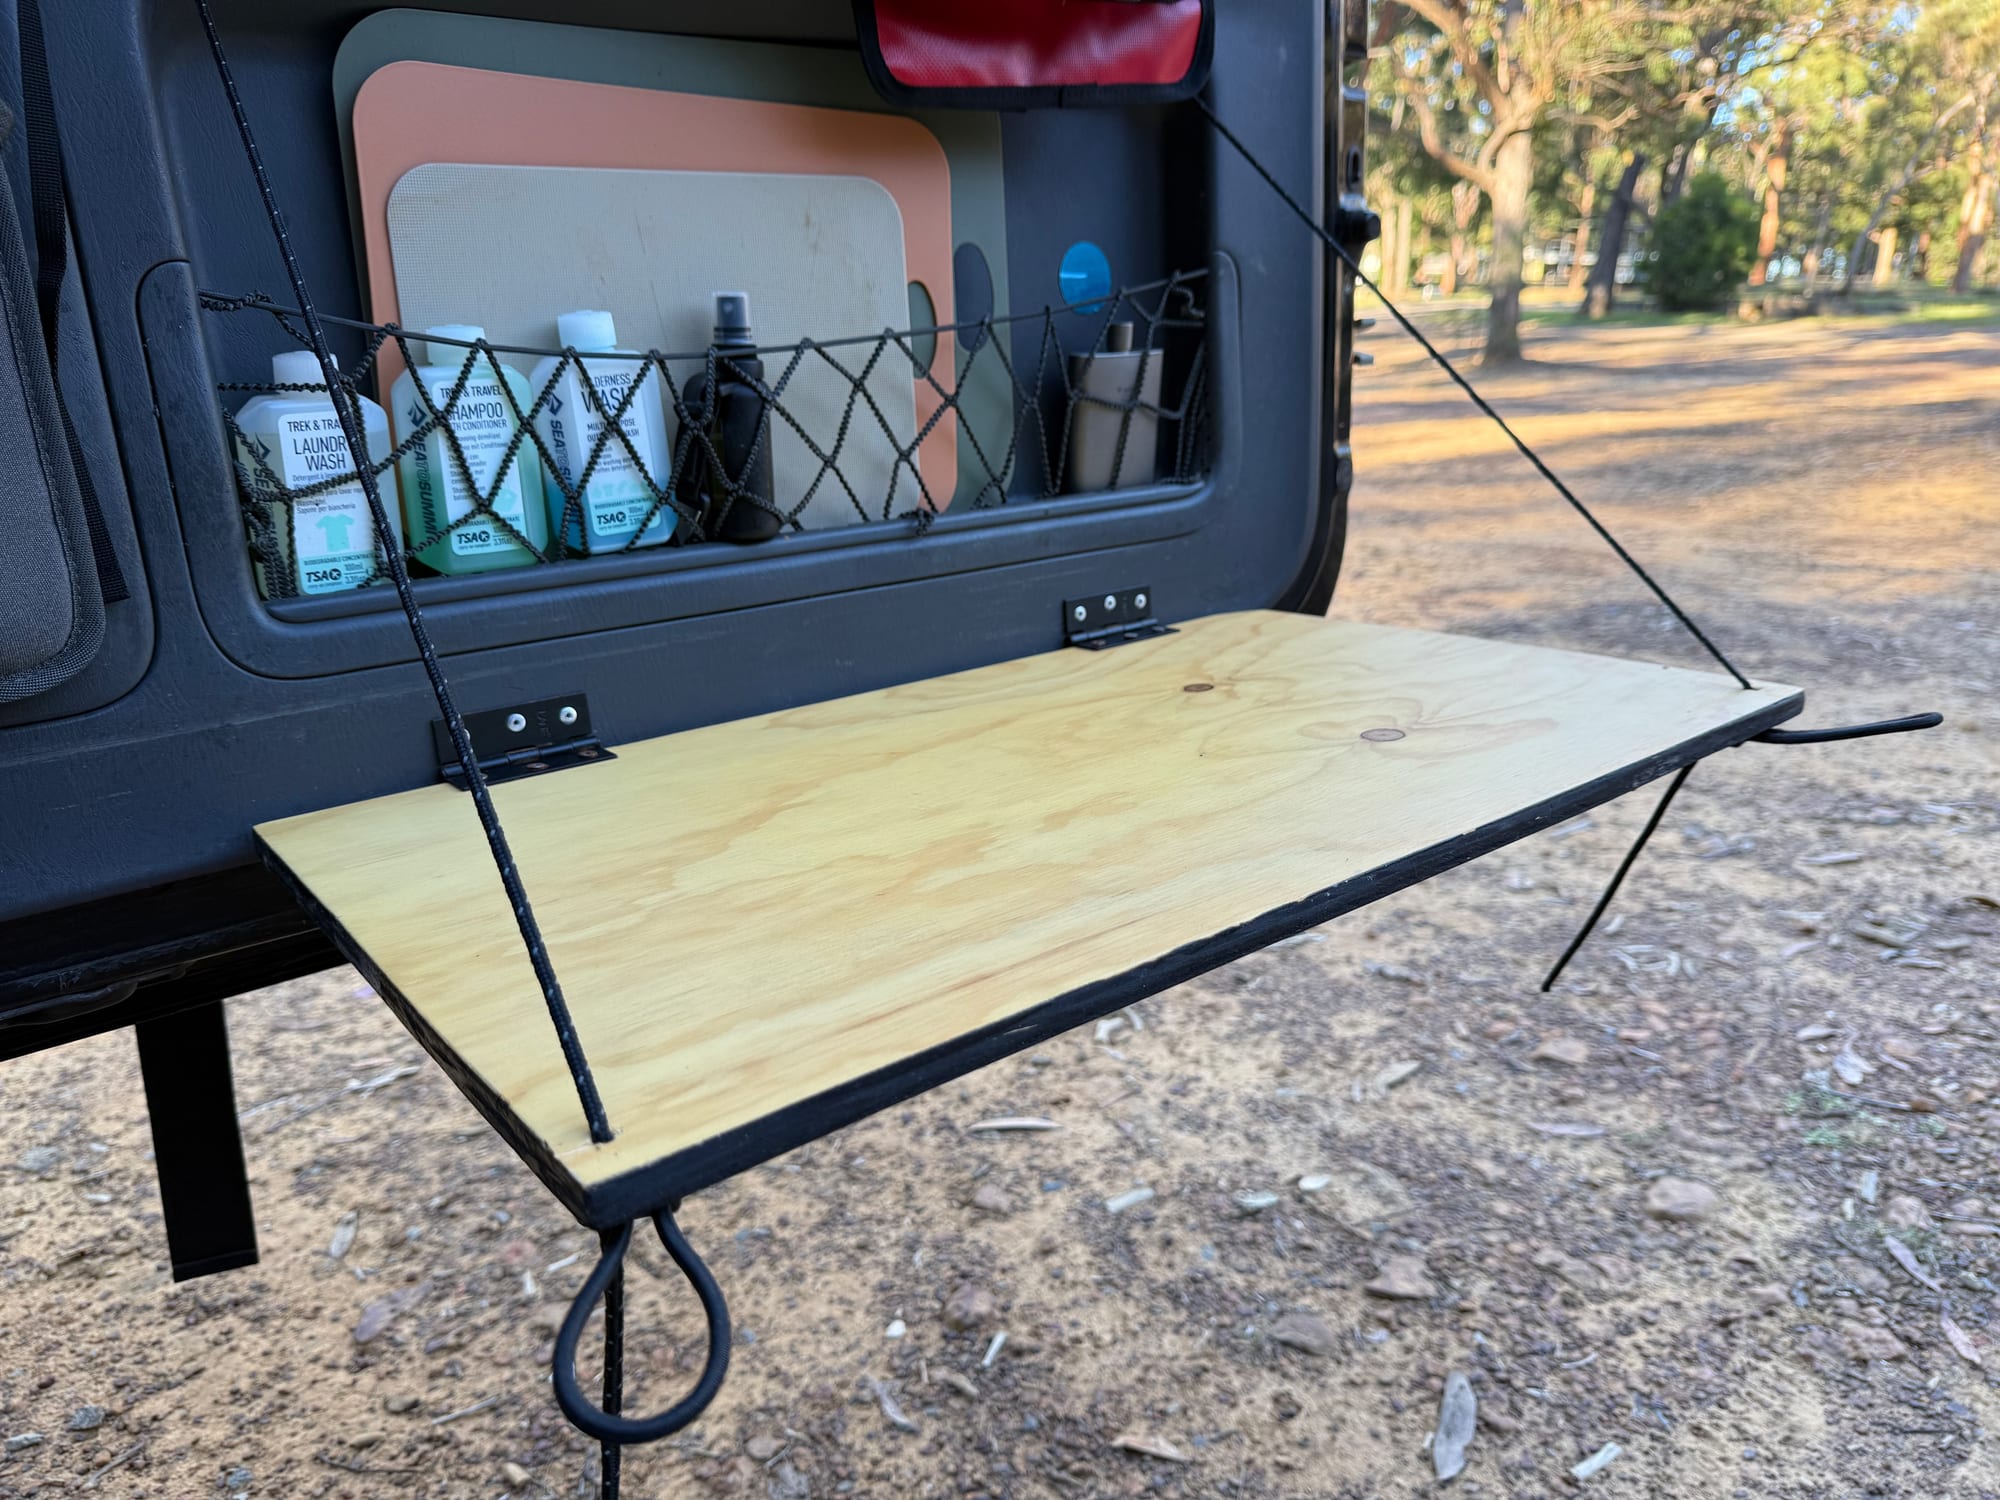
We wanted a quick work surface out the back of the car: it’s where we do the meal prep when we make a quick stop, and at camp it gives us more space, so our main camp table stays free for games, drinks and snacks. So we built our own fold-down table on the inside of the rear door of our Prado. It folds down for cooking, and our Dune single burner stove sits on it at camp. It took a few hours of work, though some steps need time to dry, and it cost us about $50 all up. Here’s how we did it. The same steps should work on other 4WDs with a side-hinged rear door, but the trim panel and its clips differ from car to car.
What you need
It cost us about $50 all up: about $20 for the plywood, $10 for the hinges, paracord and pop rivets together, and $20 for the bungee clips. This is what goes into the table:
A sheet of BC pine, cut to size
Matt black, fixed pin
And the tools we used to make and fit it. You’ll also need a piece of cardboard for the template, a permanent marker, screws and a tape measure.
Holes in the trim, pop rivets for the hinges
Sand it a few times, then a few coats
Step 1: Take the trim panel off1. Take the trim panel off
The hinges go into the plastic trim panel on the inside of the rear door, so take the panel off first. It’s held on by plastic clips around the edge. We got it off with a plastic trim removal tool kit: the plastic pry tools pop the clips out without scratching the panel or the door.
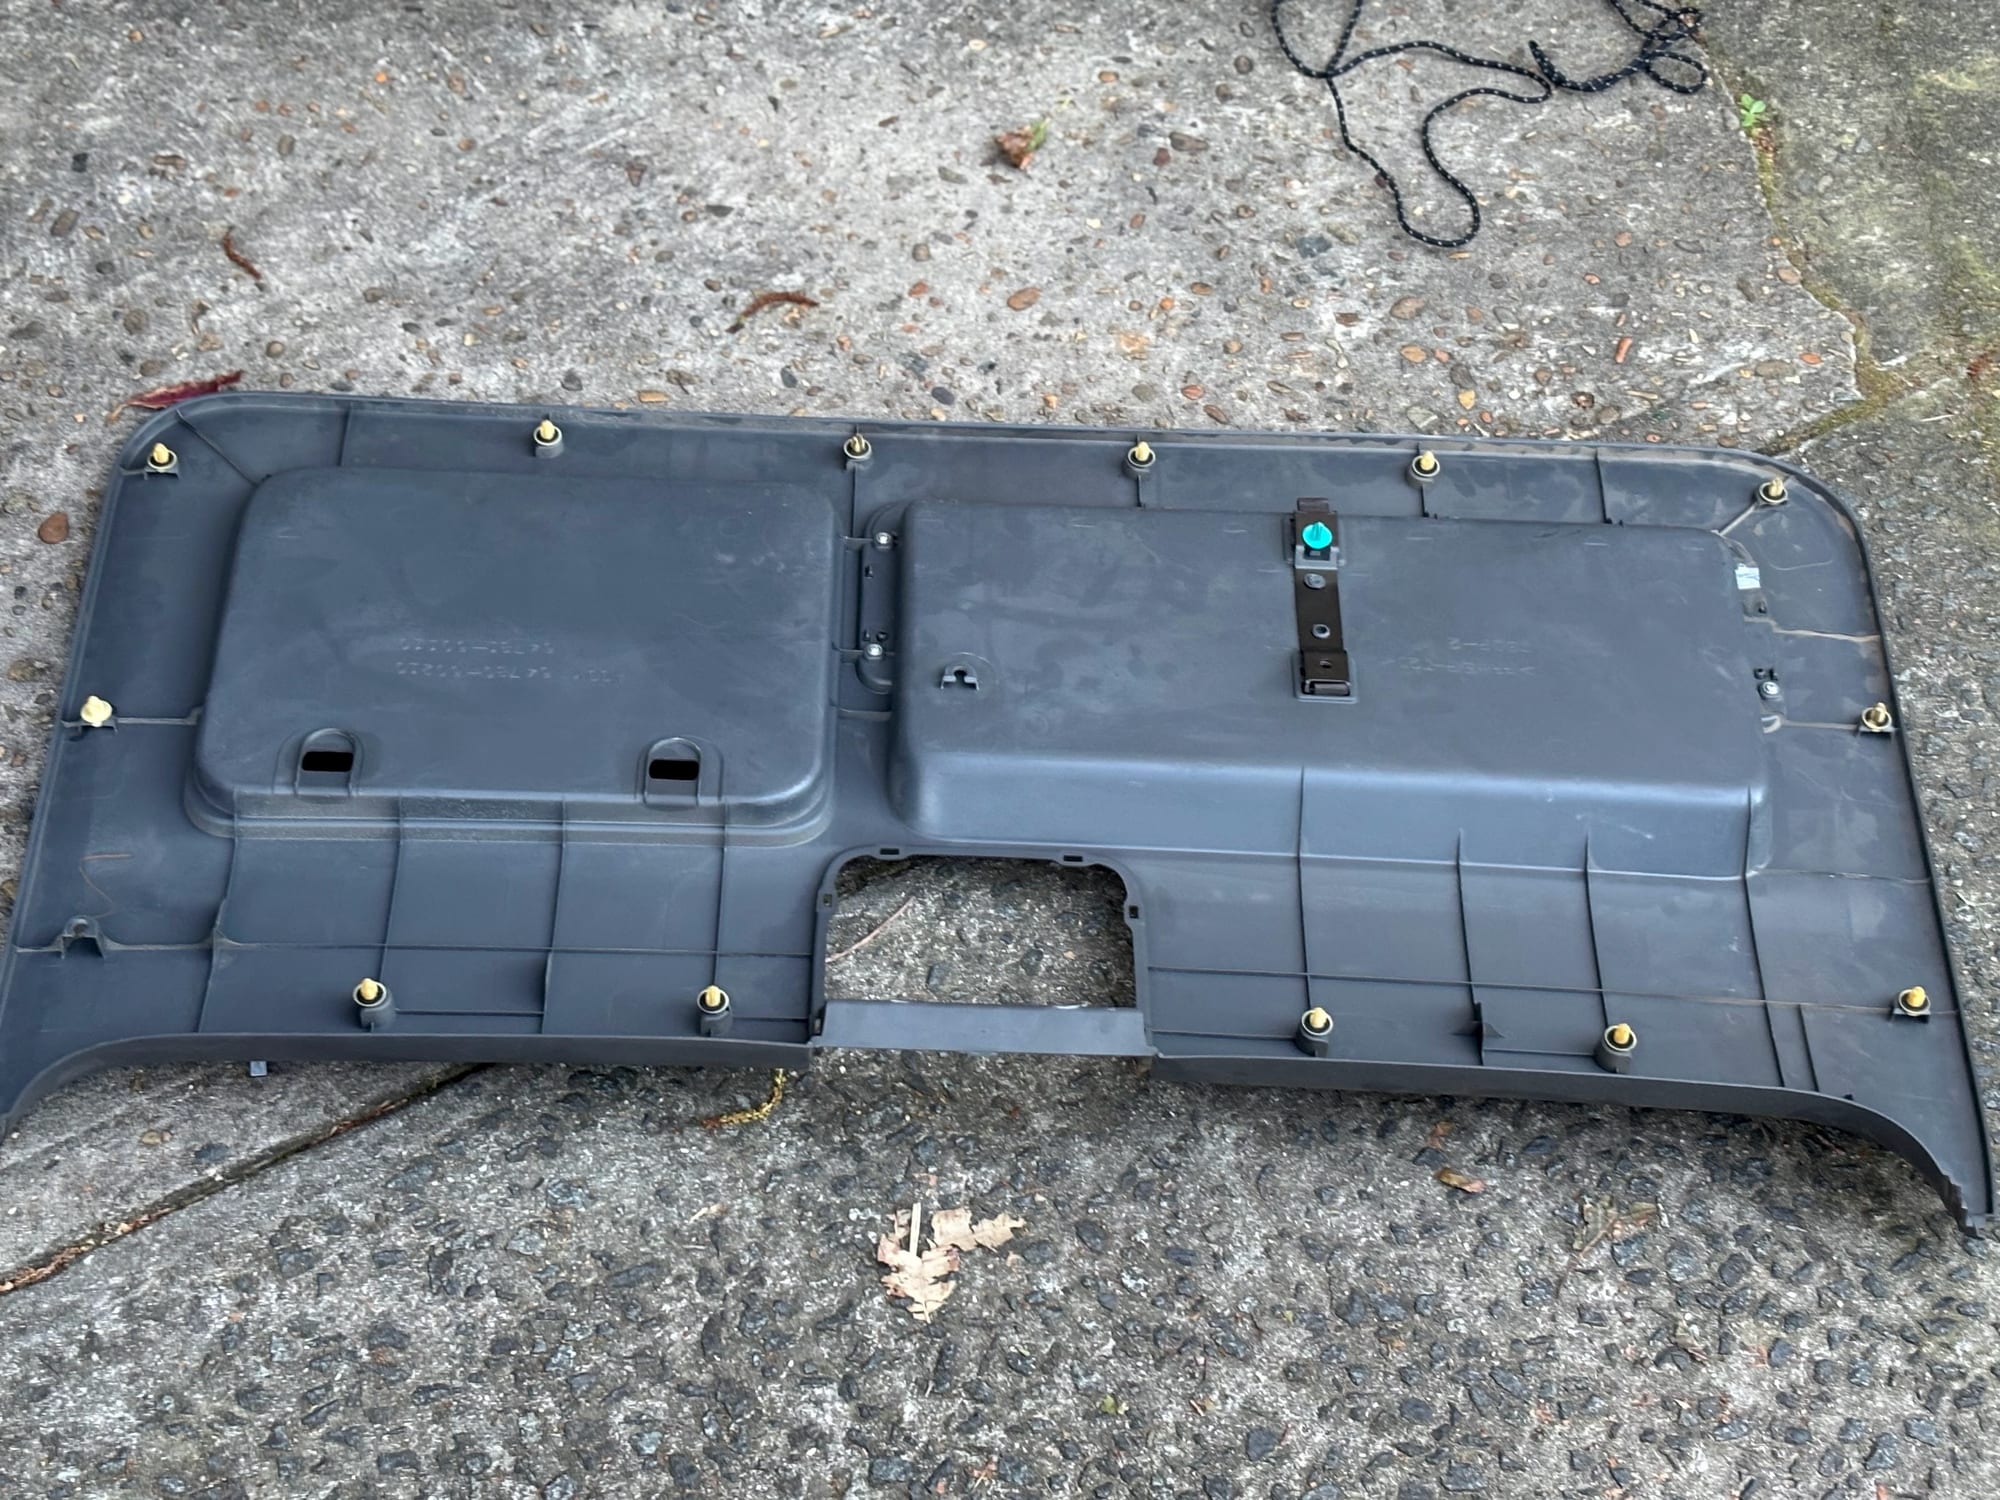
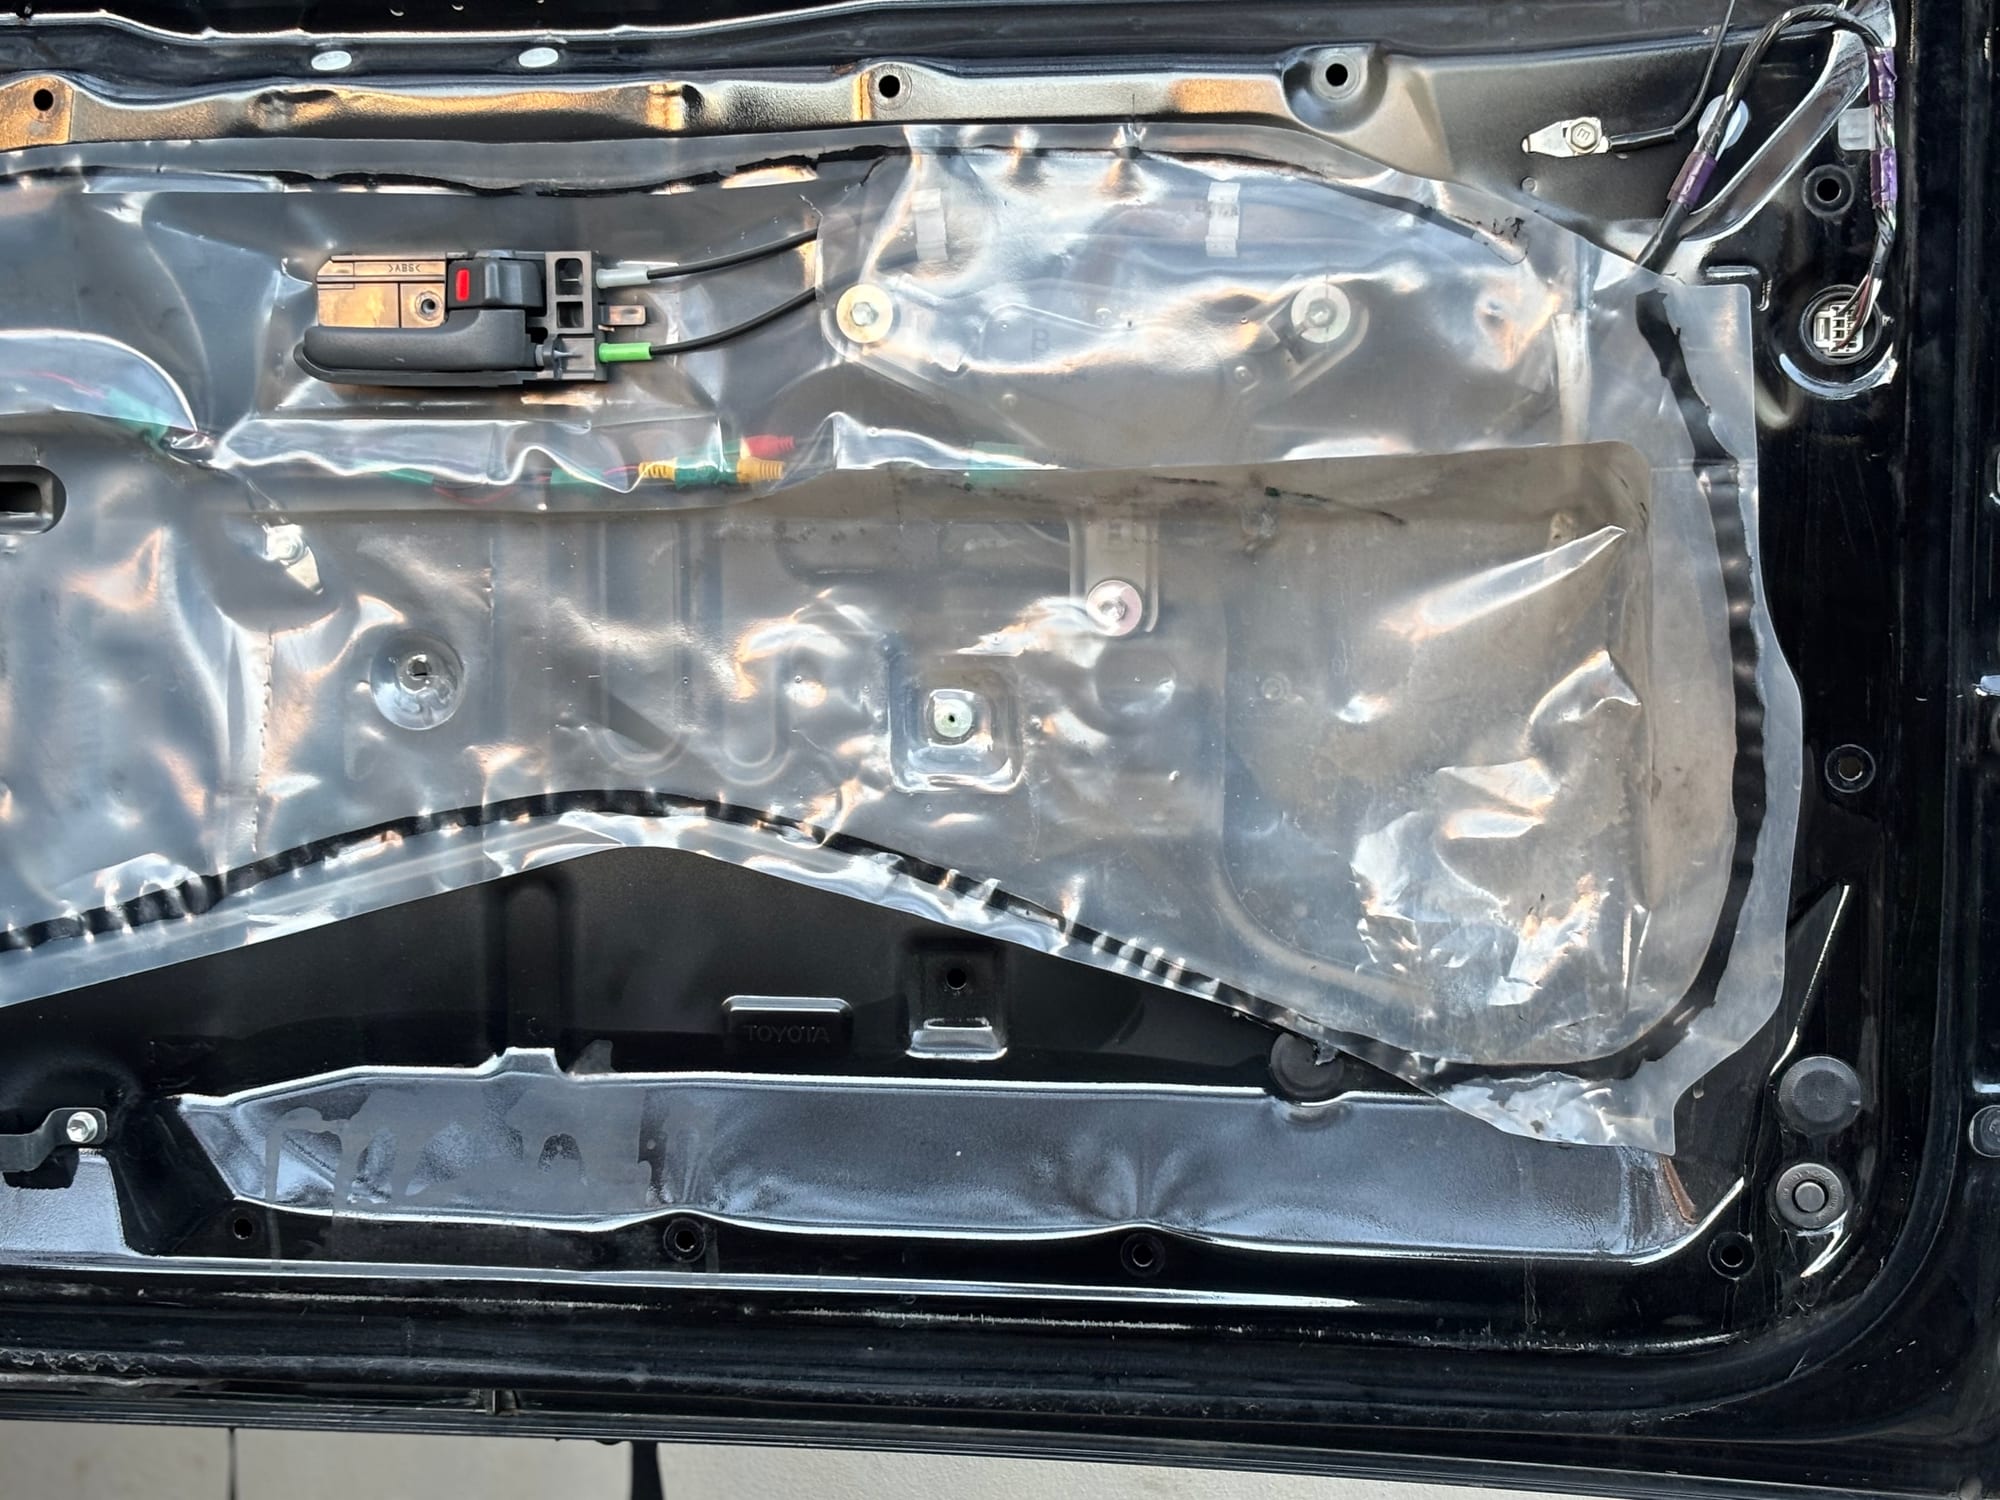
Step 2: Cut and size the board2. Cut and size the board
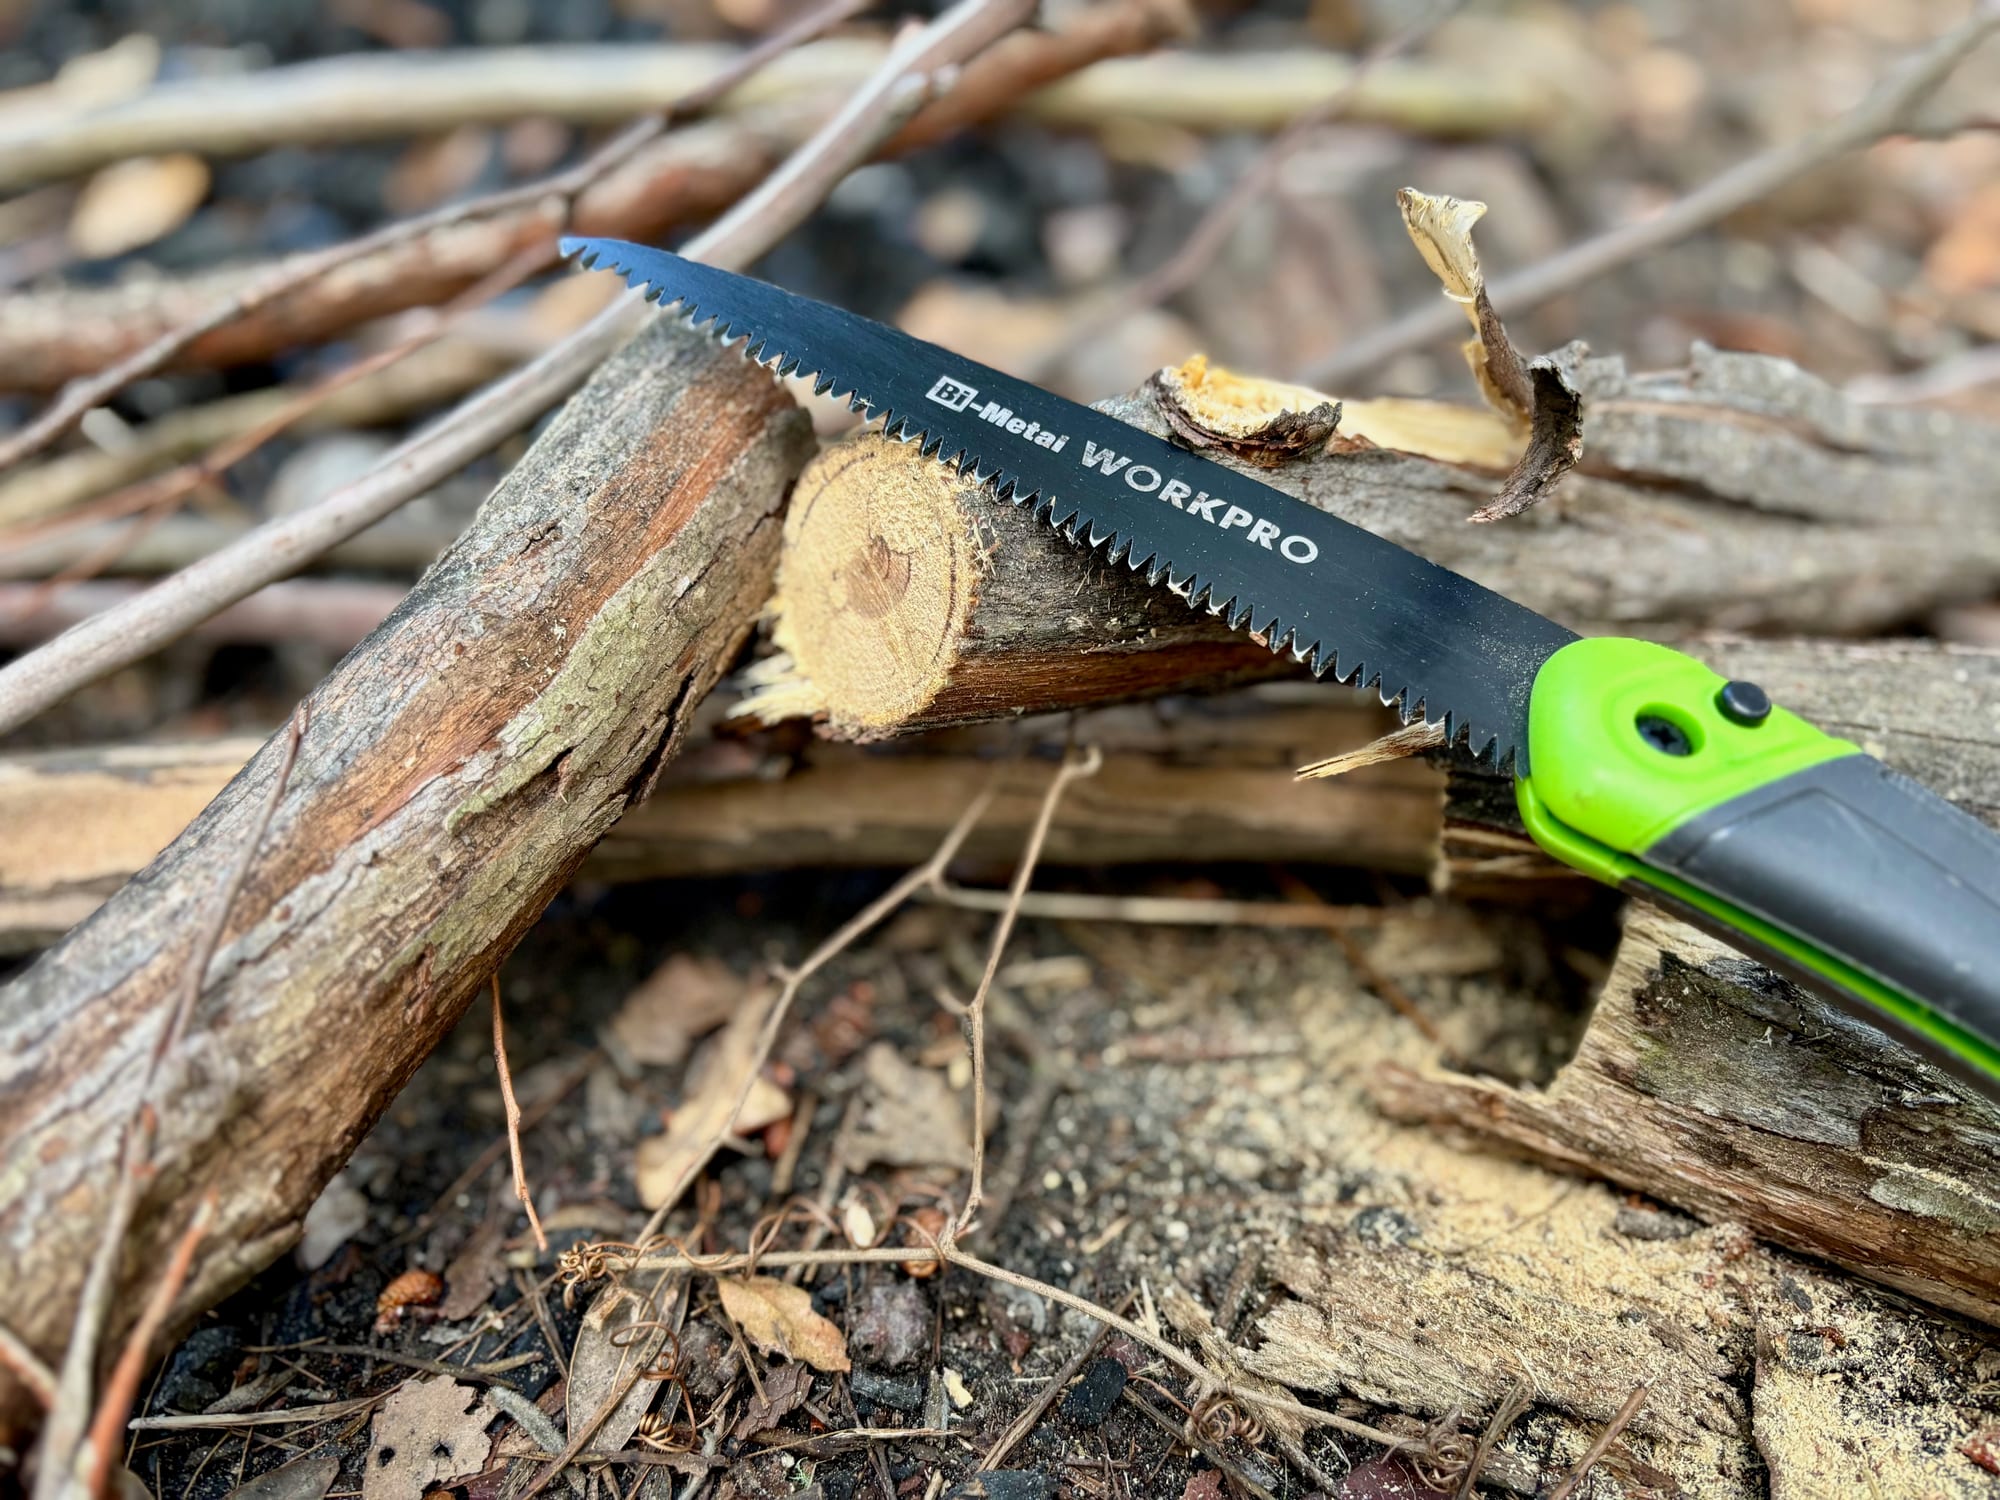
Before you cut the plywood, test the size with a piece of cardboard: cut it to fit across the door below the window, hold it up and trim it until it’s right. Then use the cardboard as a template to cut the plywood. We cut ours with our WorkPro folding saw.
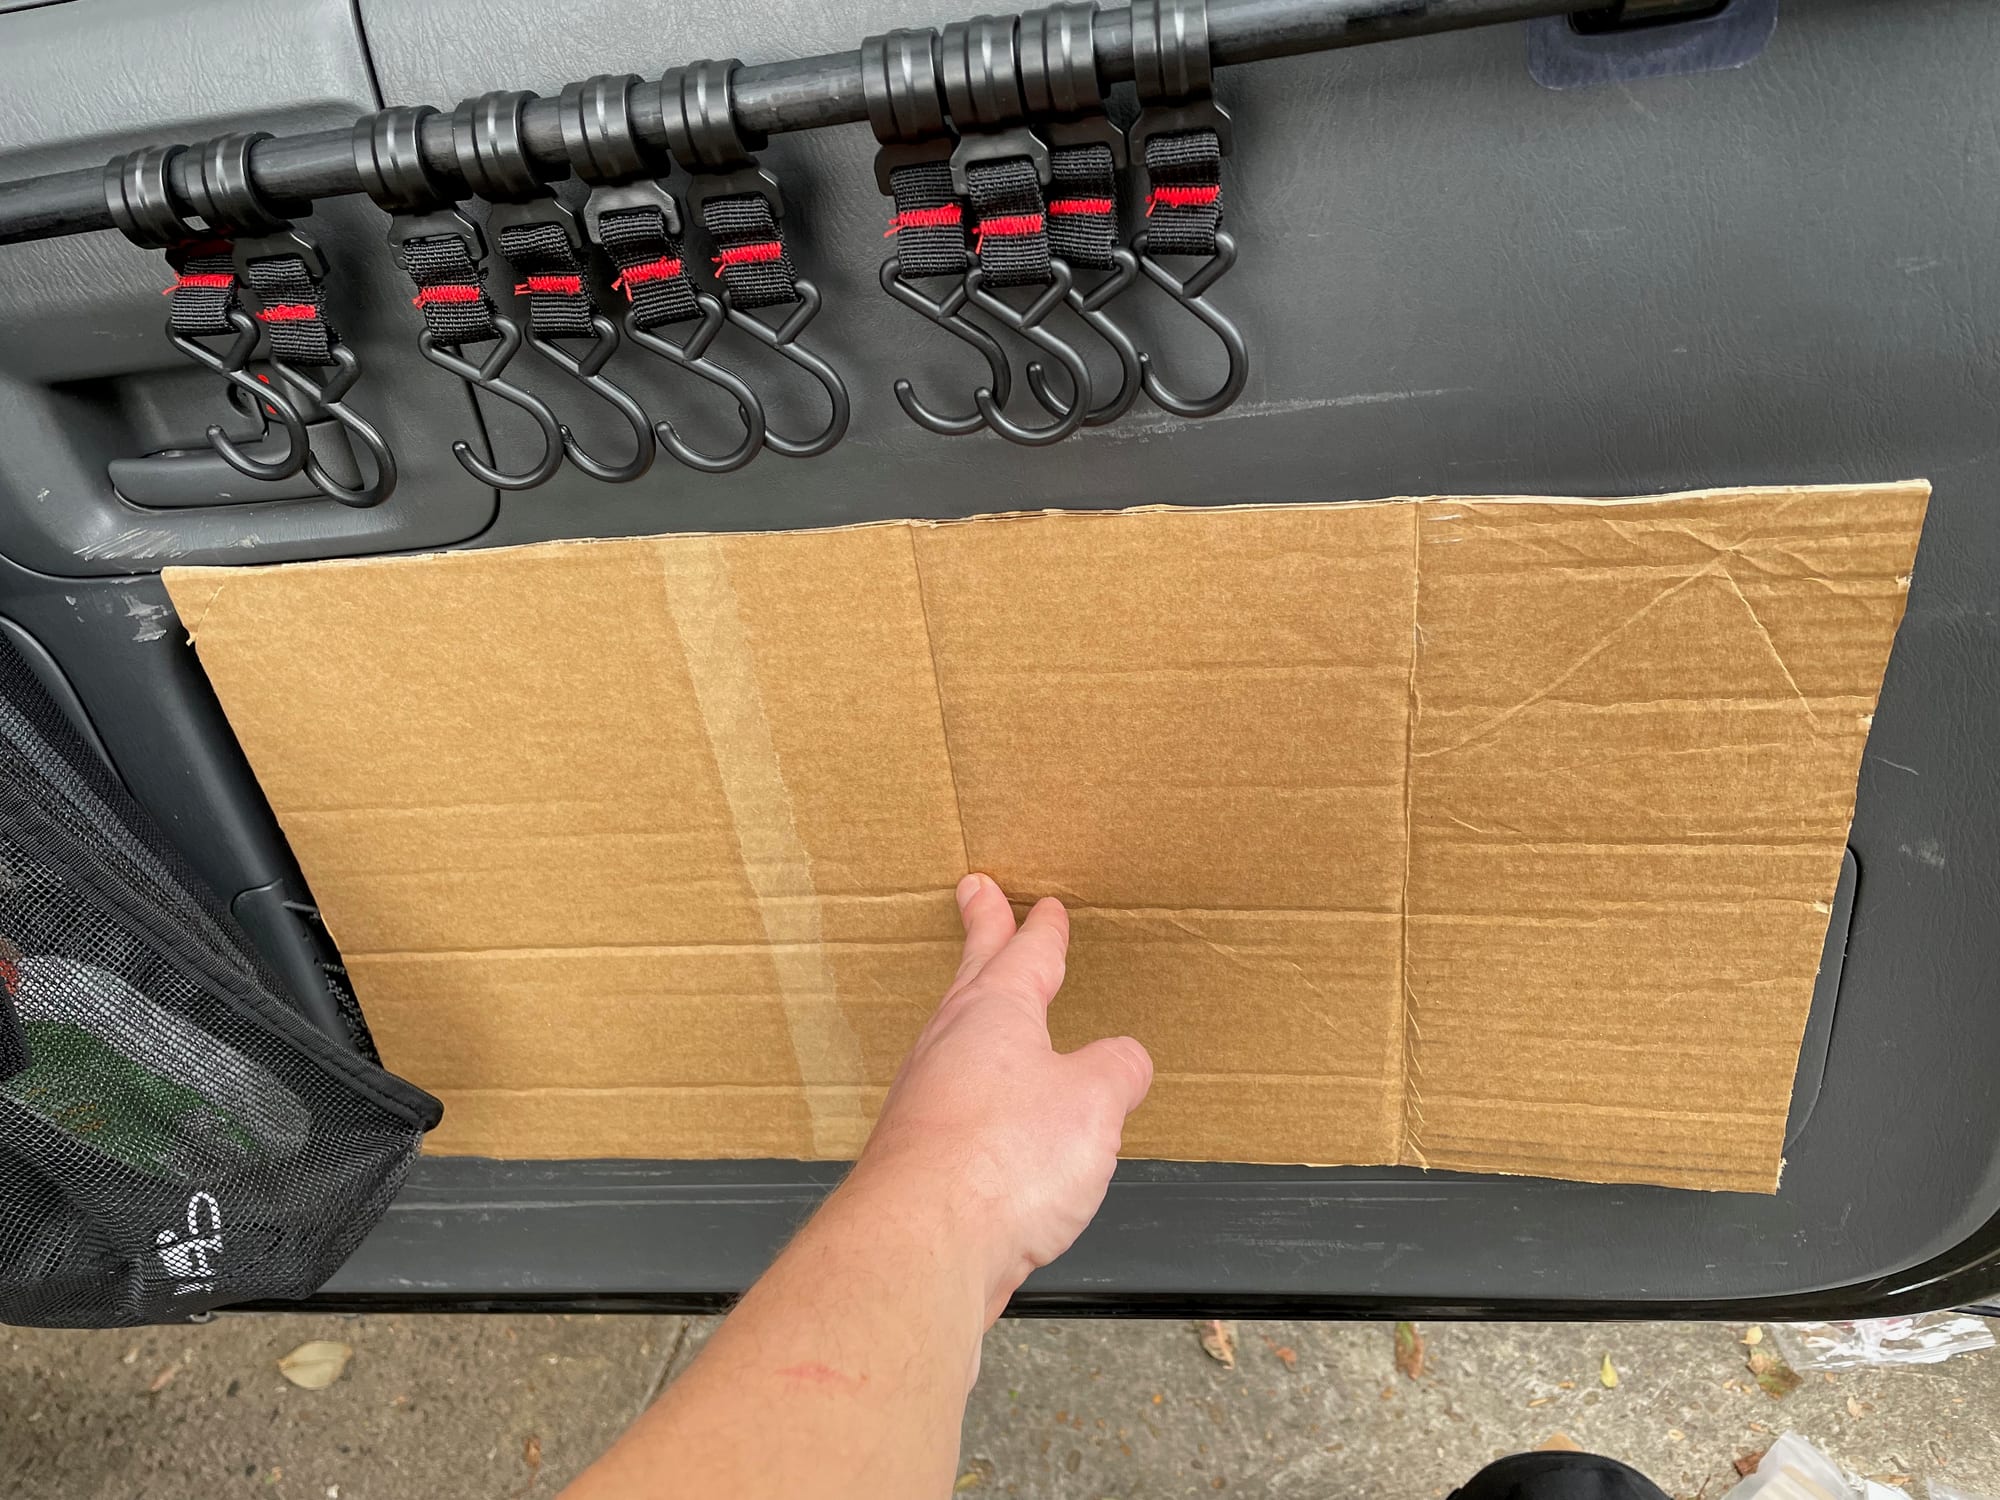
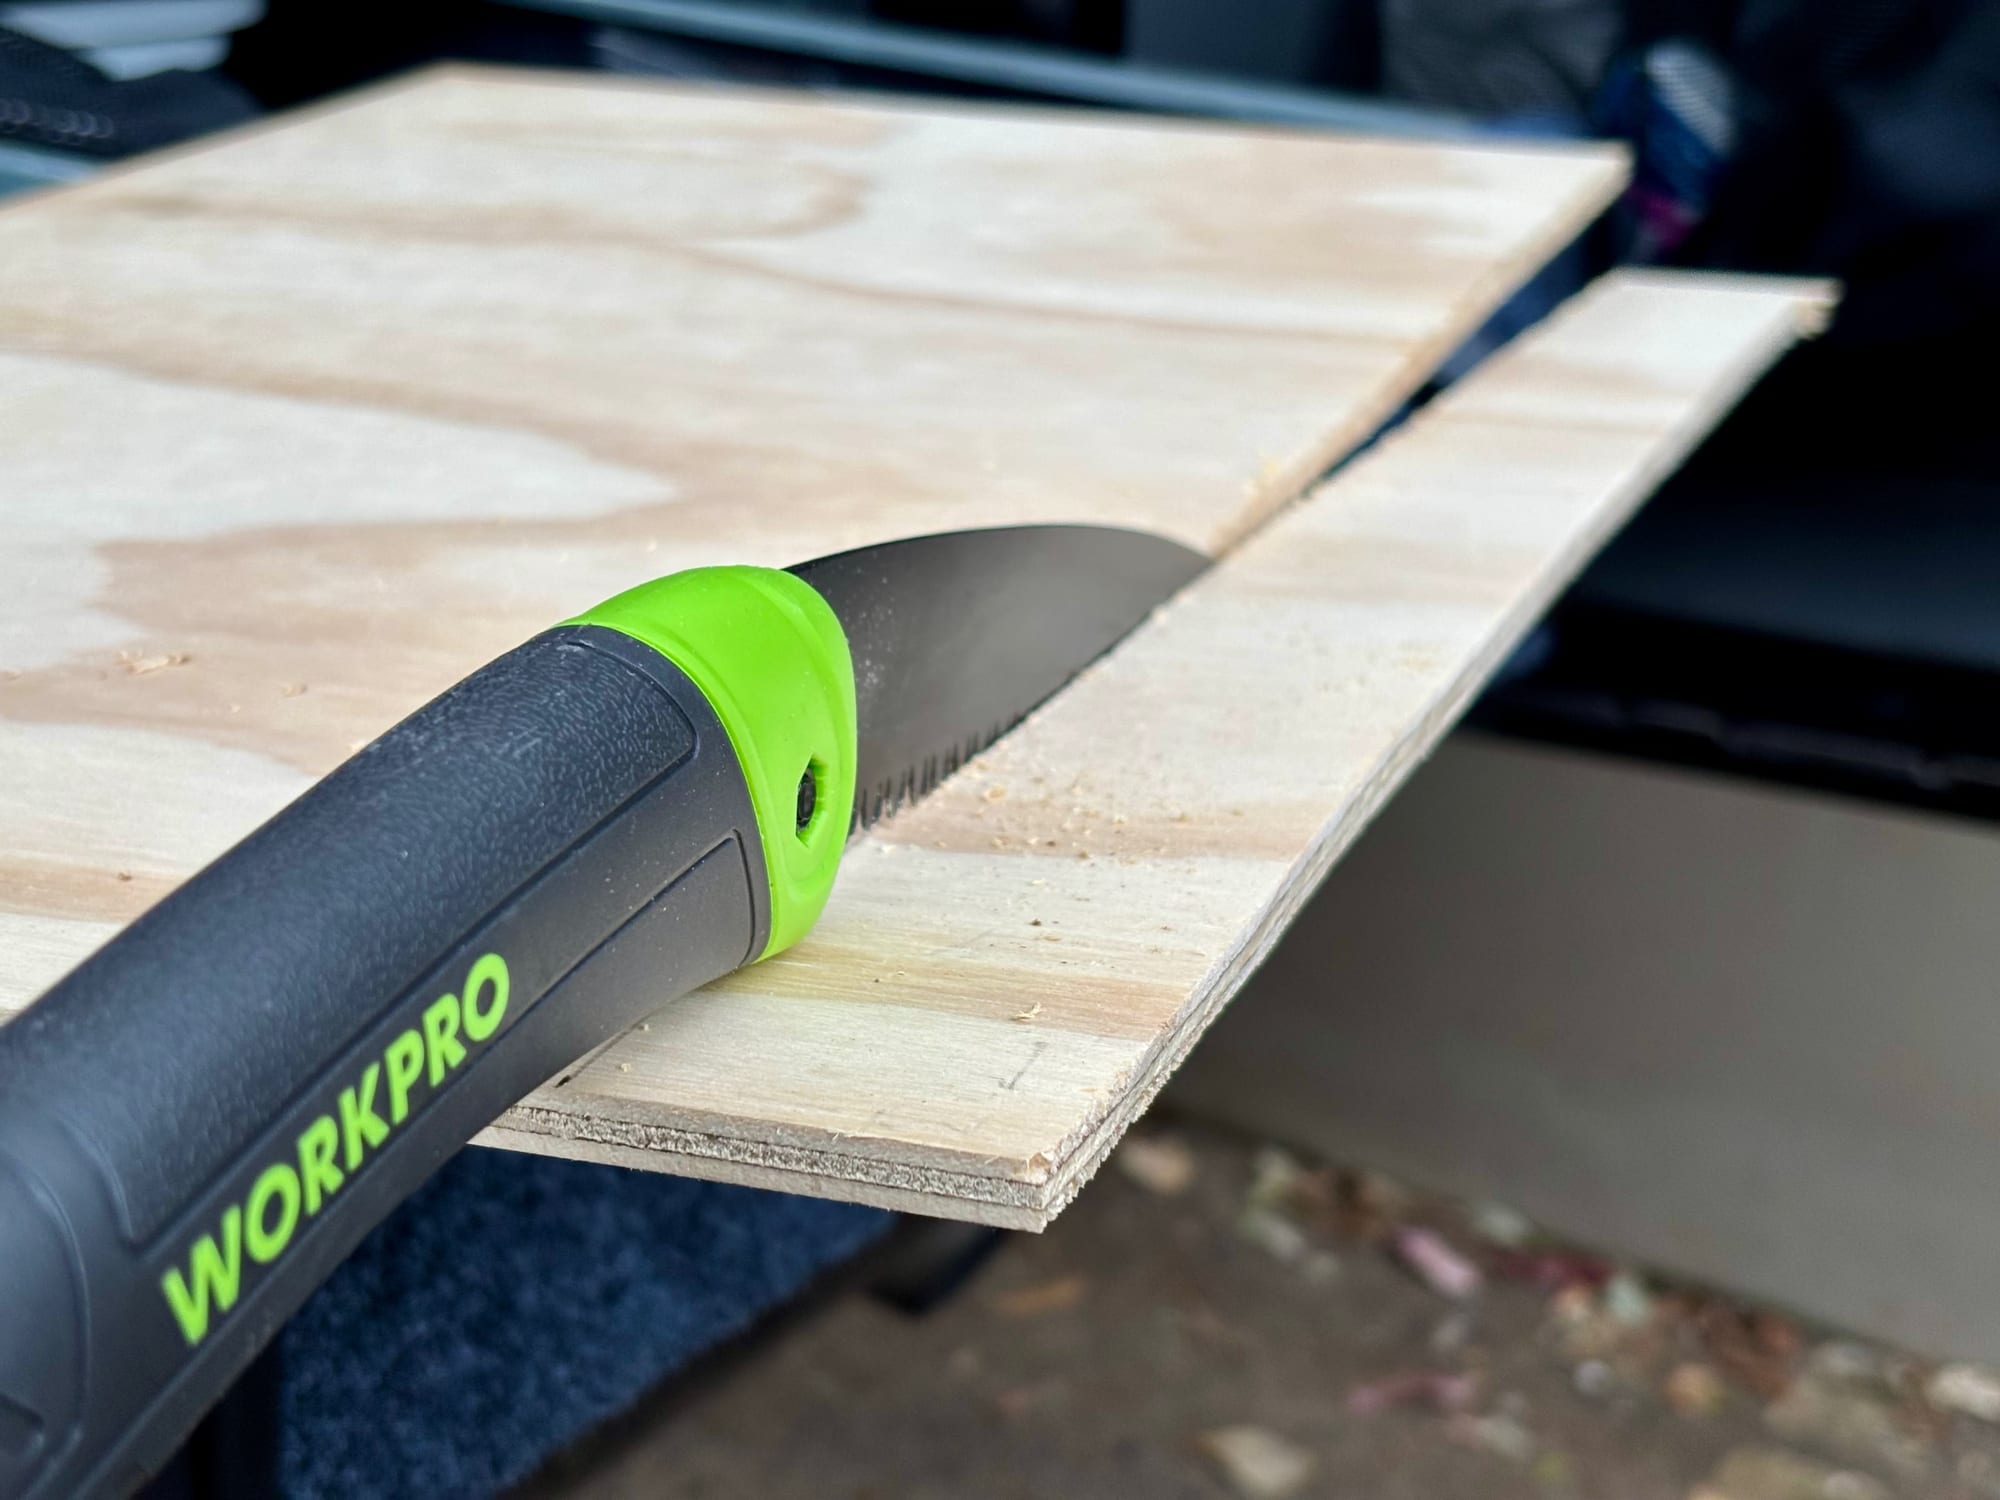
Step 3: Sand and varnish it3. Sand and varnish it
Do this before you install the table. Sand the board a few times, so the edges and surface are smooth, then apply clear varnish in a few layers. The varnish protects the wood against stains and moisture, which matters on a table you prep food on outdoors. Let each coat dry before the next one: this is the part of the job that takes time. We used Cabot’s Cabothane Clear, an oil-based polyurethane varnish, and put it on with a foam brush. Every so often, check the surface and reapply the varnish if it needs it.
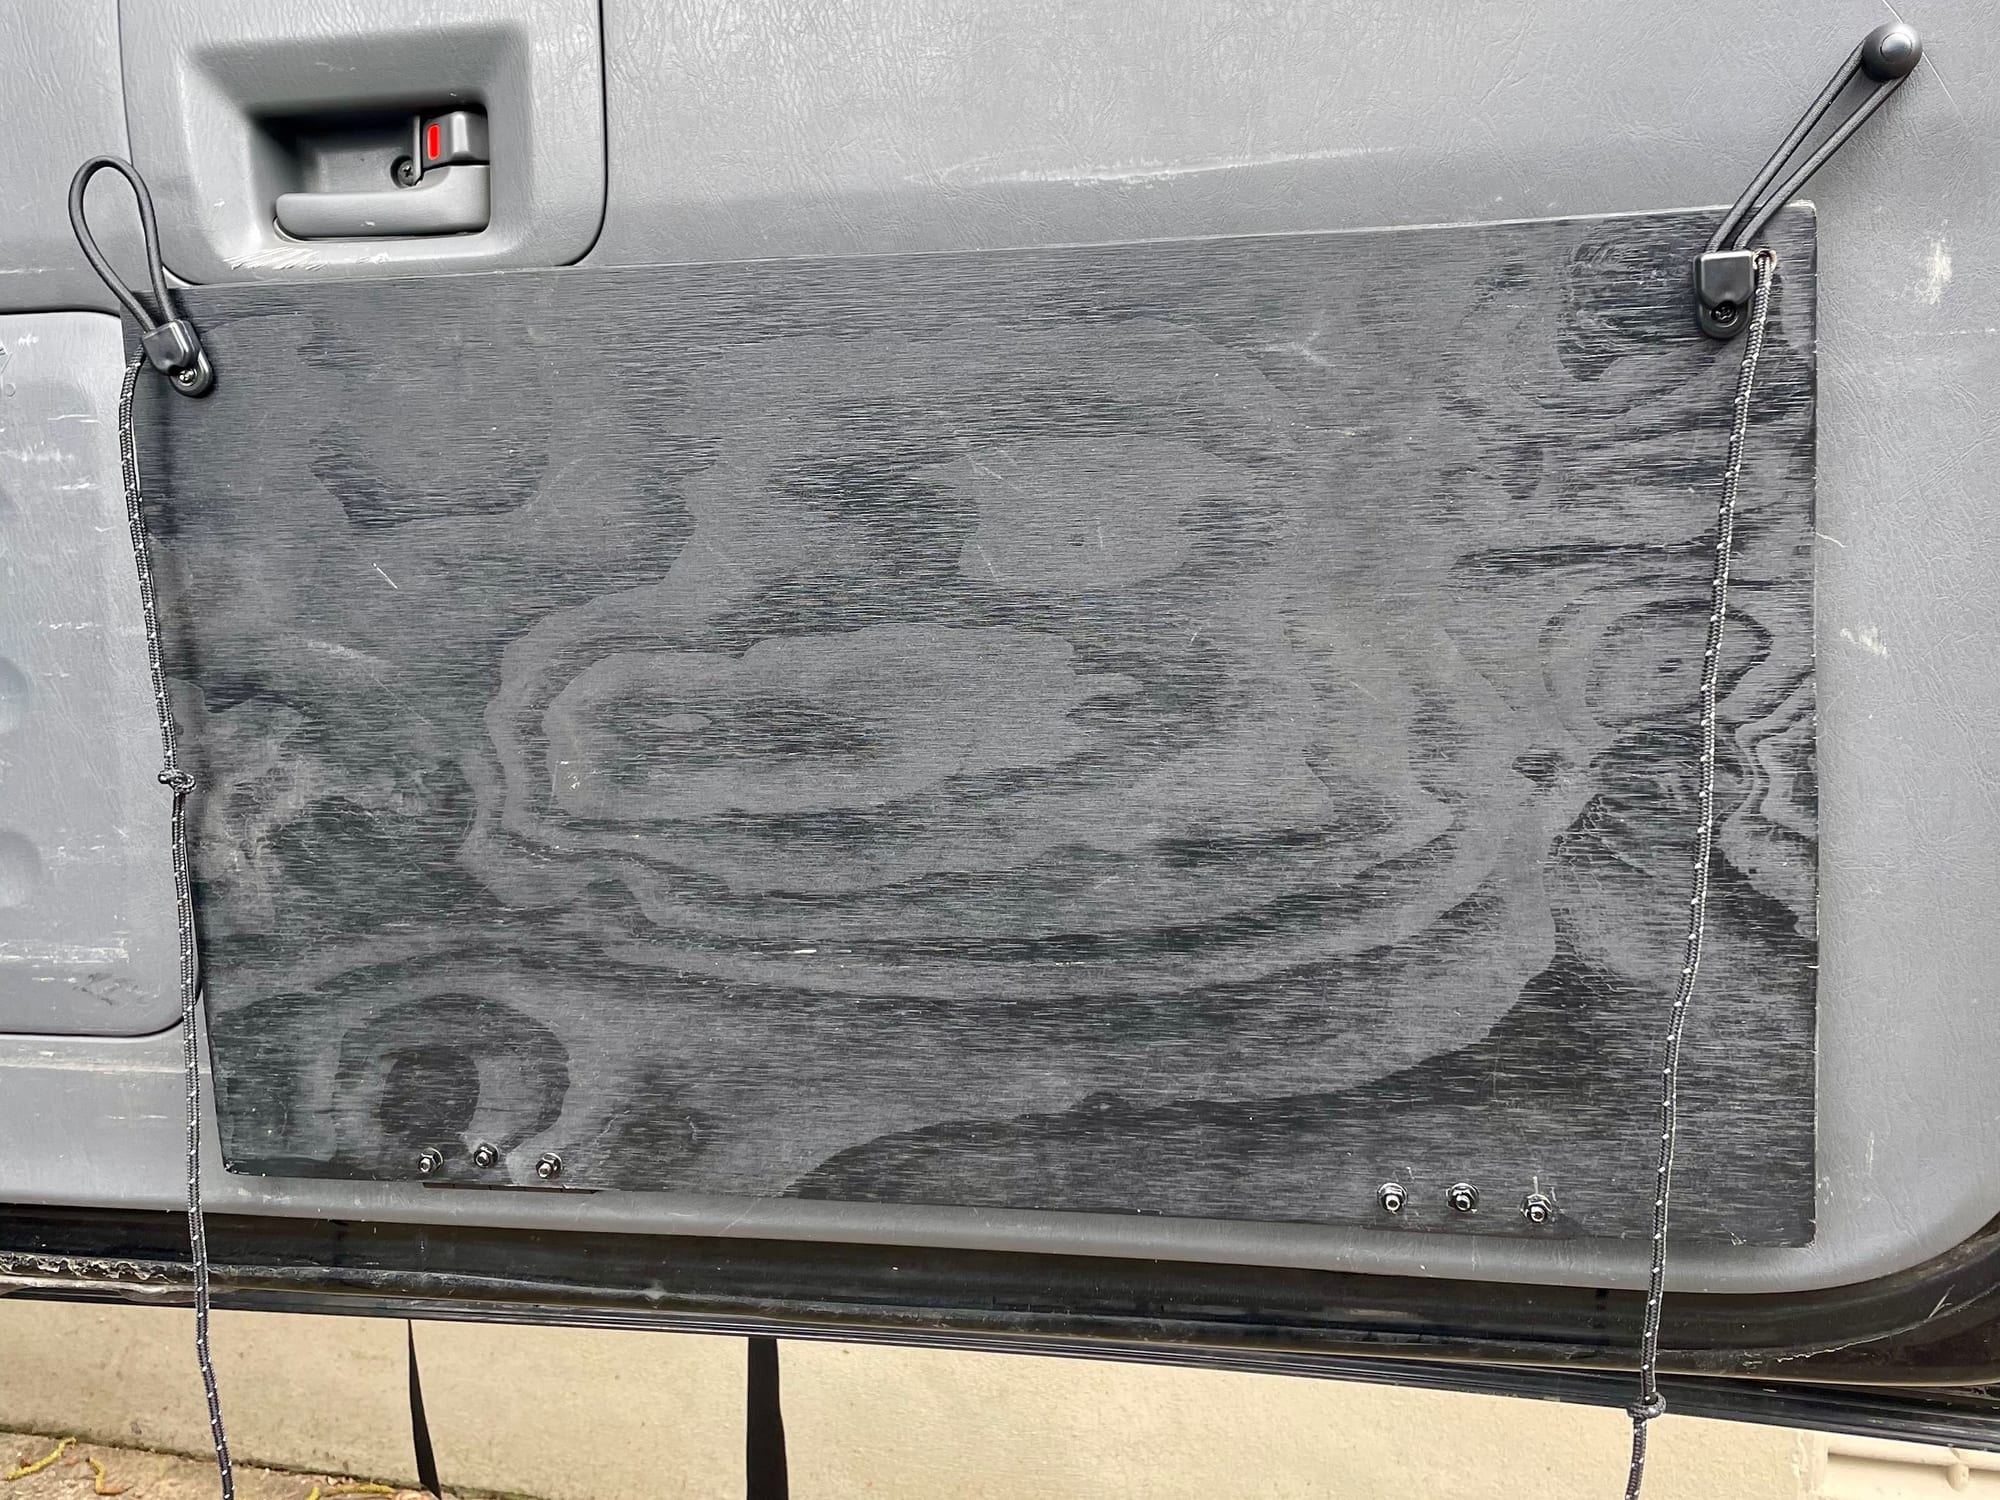
We painted the underside of the board black, so it matches the grey of the door a bit better when the table is folded up.
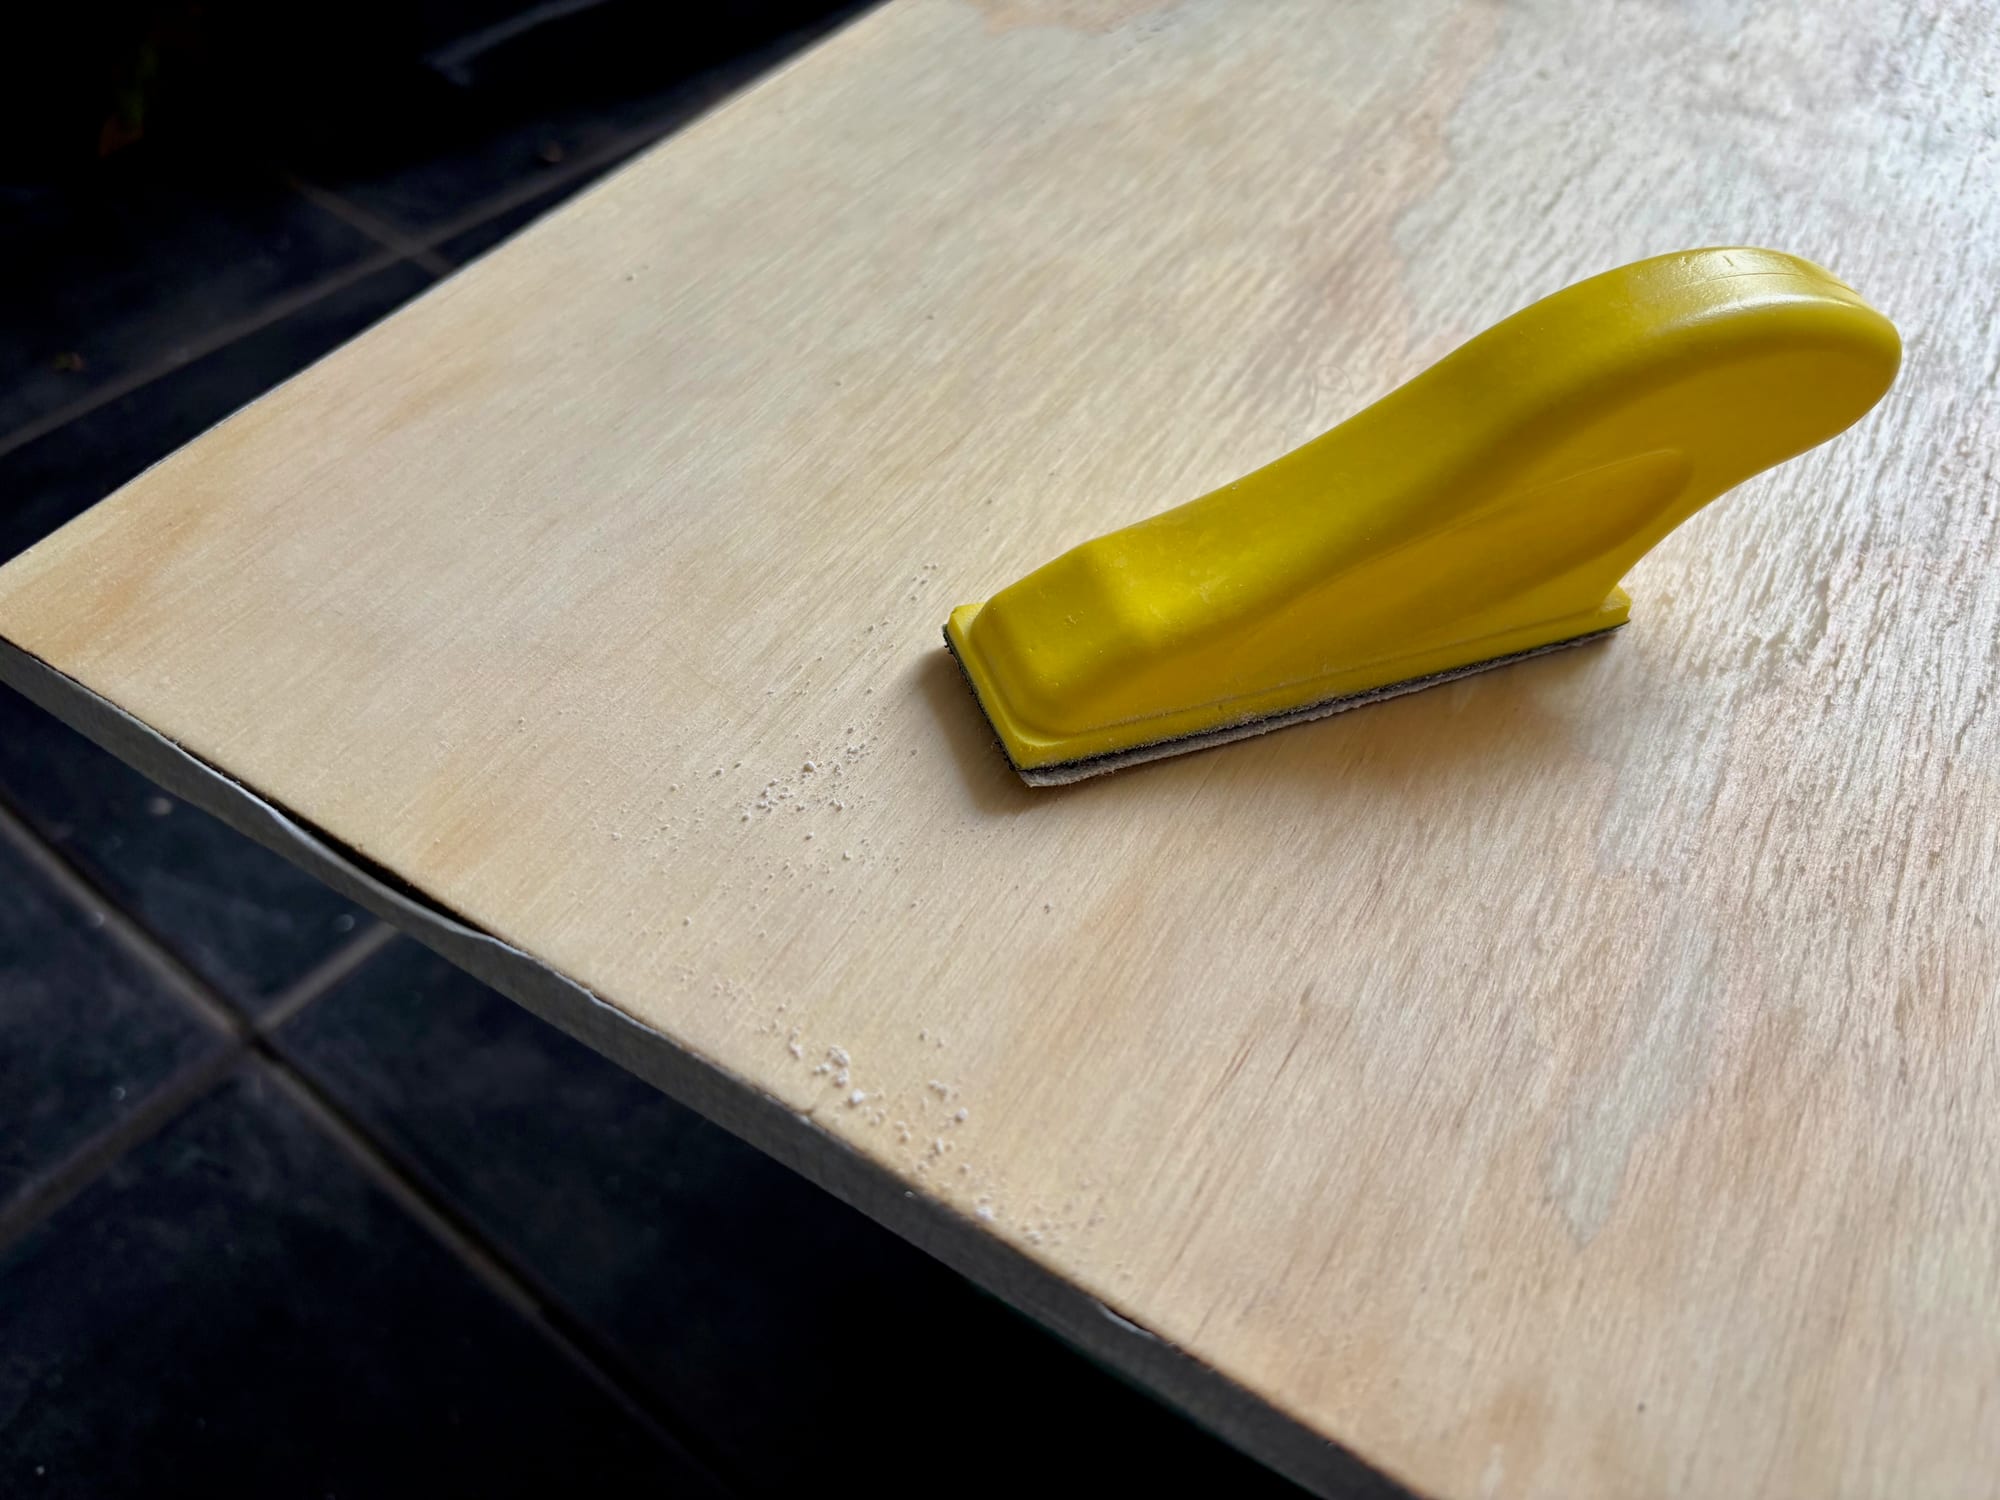
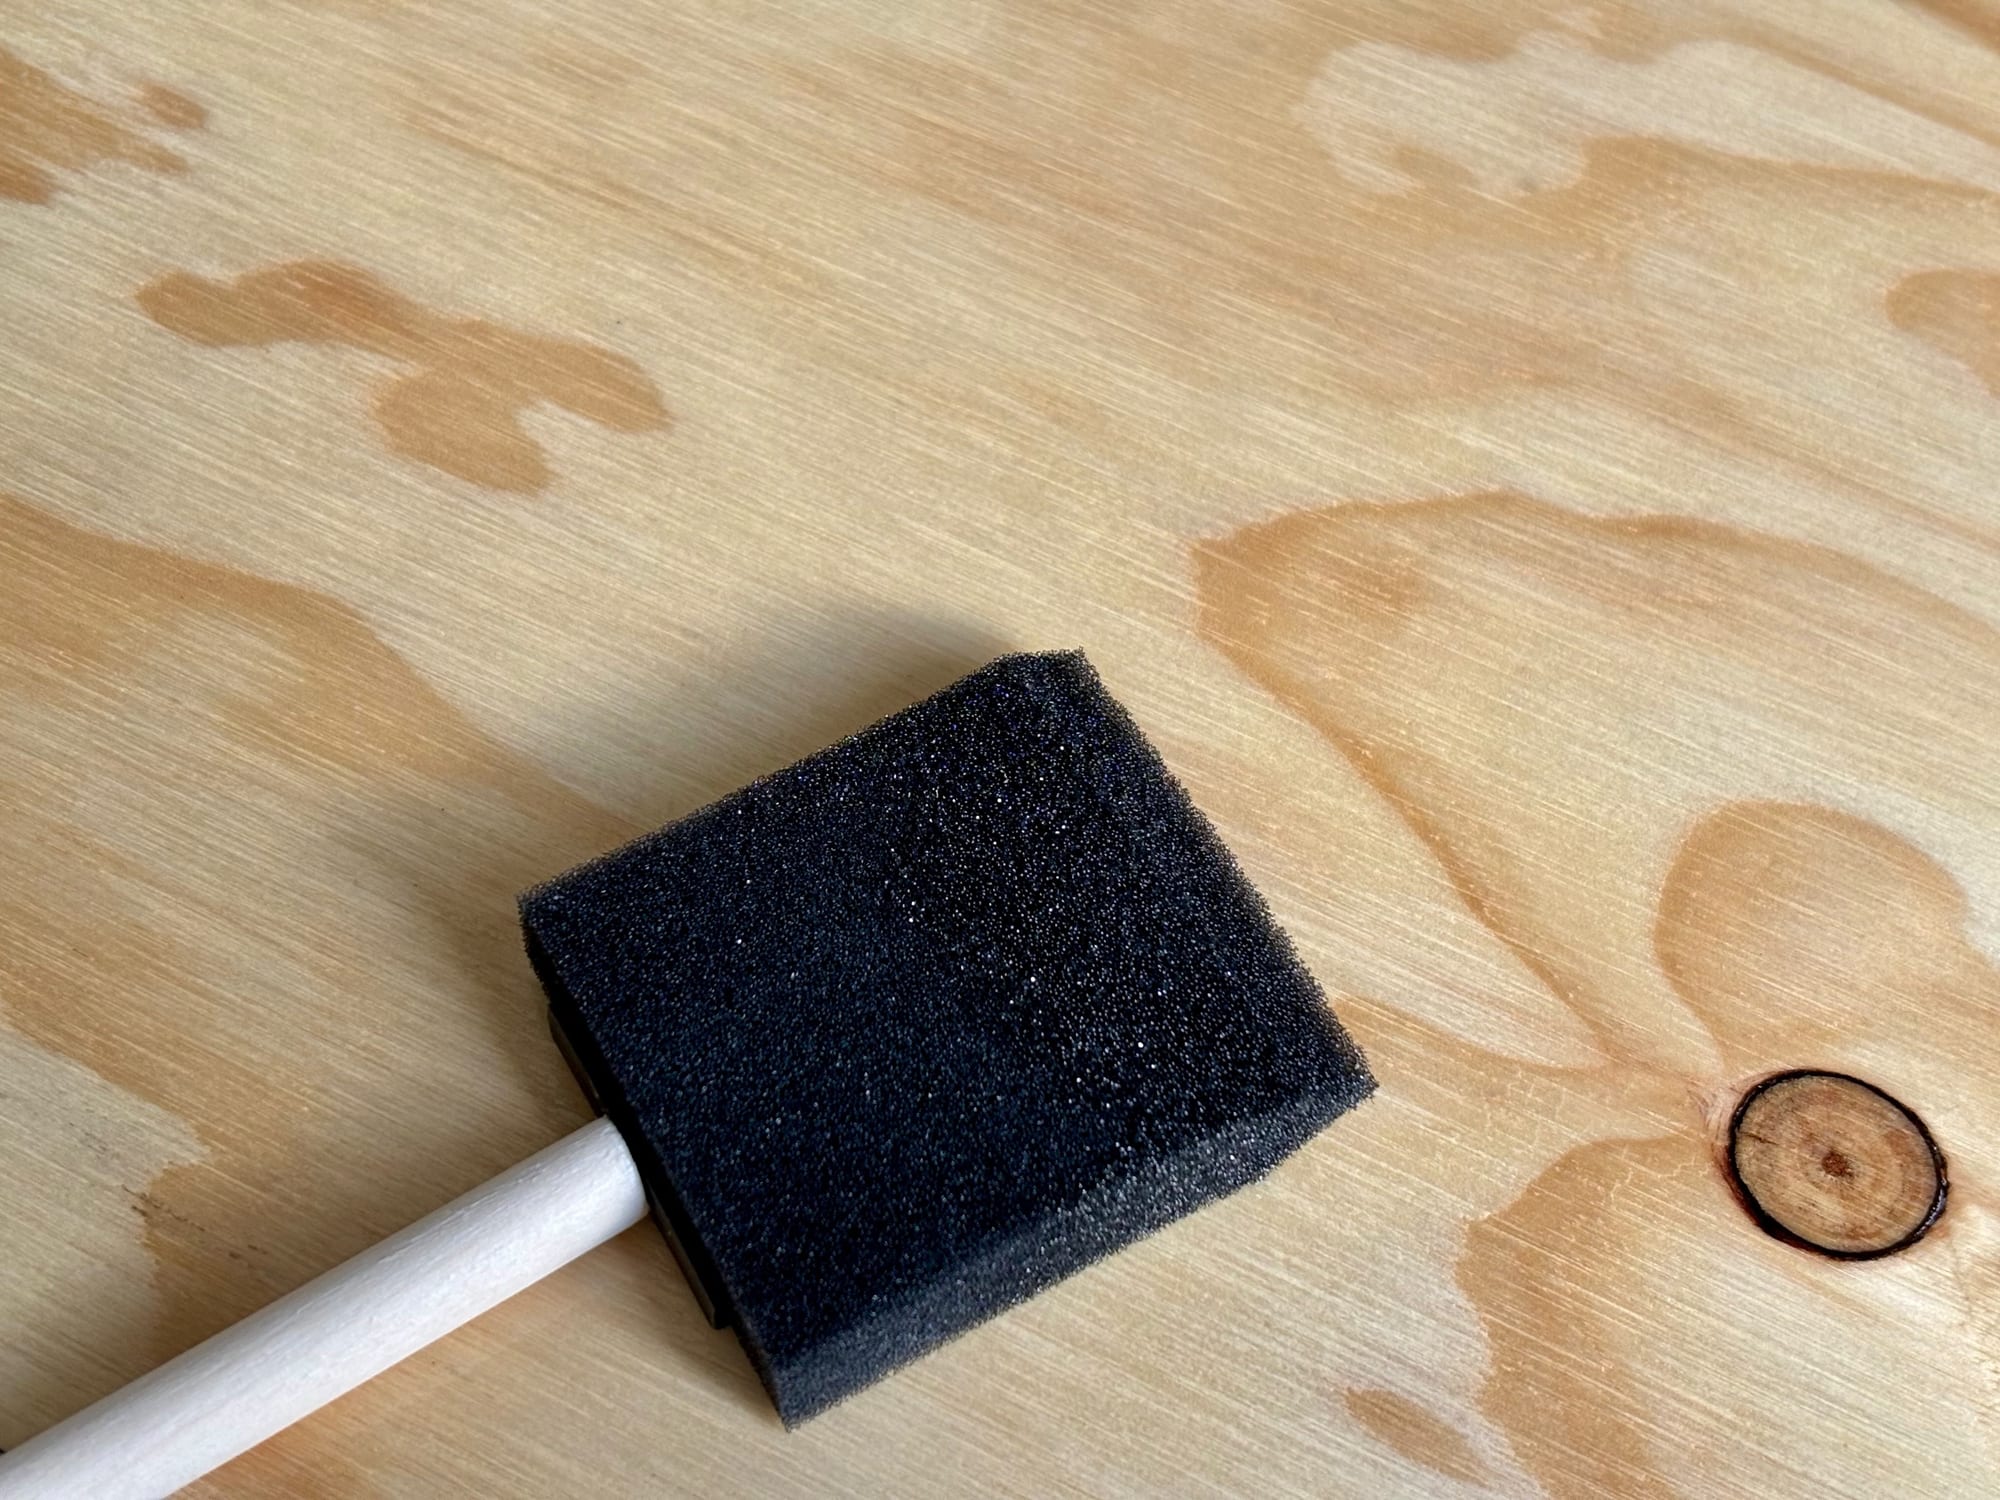
Step 4: Fit the hinges4. Fit the hinges
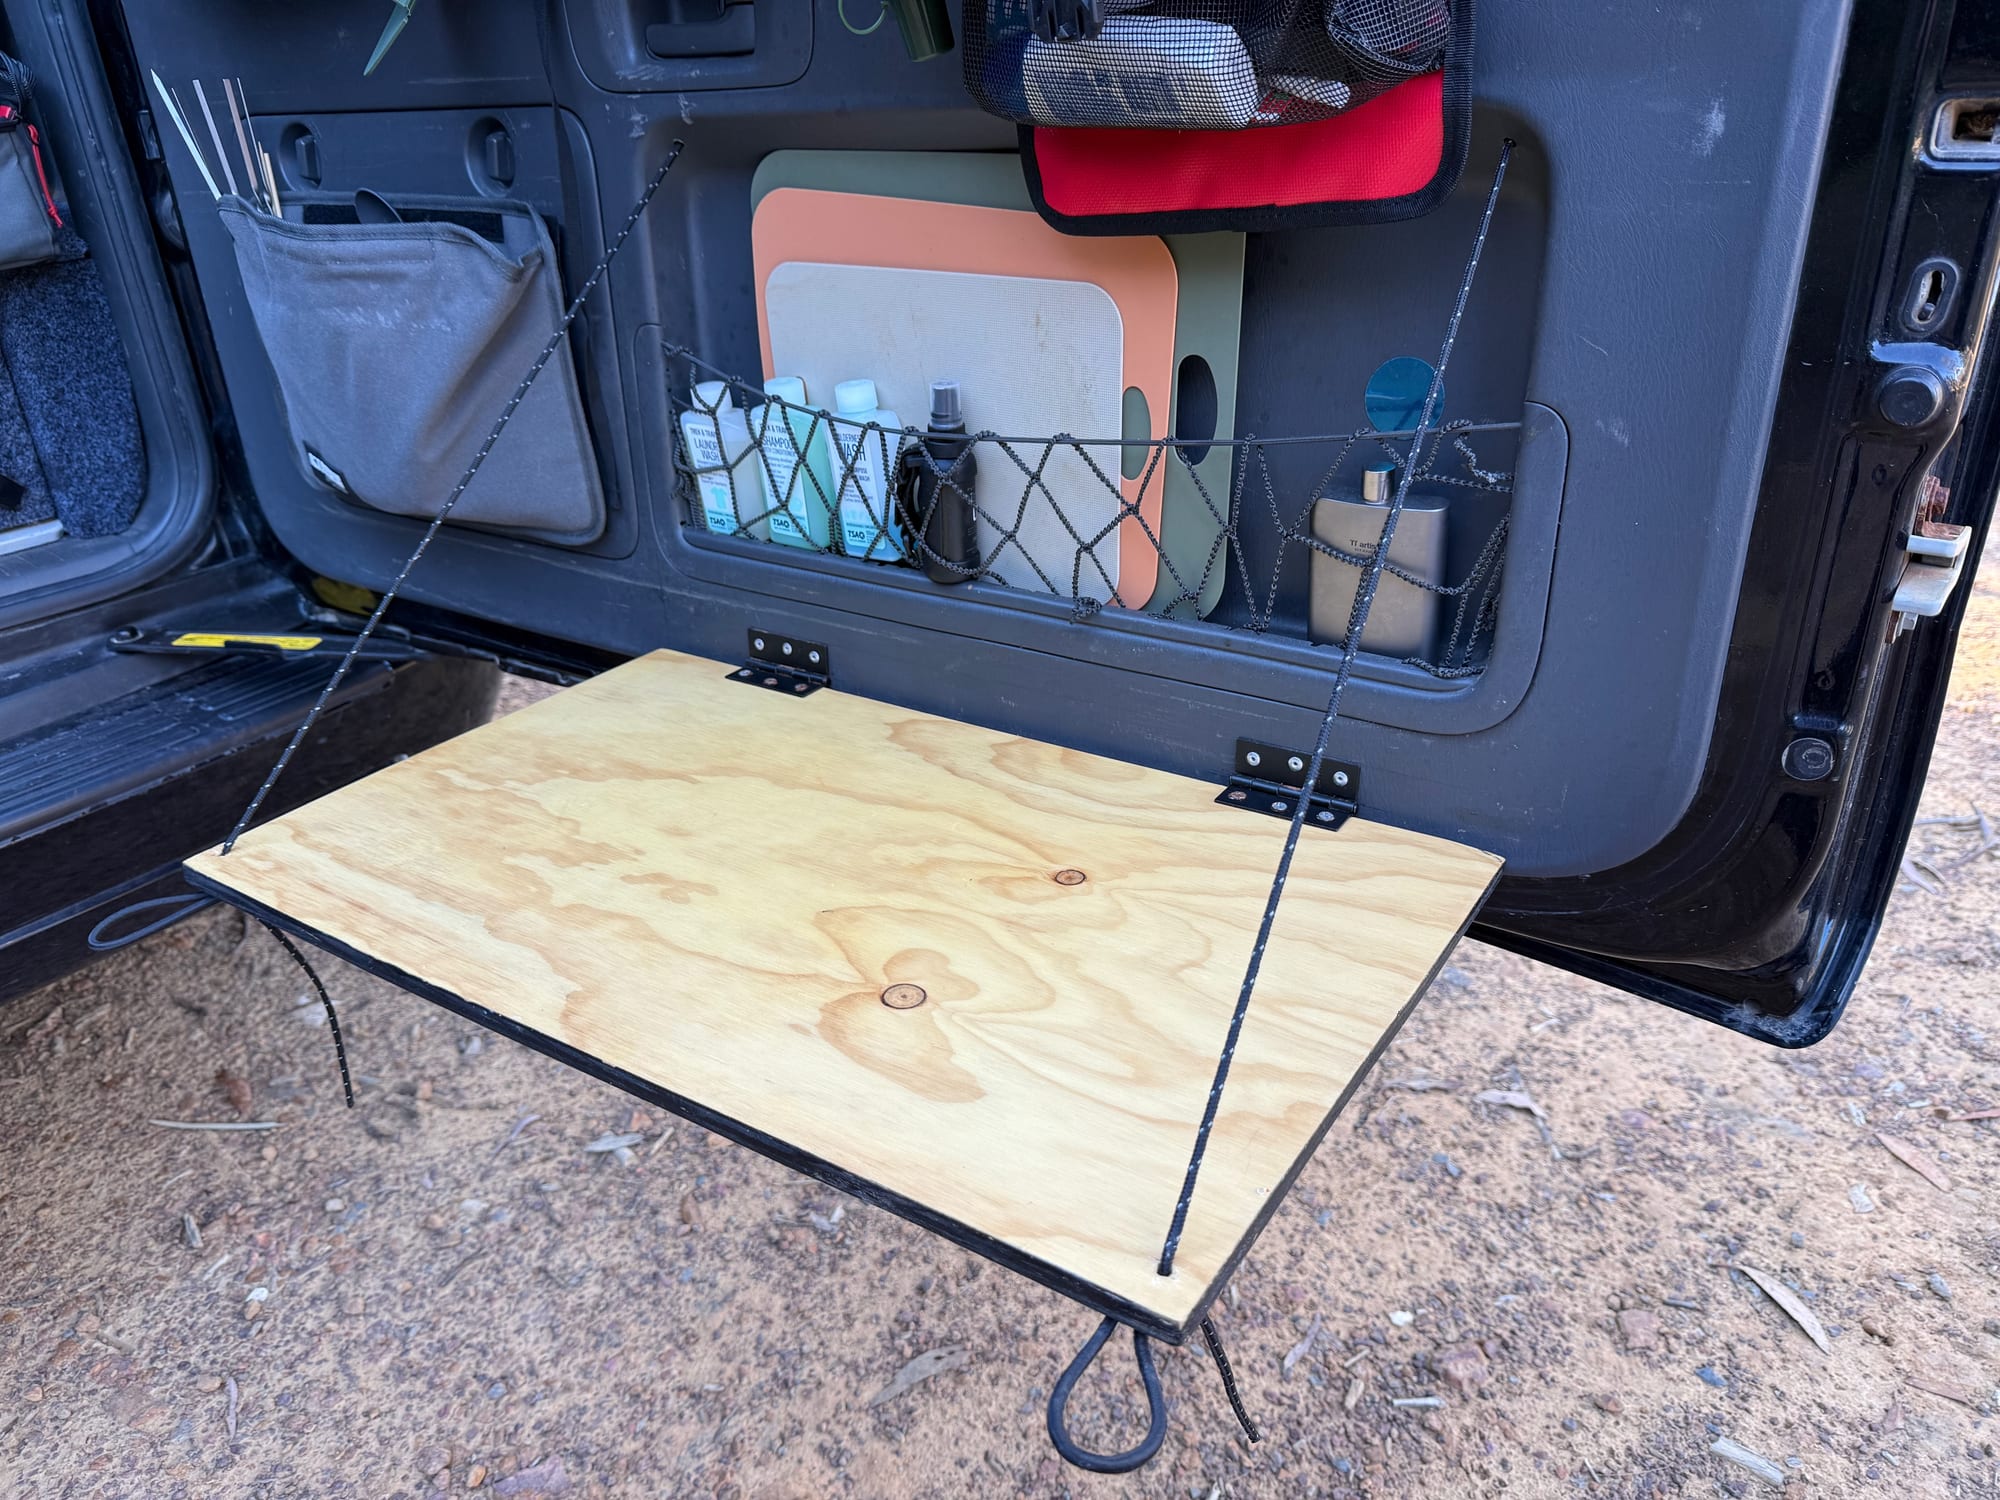
We used two matt black butt hinges, 70 × 50 × 1.6 mm, with fixed pins. Screw them to the board first, along the edge that will sit against the door. Then hold the board up against the door and prop it at the right height: we stacked books on a cooler under it until it sat where we wanted it.
With the board in place, mark the hinge holes on the trim panel with a permanent marker. Take the board away, drill through the trim at the marked points, then line the hinges up over the holes, push the pop rivets in and secure them with the rivet gun.
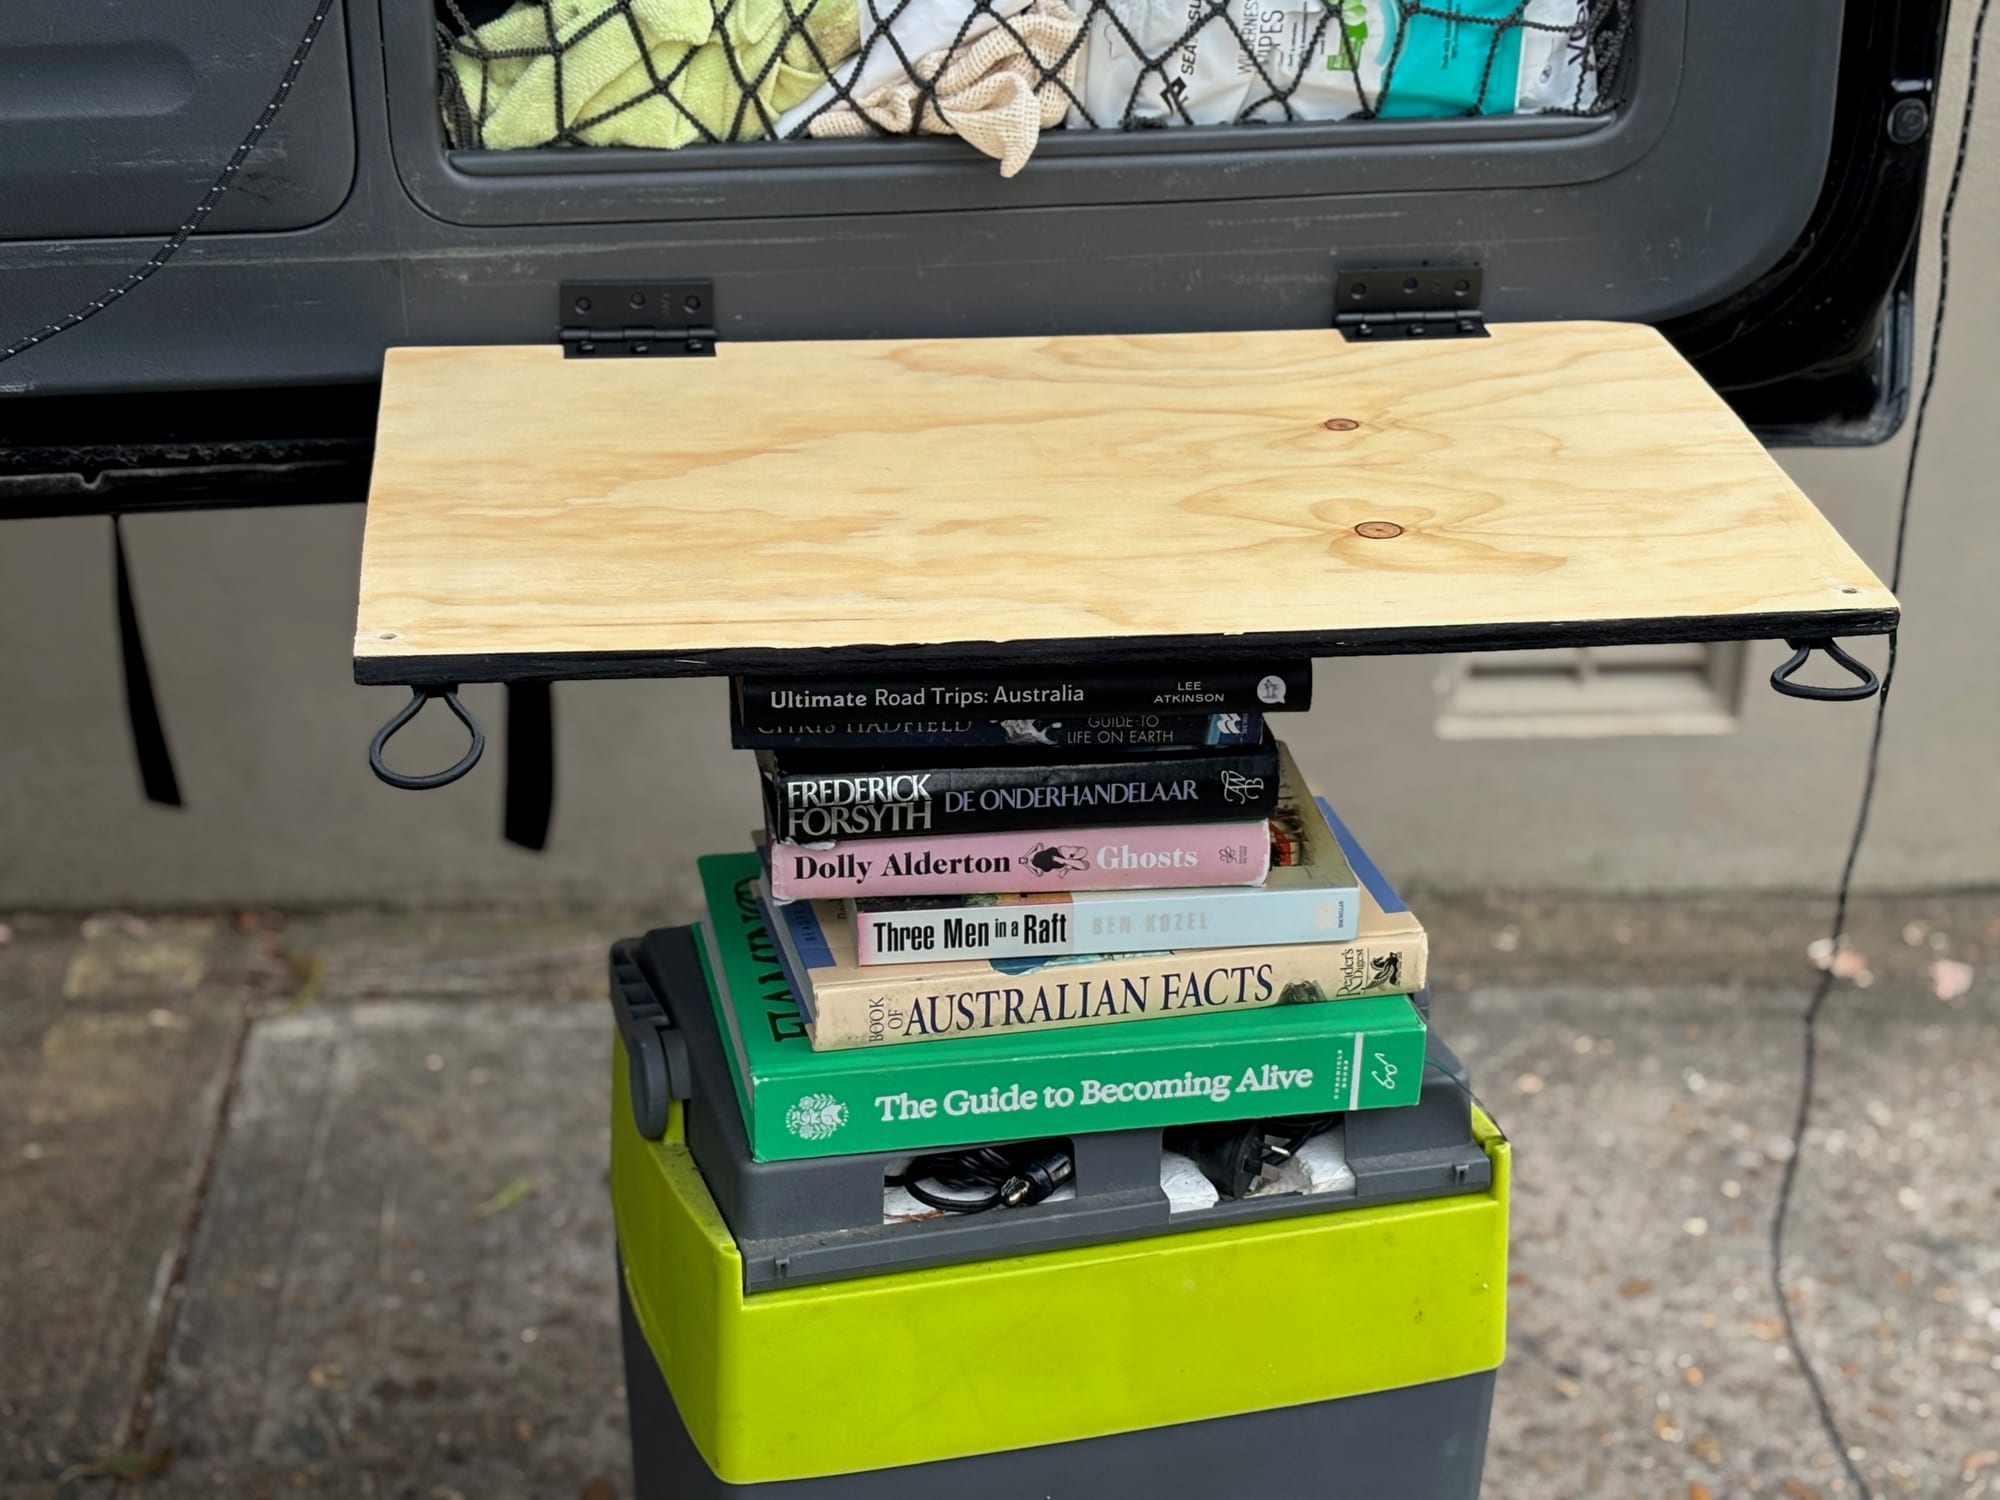
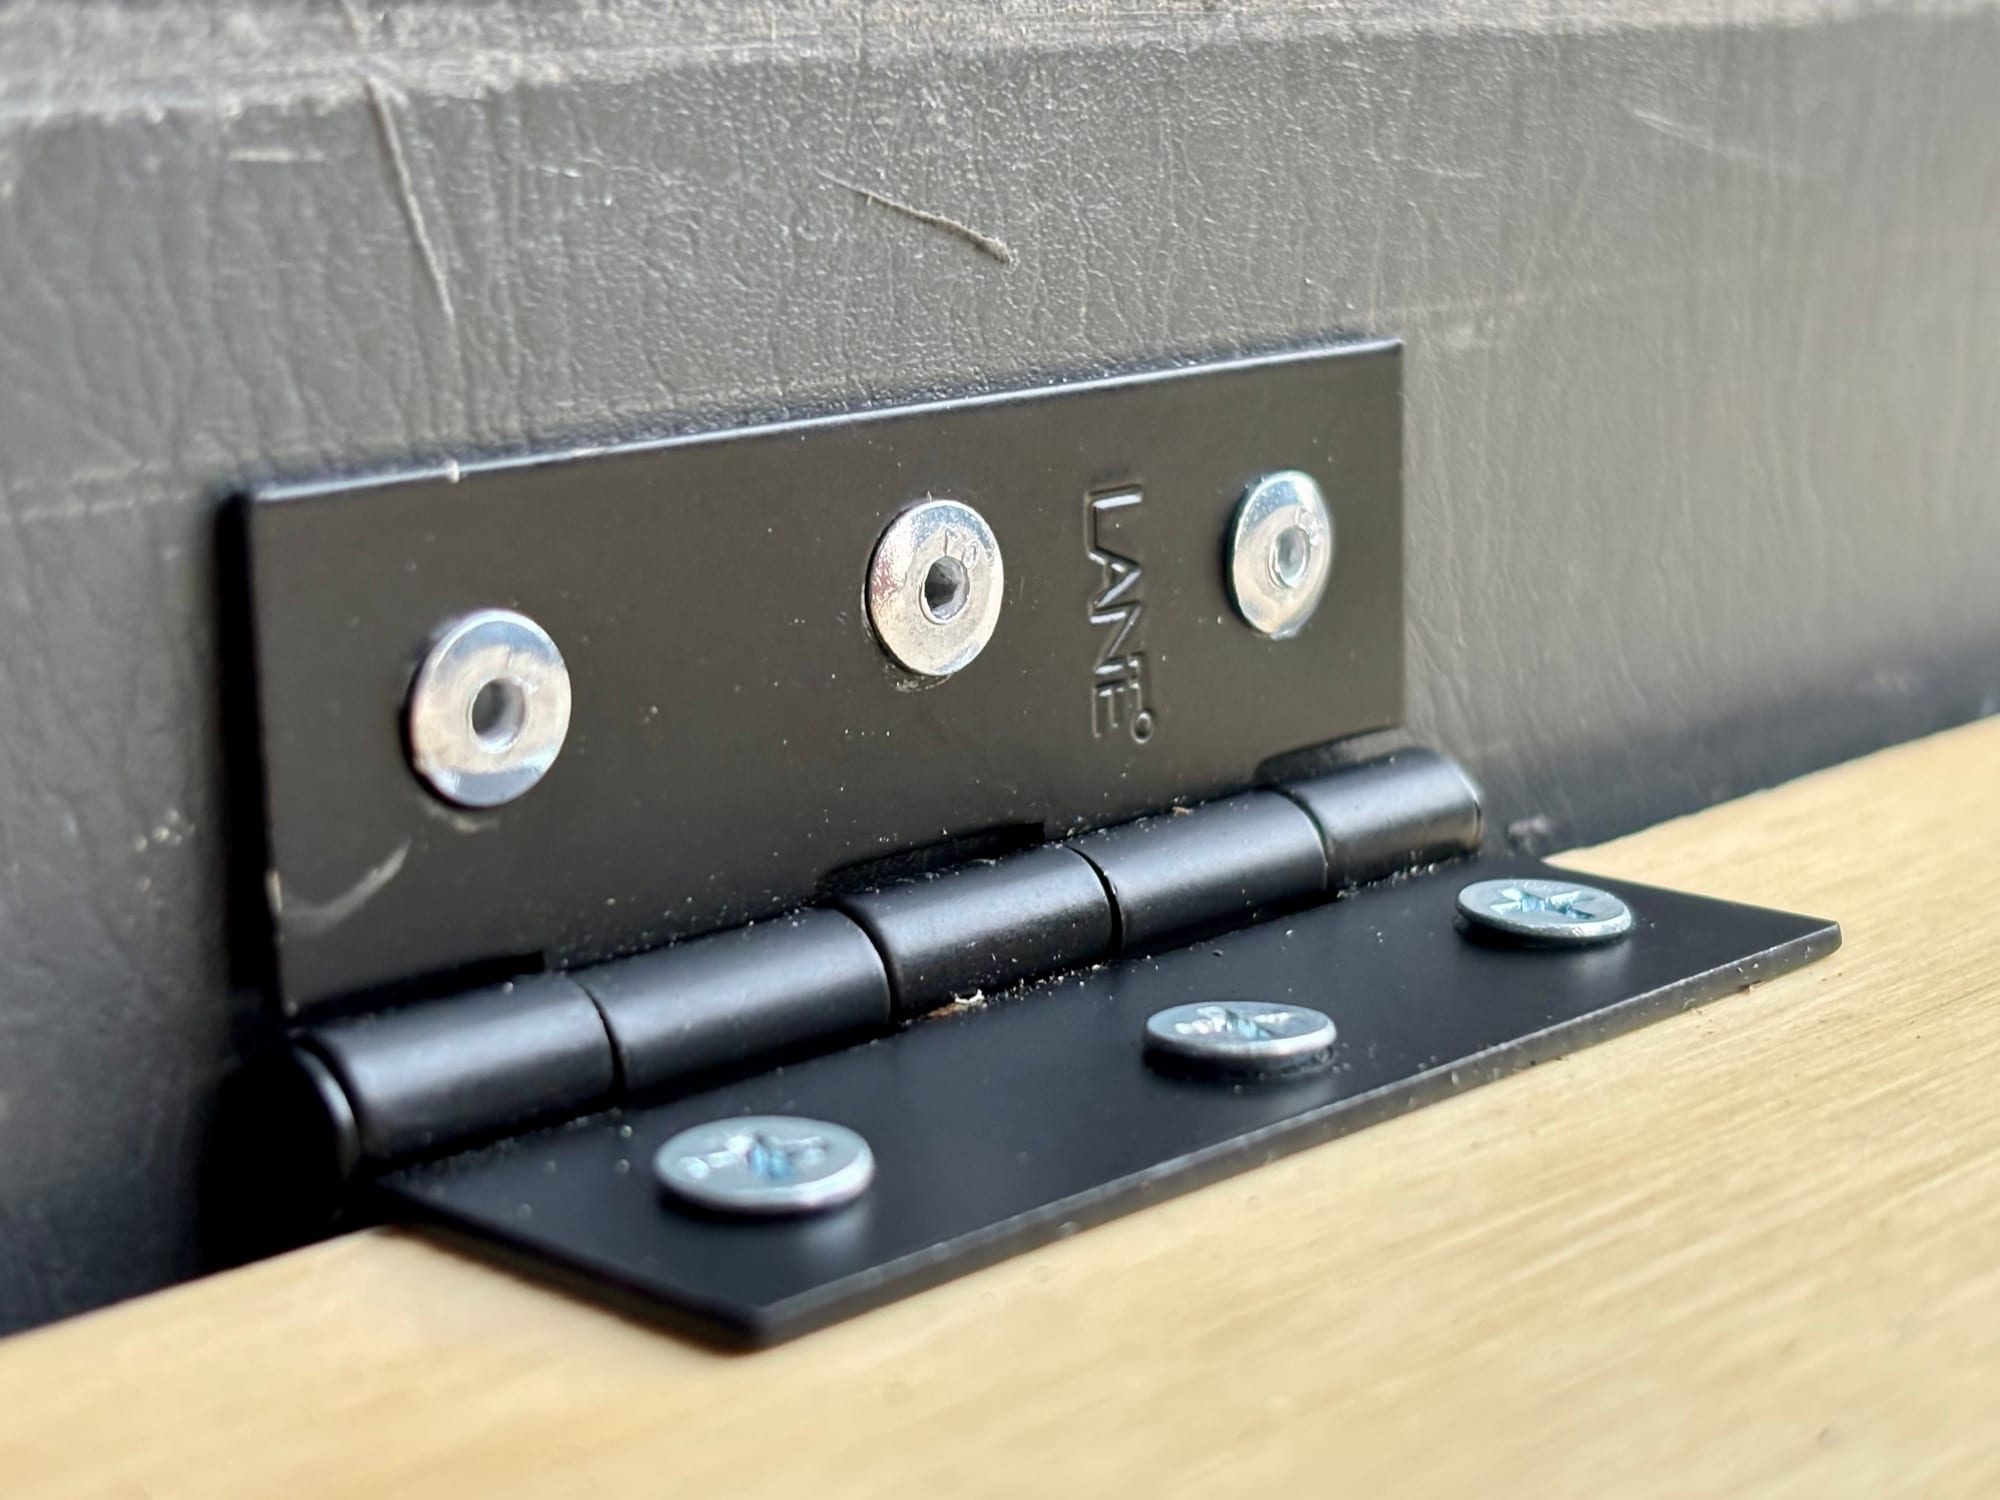
Step 5: Add the support cords5. Add the support cords
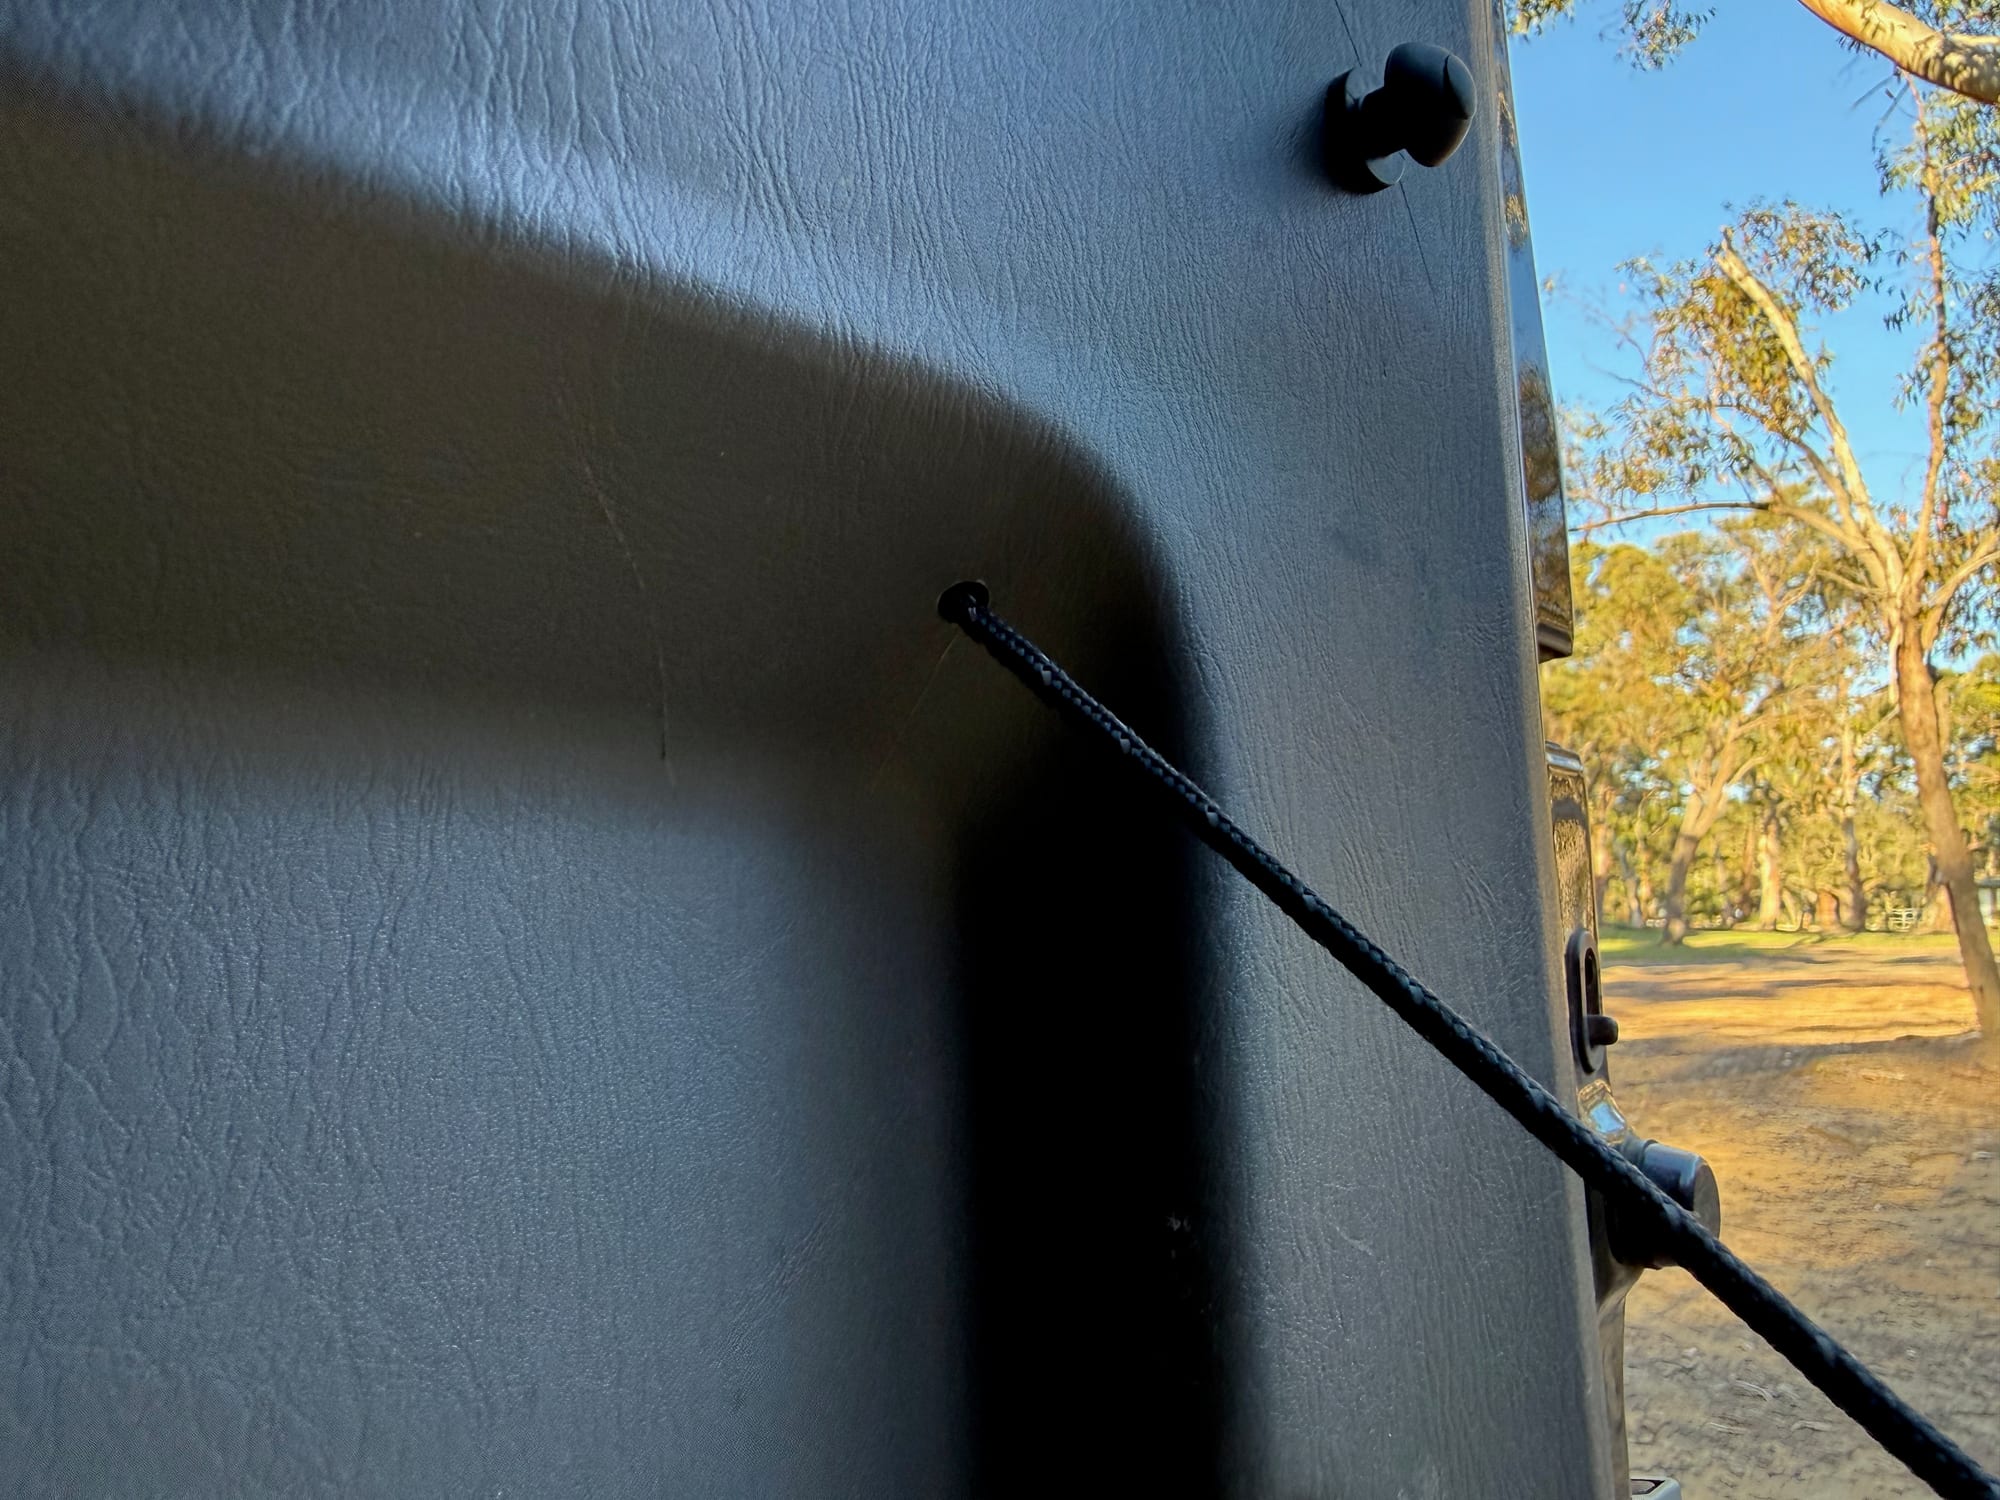
Two cords hold the table level when it’s down. We used paracord: just make sure it isn’t too stretchy, because it has to hold the table up firmly when it’s under load. While the trim panel is still off, drill two holes near the top of it, where the cords need to hold the table. Pull a cord through each hole and tie a few knots on the back of the panel, so it can’t come loose. Put the panel back in place, and you have two cords hanging down.
Then drill a hole in each front corner of the table and do the same at the other end: thread the cord through and knot it on the underside of the table. This is where you decide the final position of the table when it’s folded down. Adjust both cords so they come down to the same point: the load is then spread evenly across both cords, and the table sits level. When you’re happy, cut off the rest of the cord, but leave a bit of extra hanging, in case you want to adjust the length later.
Step 6: Fold it up for driving6. Fold it up for driving
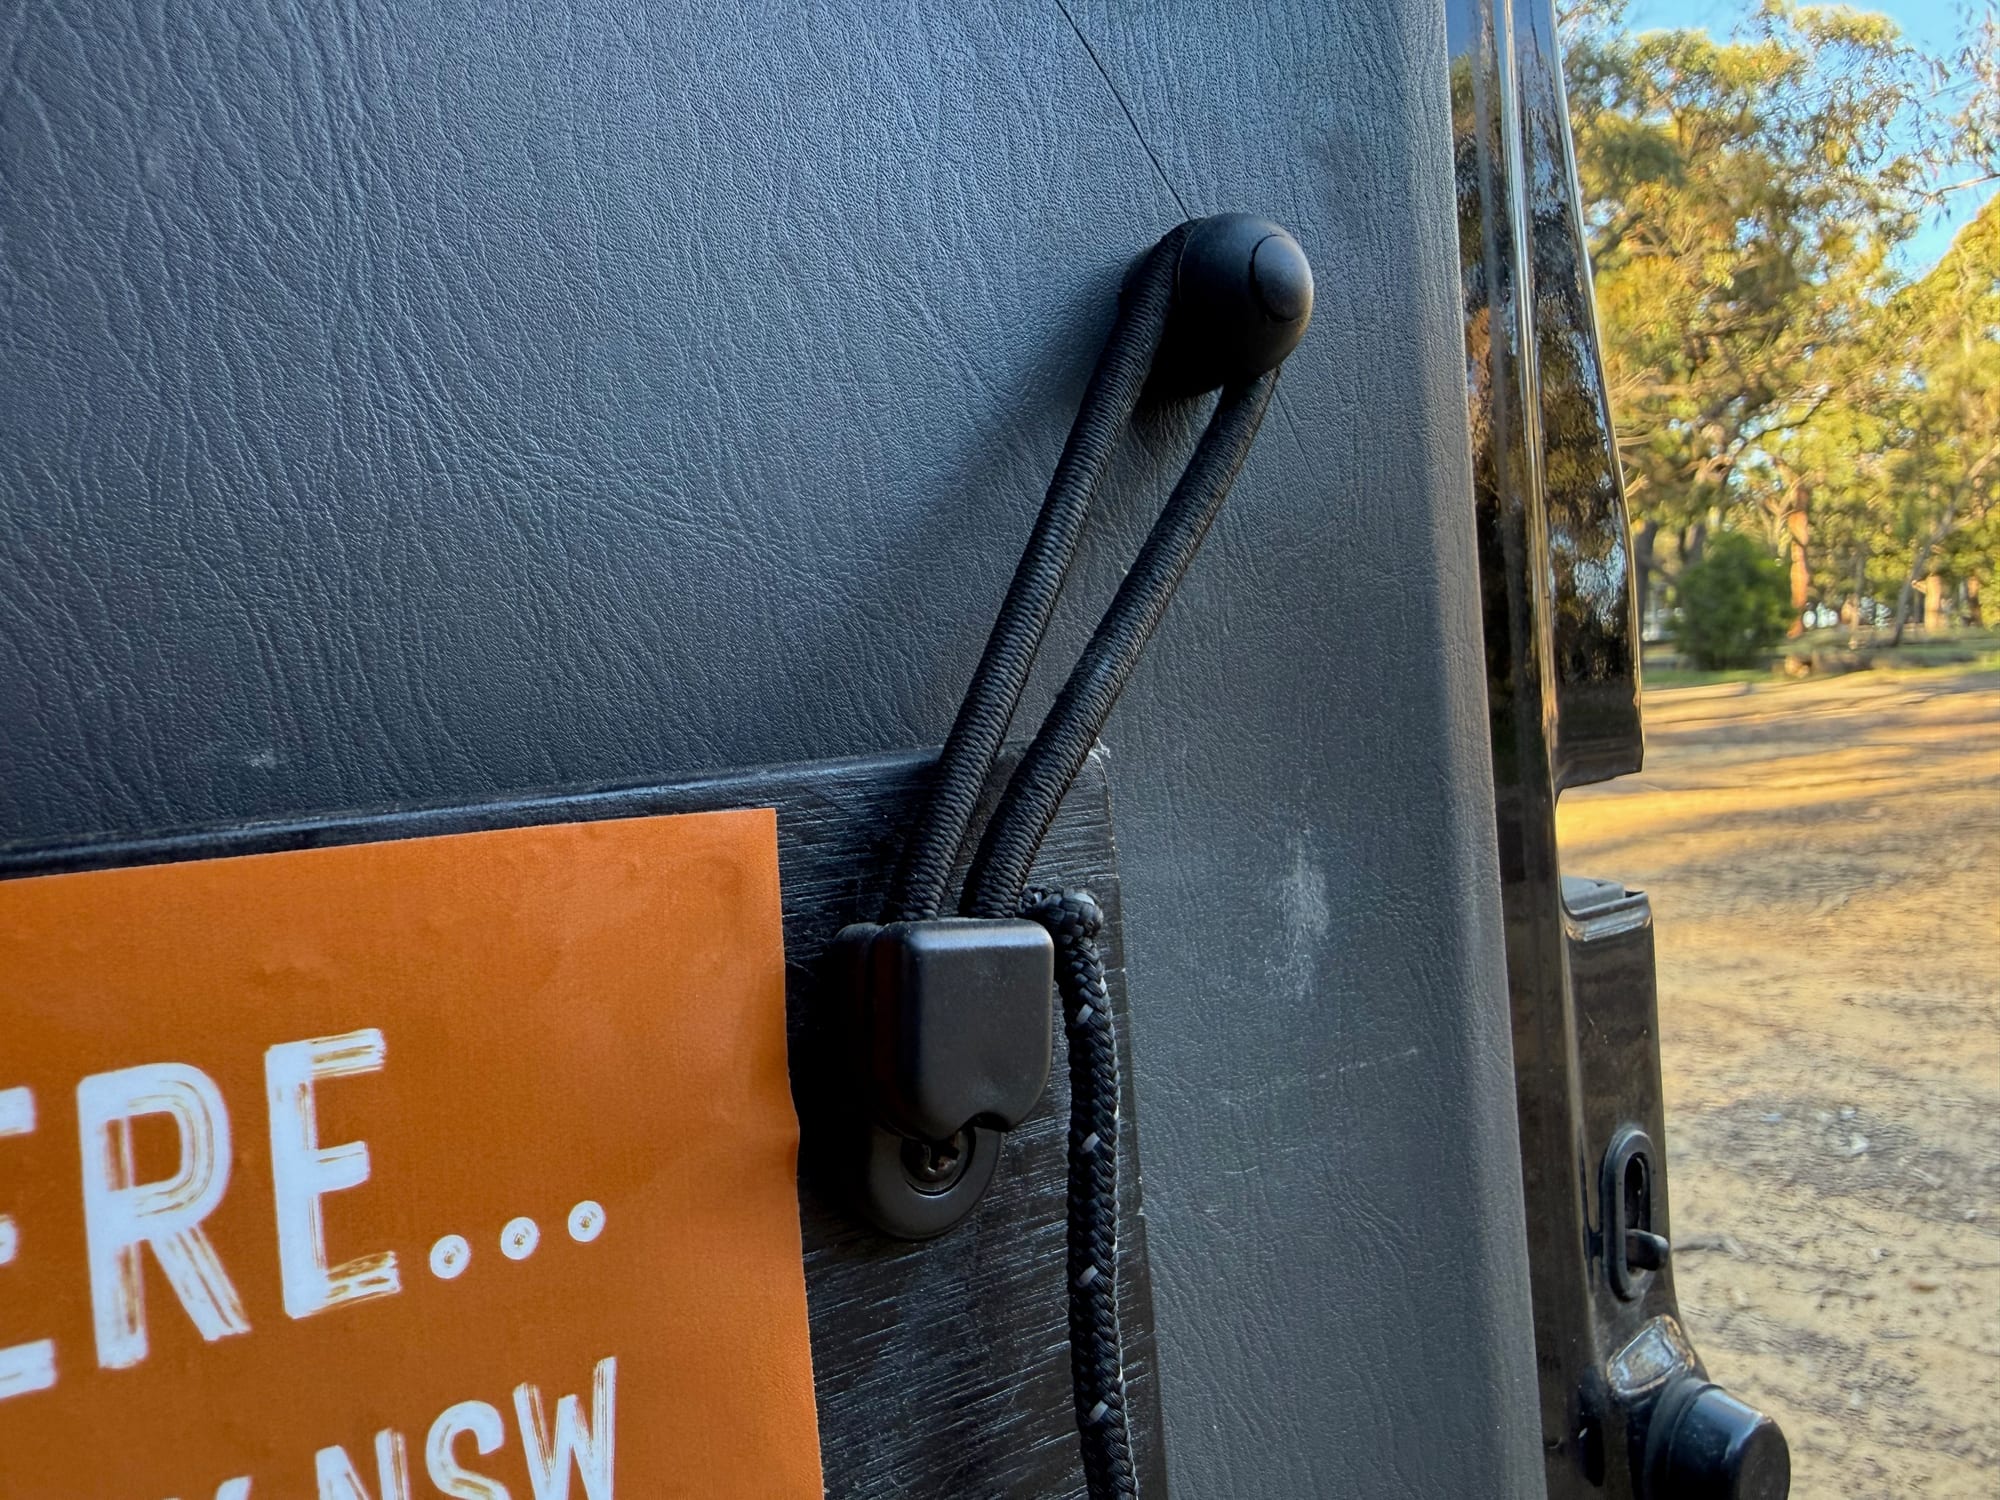
When we drive, the table folds up flat against the door, and the bungee shock cord clips hold it there. They’re very firm, so the table stays put. The clips screw into the trim panel, and to make sure they sit really solid, we glued a small piece of plywood to the back of the panel behind each clip. Do this while the trim panel is still off, and don’t overtighten the screws into the plastic.
How it works at camp
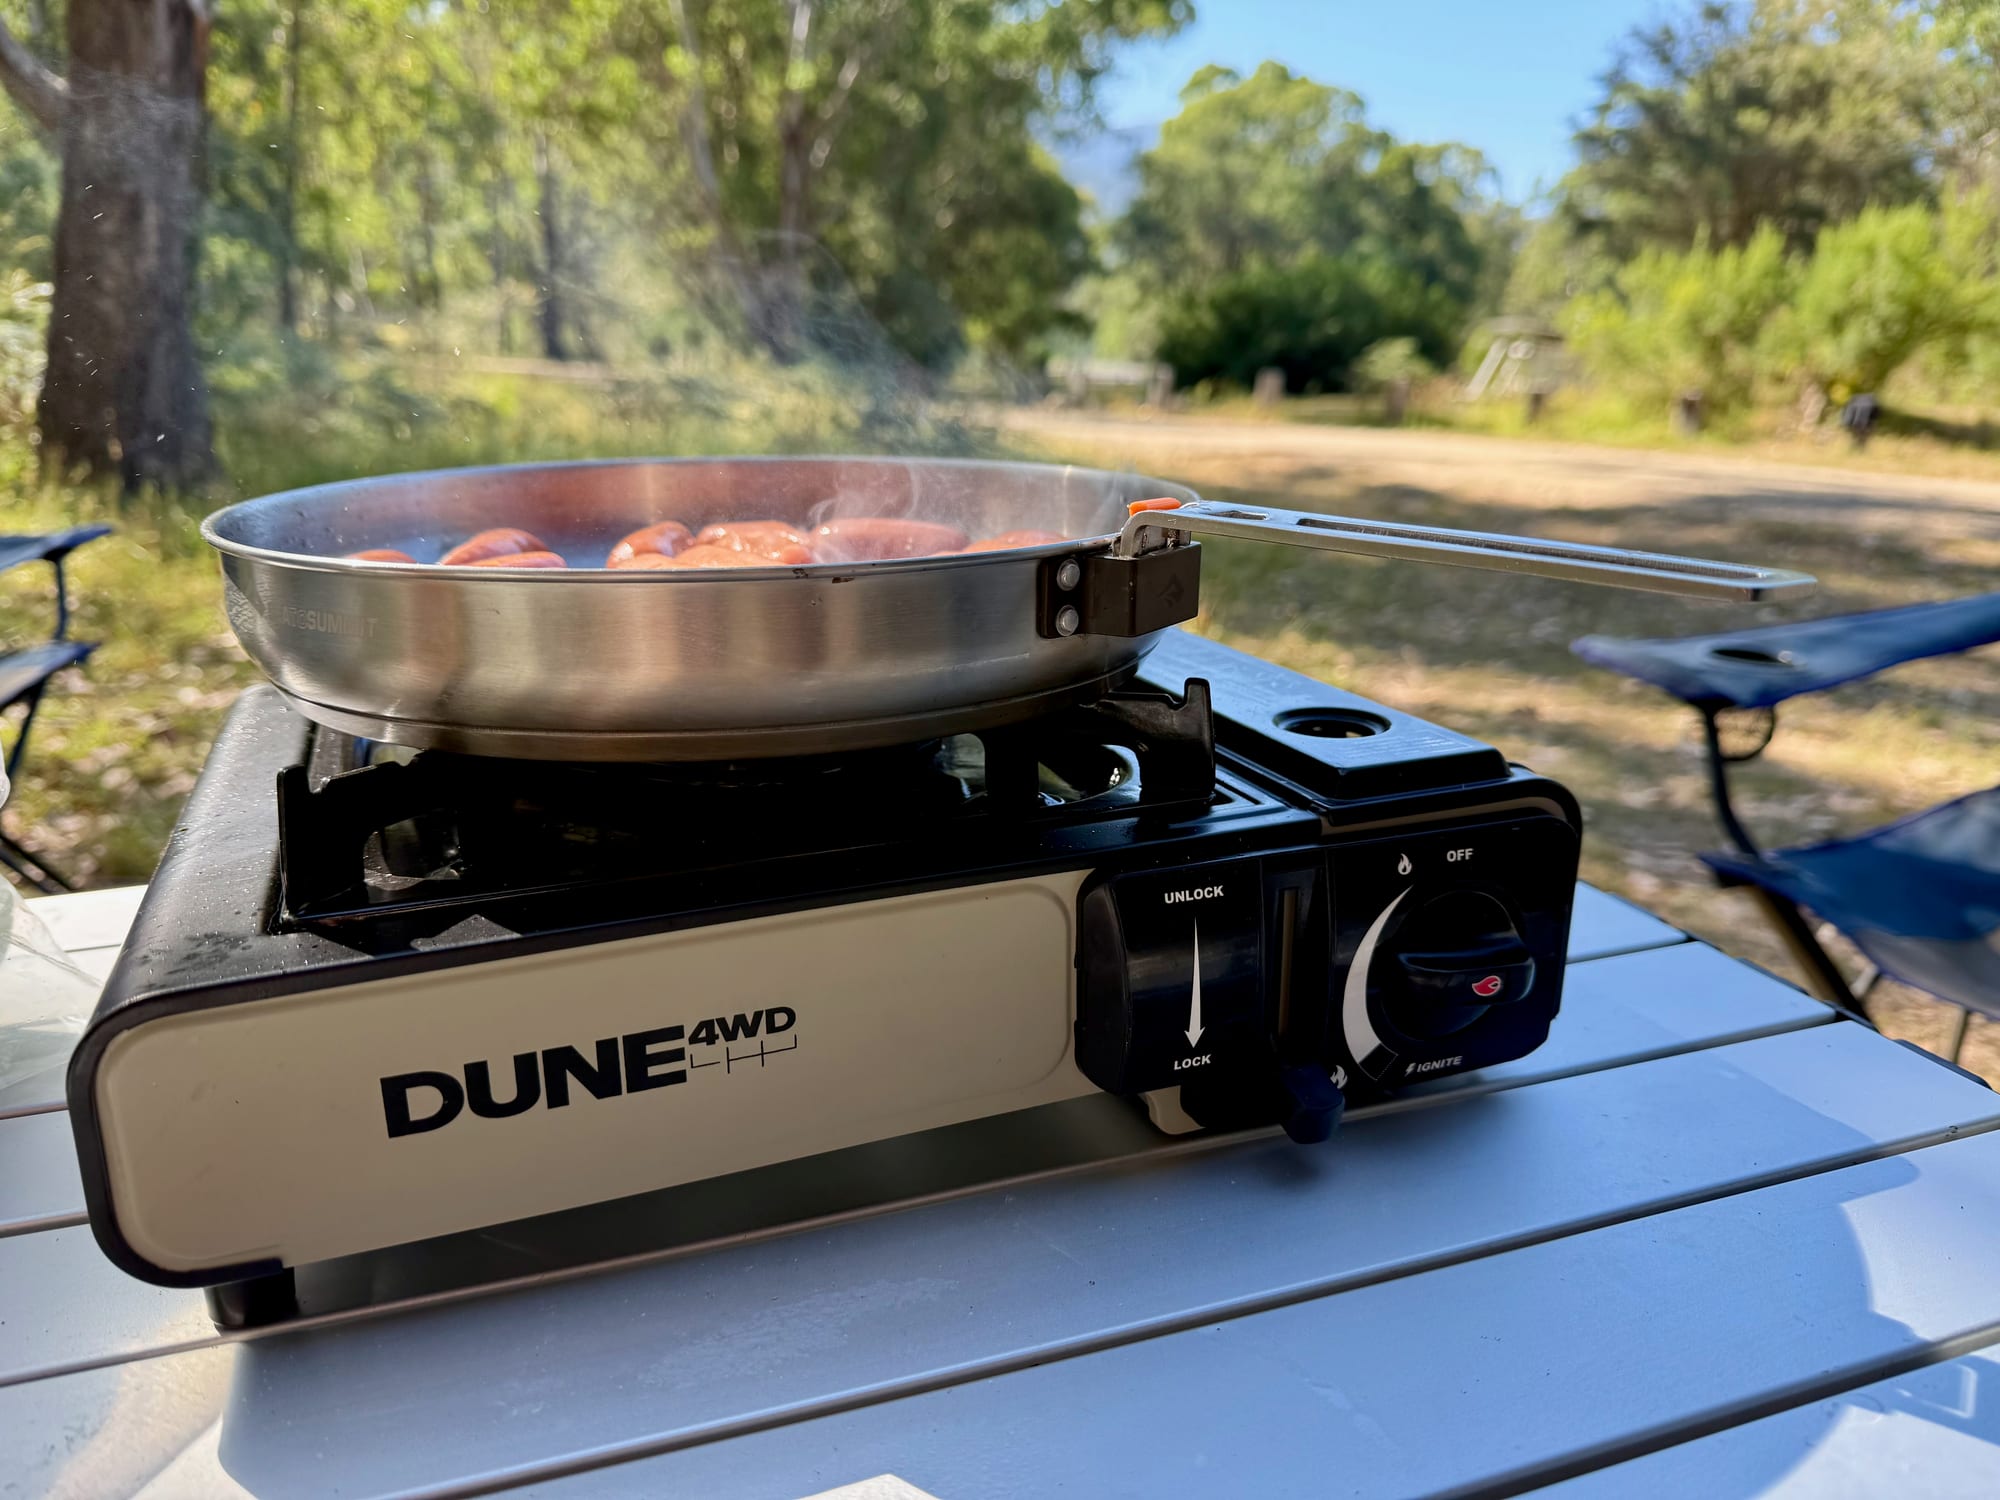
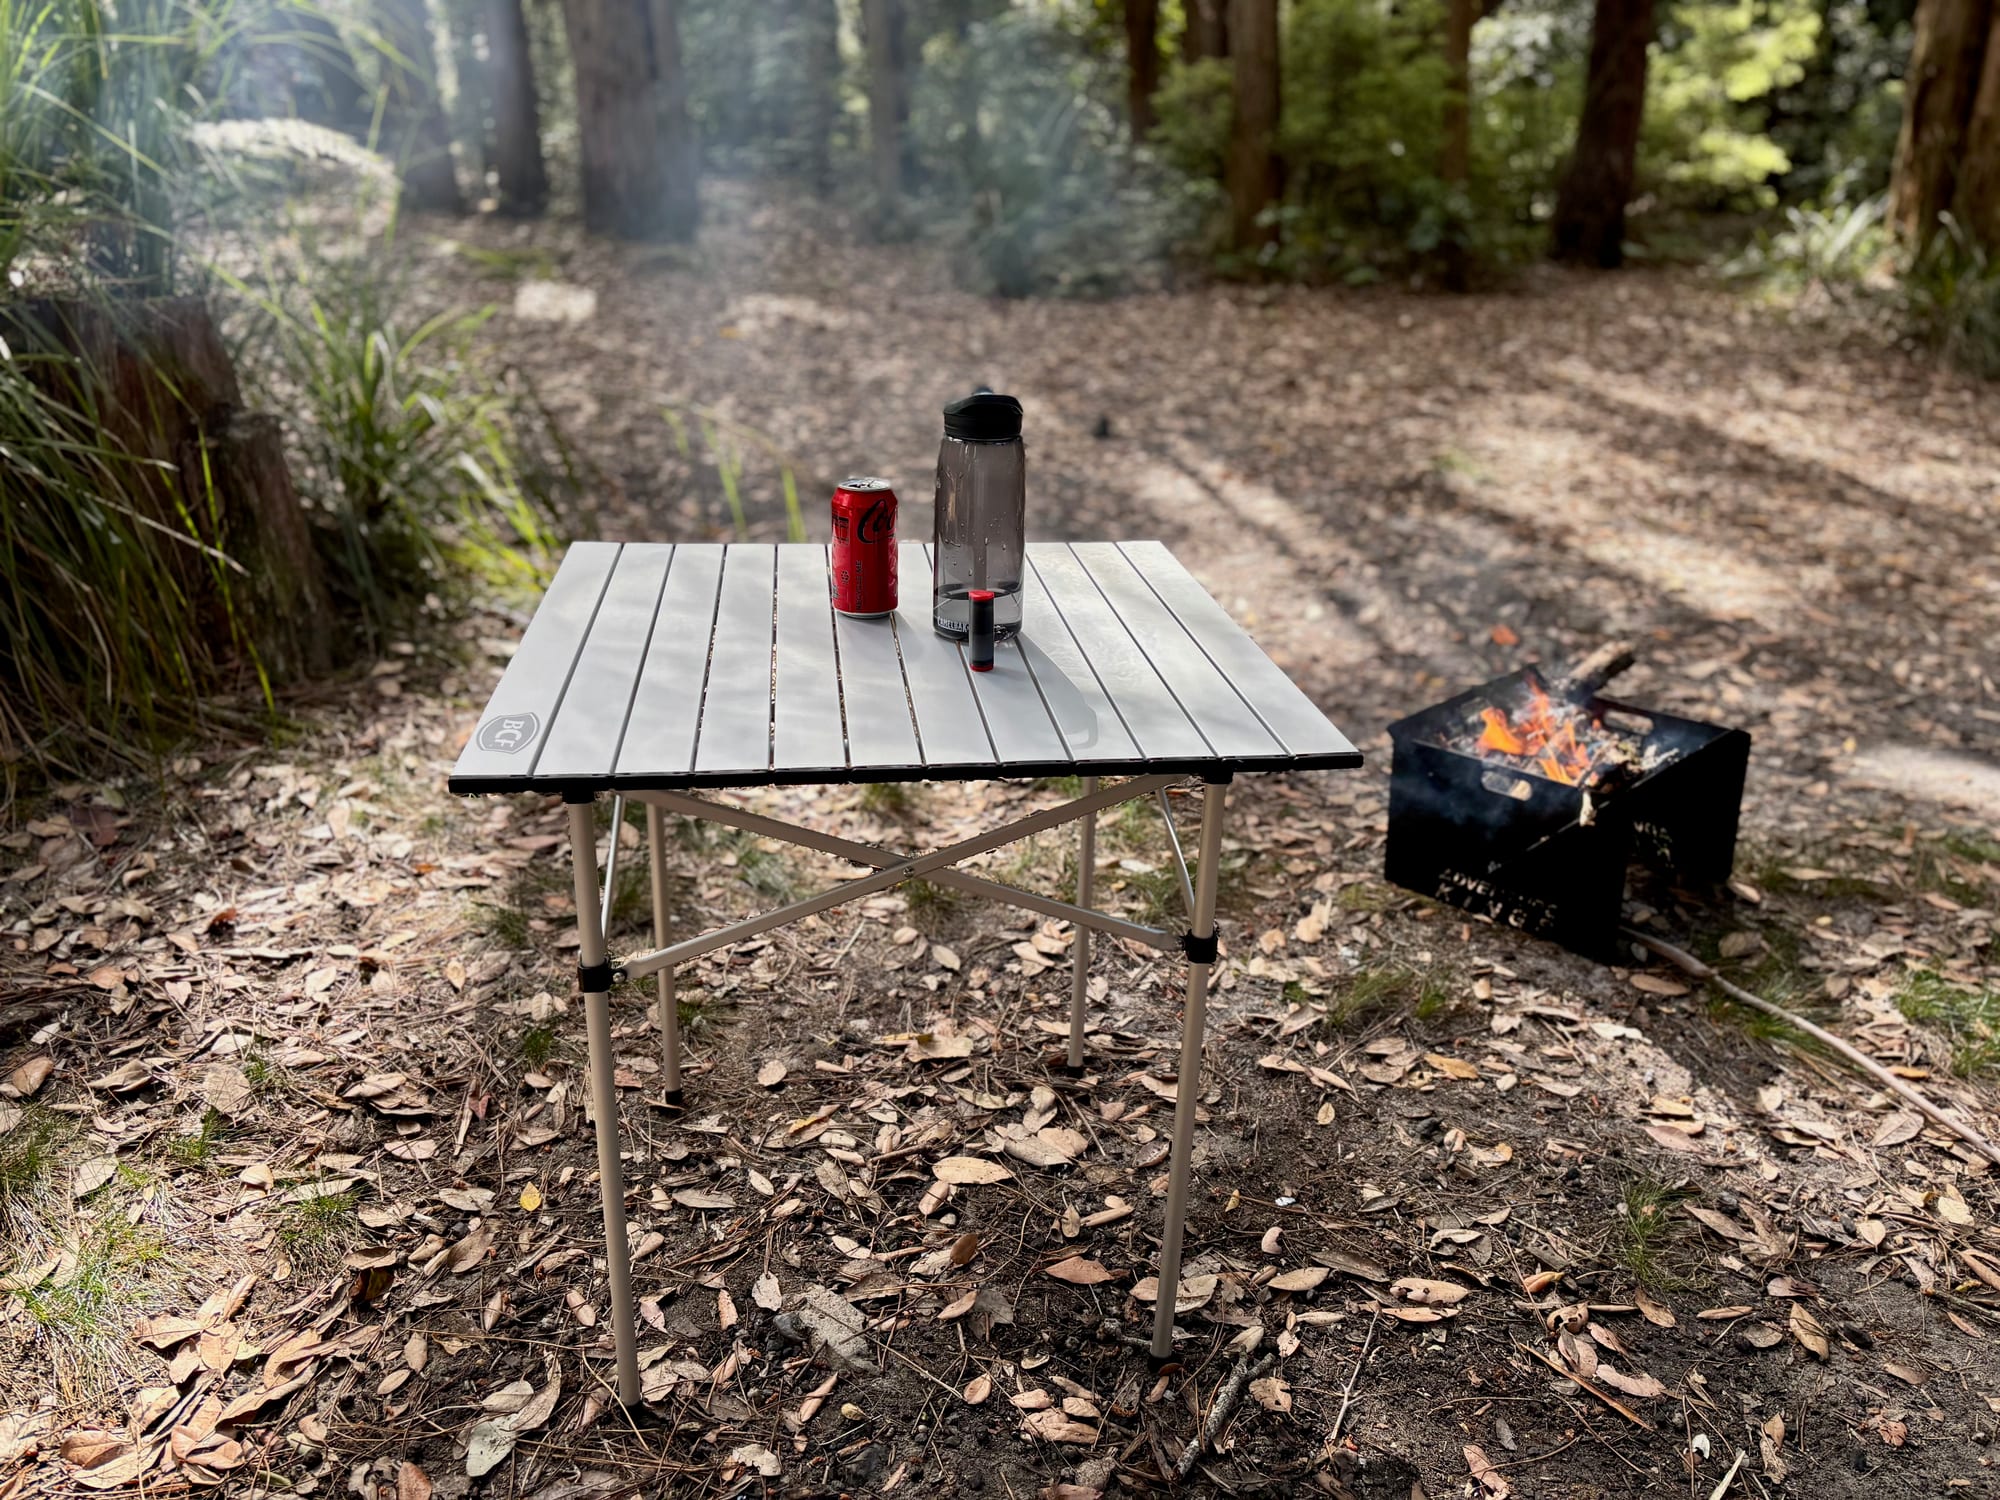
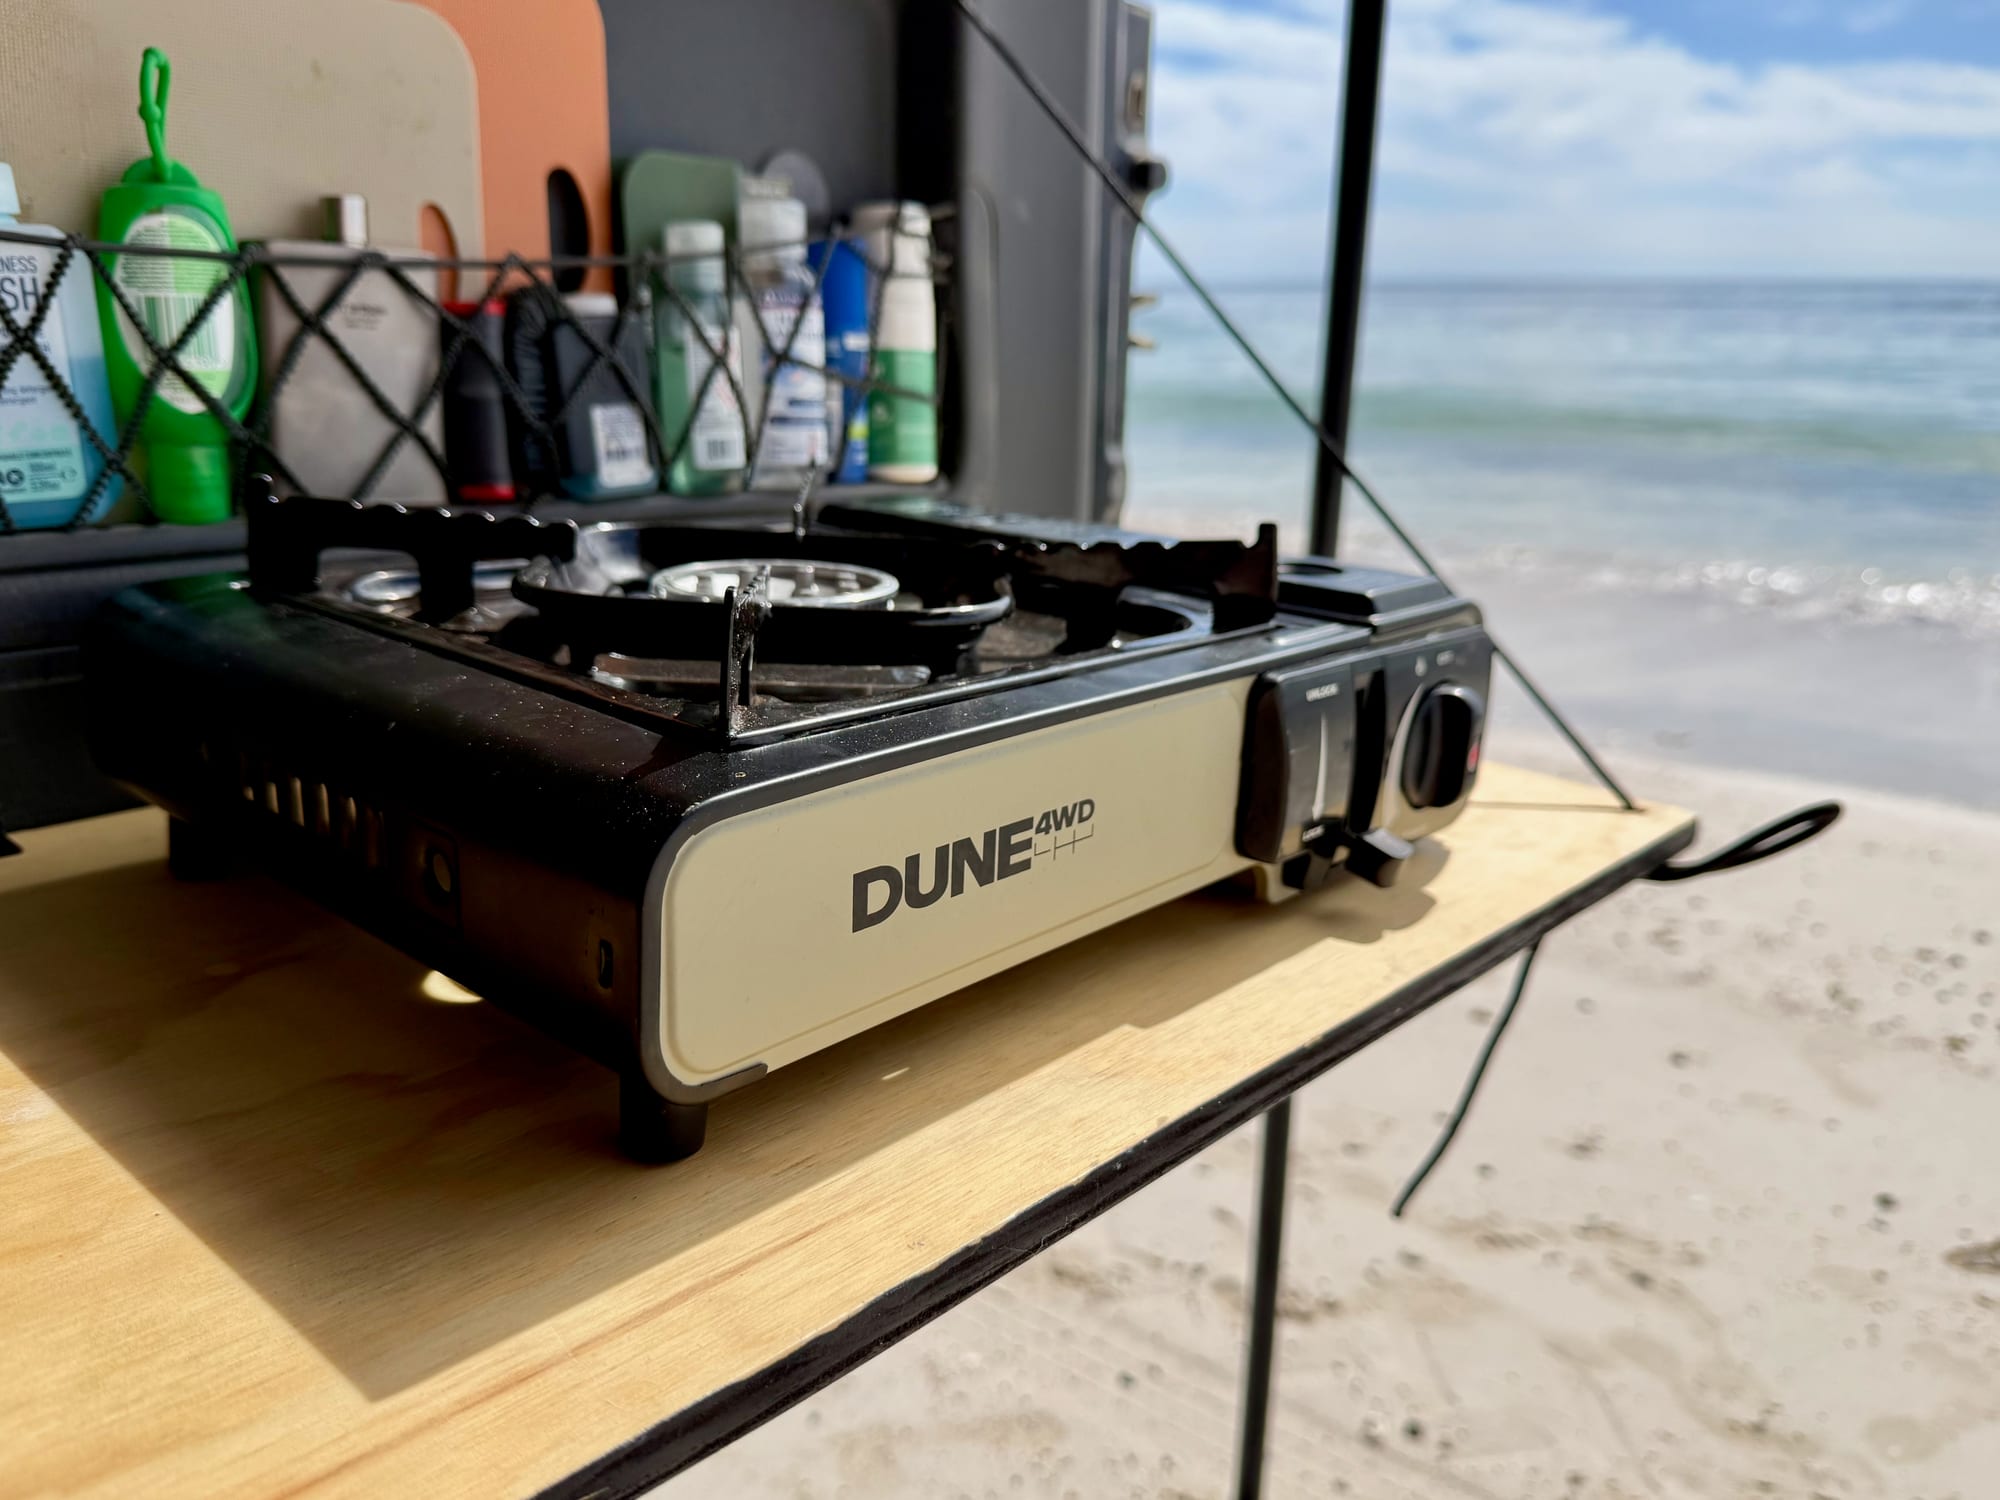
At camp, the table folds down and the Dune stove goes straight on it. We use our BCF roll-up table next to it, so the cooking and prep happen on the door and the main table stays free for games, drinks and snacks. It has been on the door for over a year now with zero issues, and it’s super solid.
Summary
A rear door table comes down to a few steps: take the trim panel off, cut a plywood board from a cardboard template, sand and varnish it, fix it with two hinges, and add two cords to hold it level. It might be one of the cheapest modifications we’ve made to the car, and one of the best.
Do's
- Do test the size with cardboard
- Do sand it a few times
- Do varnish it before fitting it
- Do back the clips with plywood
- Do paint the underside black
- Do reapply varnish when needed
Don'ts
- Don’t use stretchy cord
- Don’t overtighten screws in plastic
Recommended gear
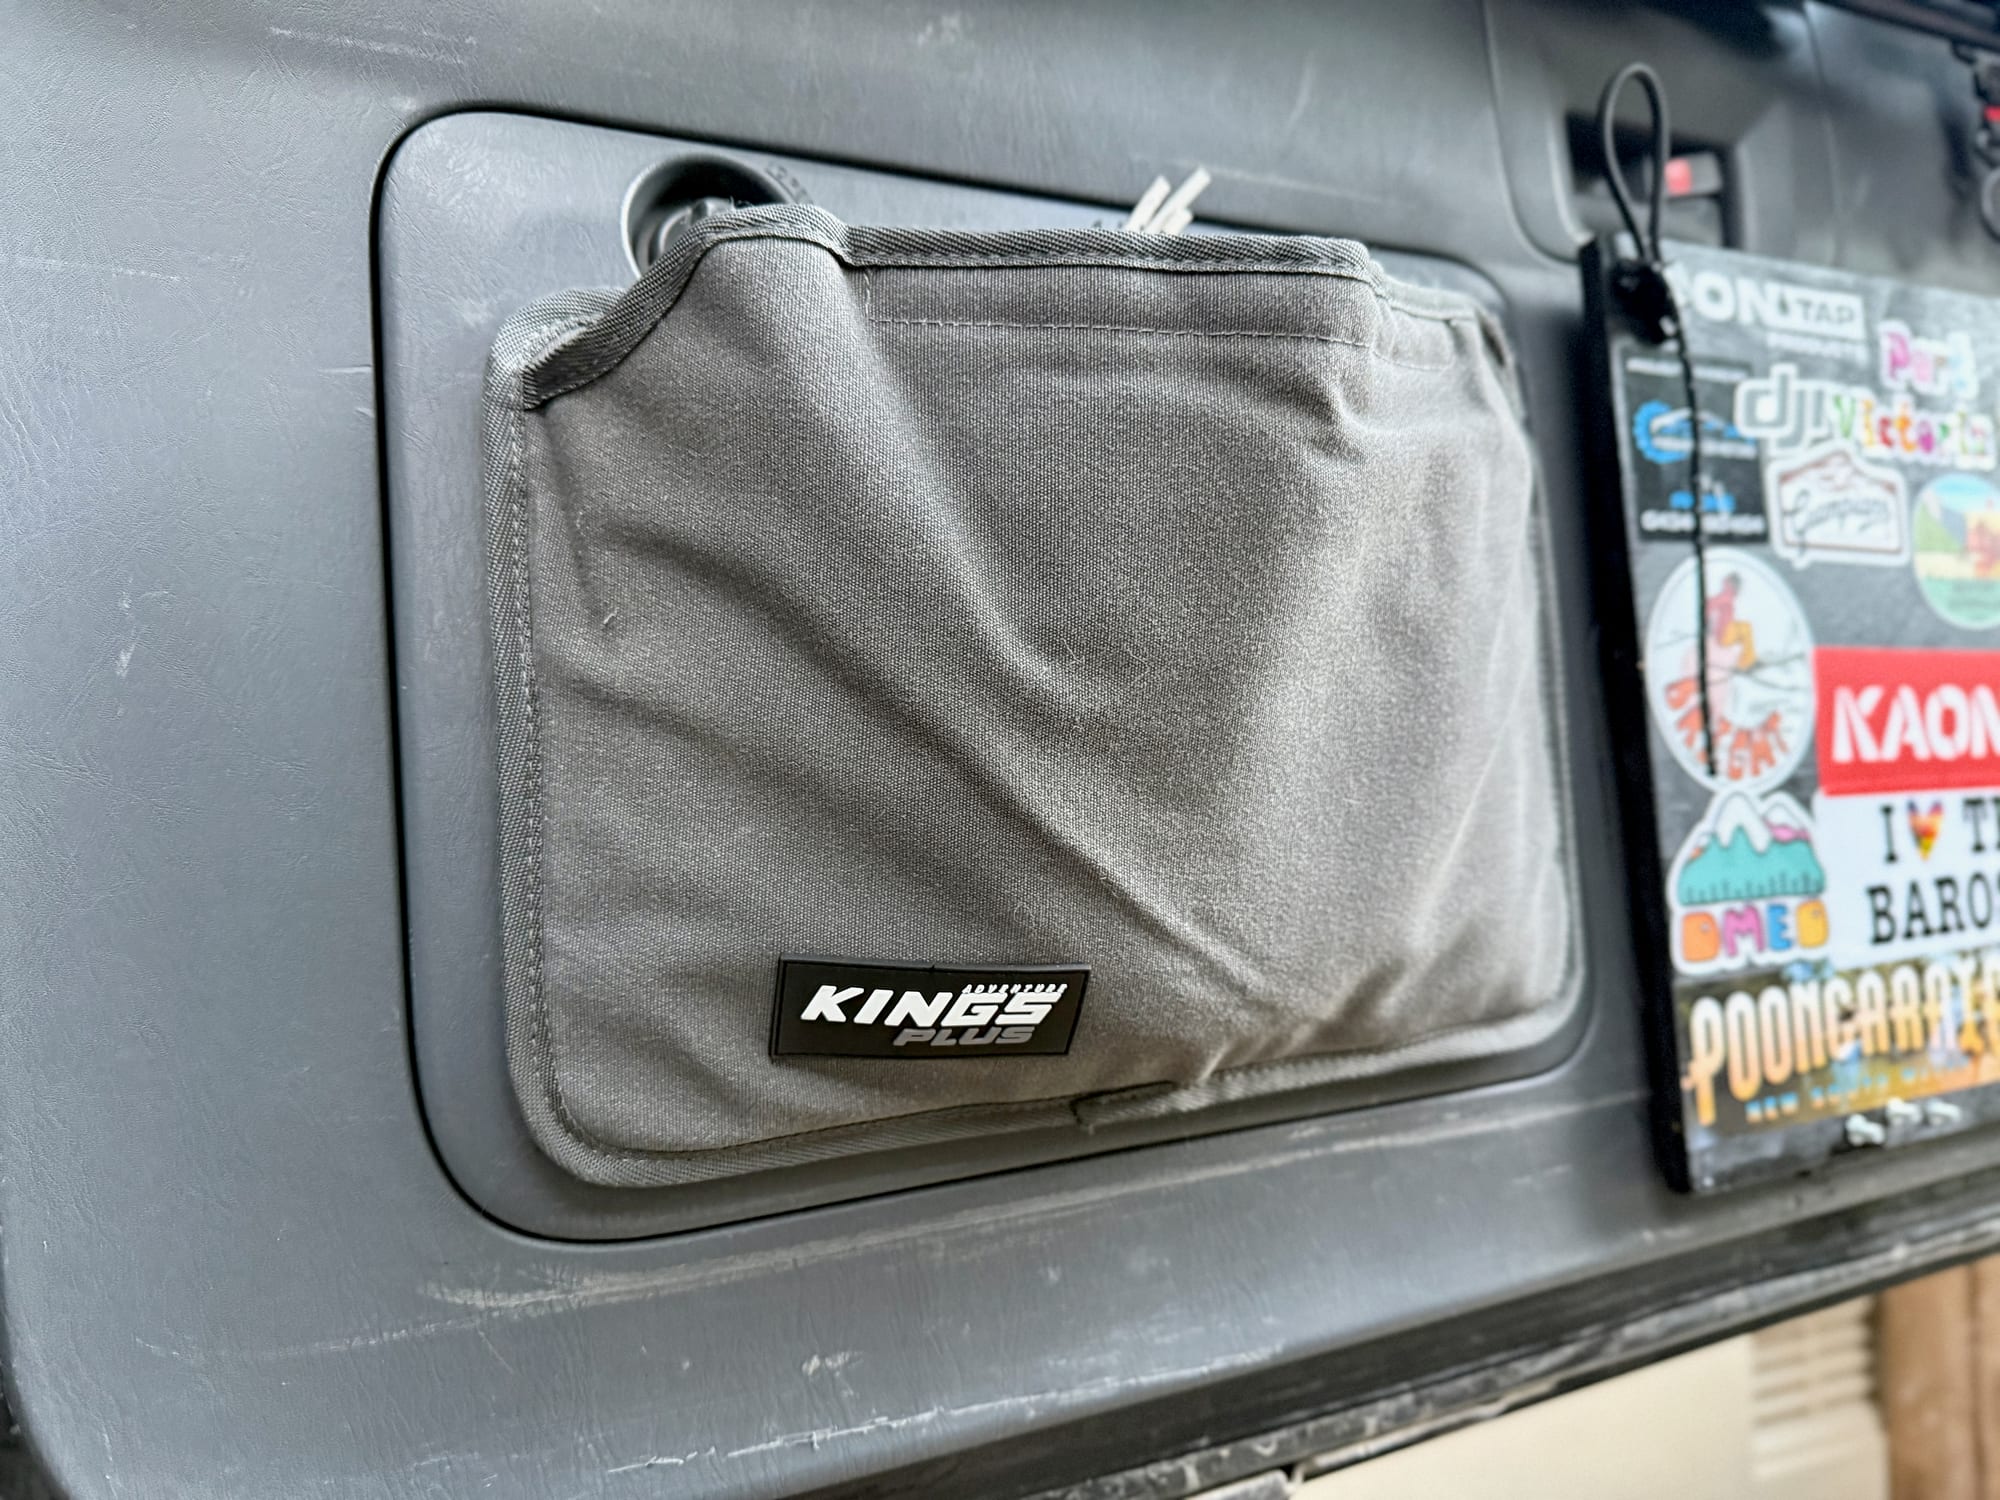
The saw we cut the plywood with, the organiser on our rear door, the stove we cook on and the table we use next to it. For freestanding tables, see our camping tables guide.